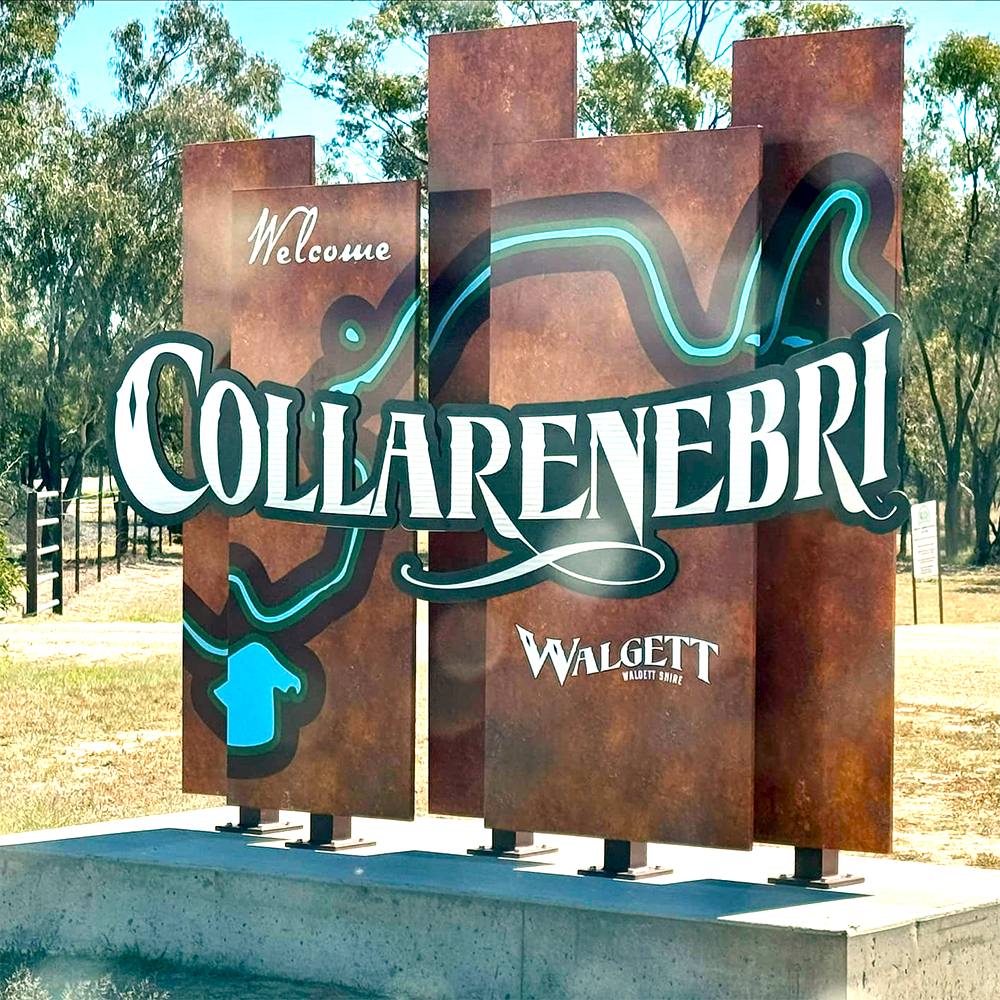
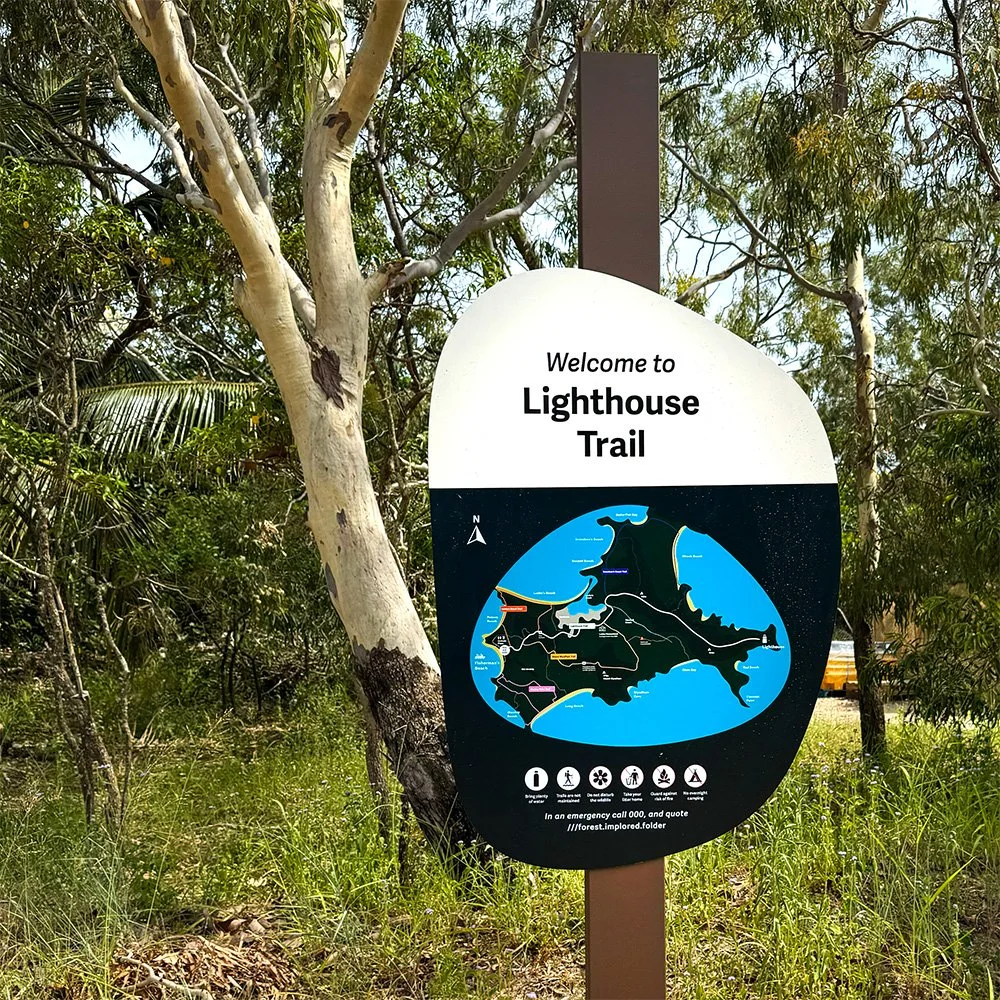
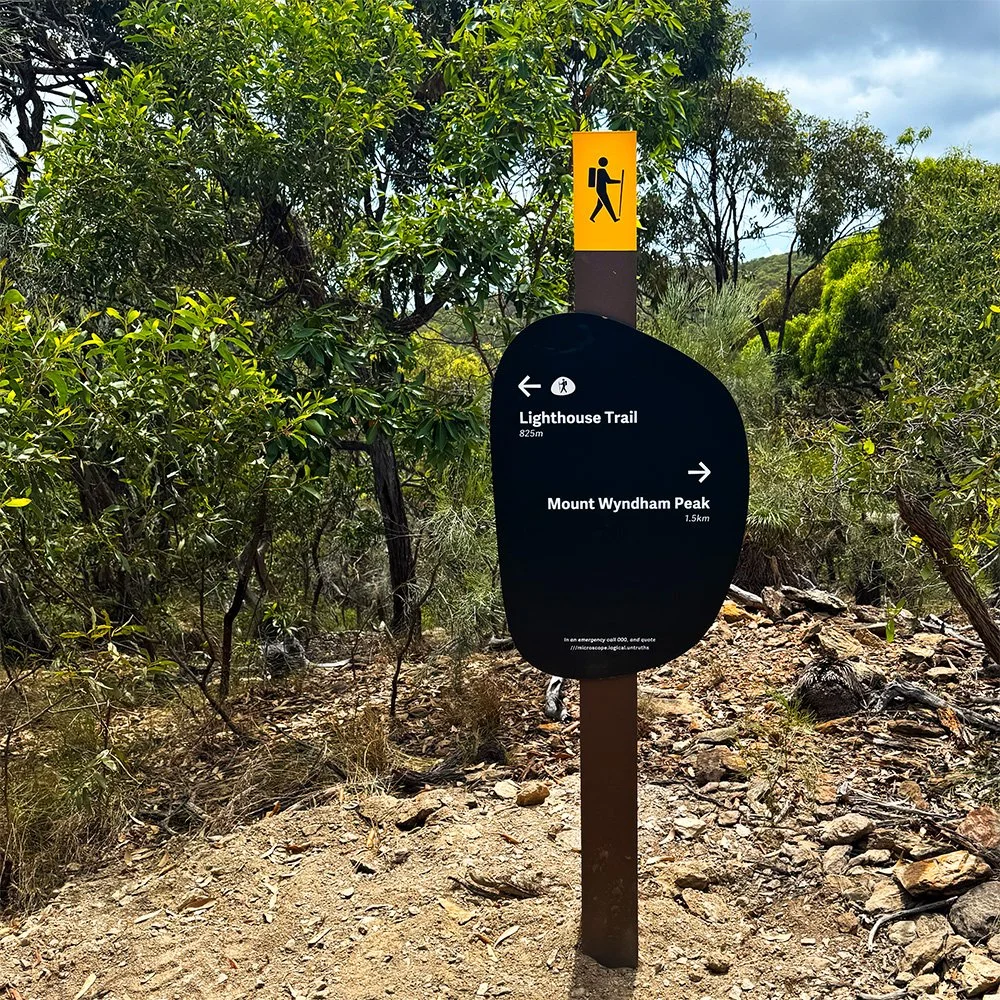
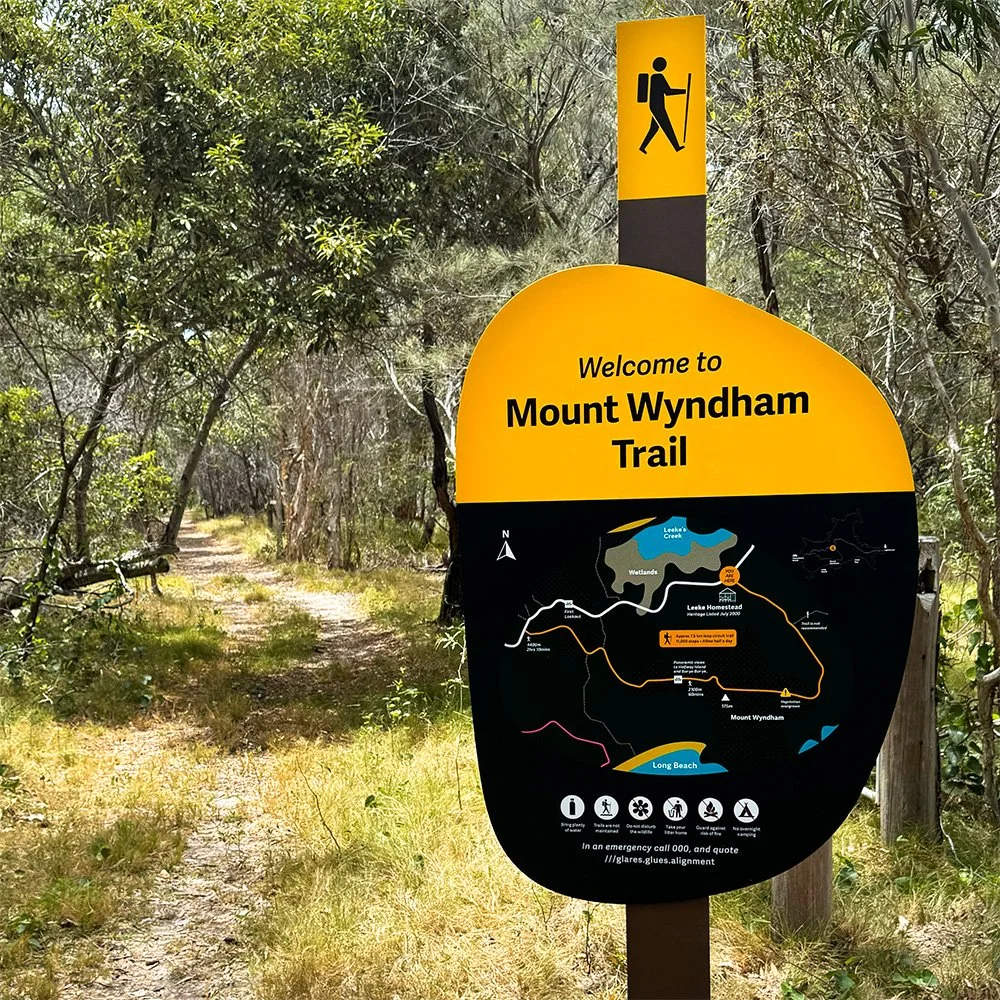
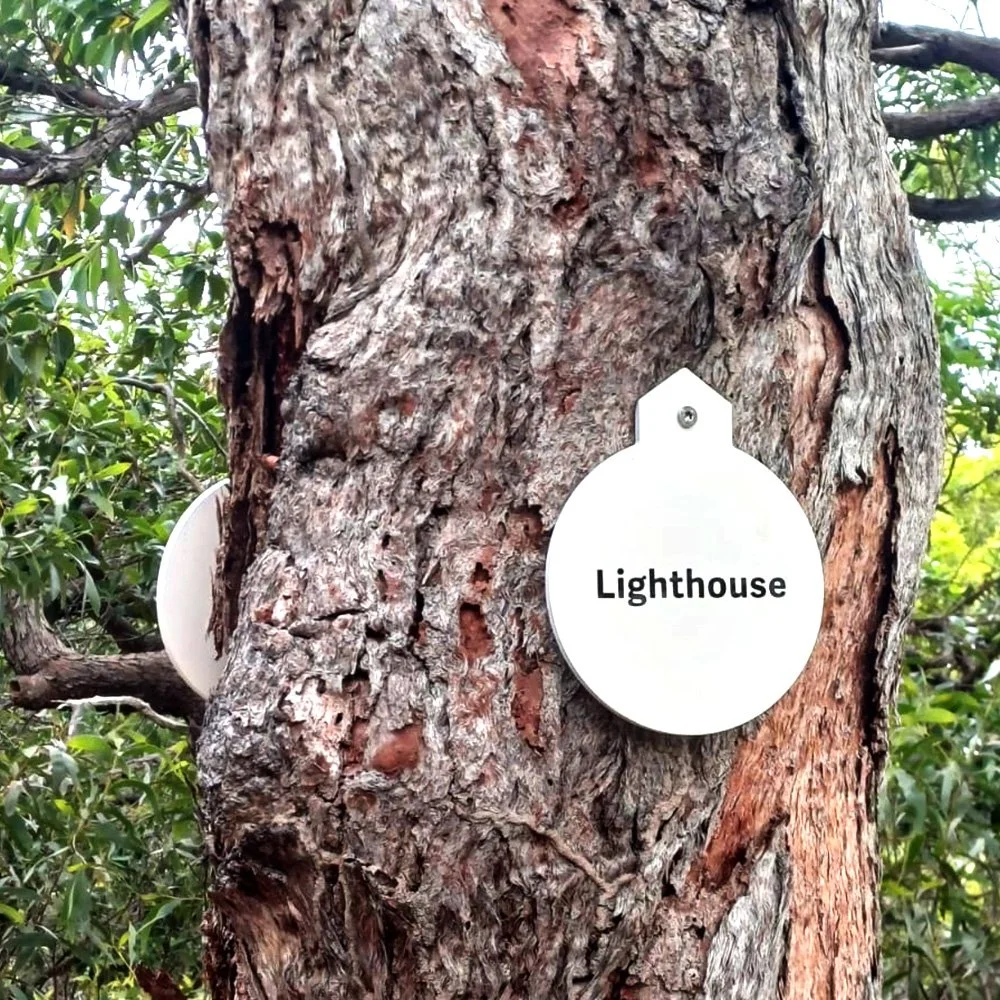
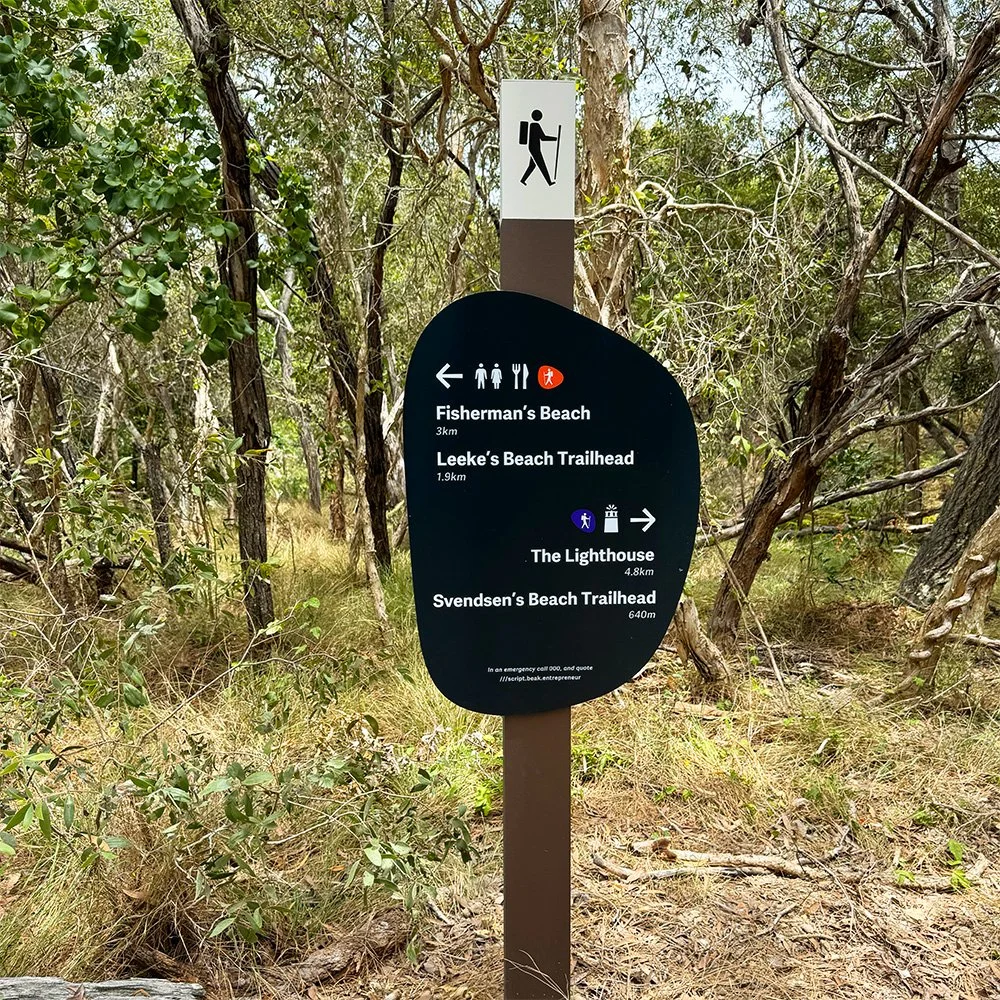
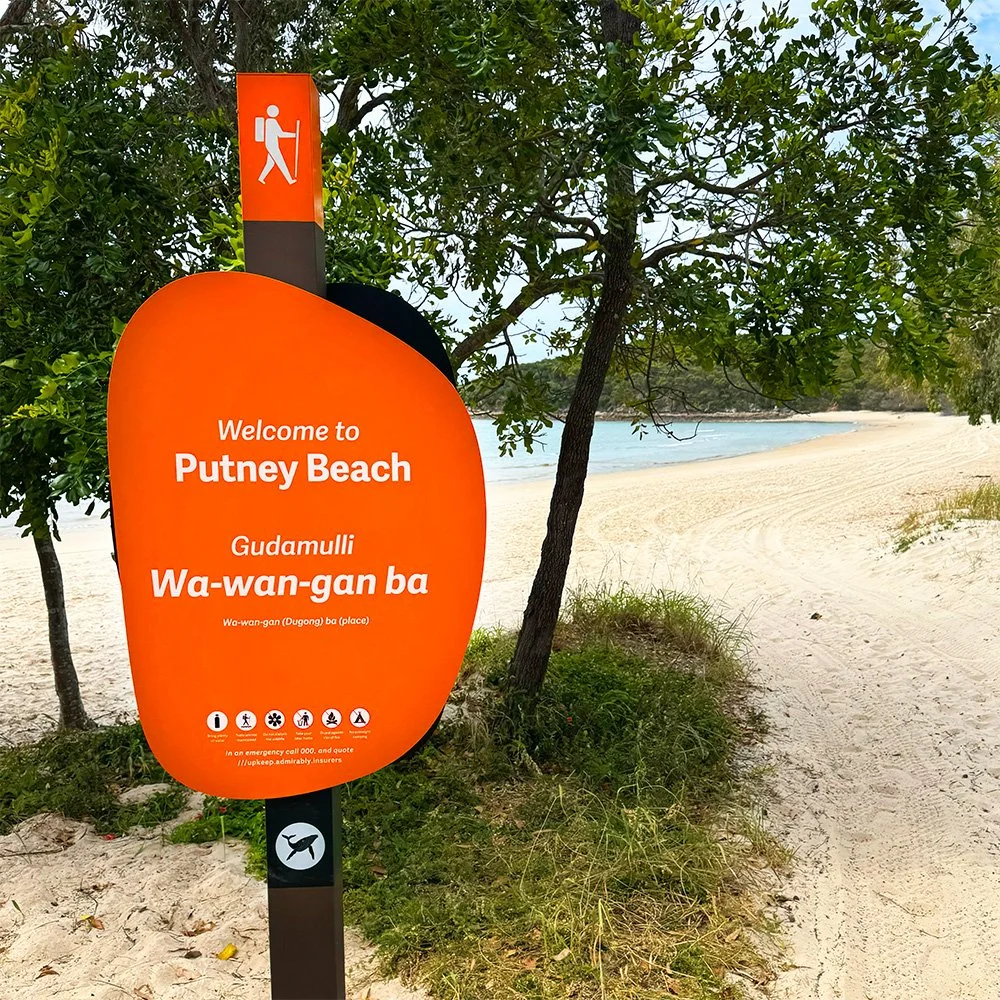
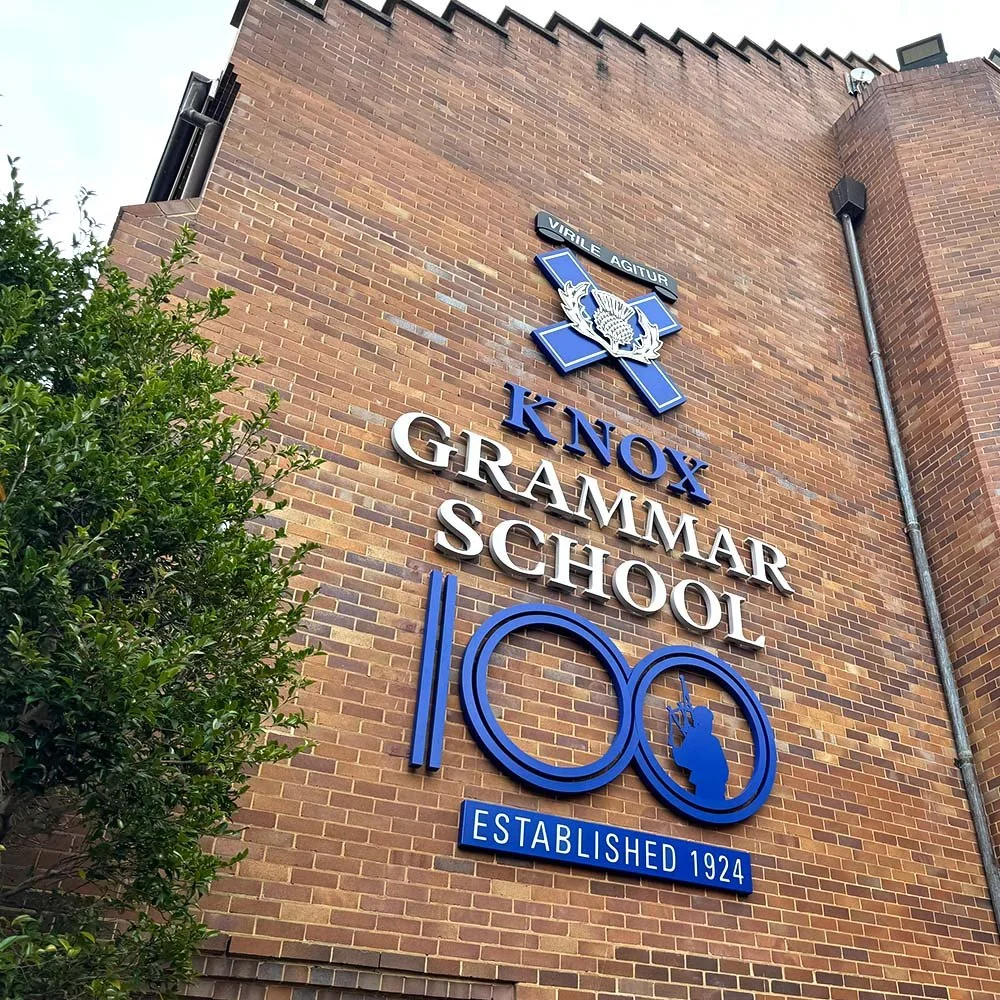
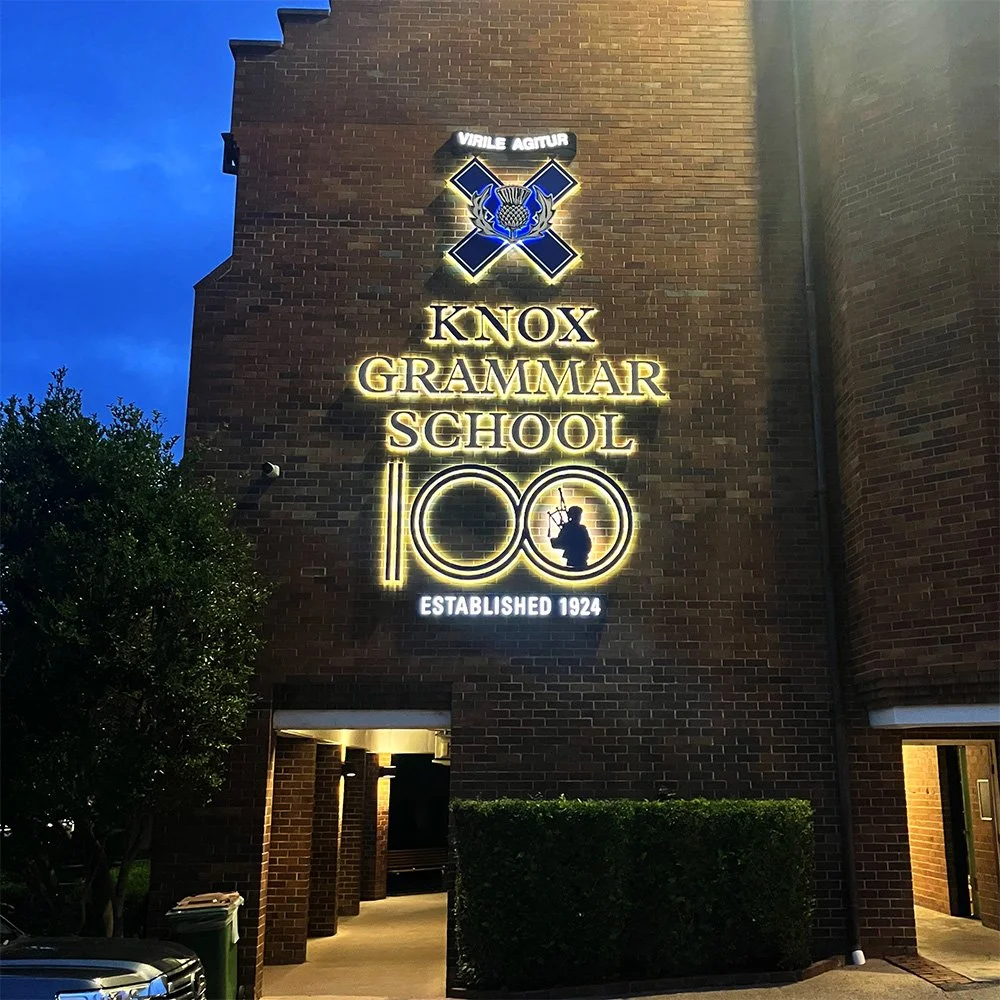
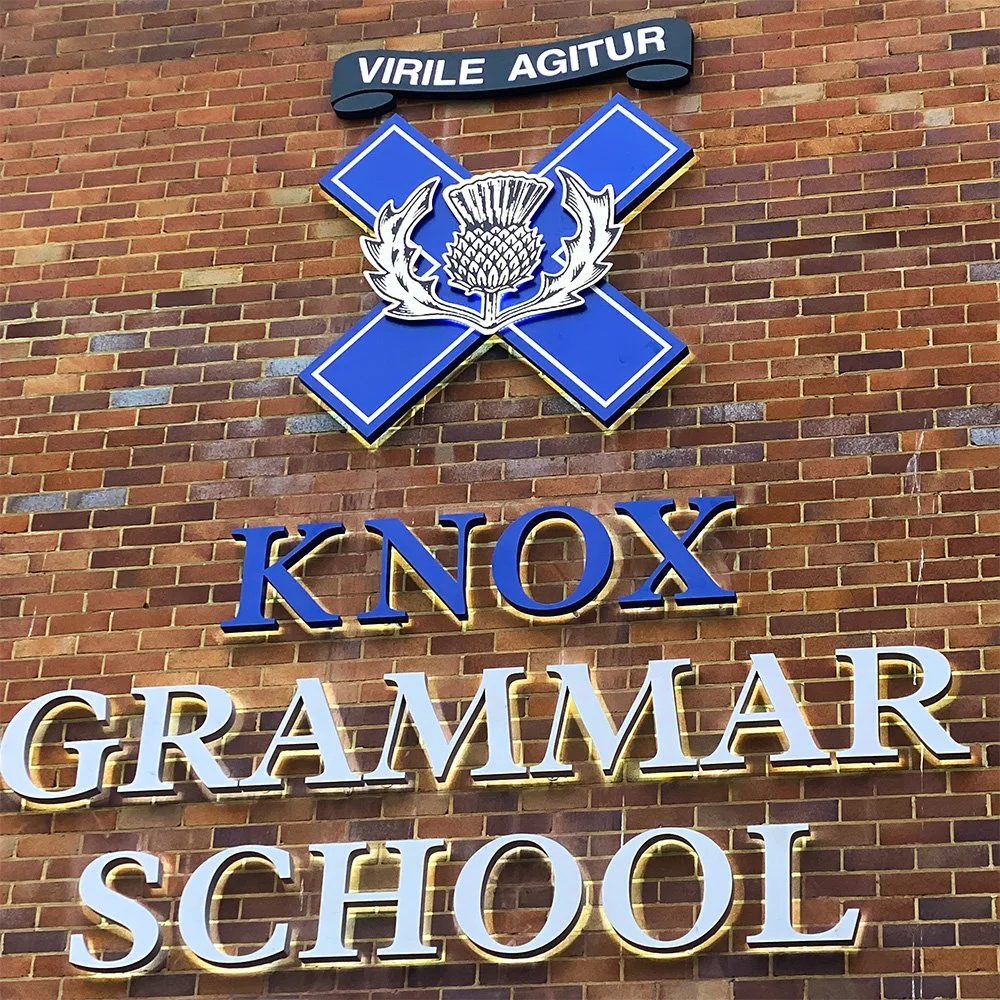
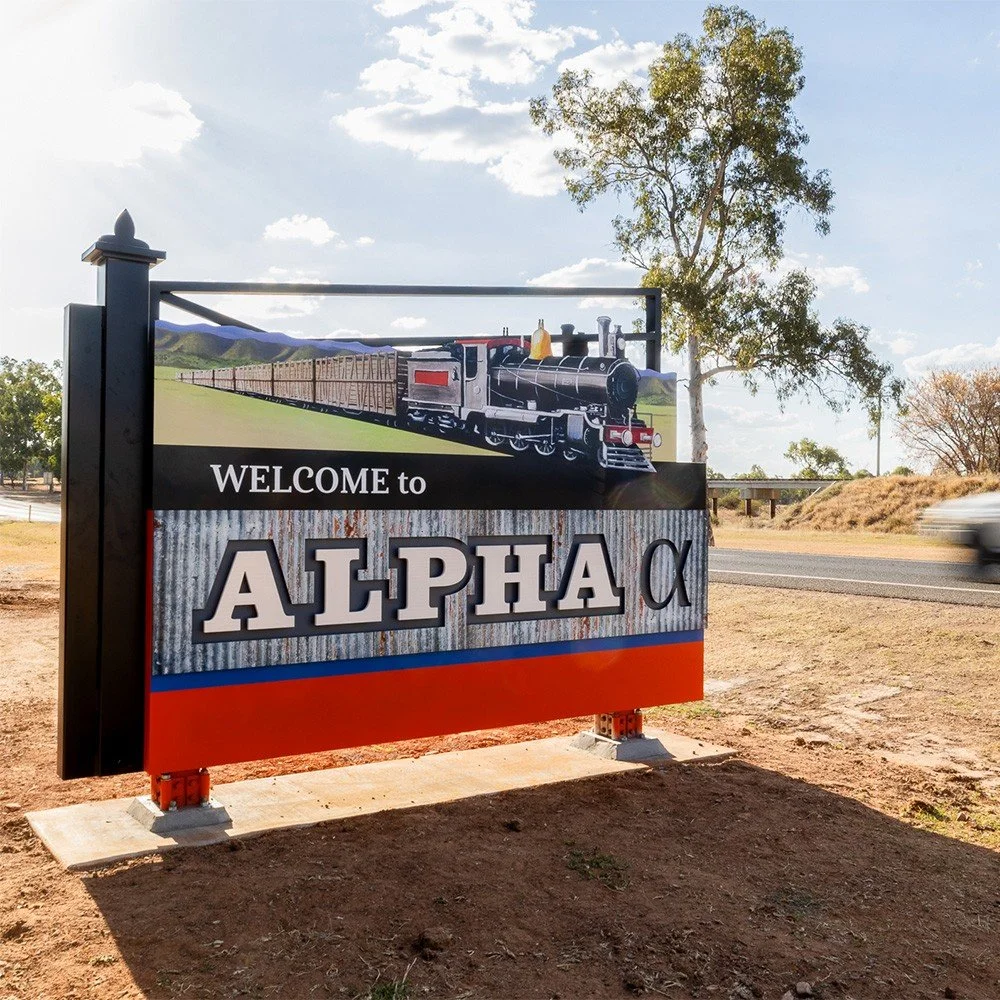
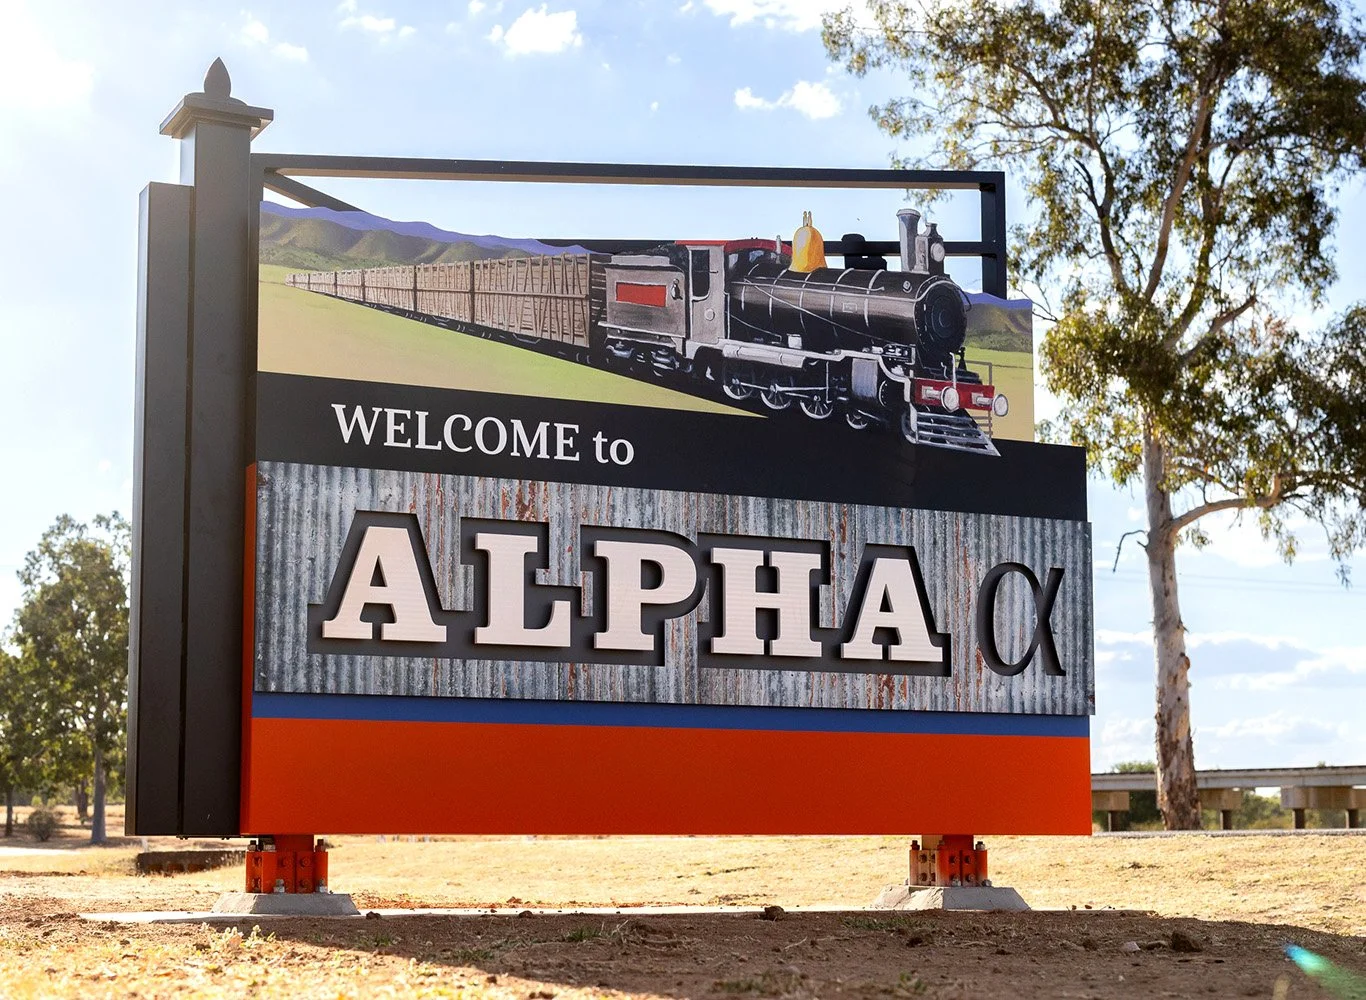
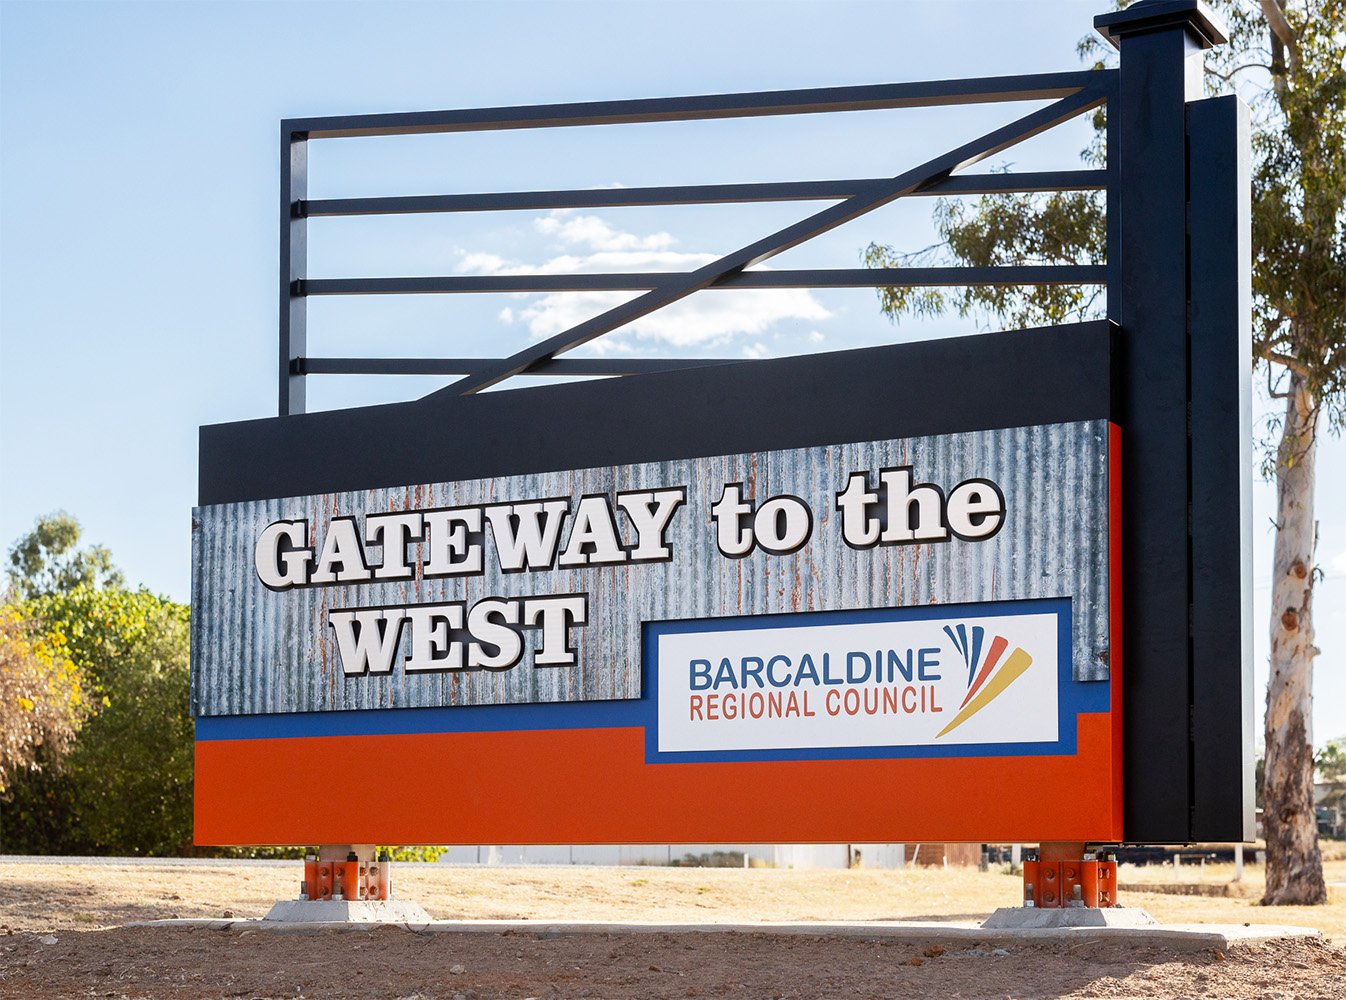
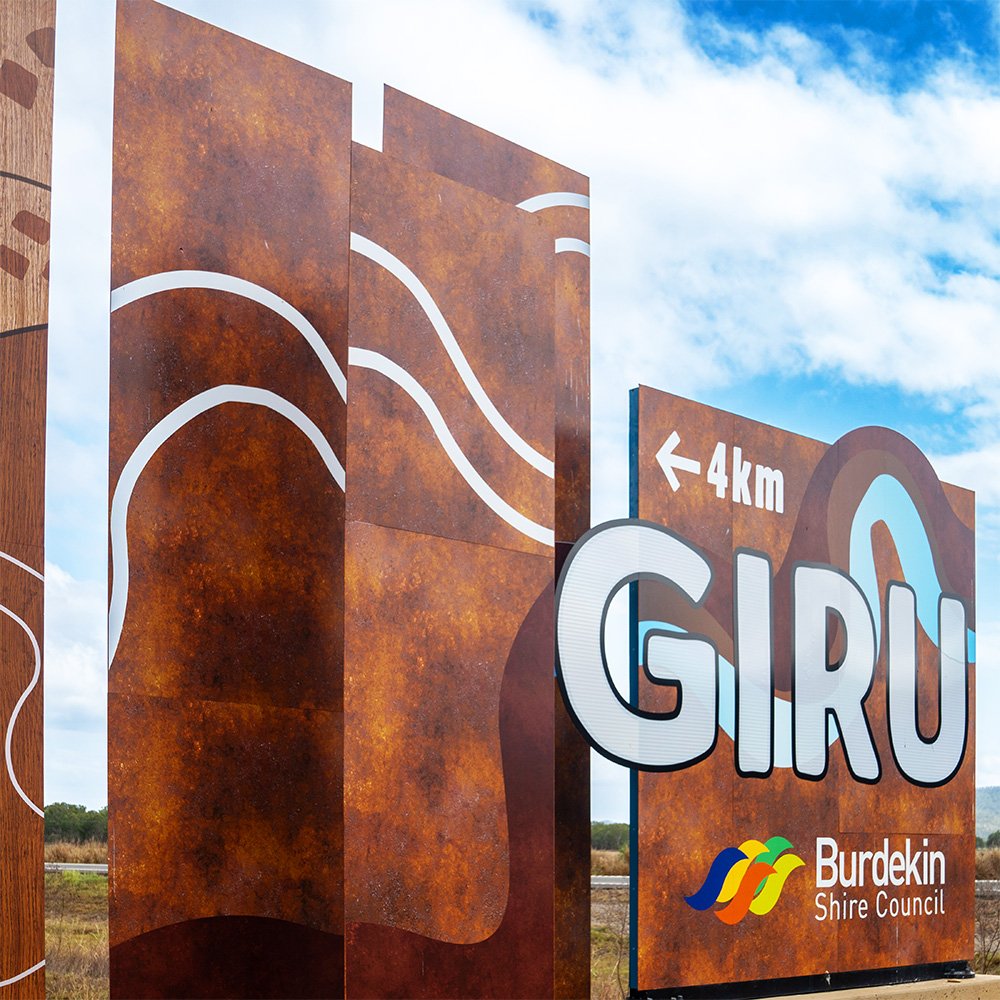
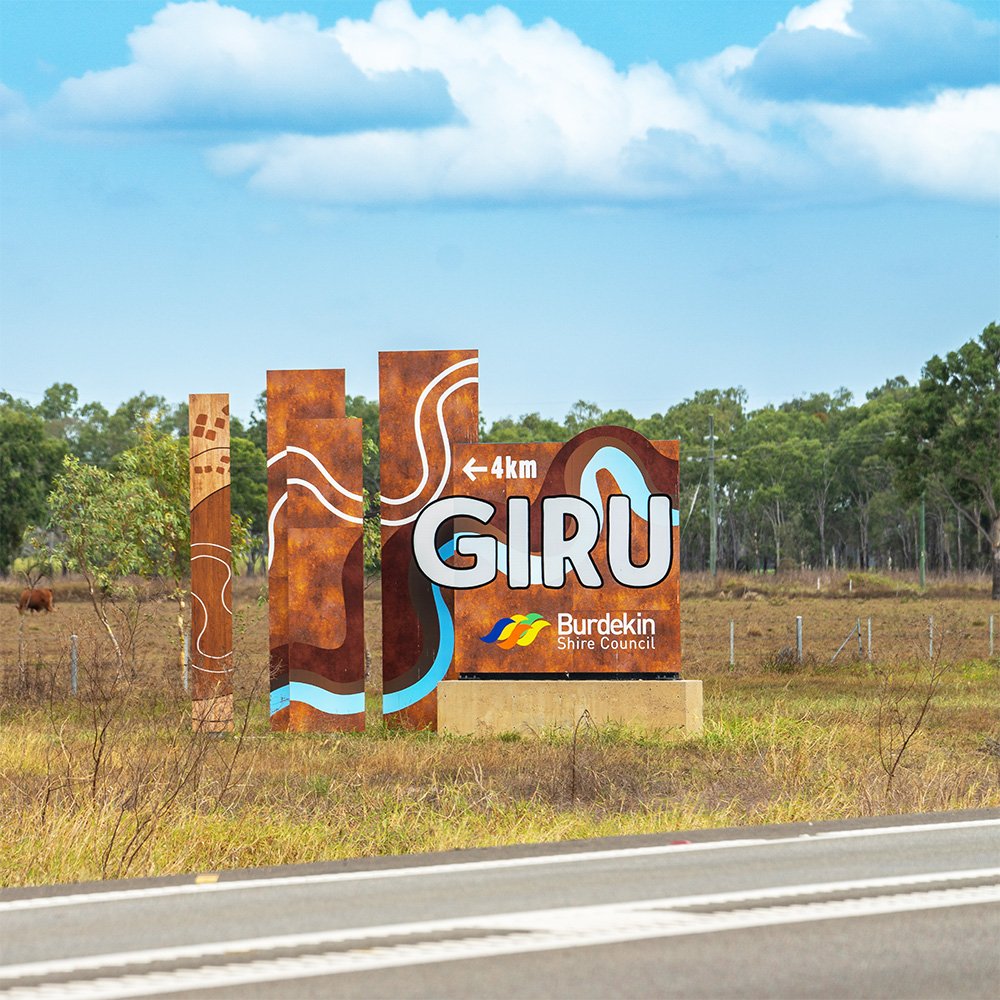
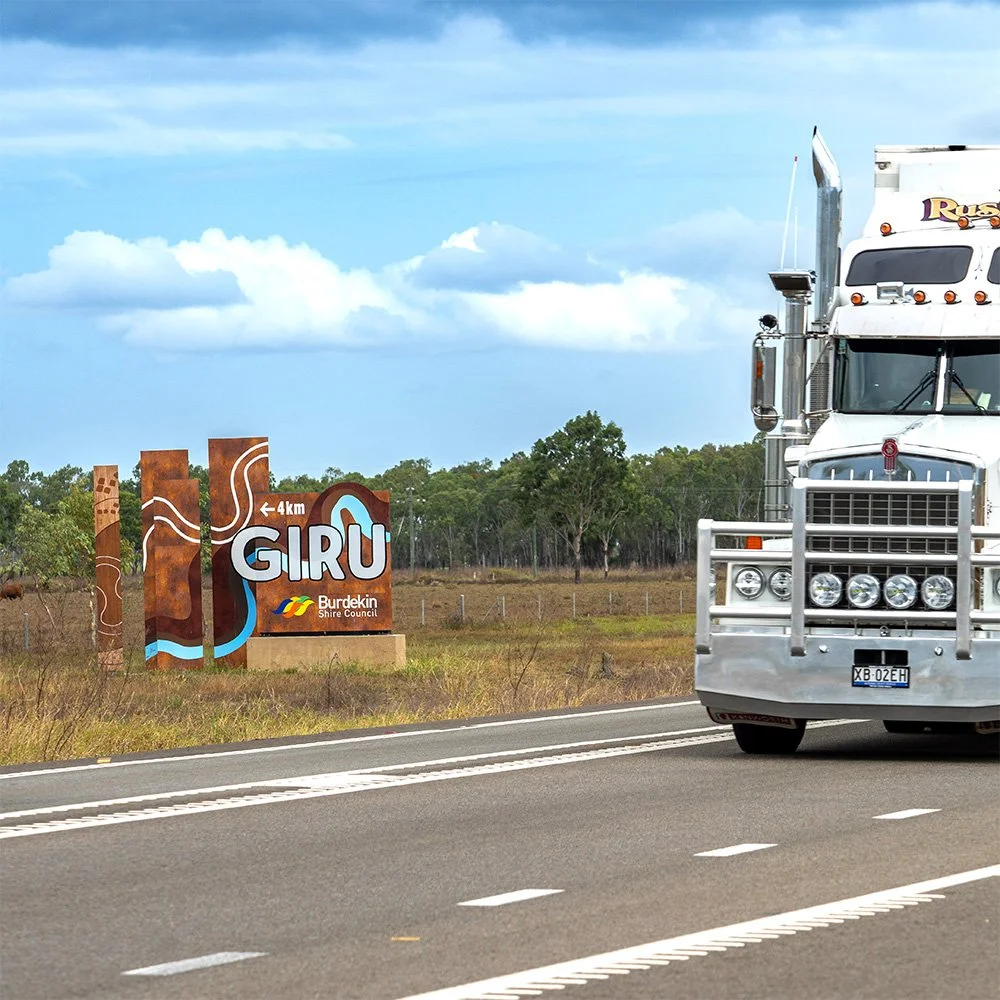
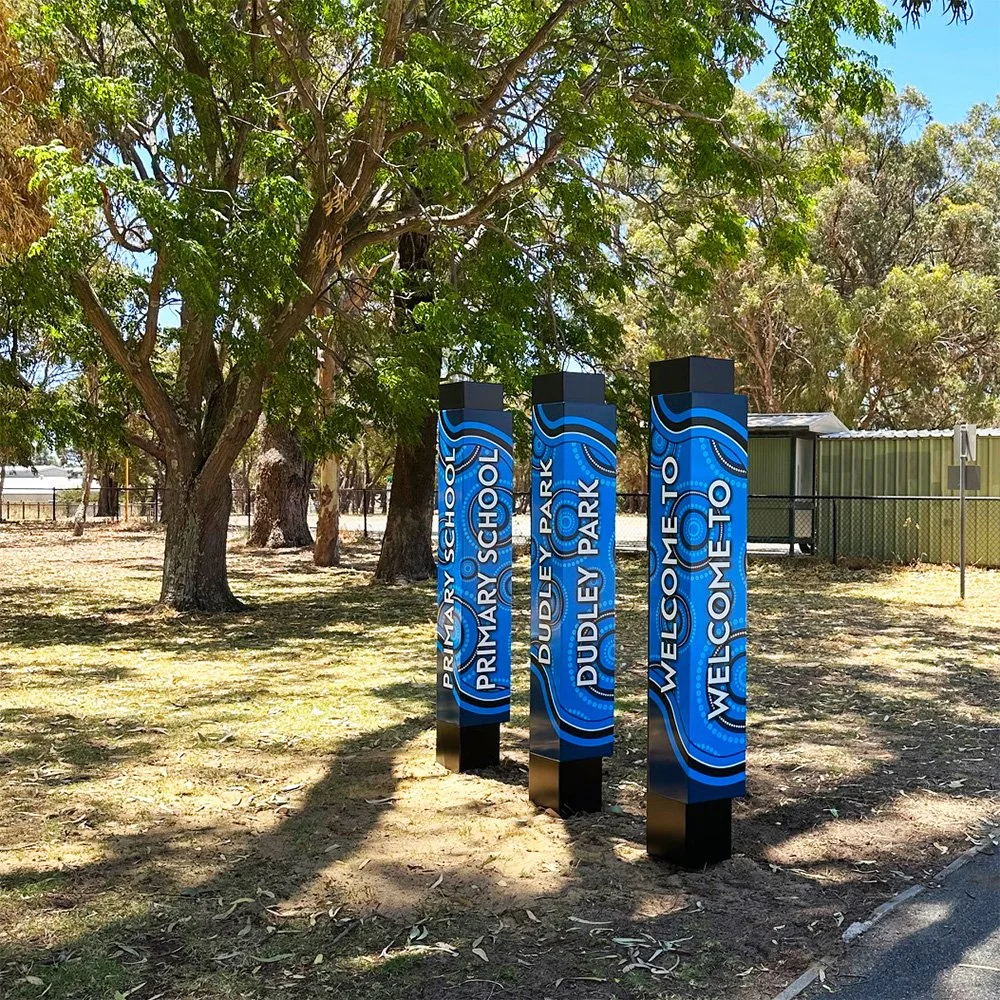
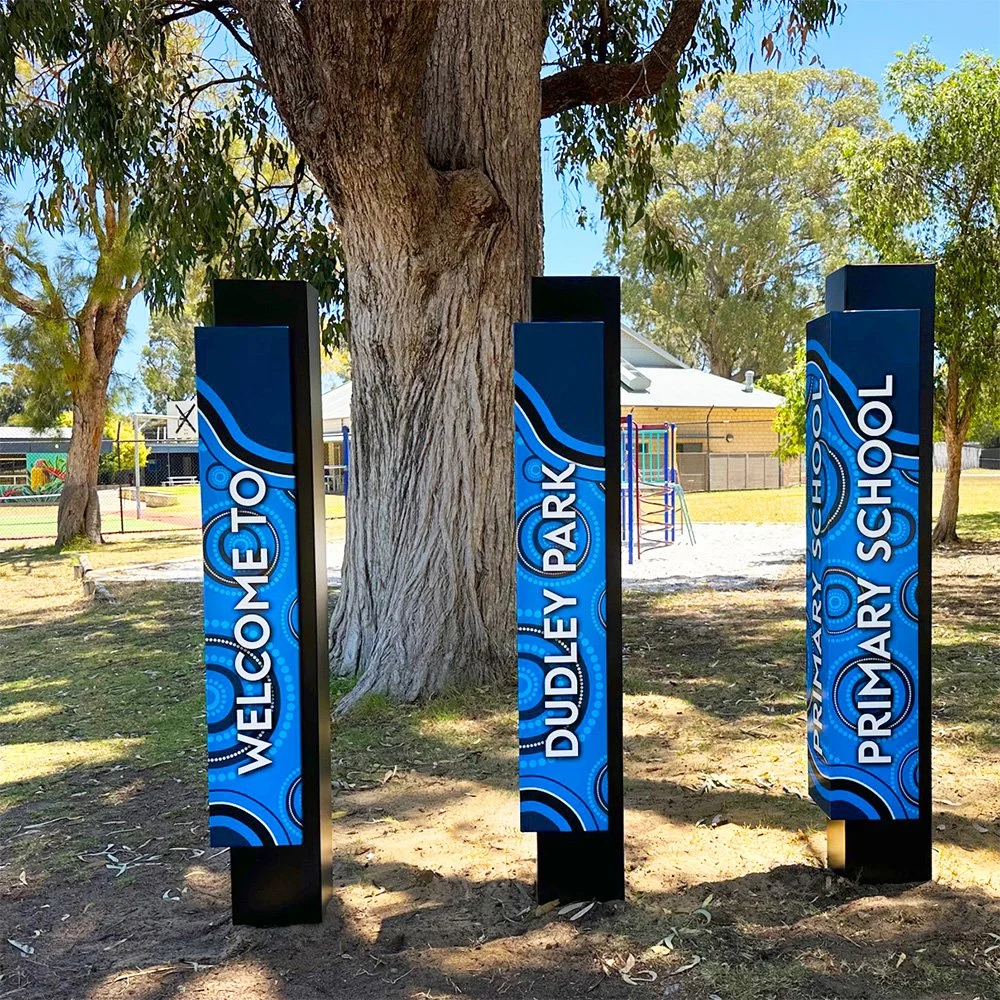
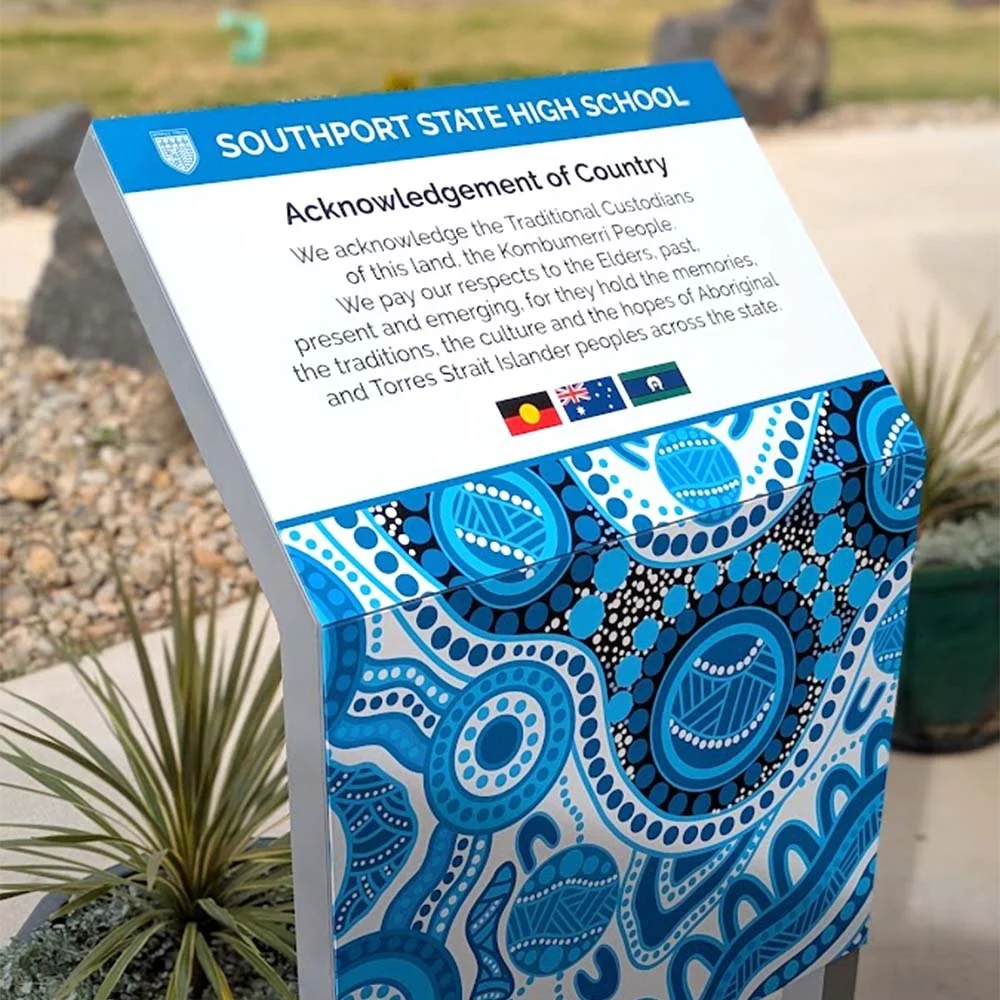
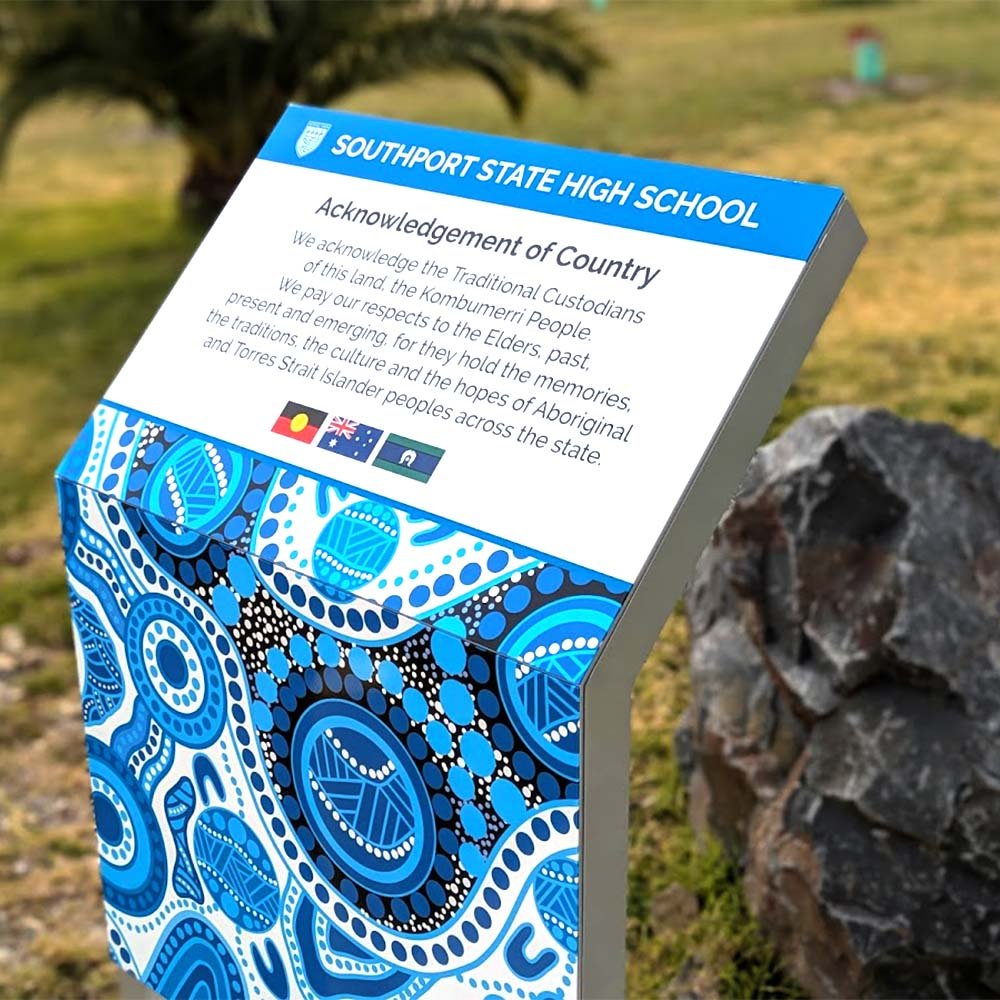
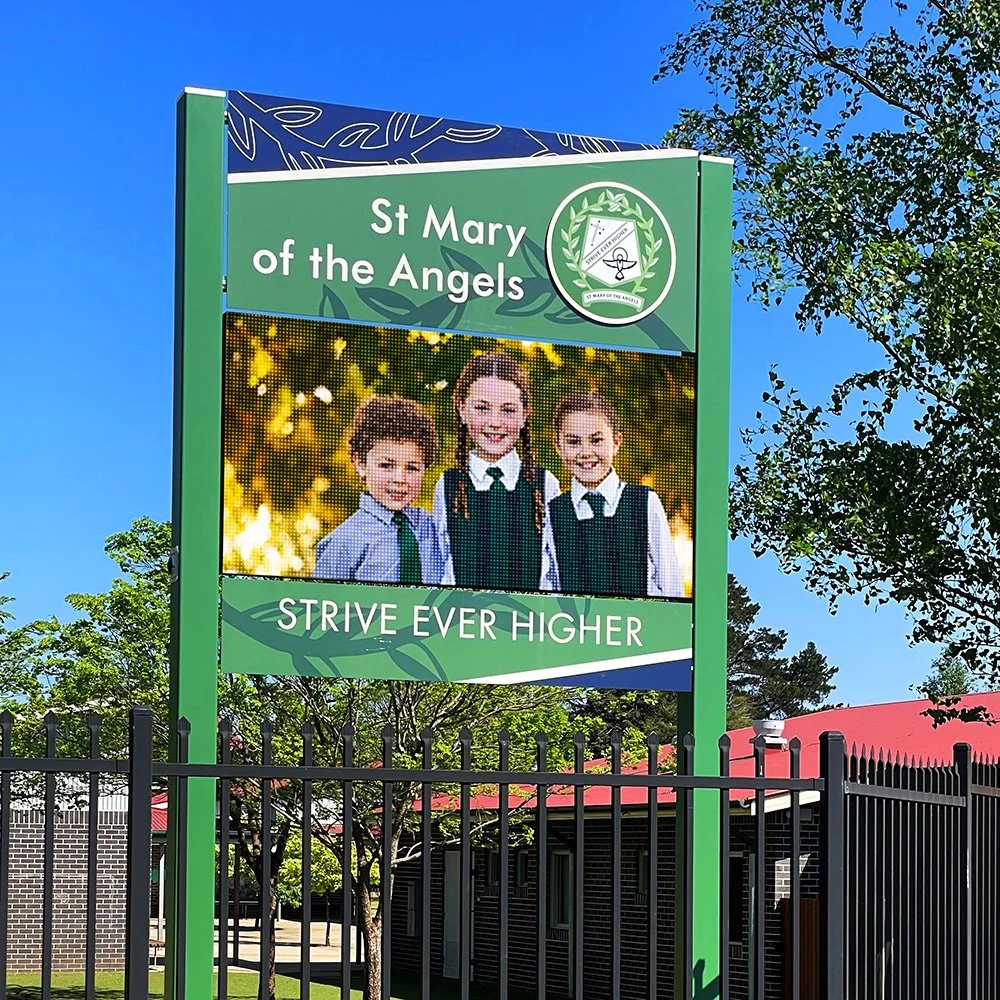
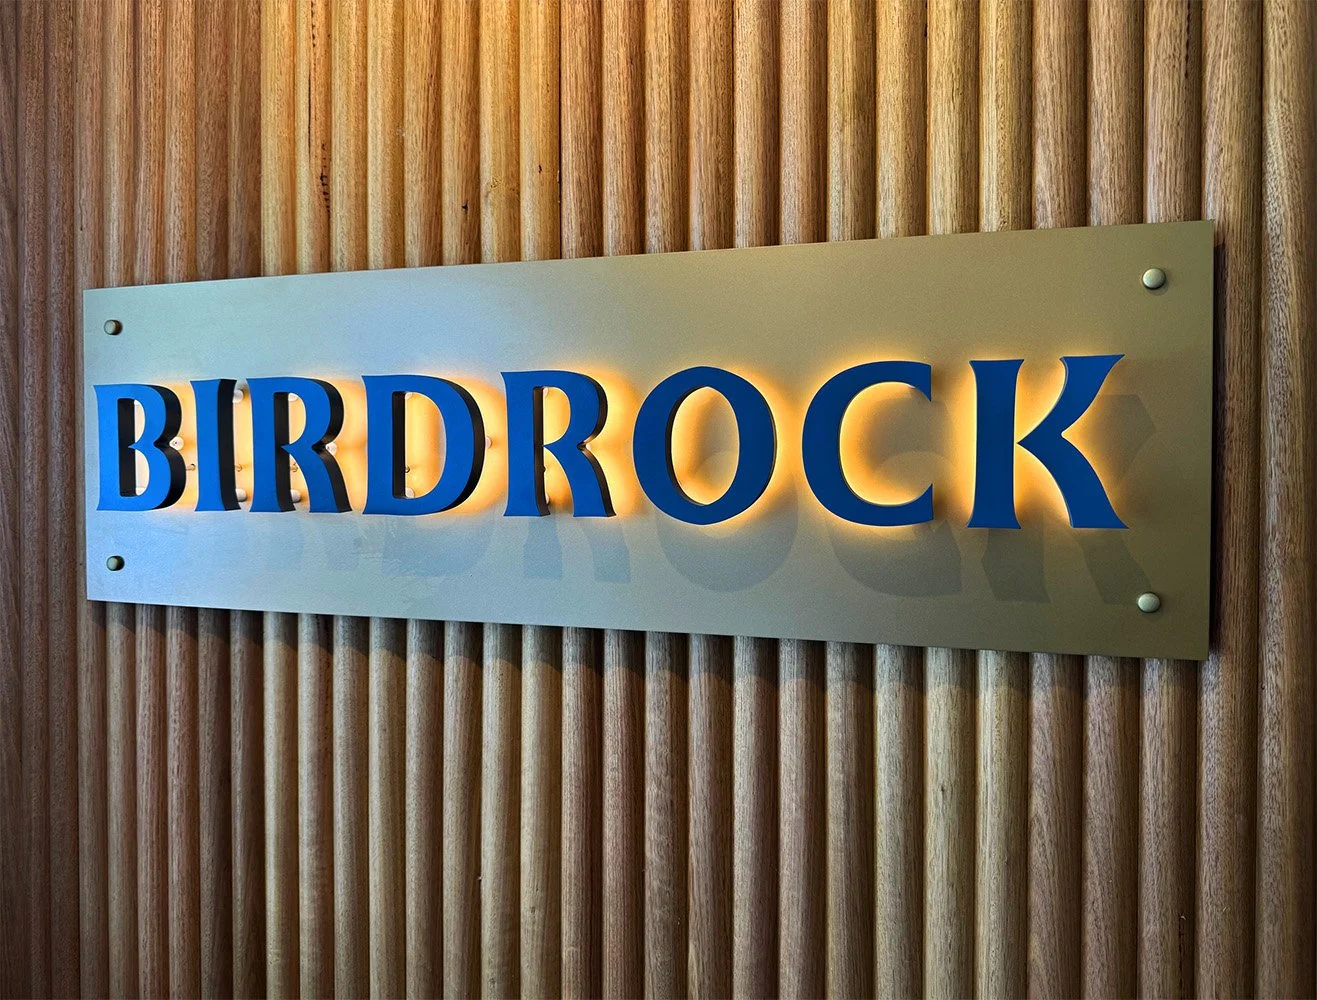
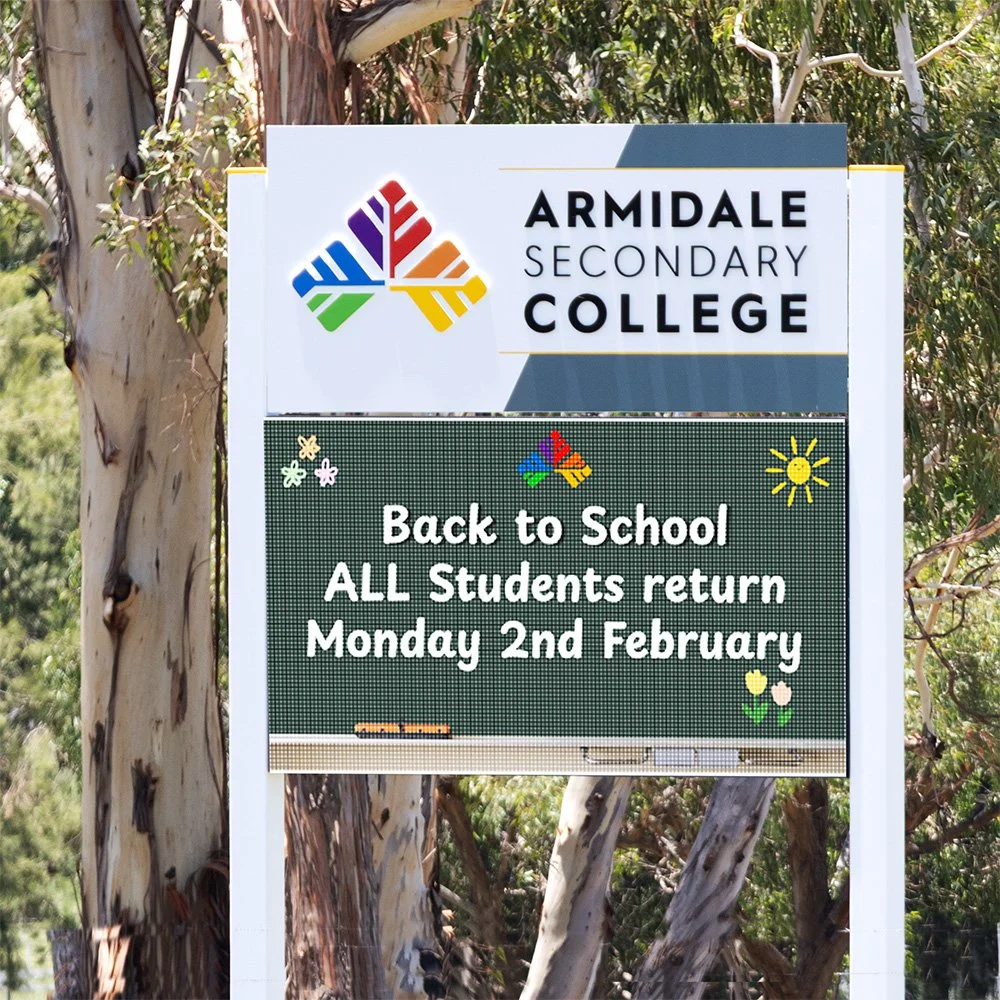
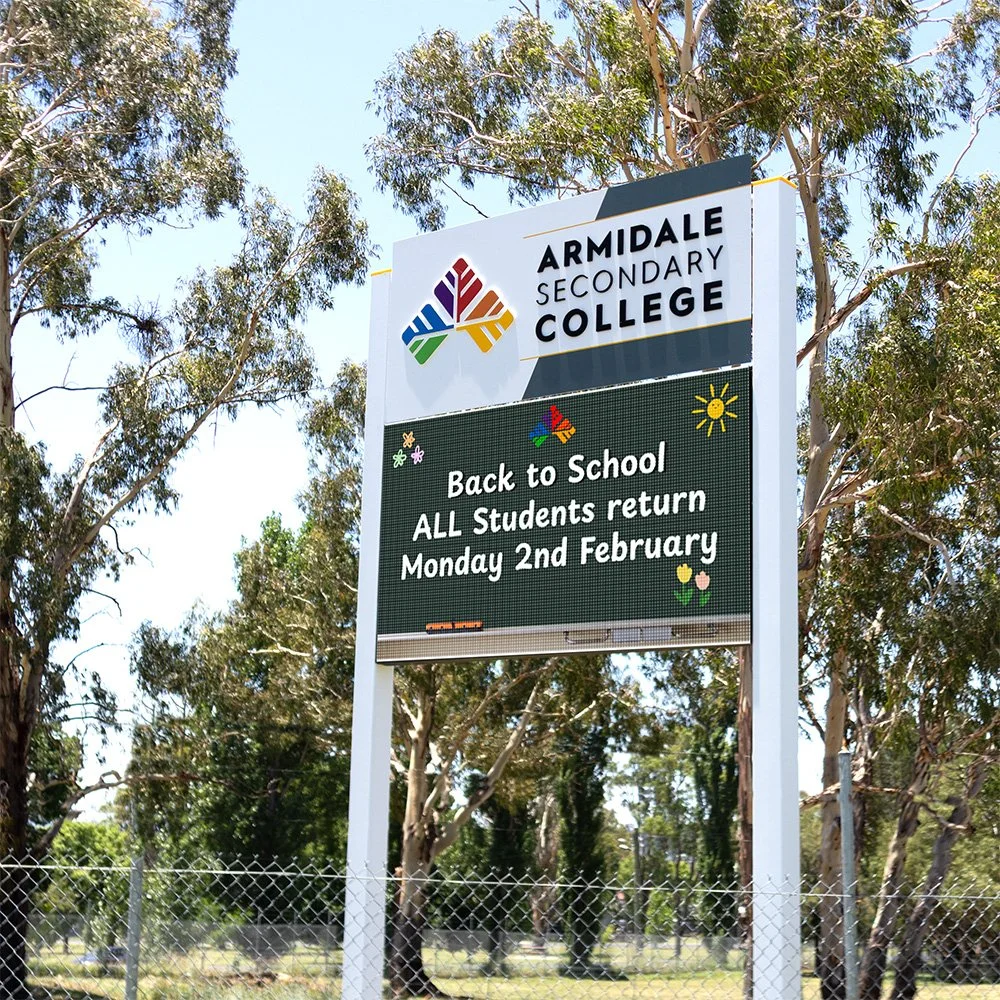
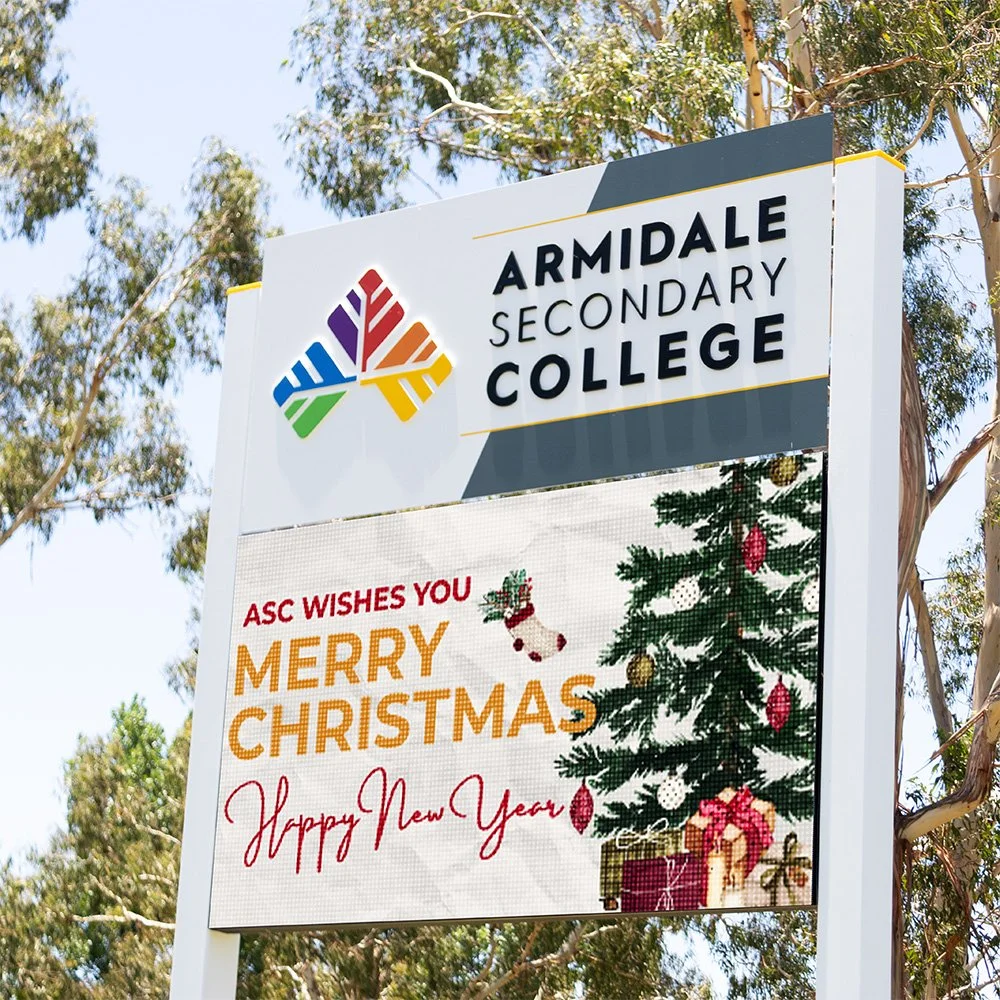
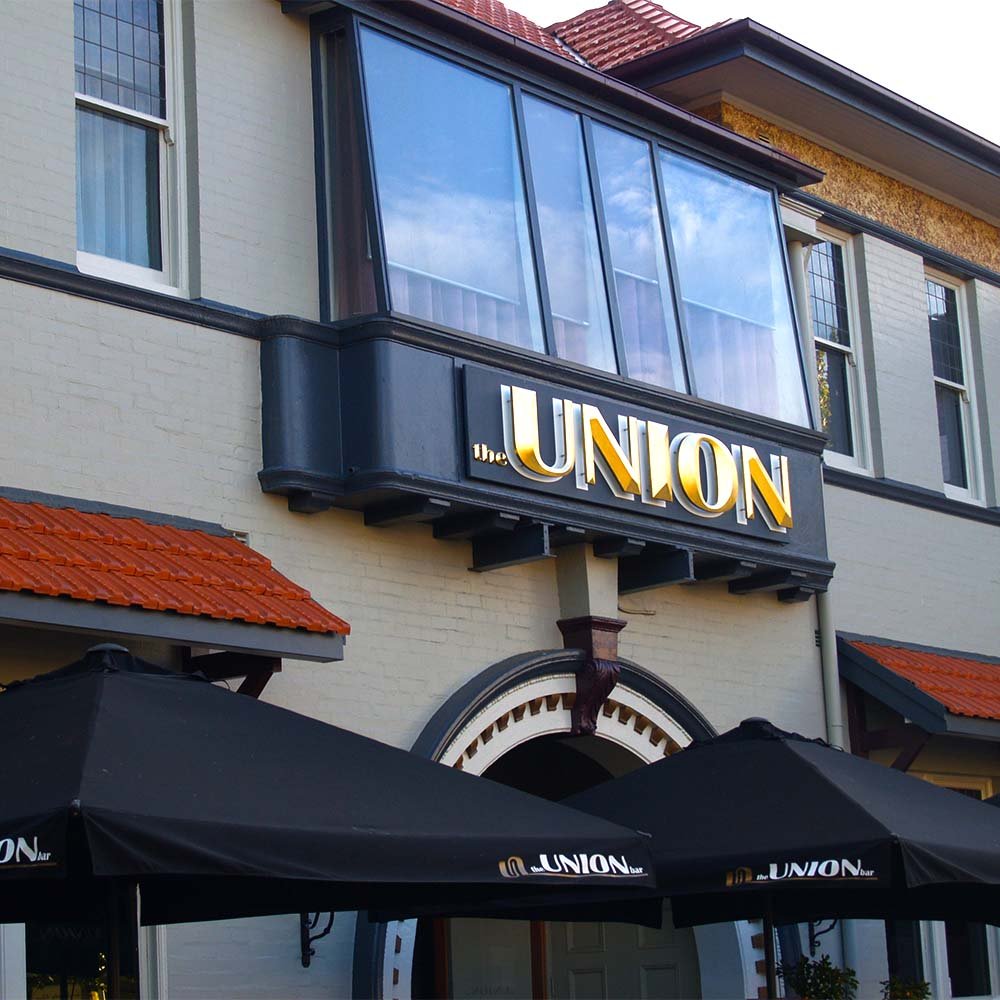
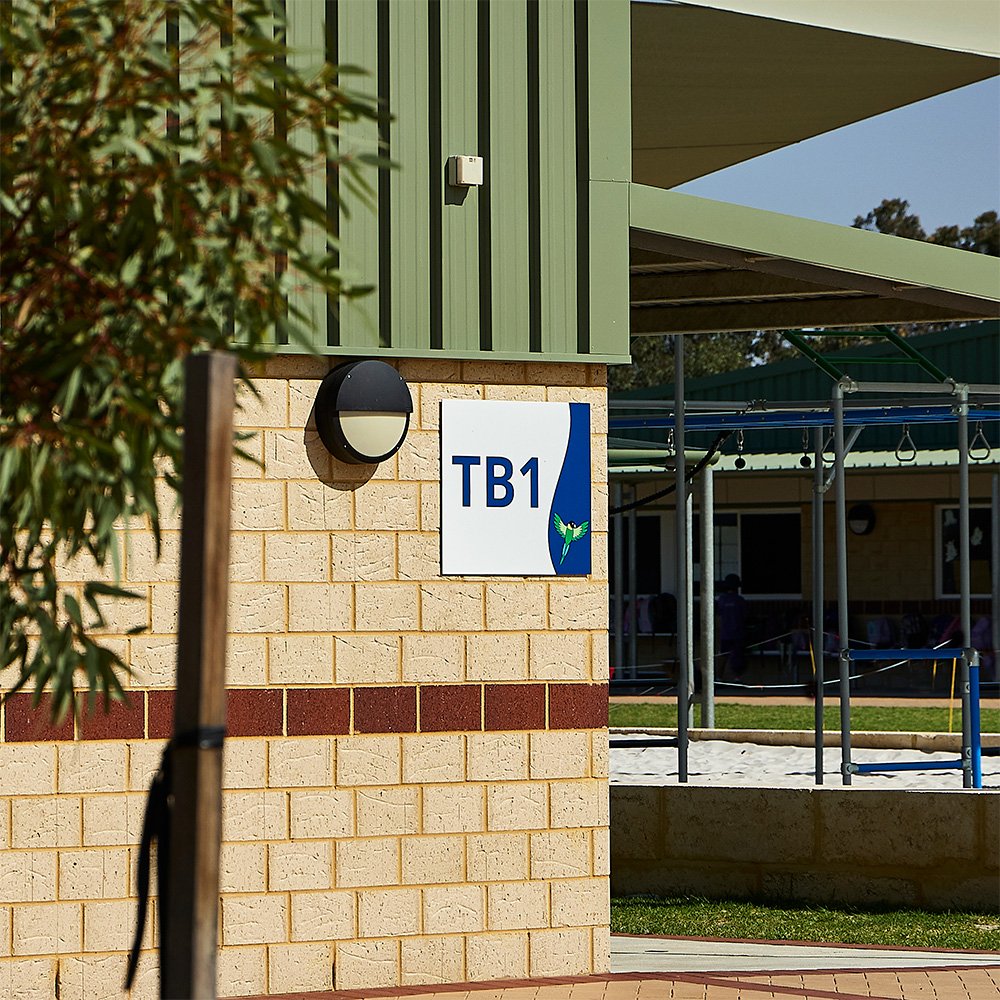
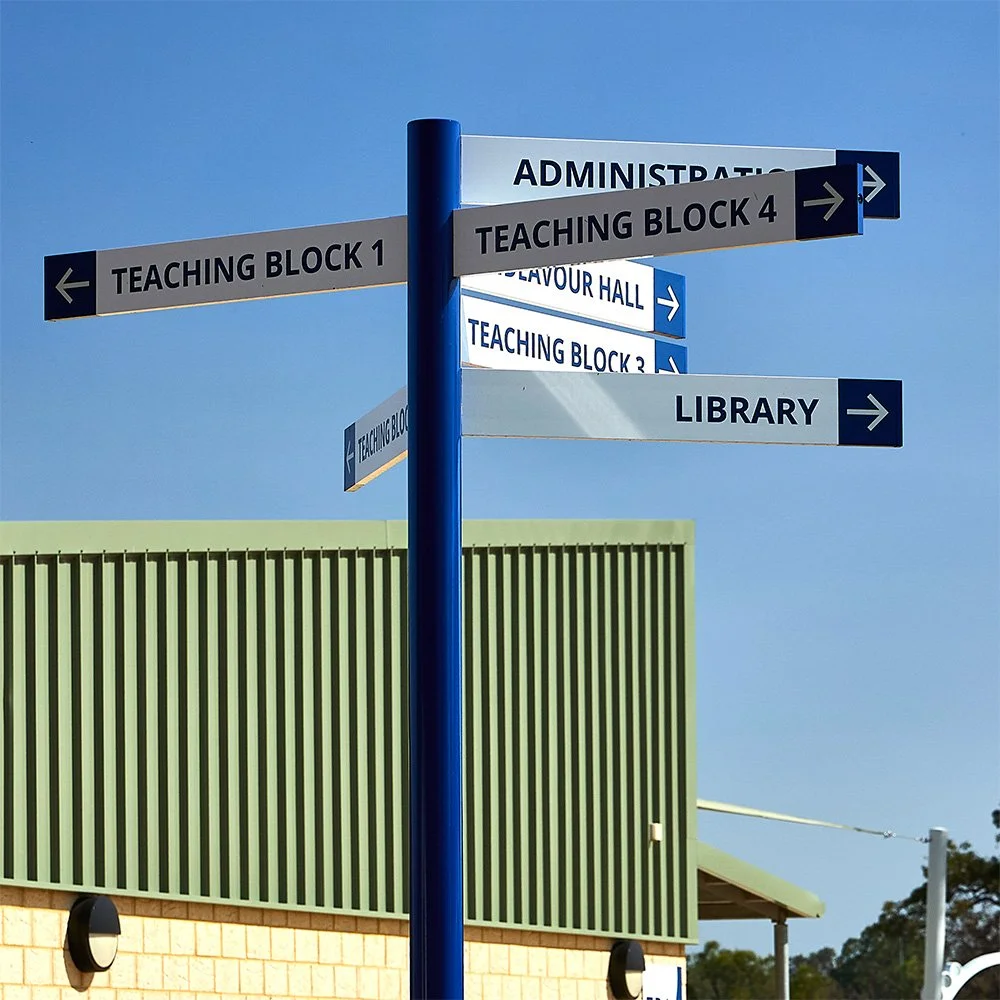
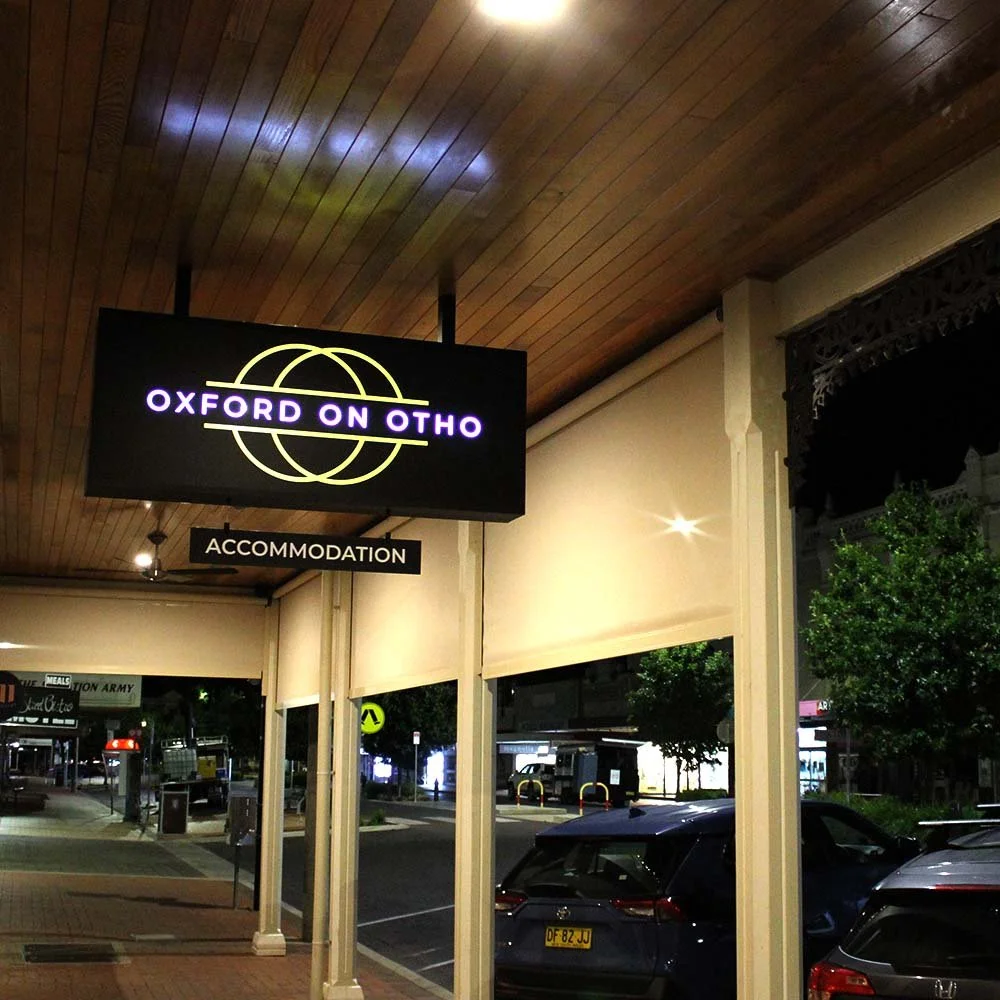
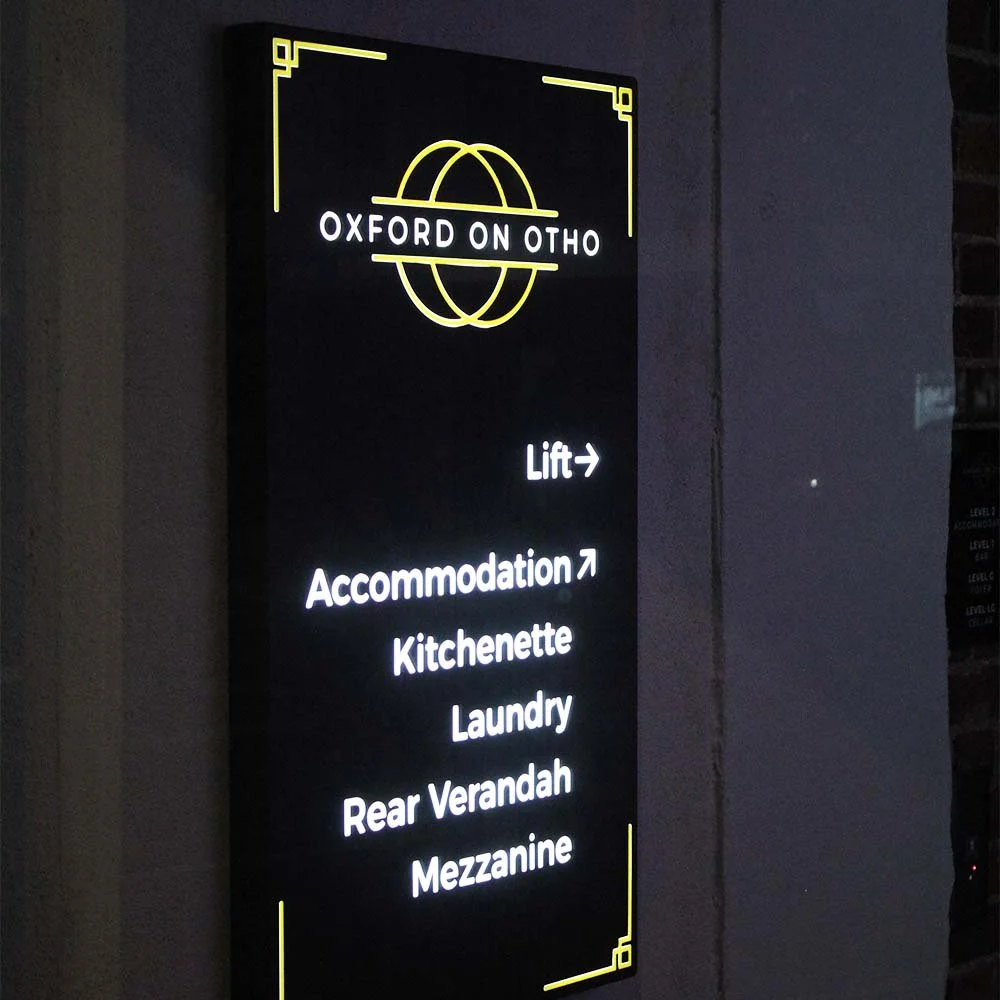
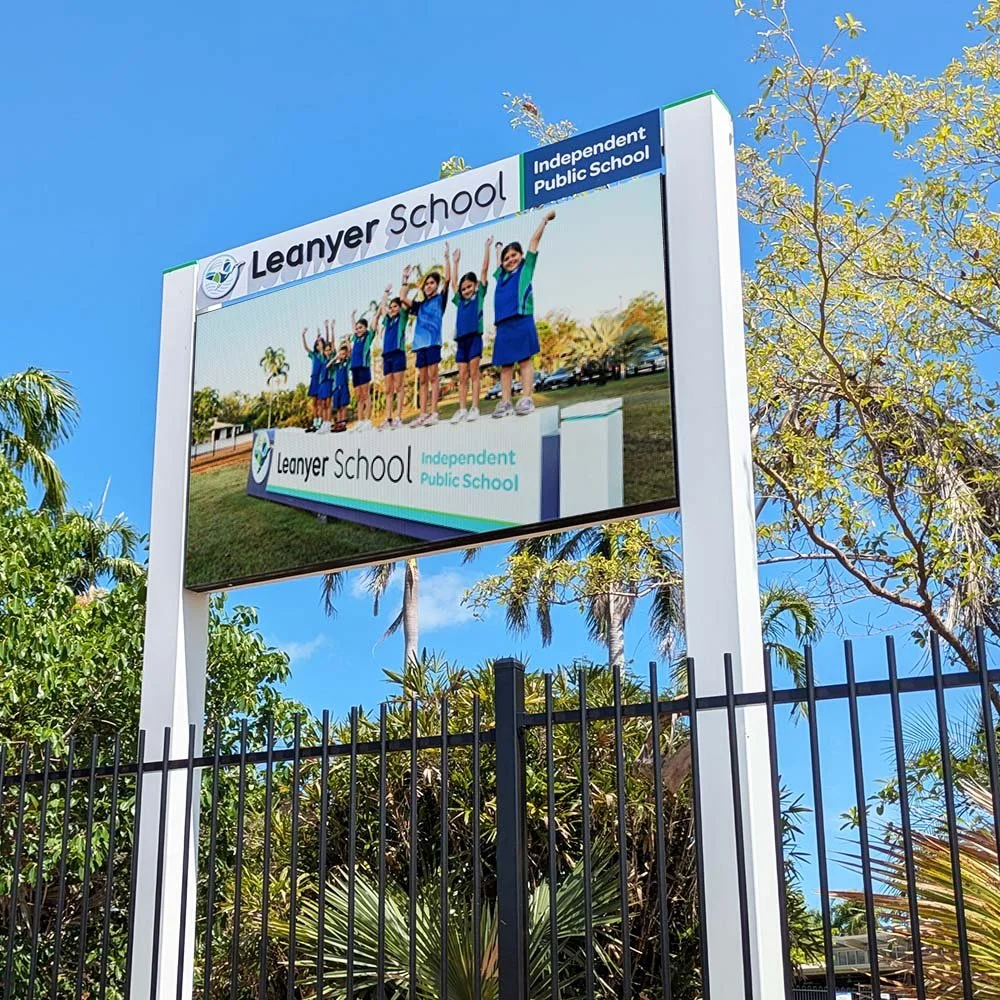
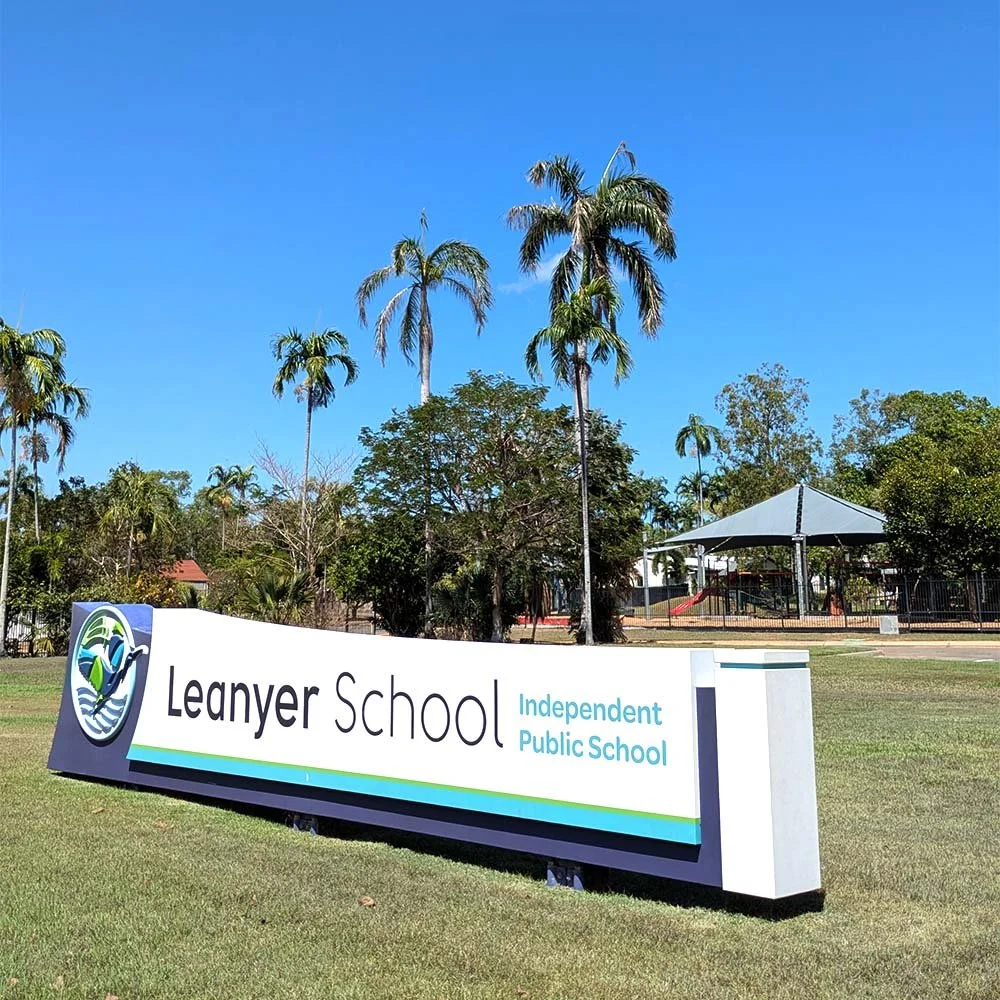
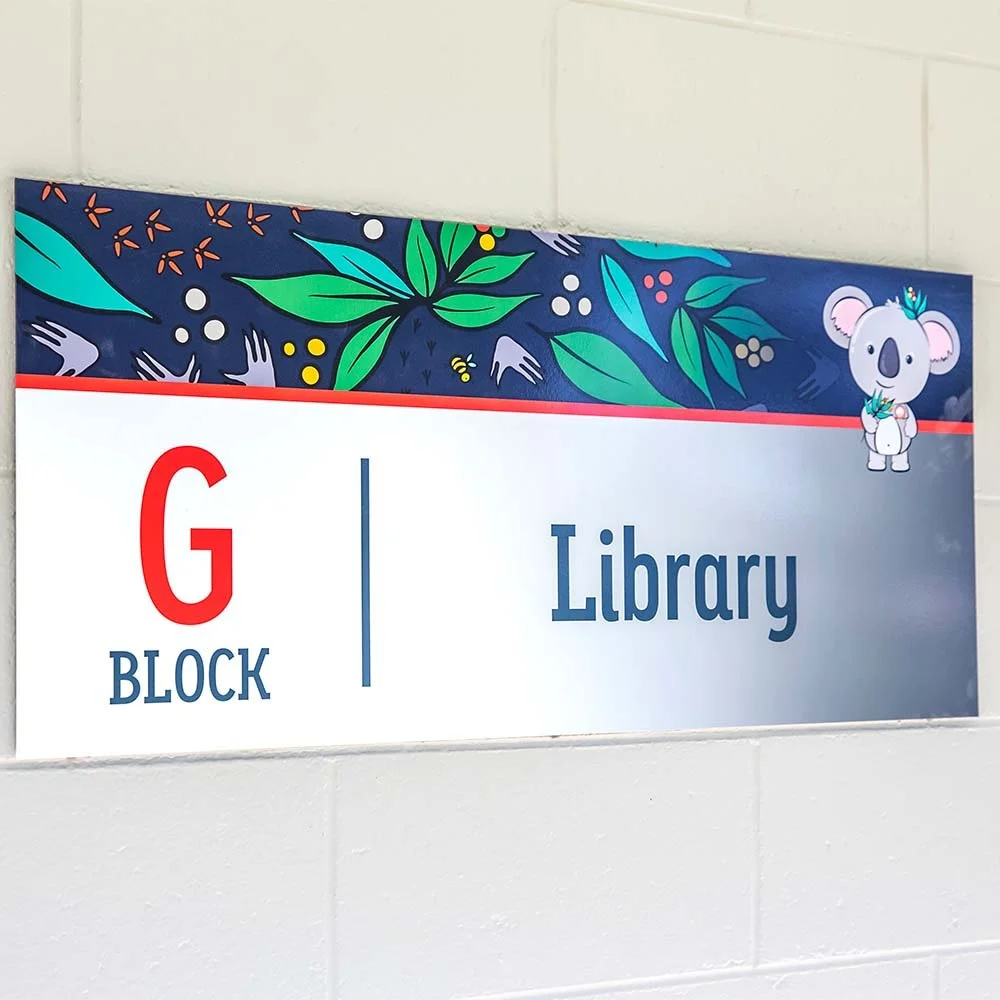
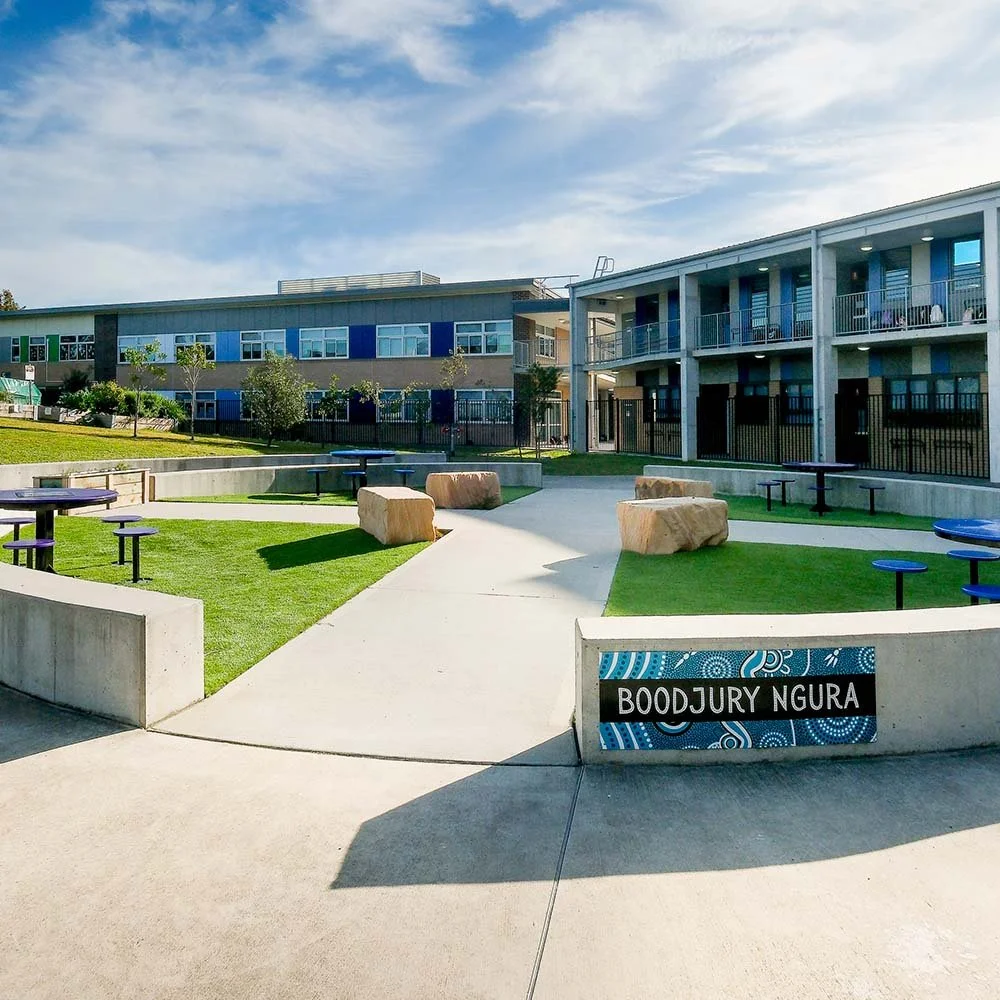
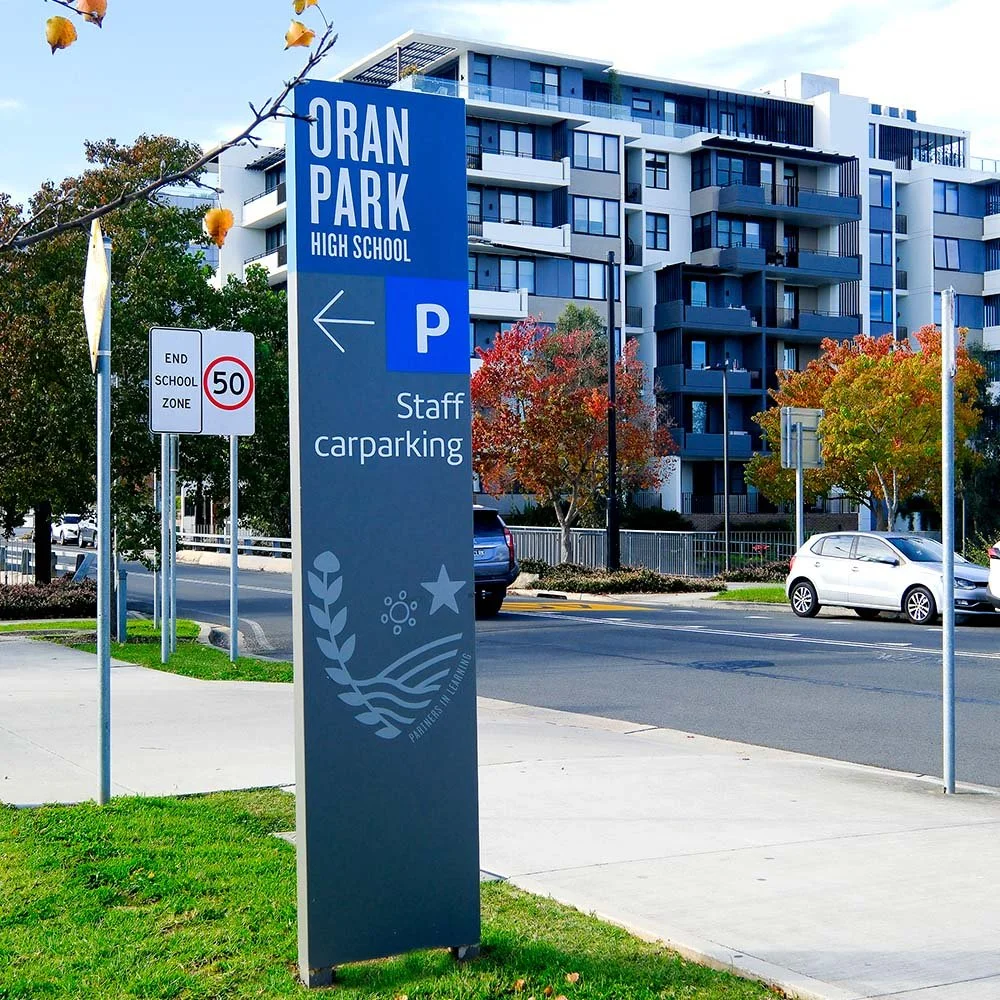
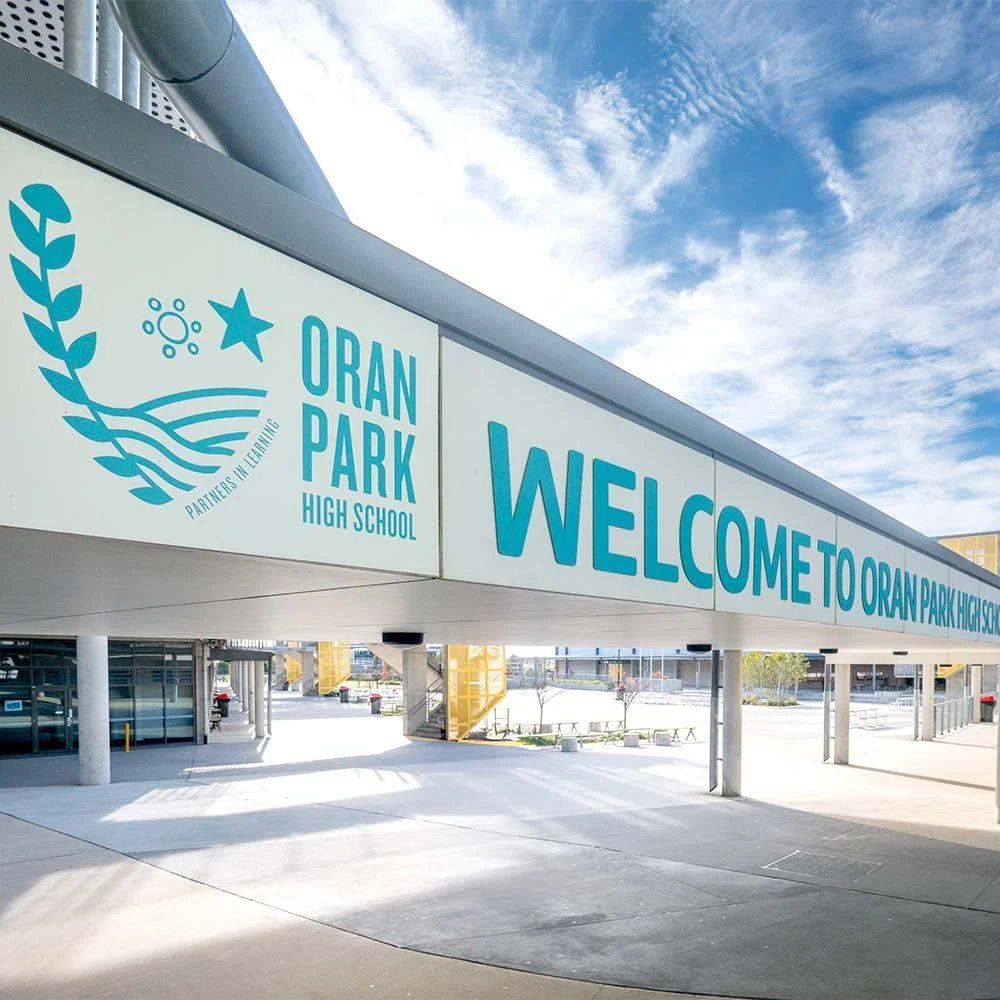
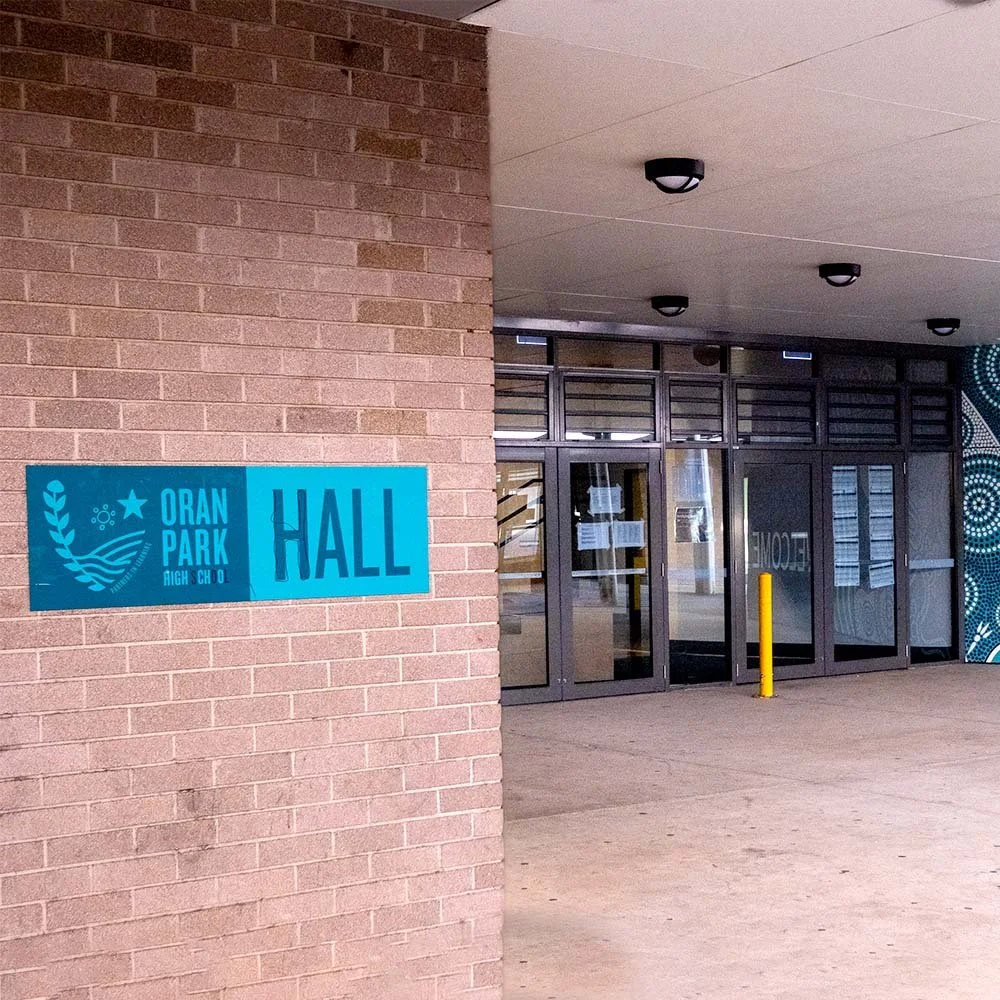
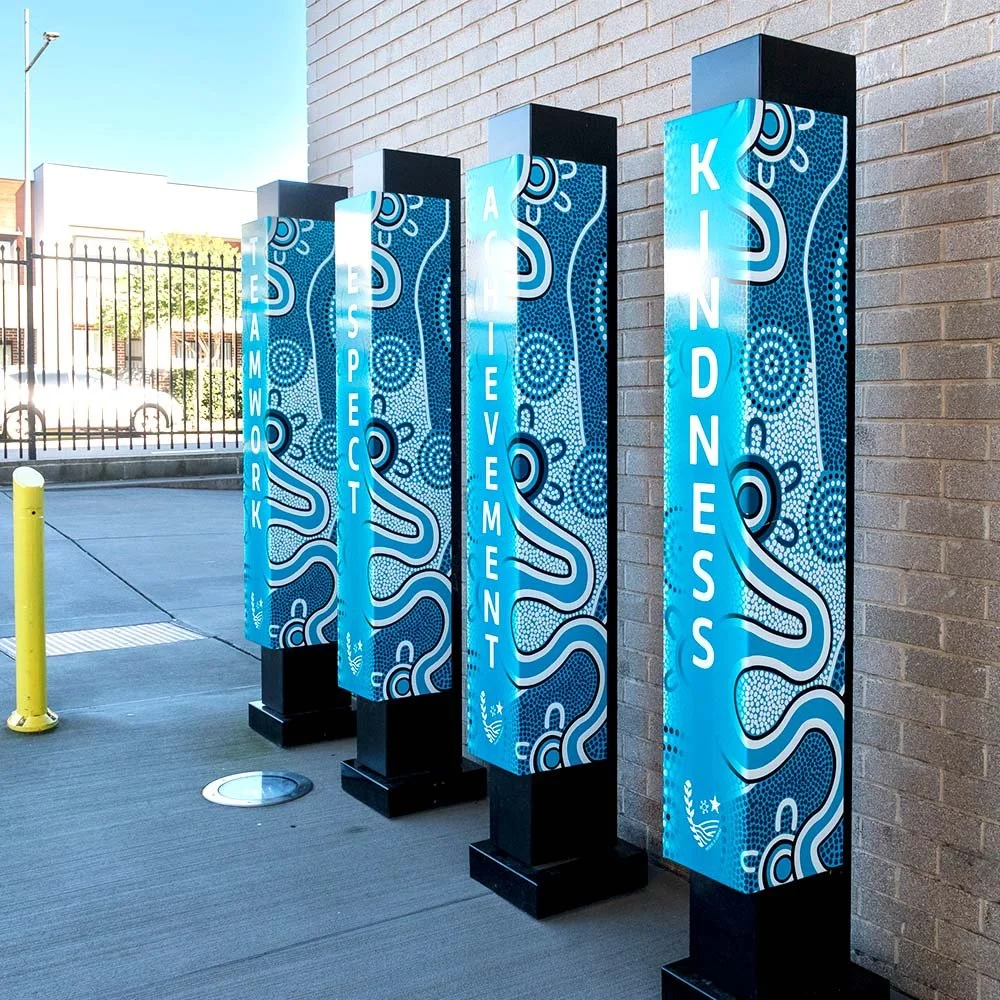
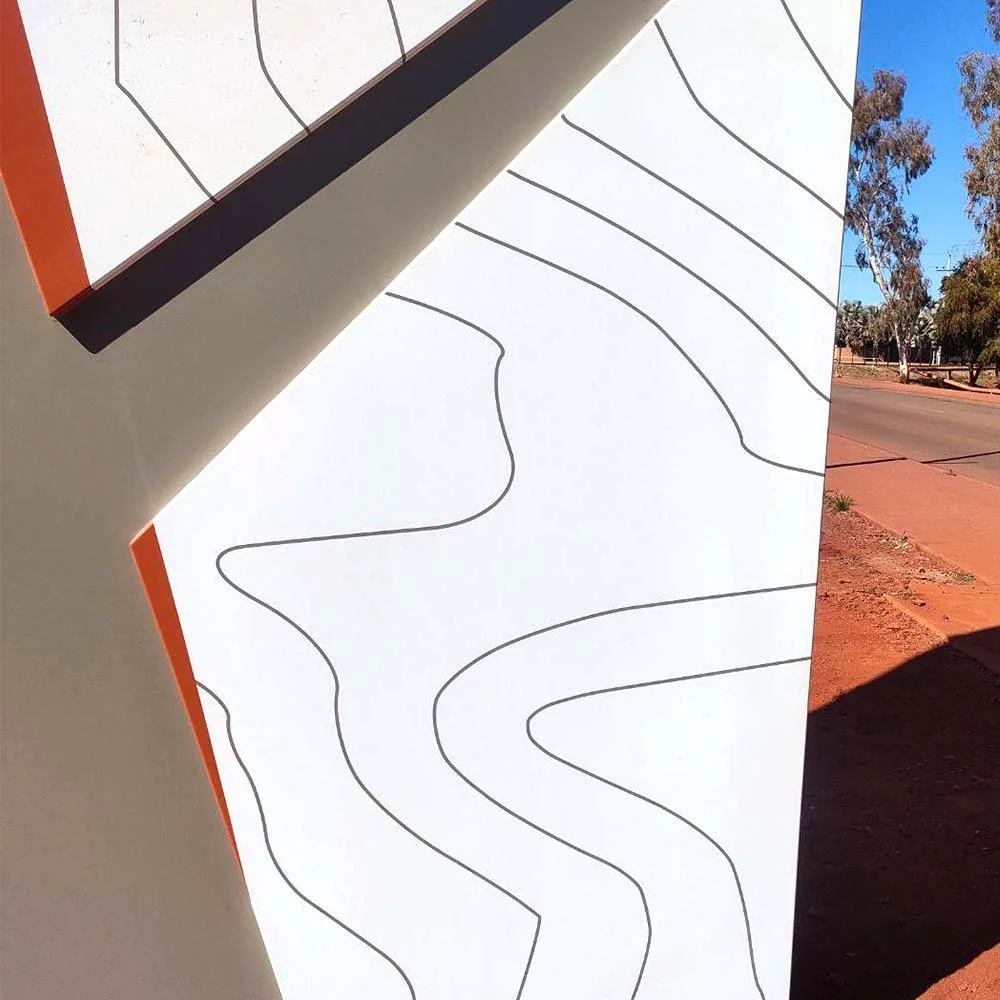
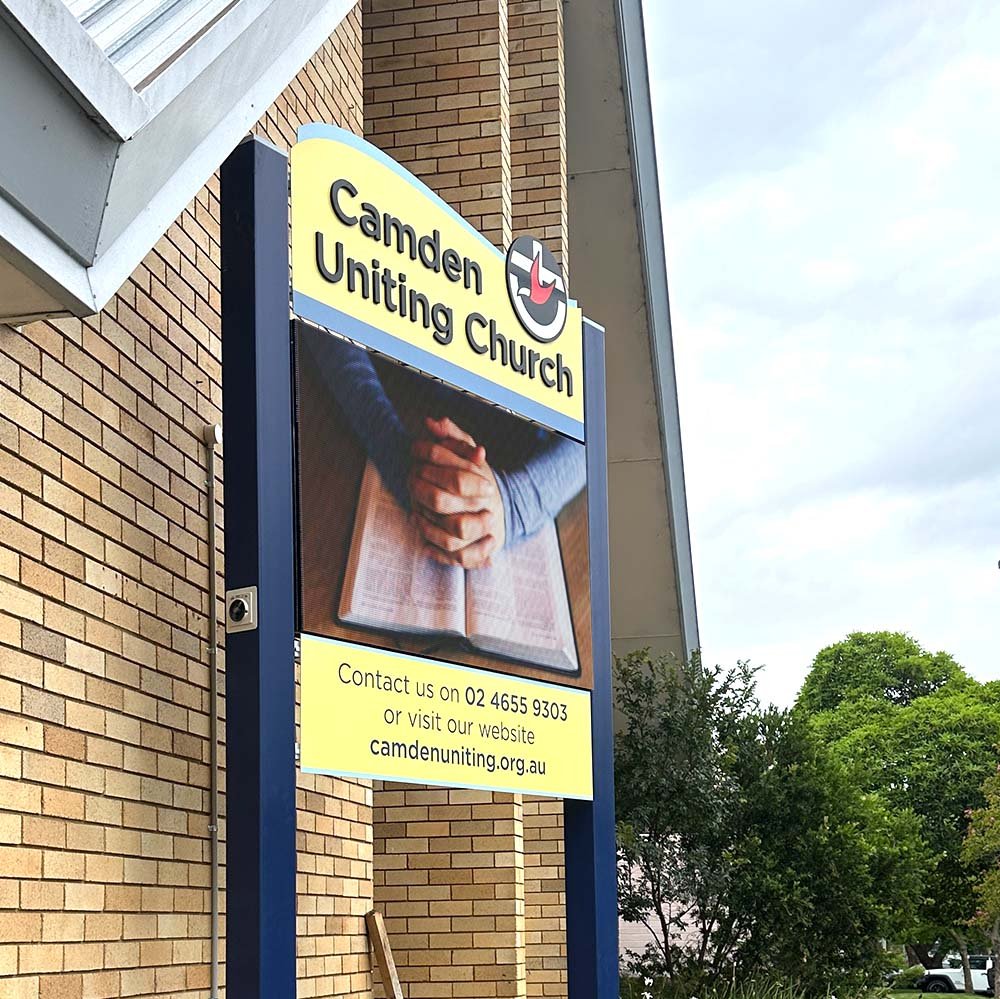
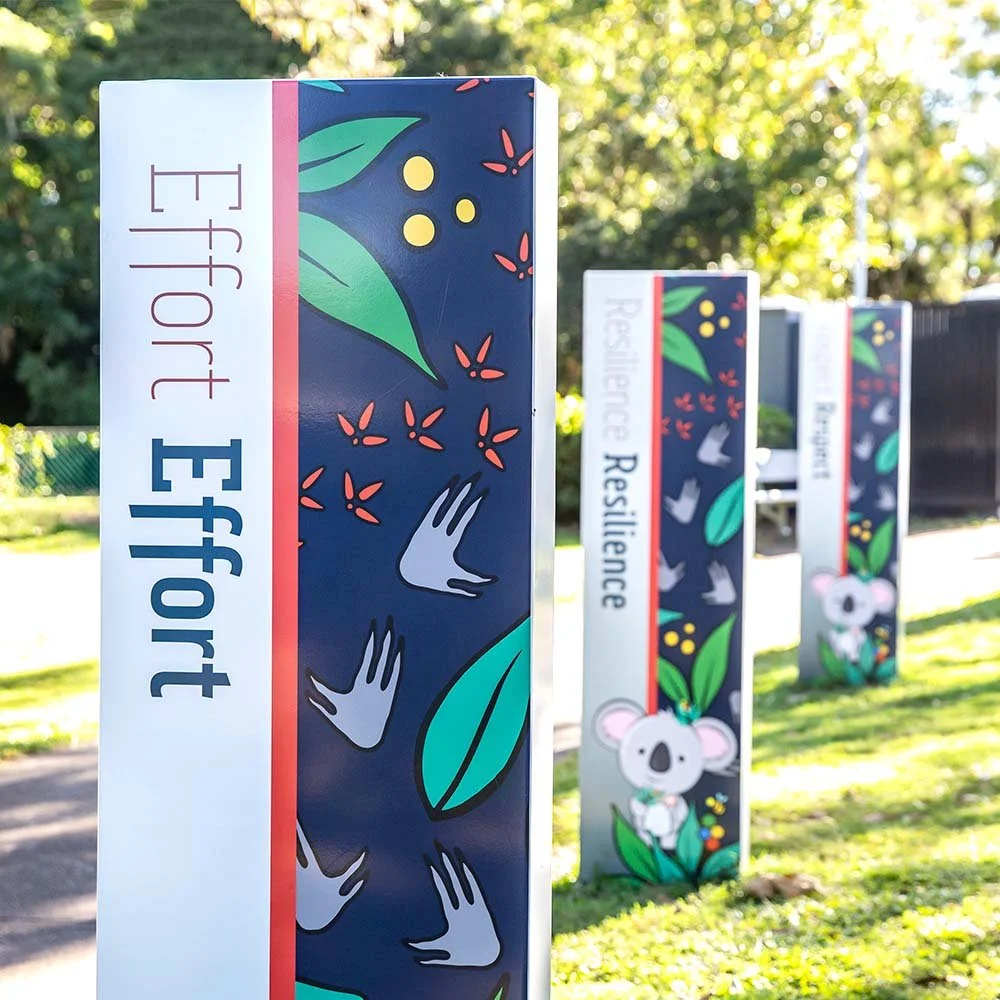
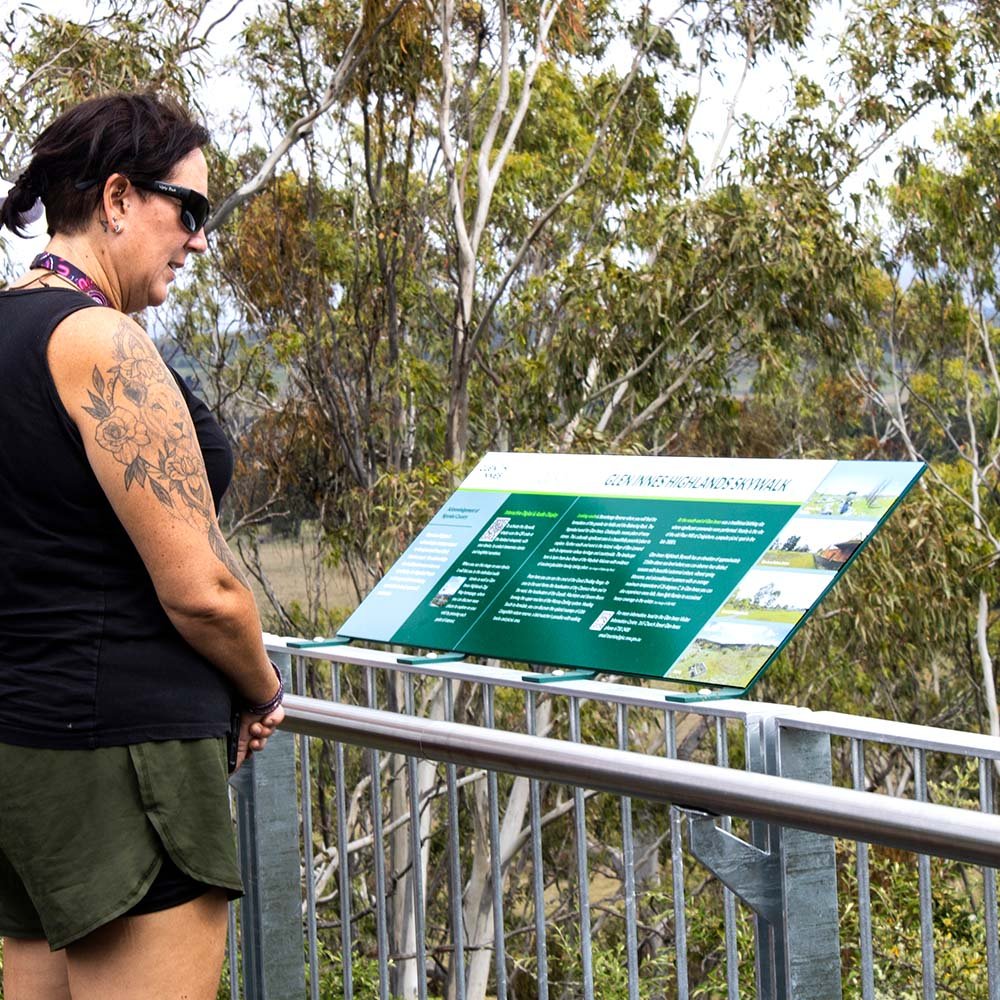
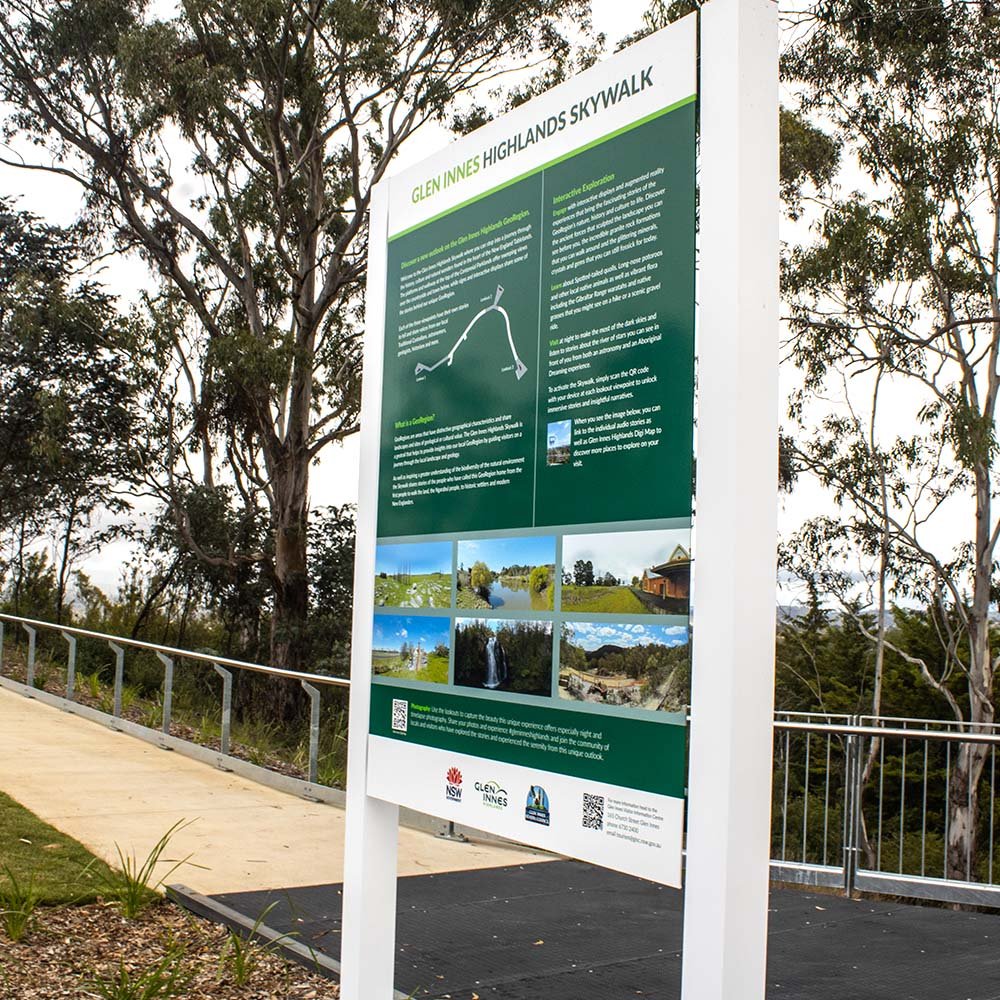
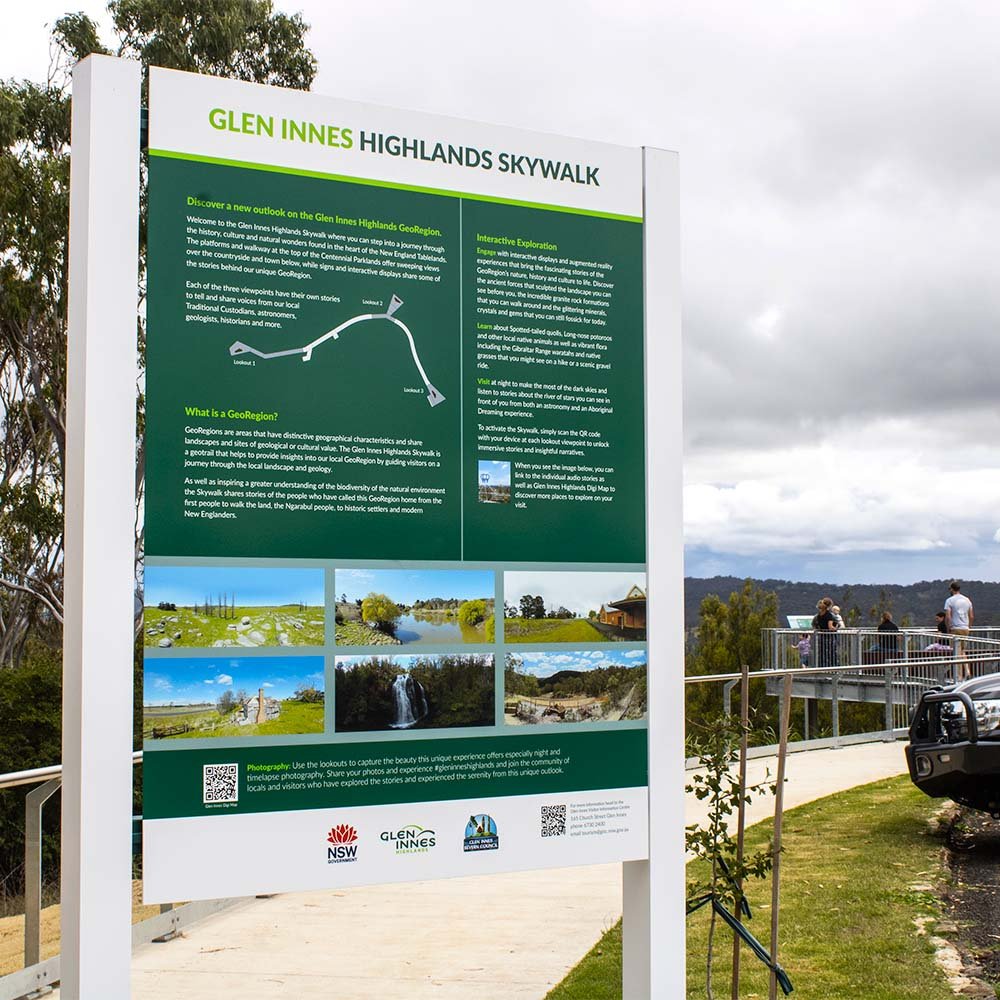
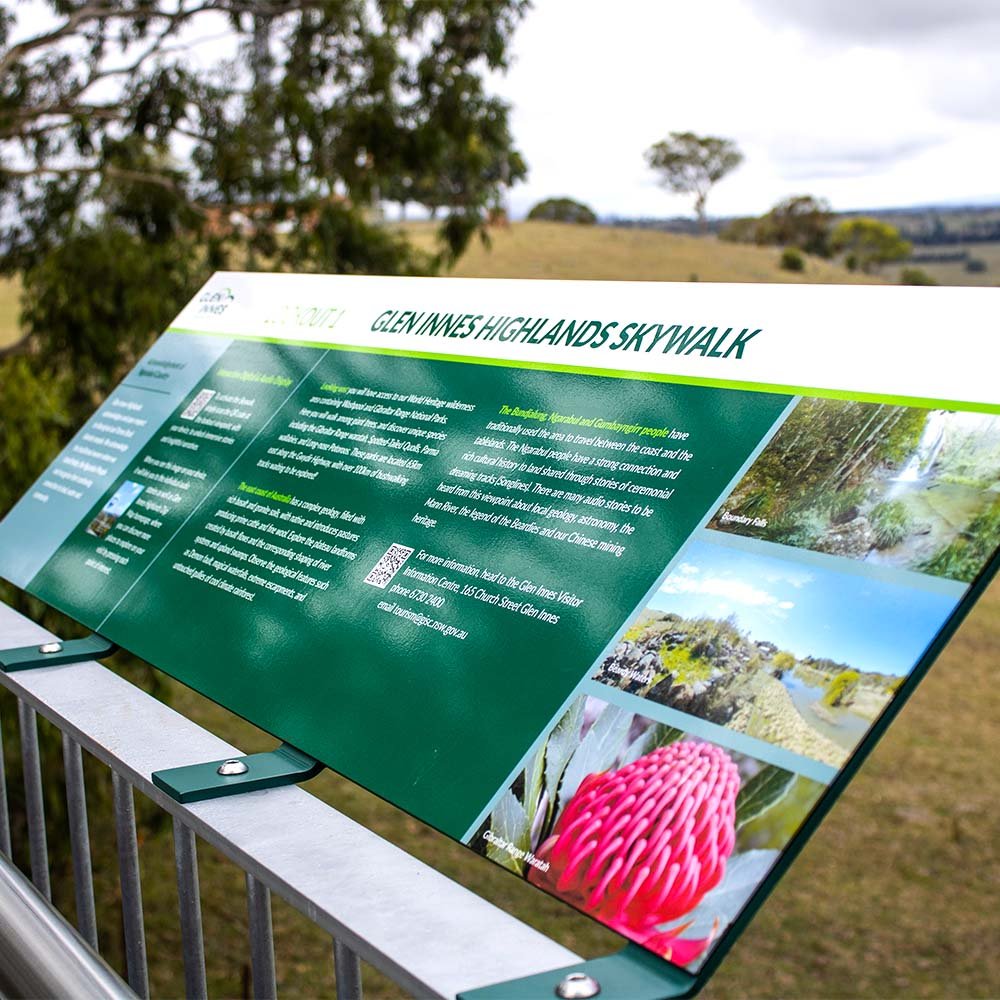
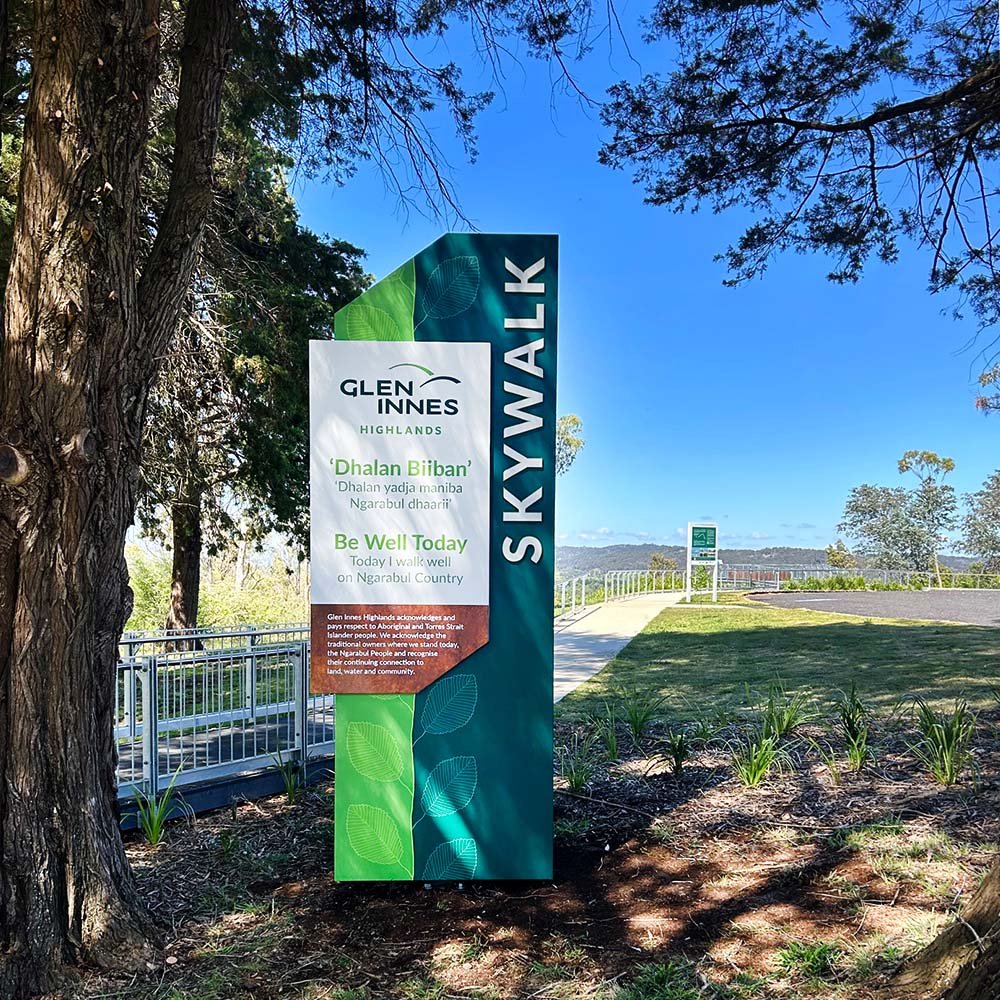
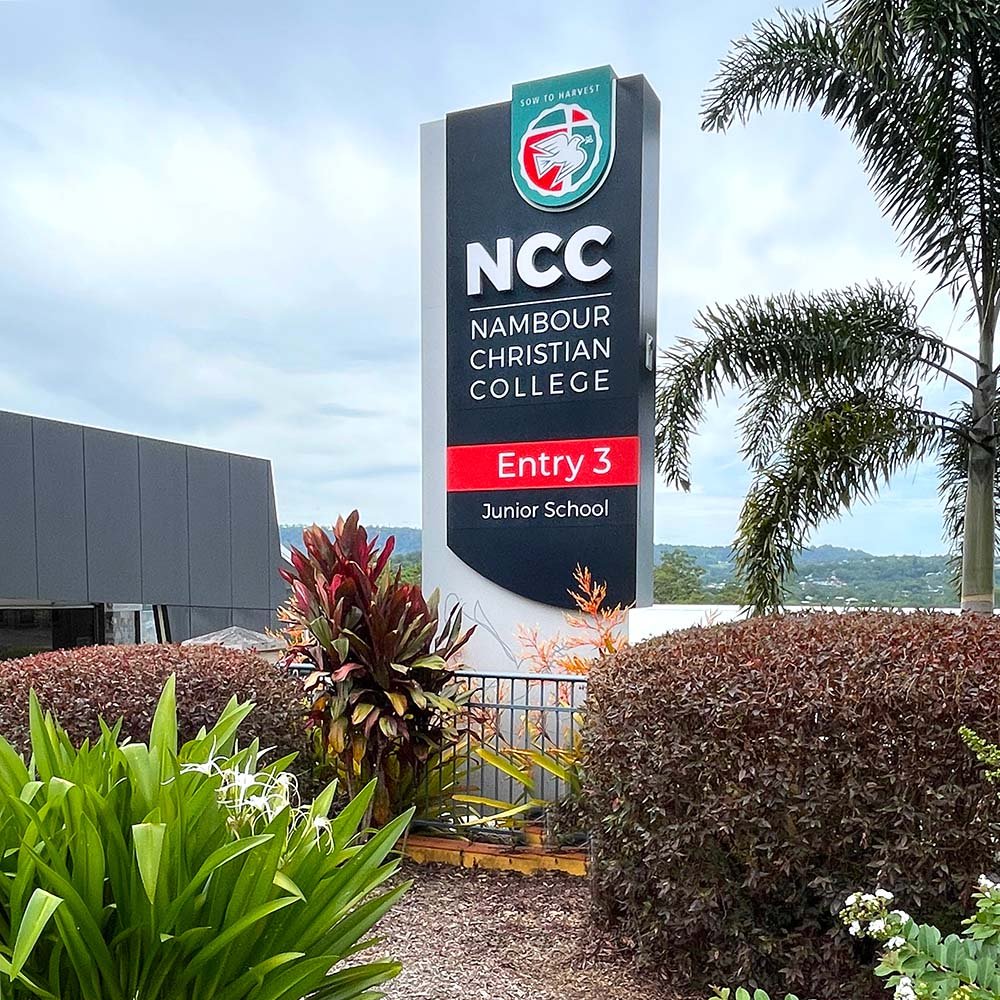
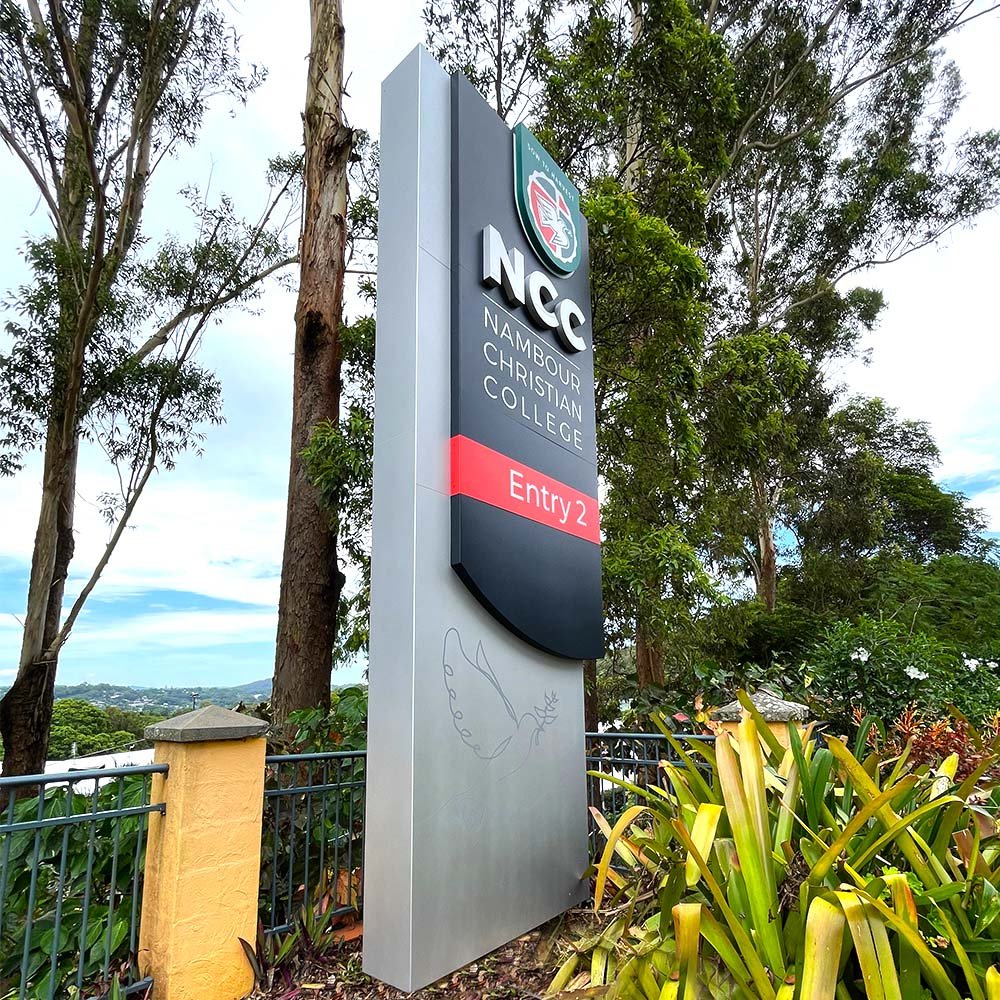
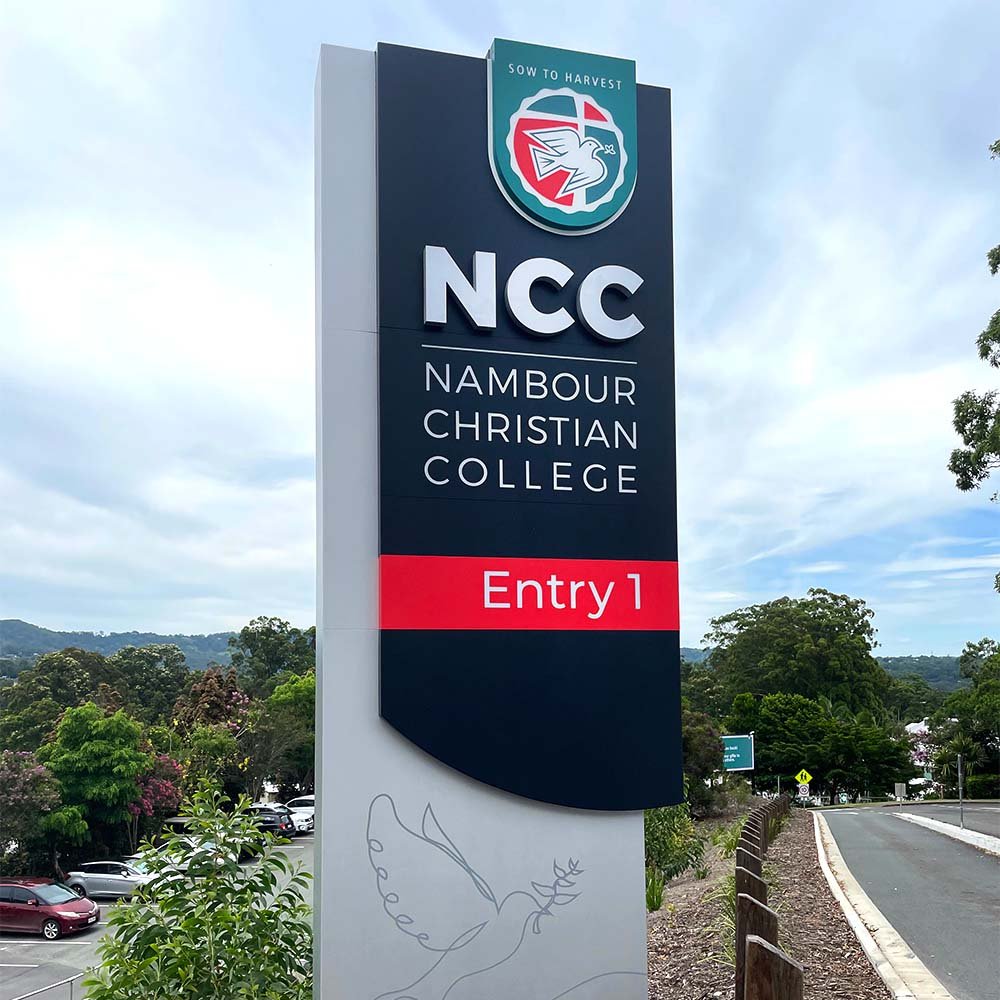
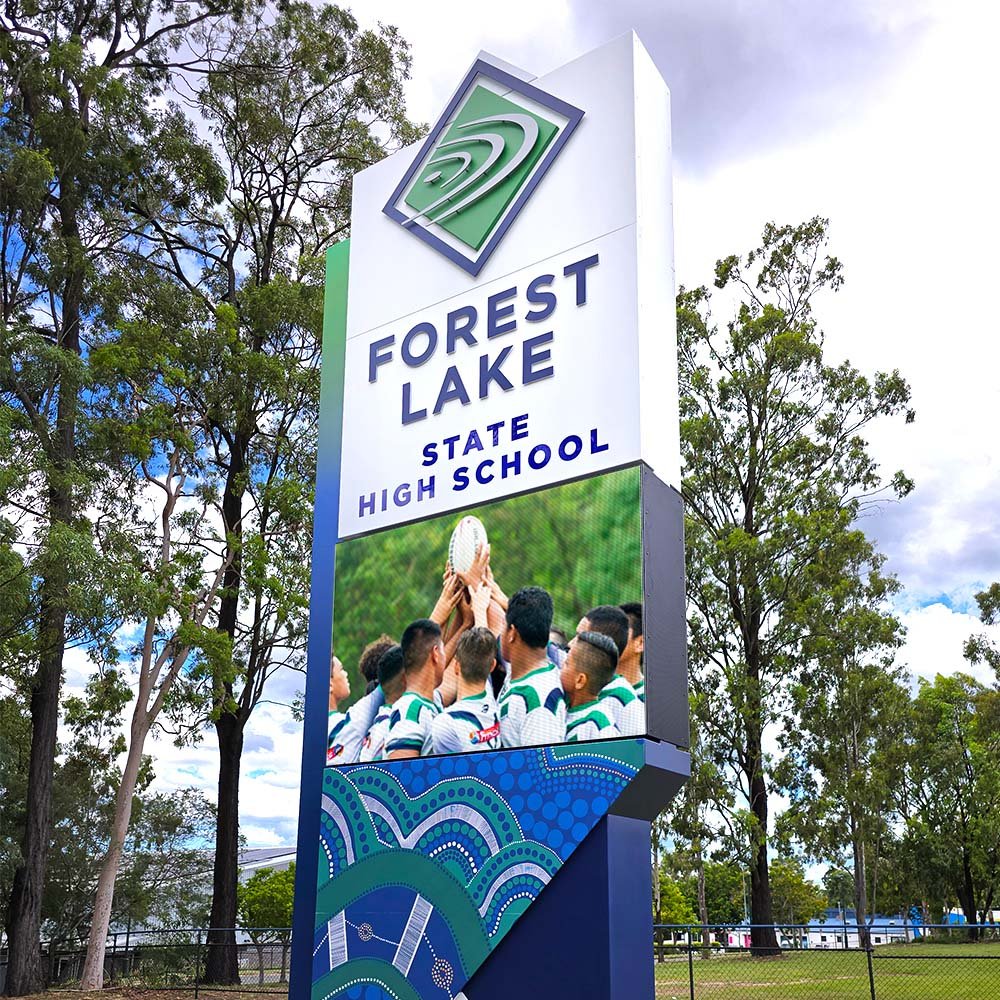
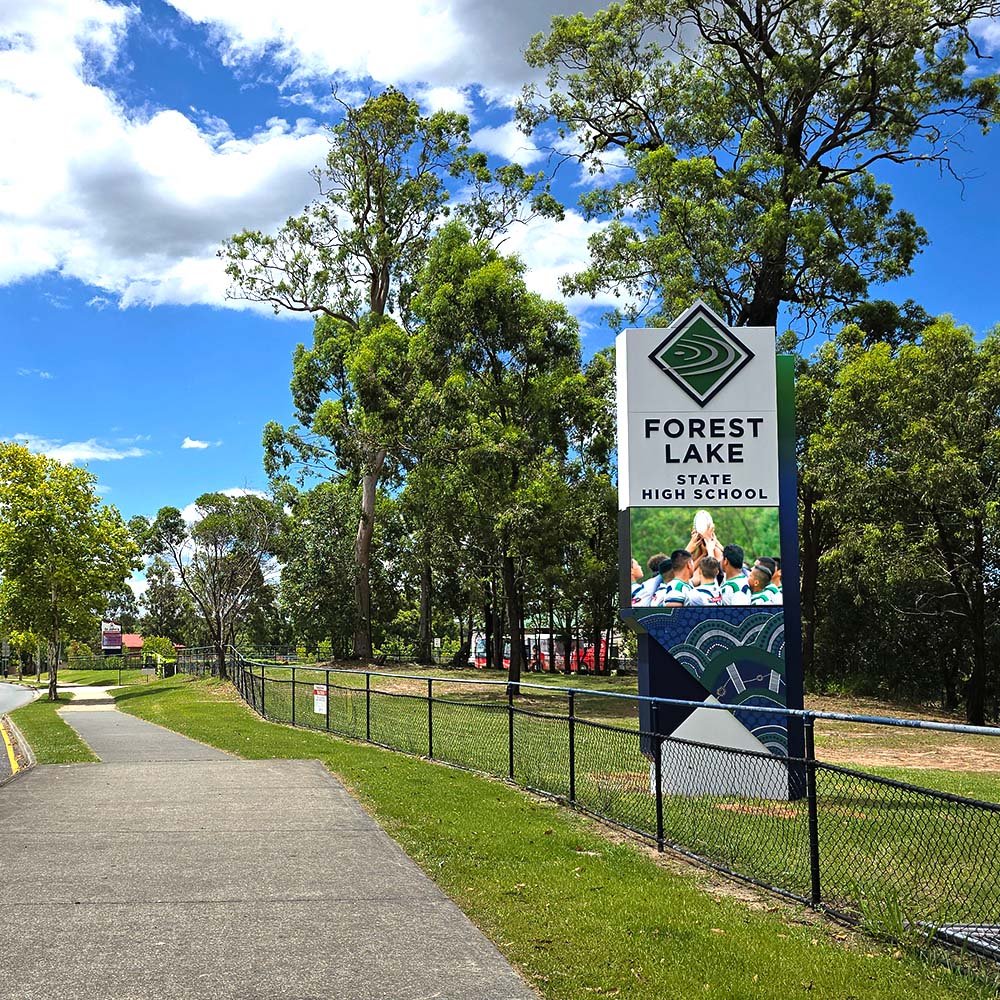
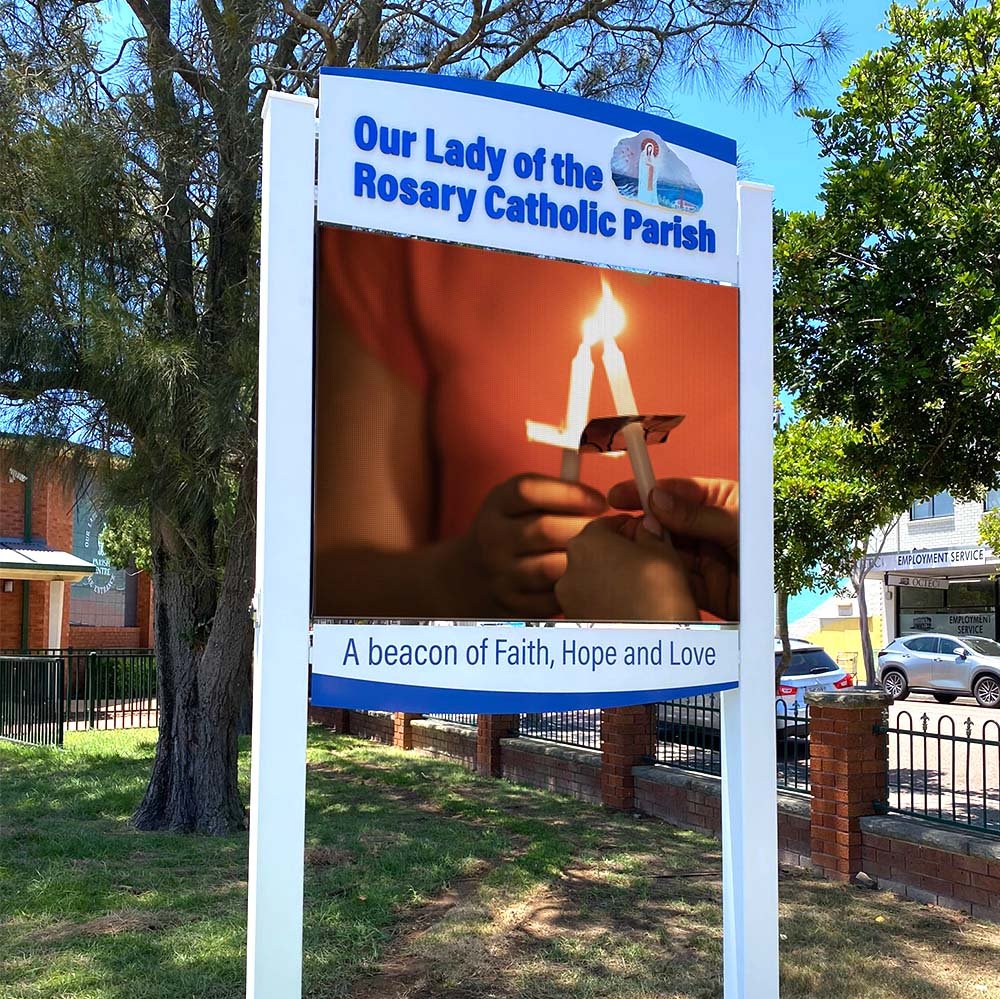
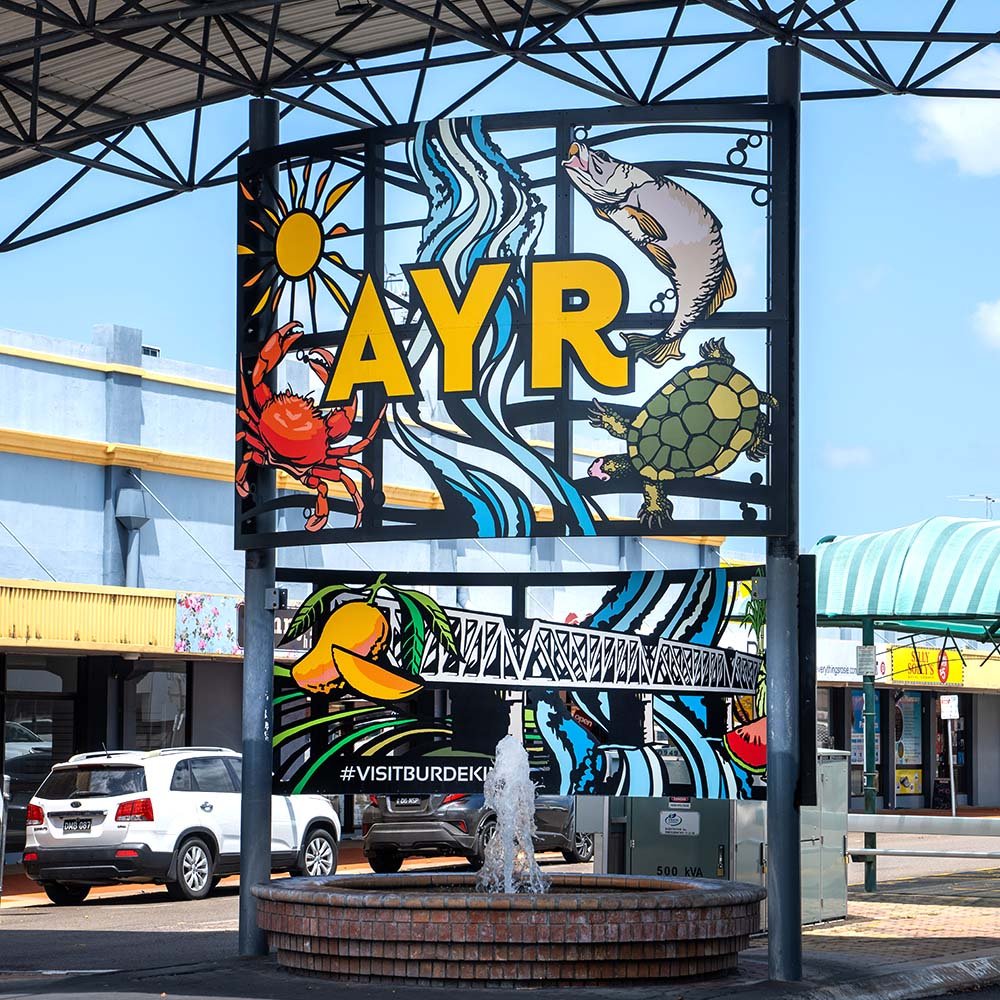
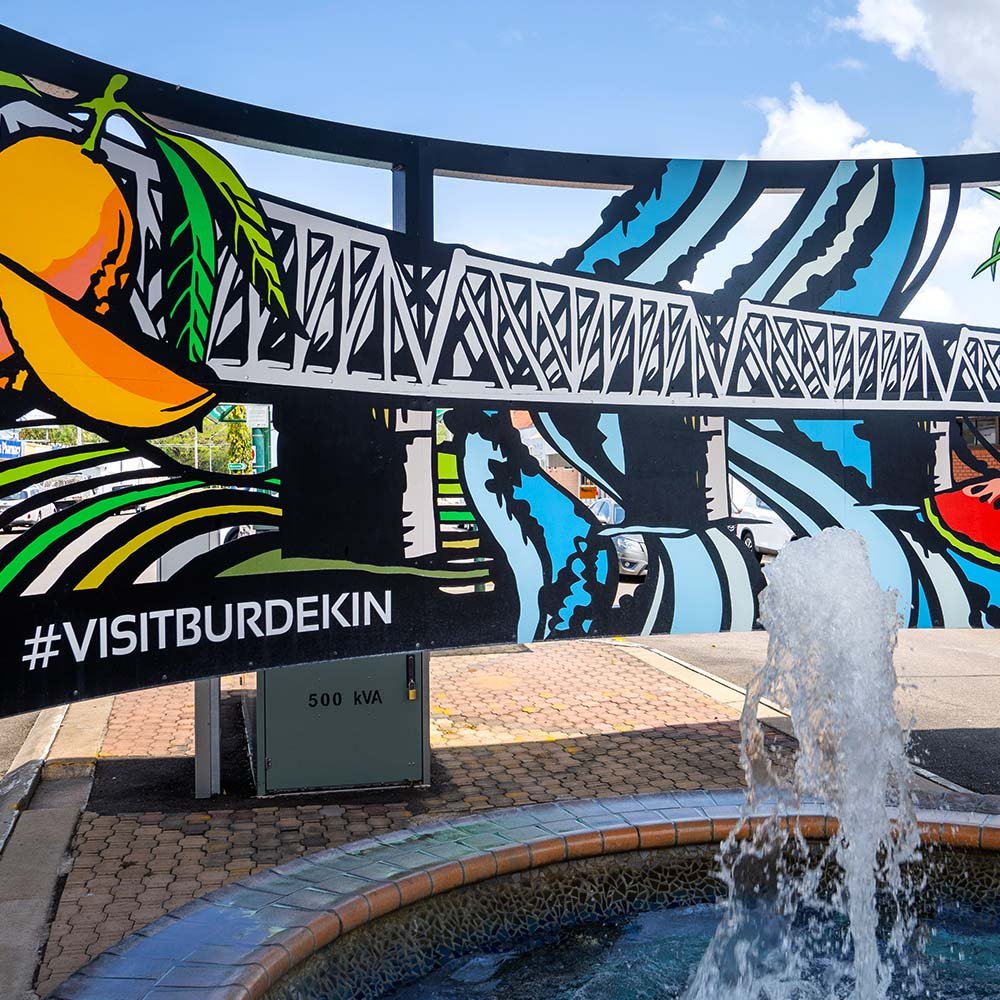
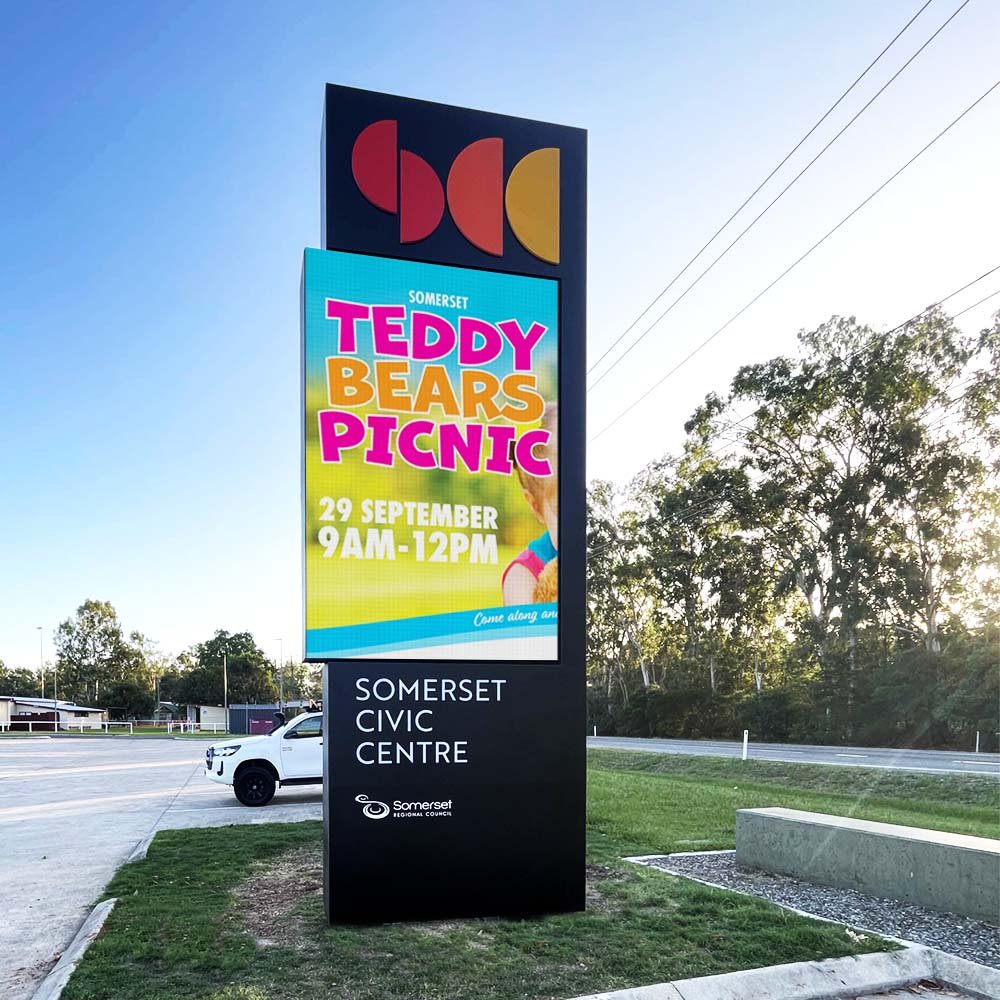
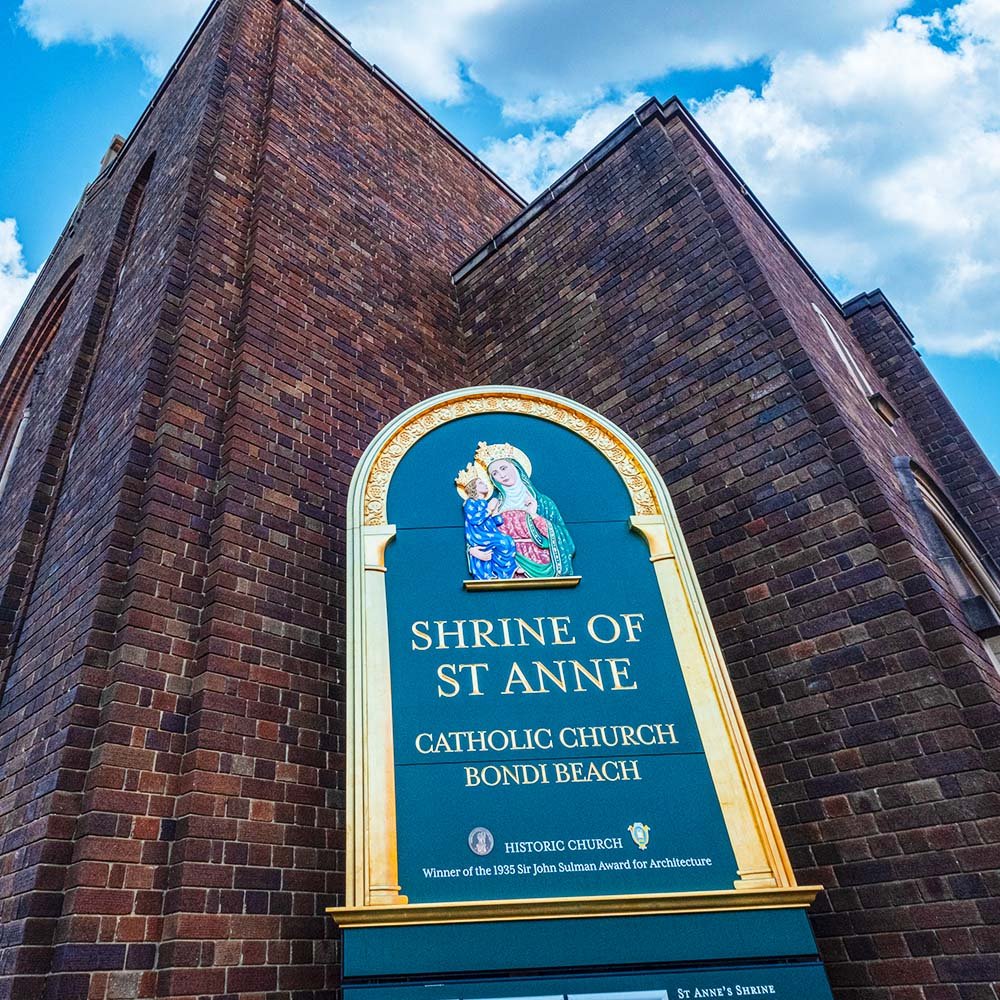
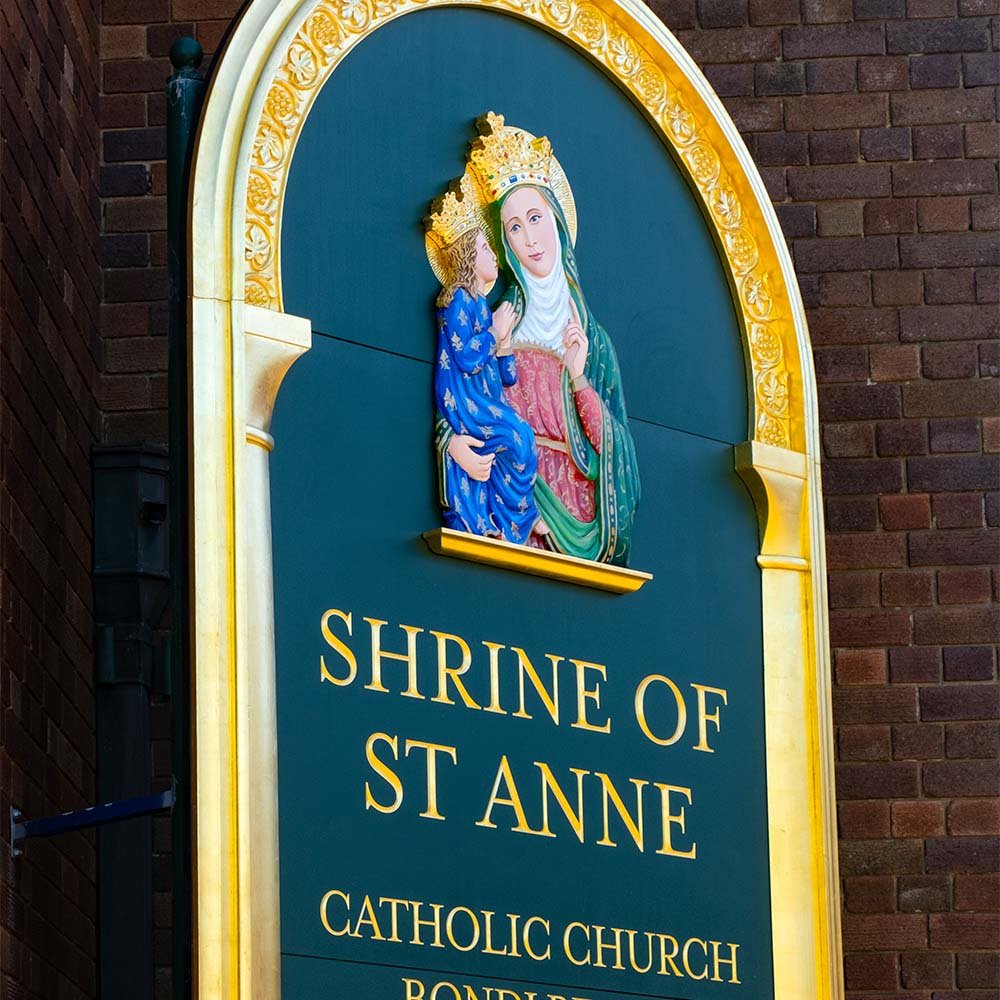
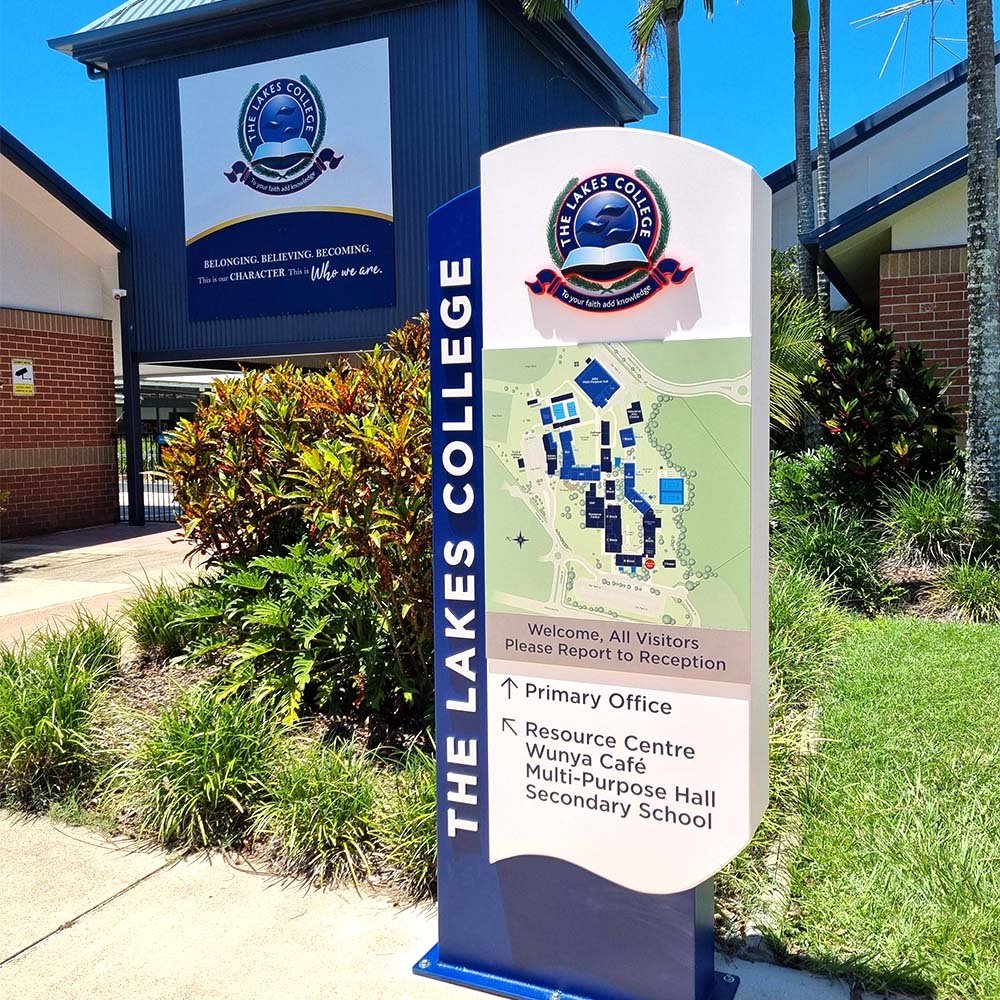
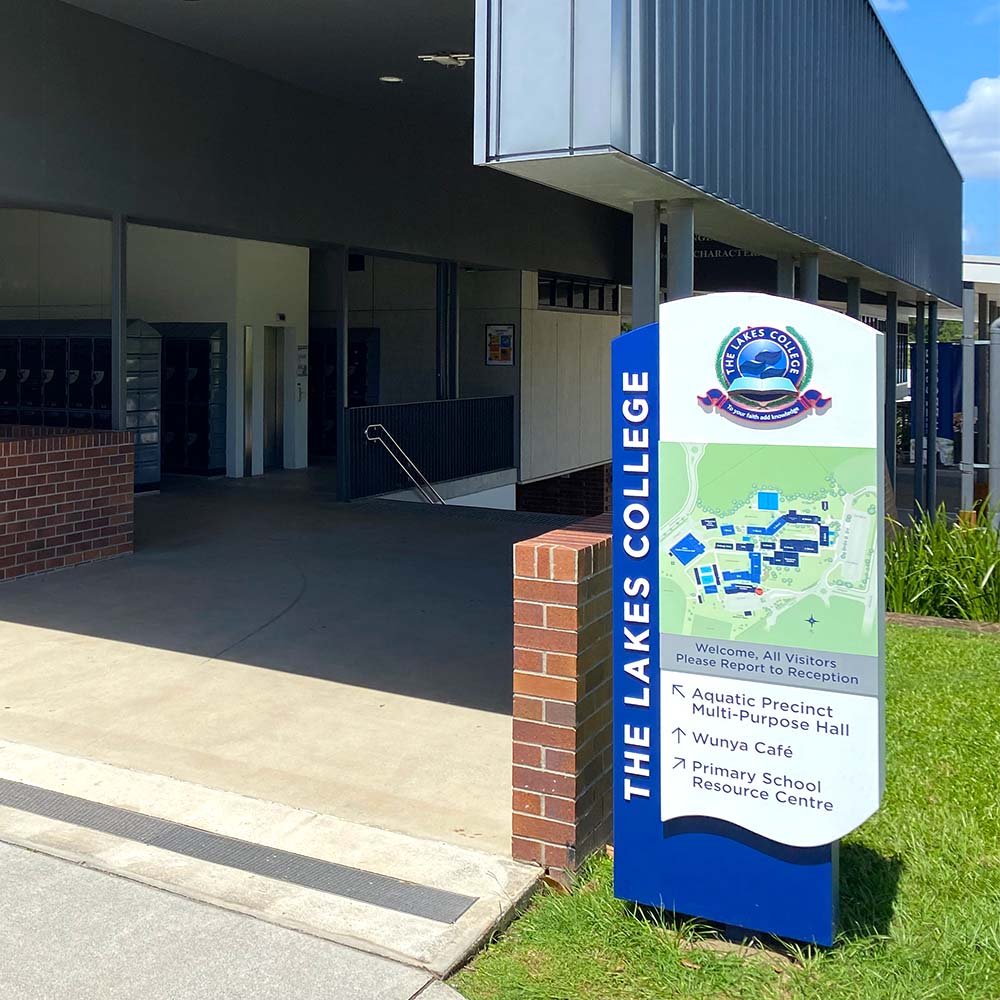
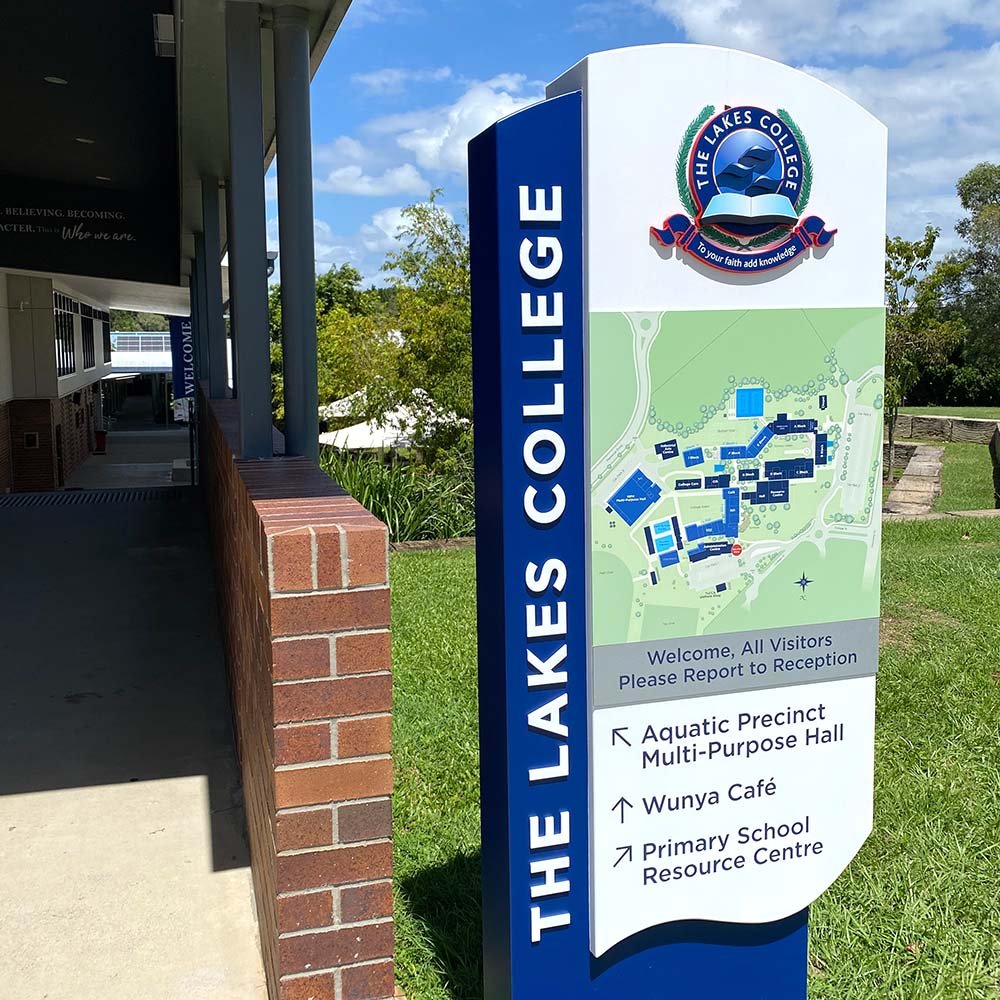
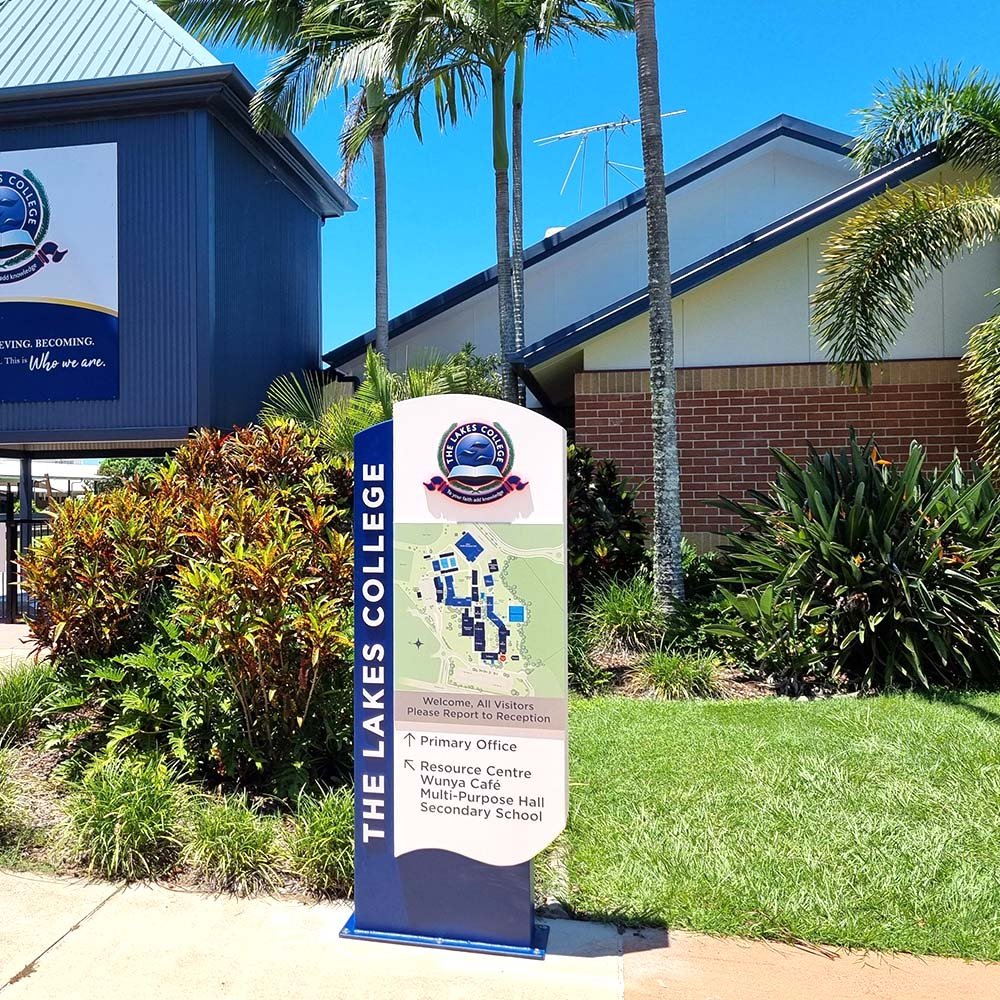
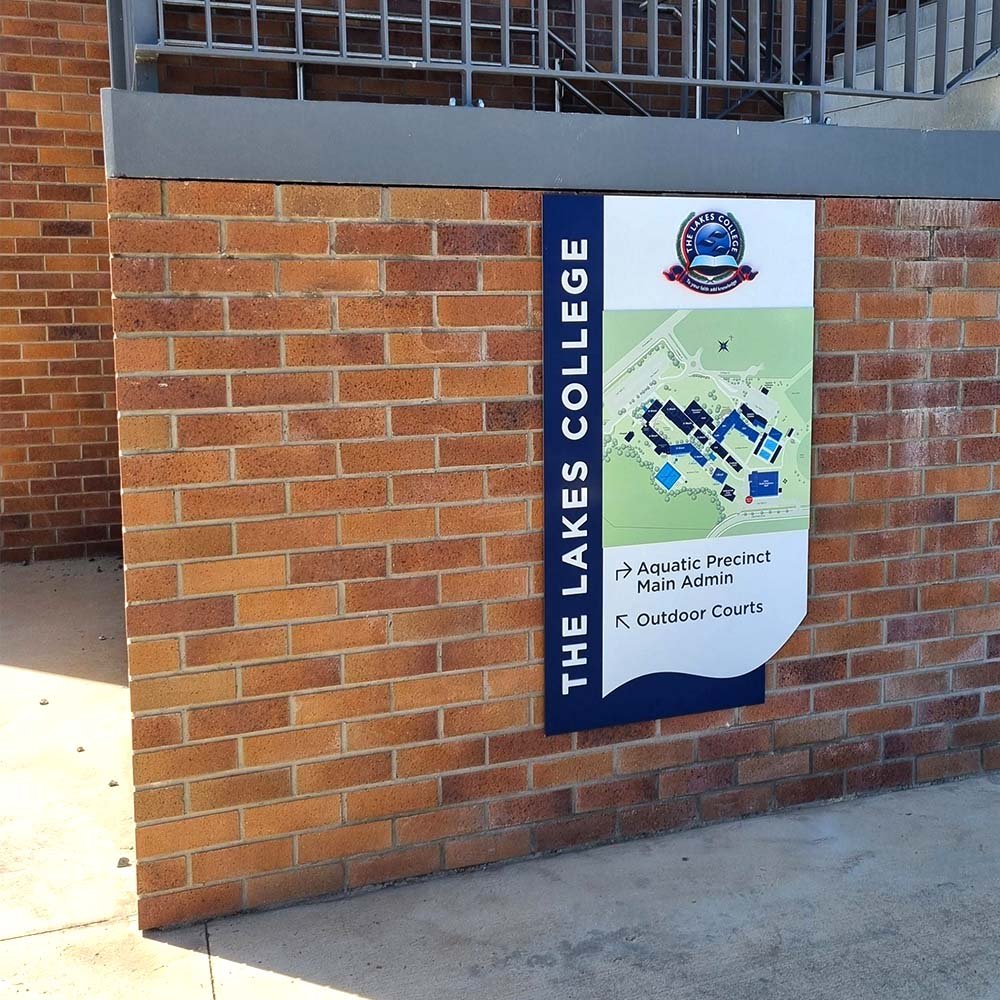
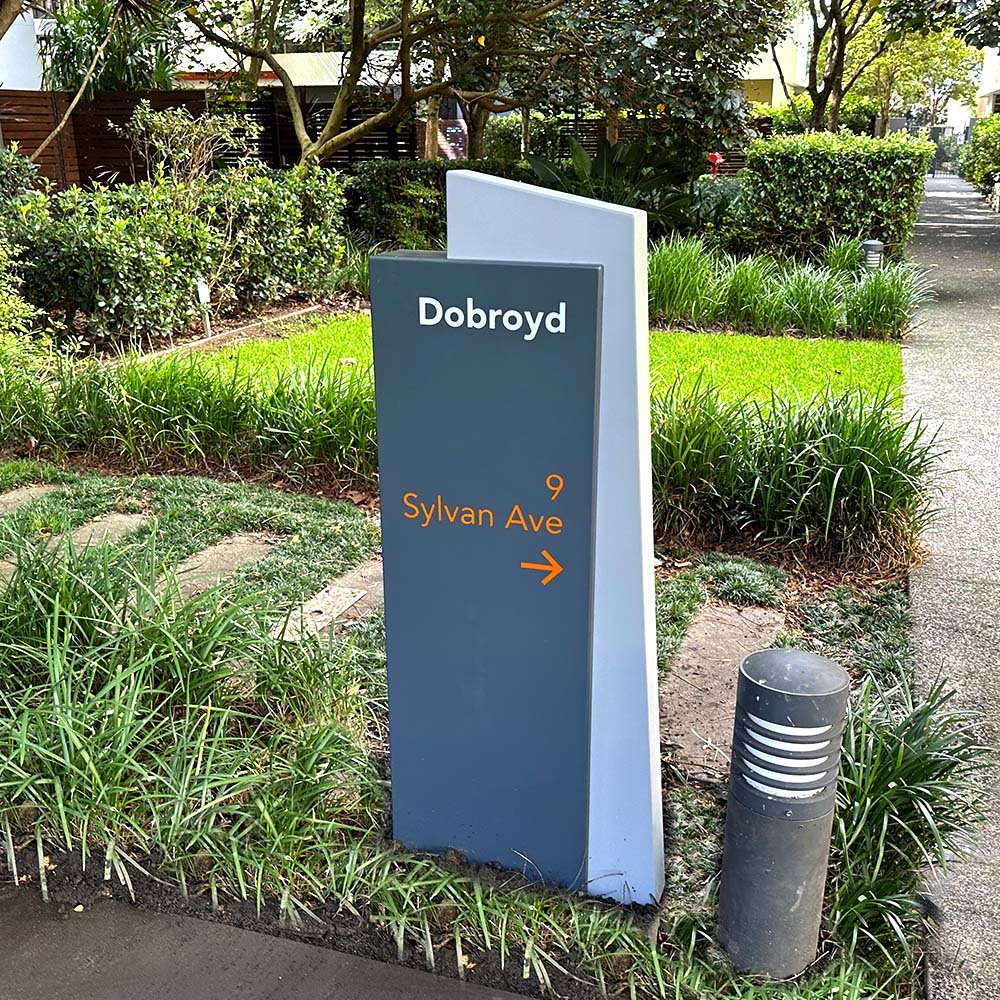
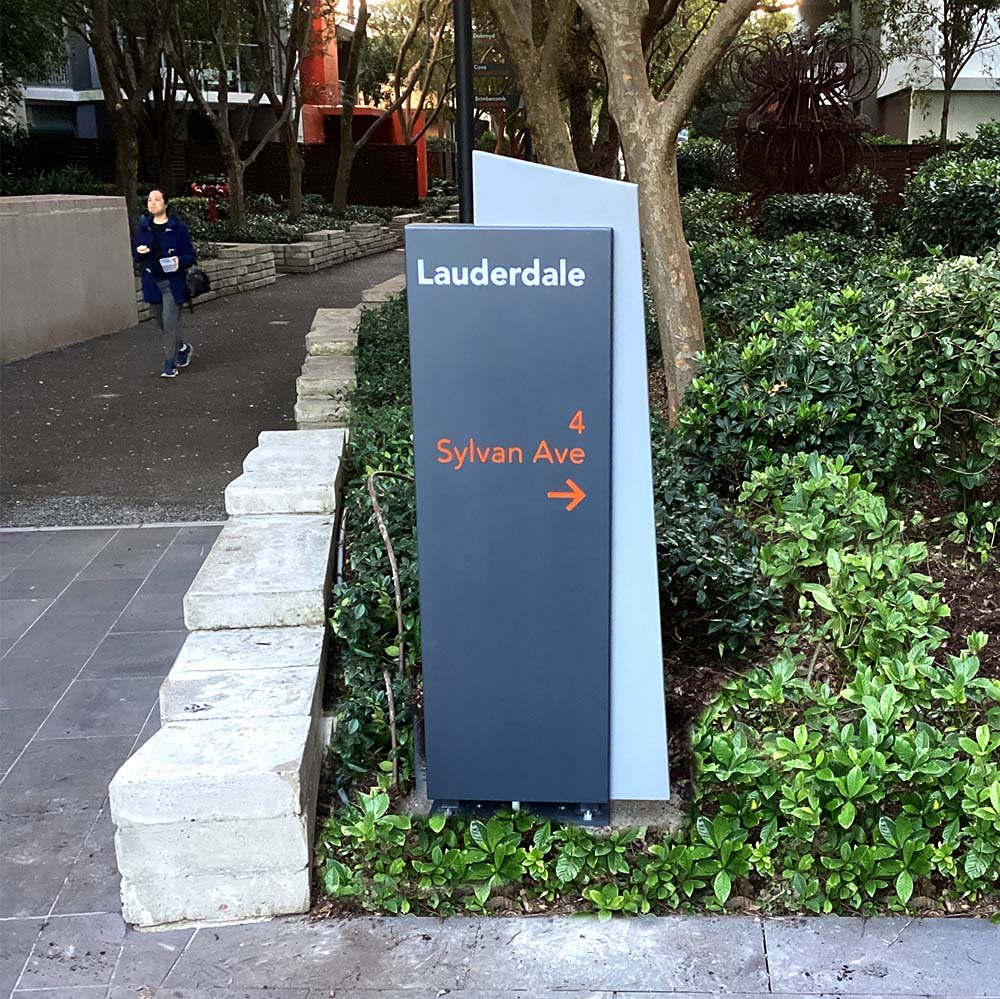
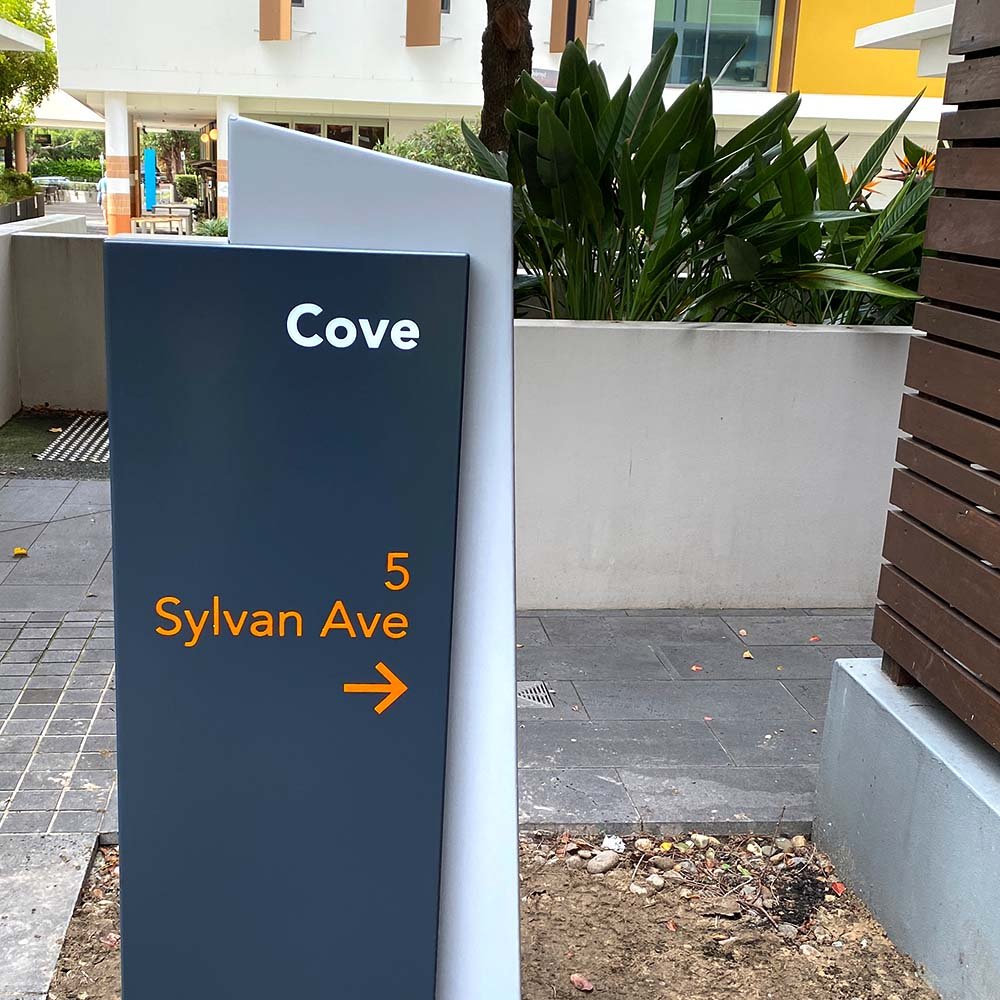
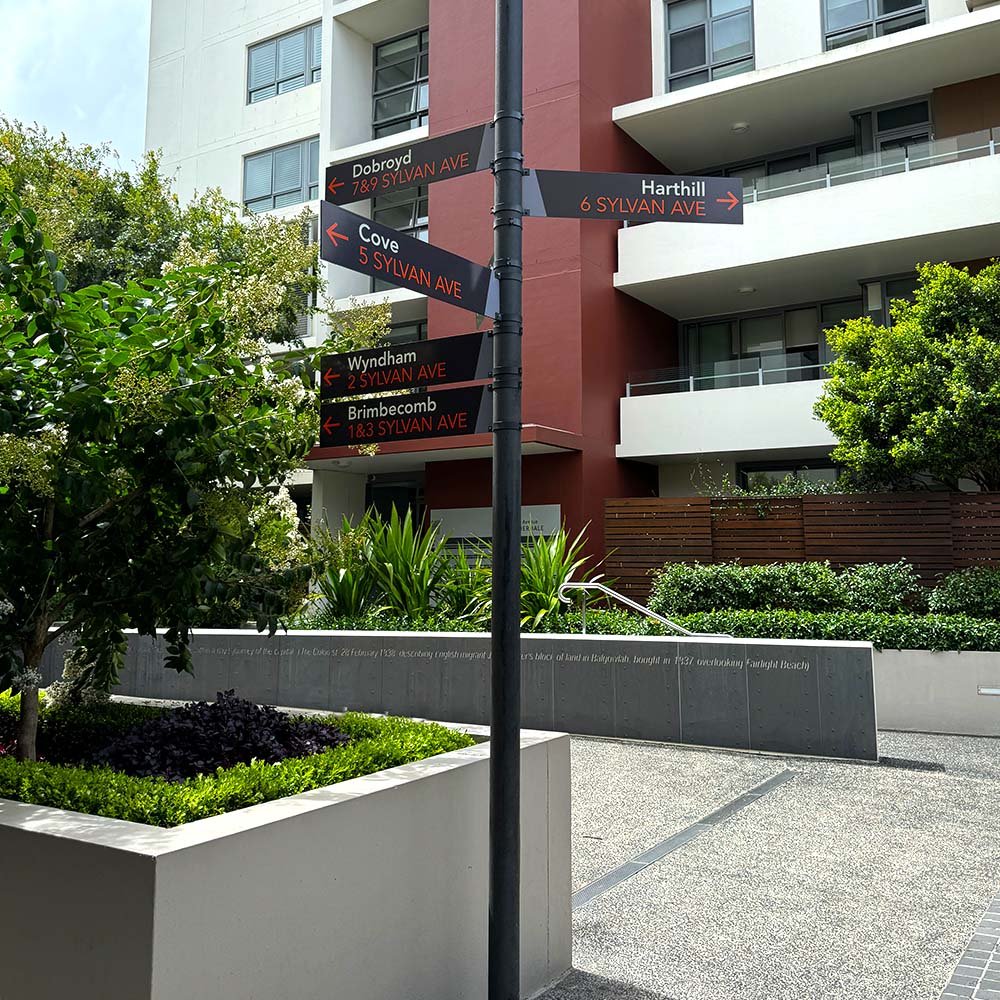
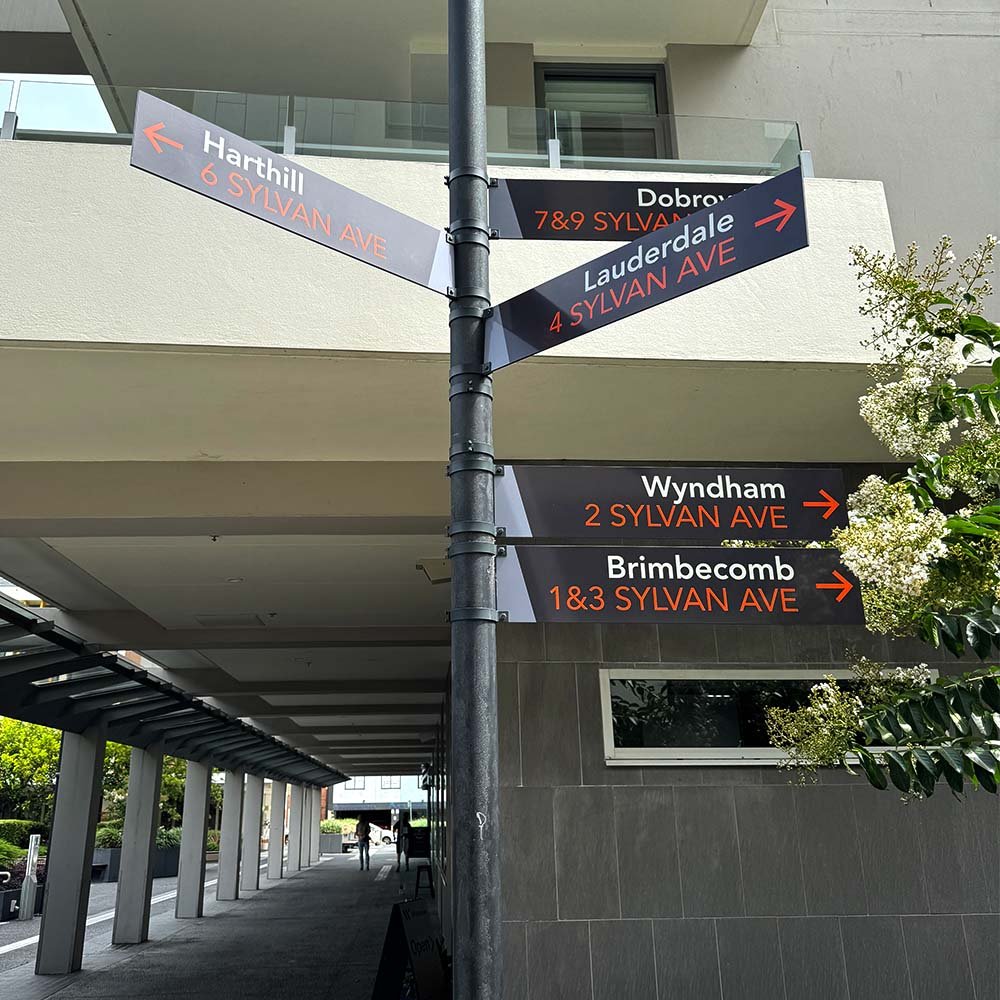
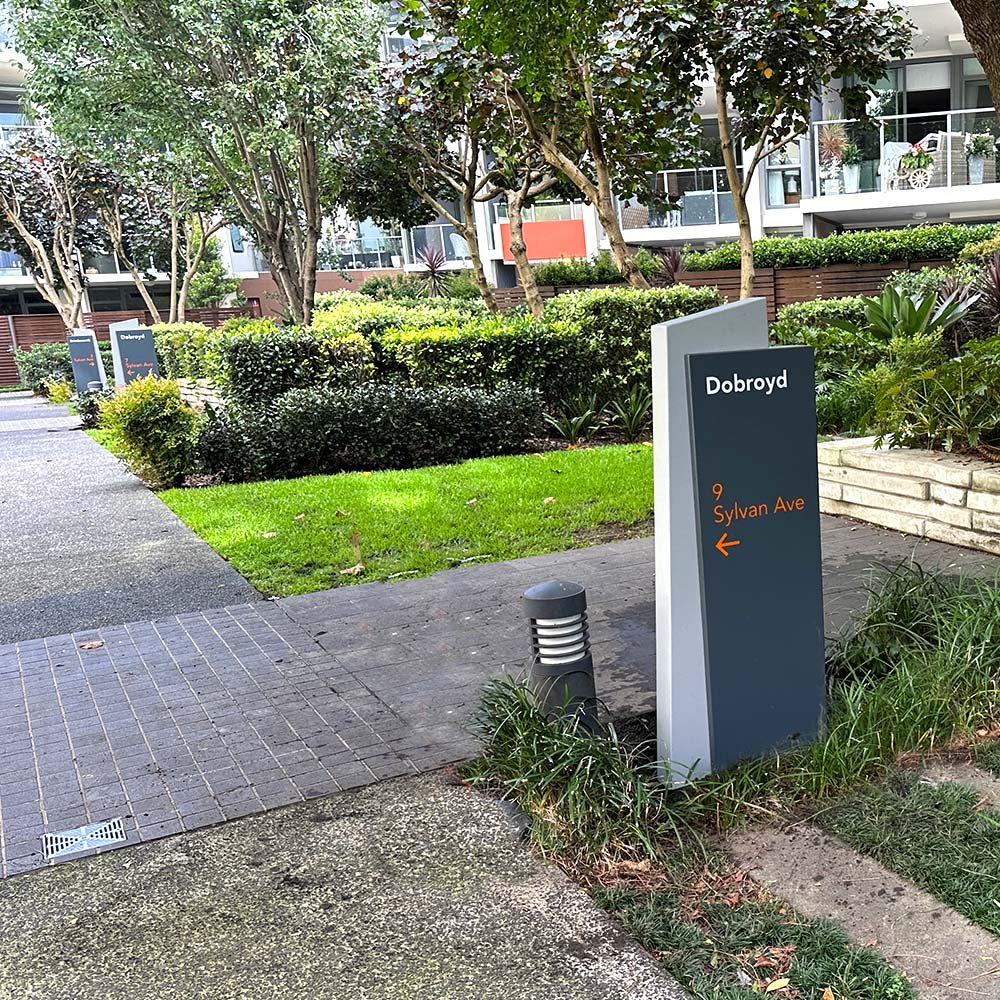
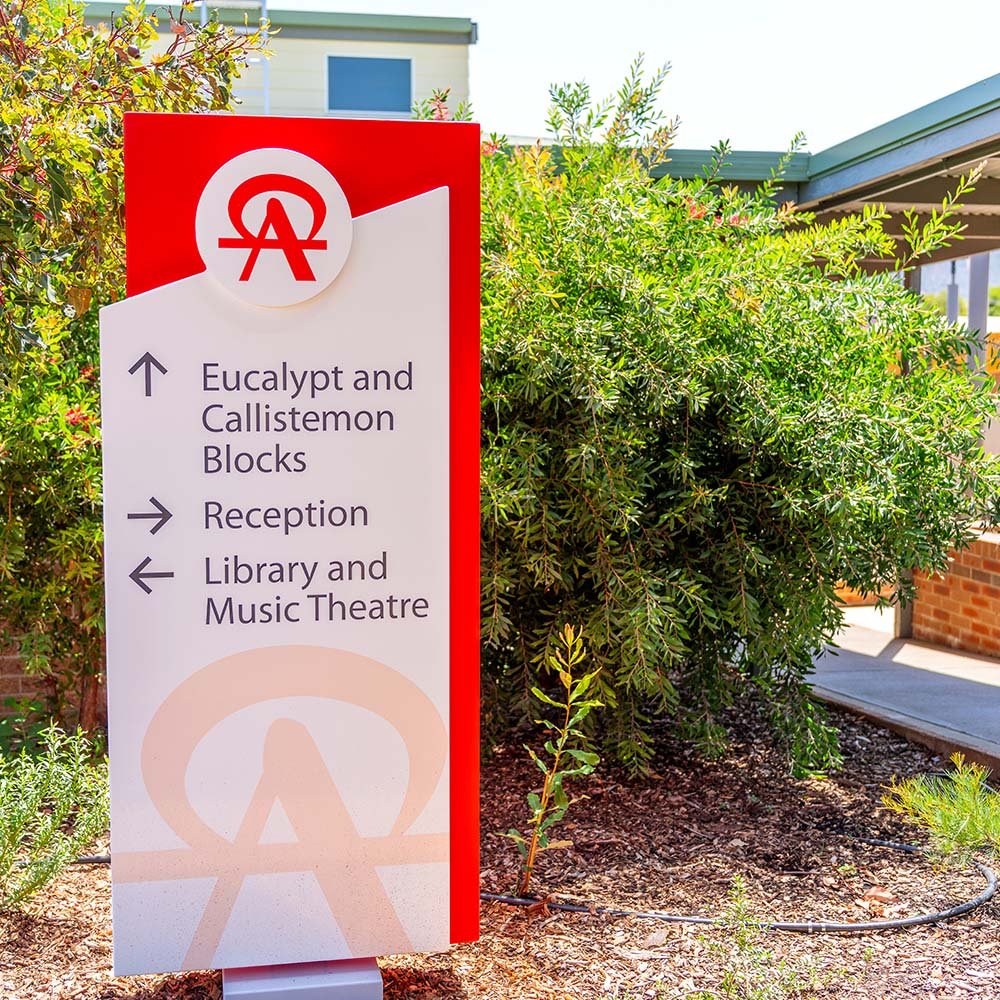
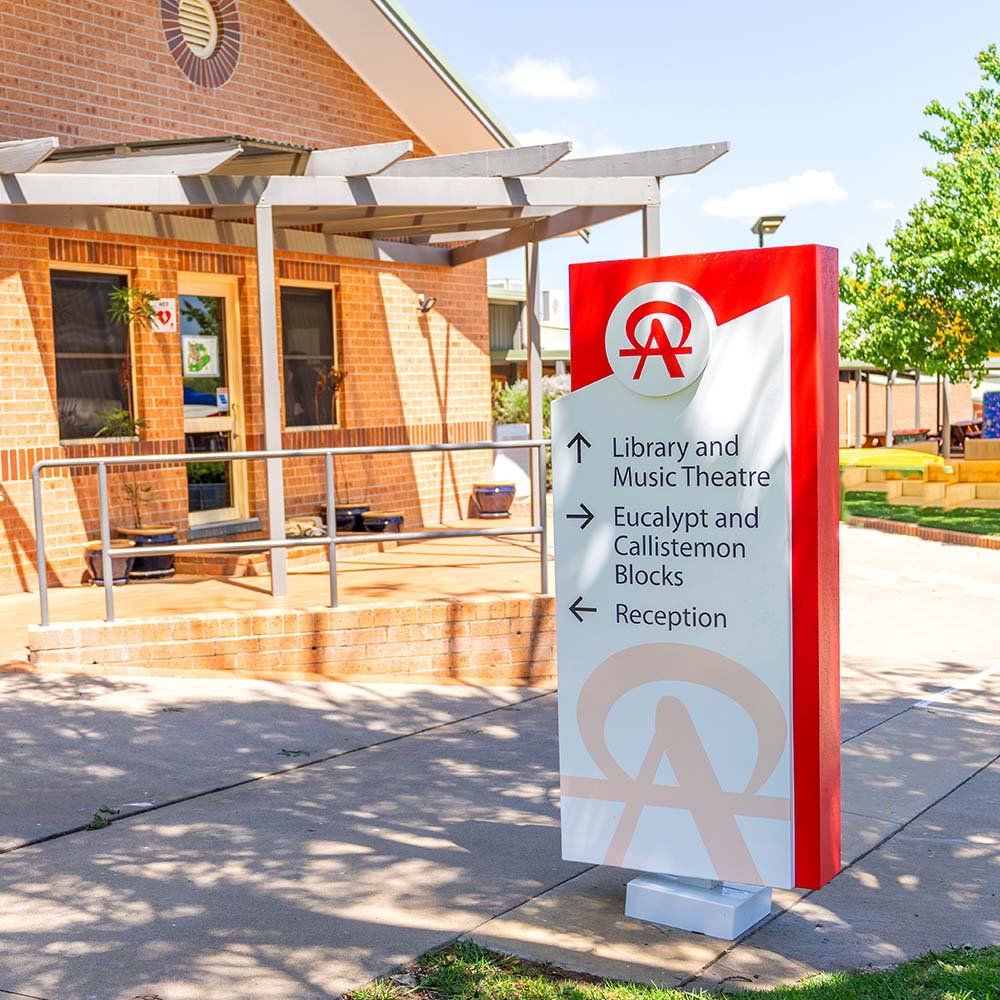
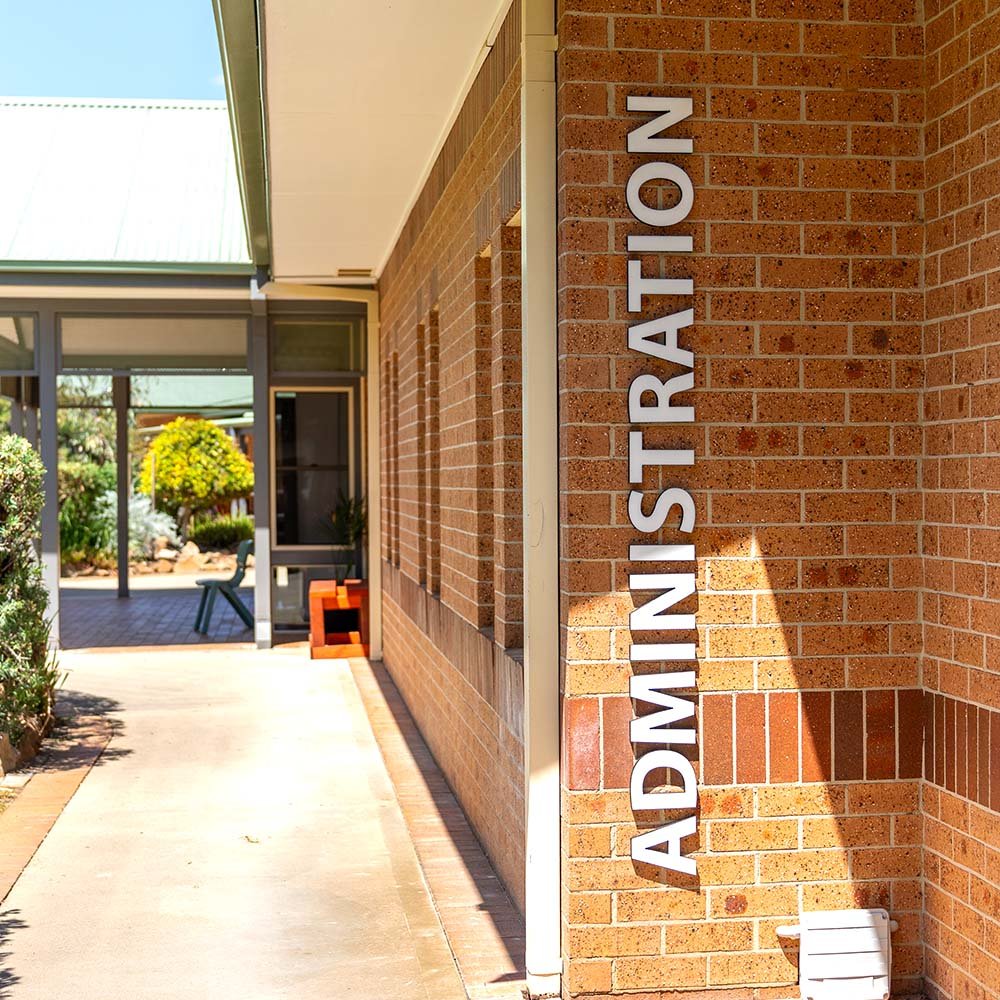
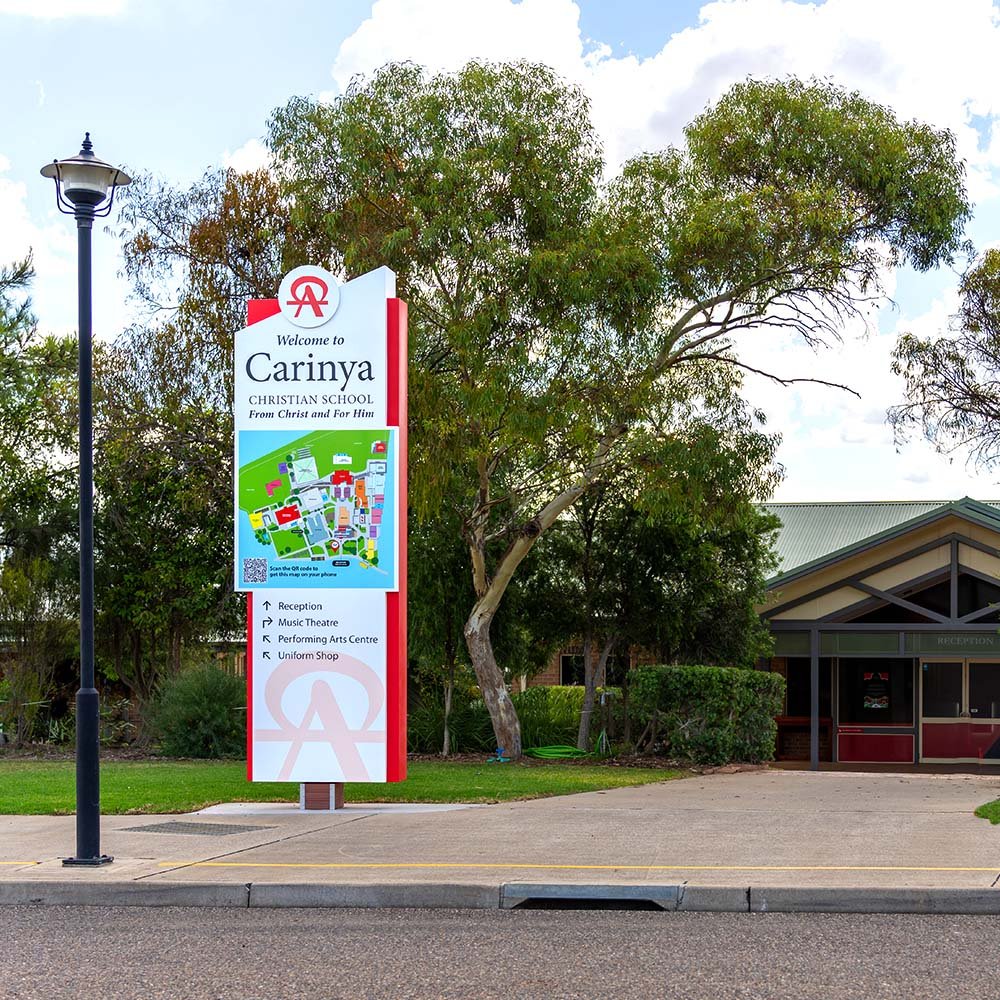
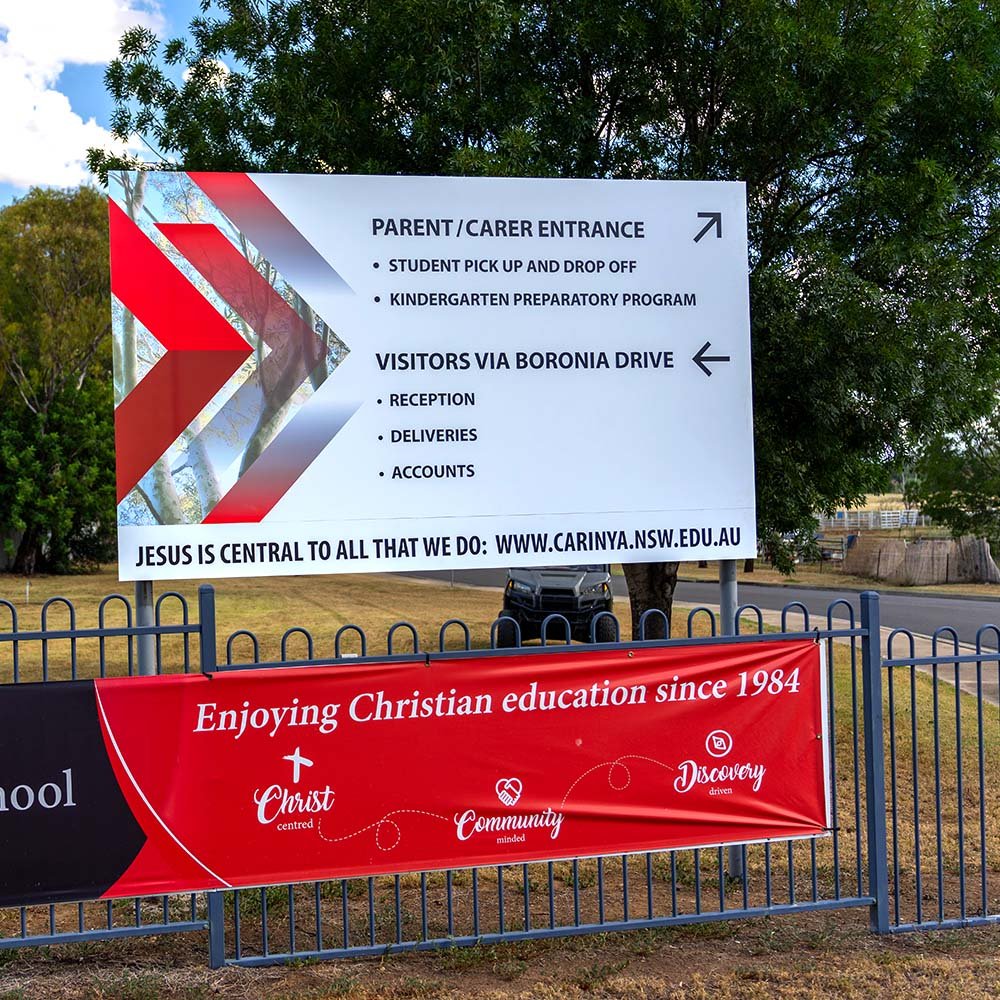
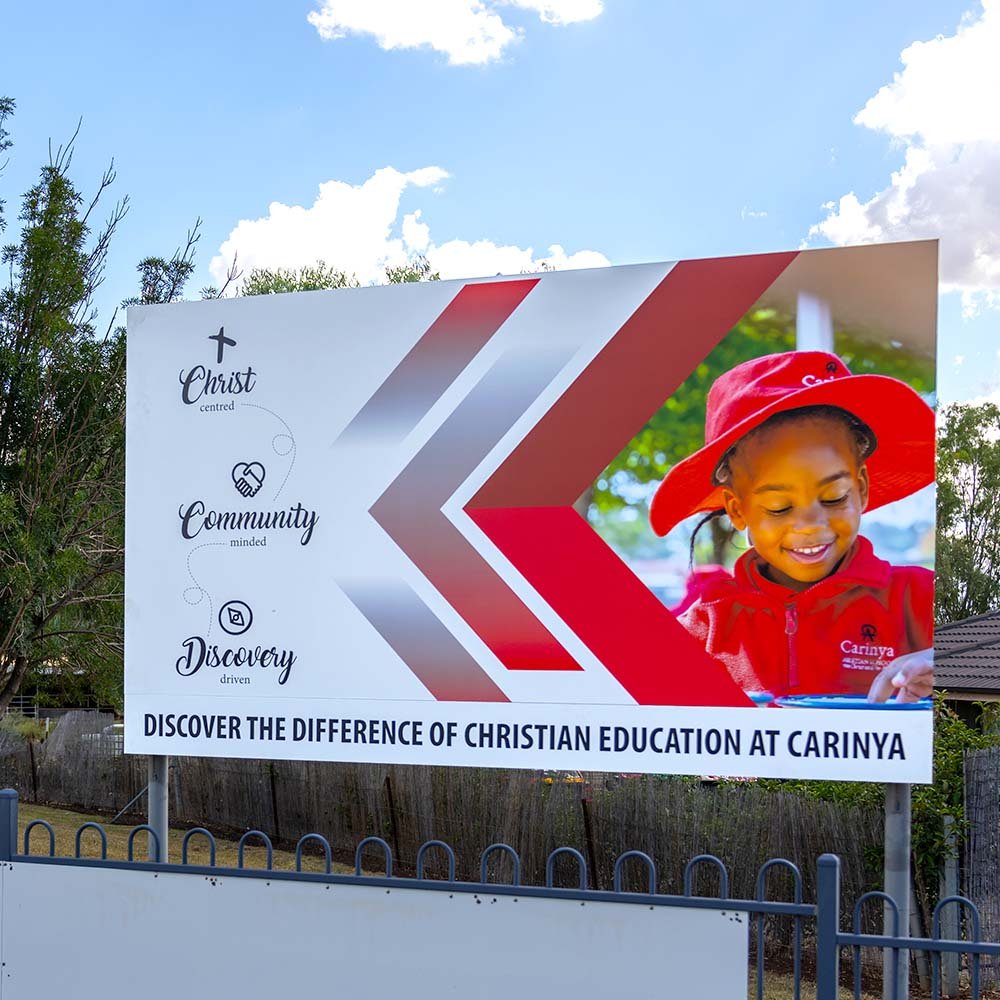
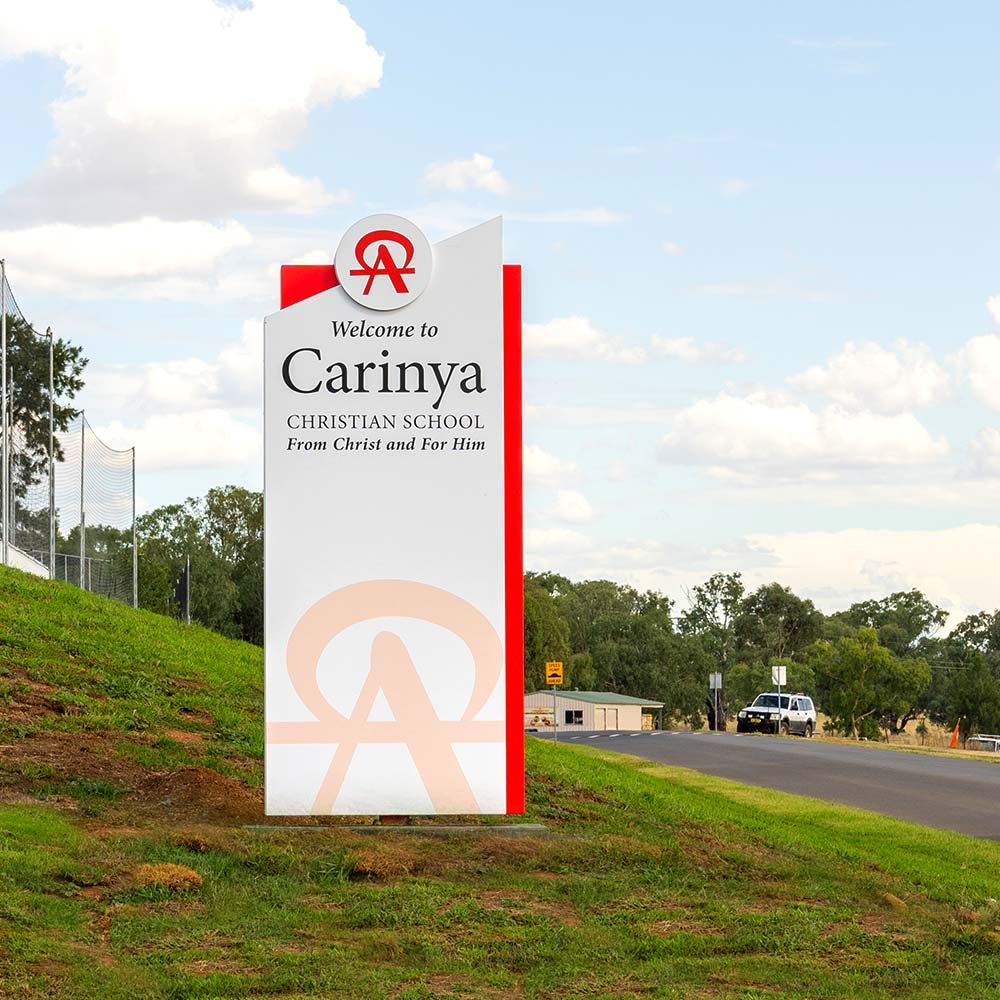
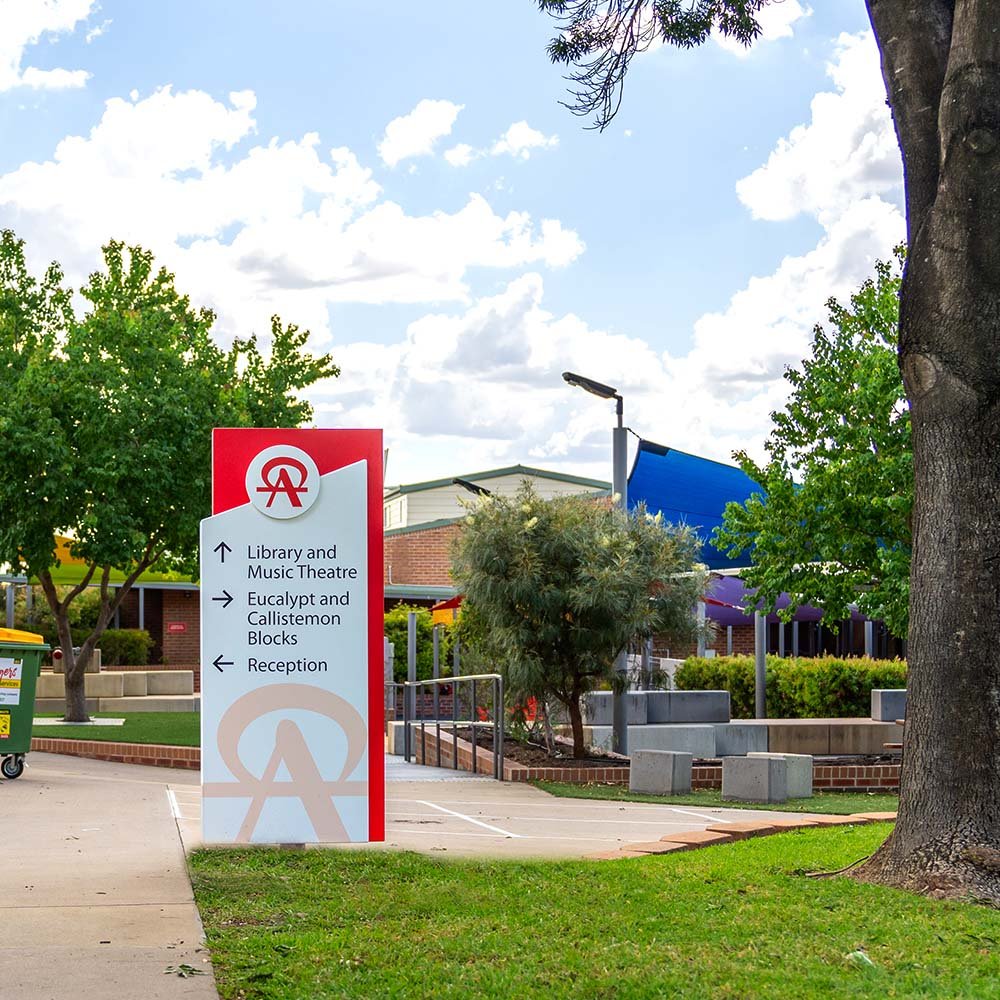
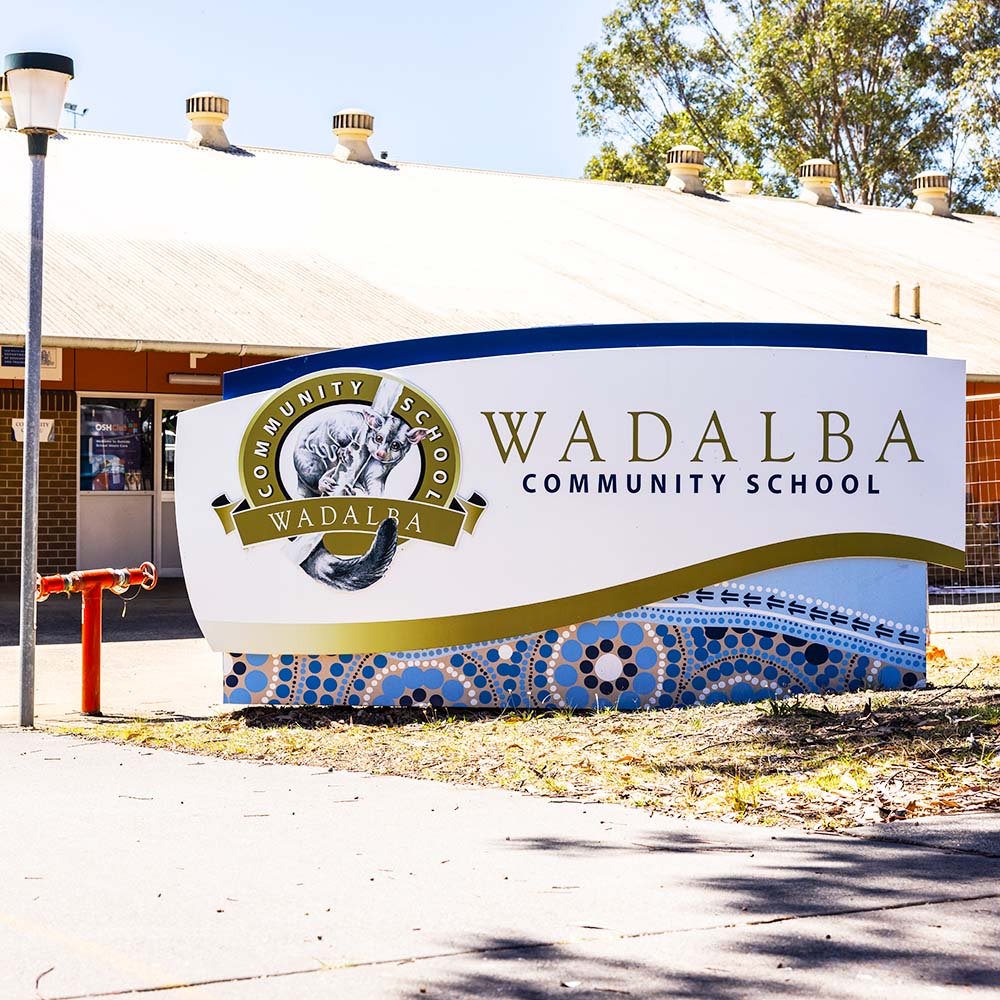
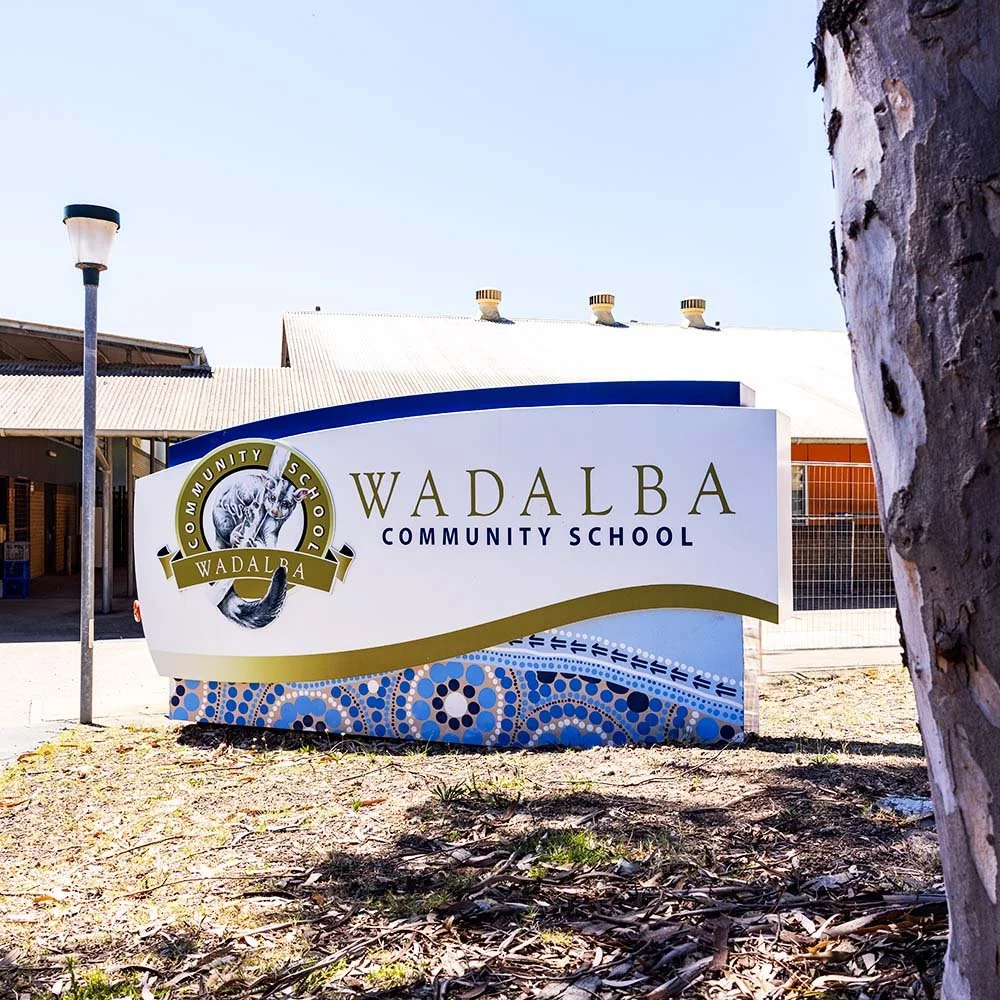
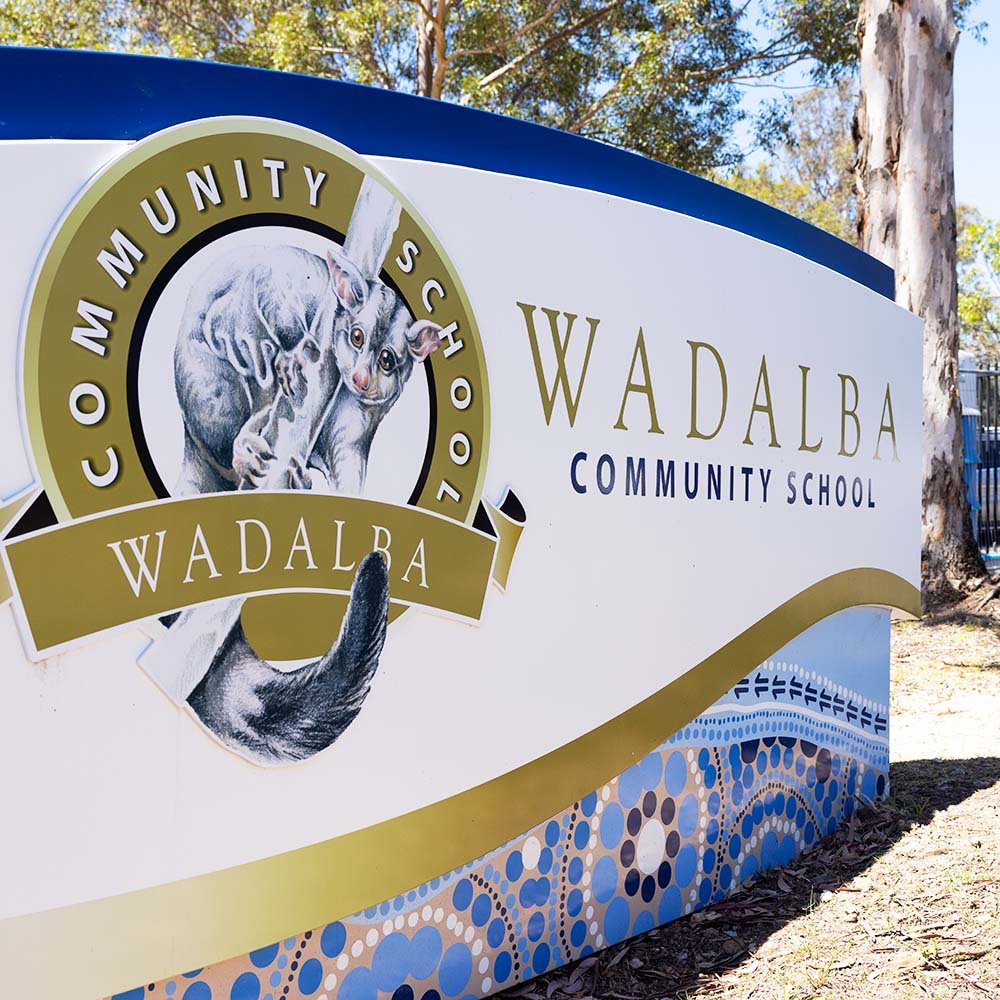
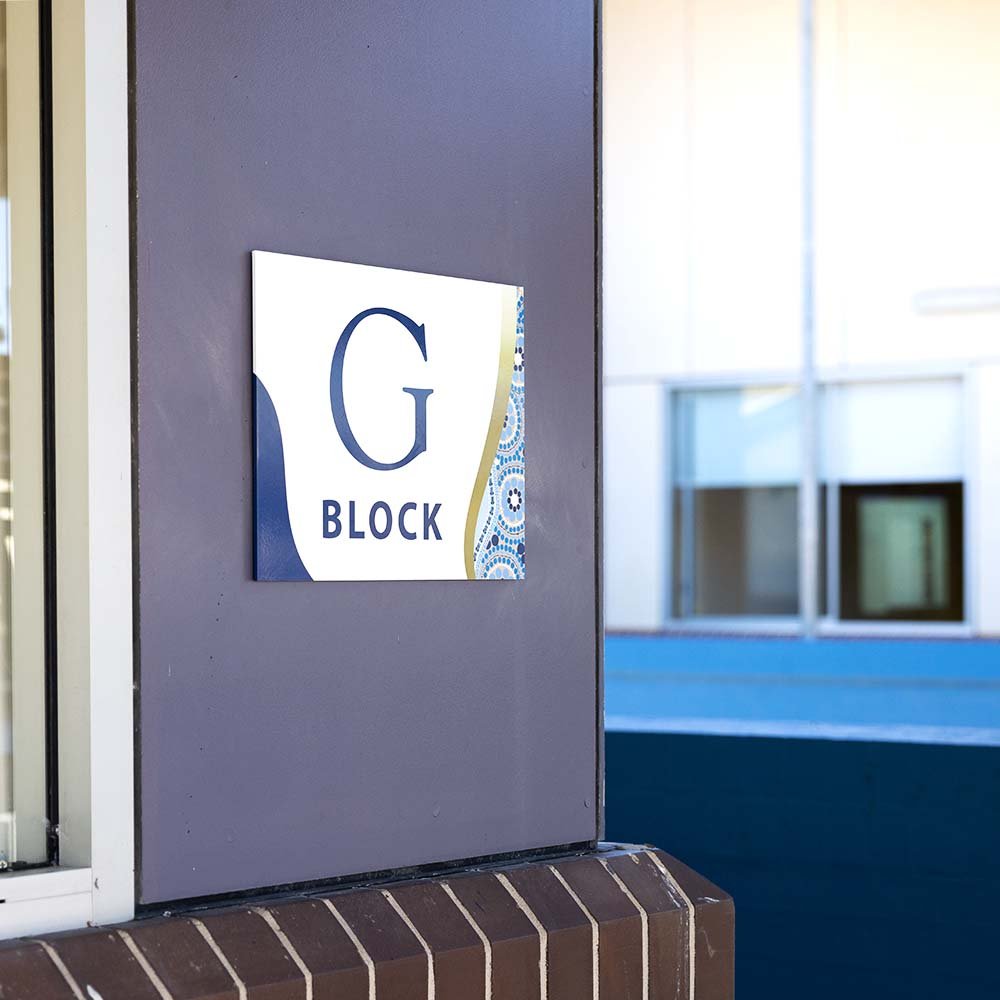
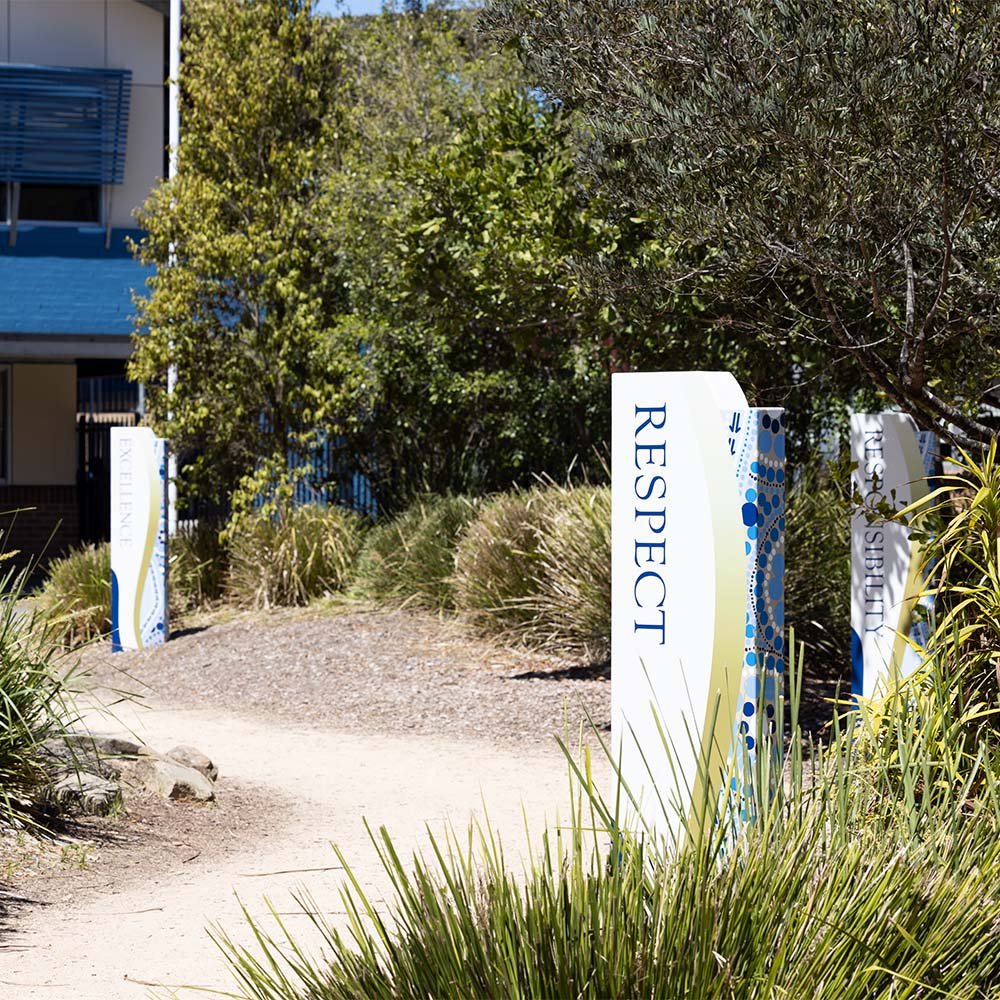
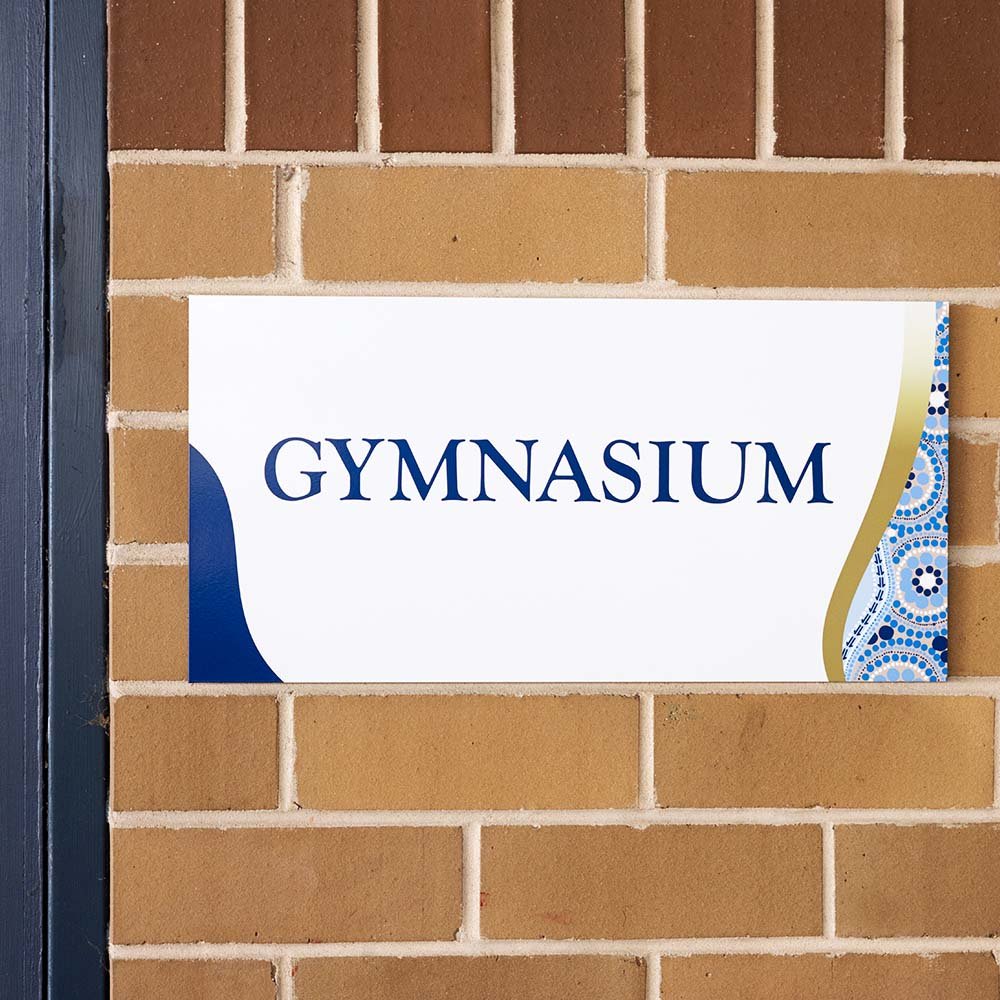
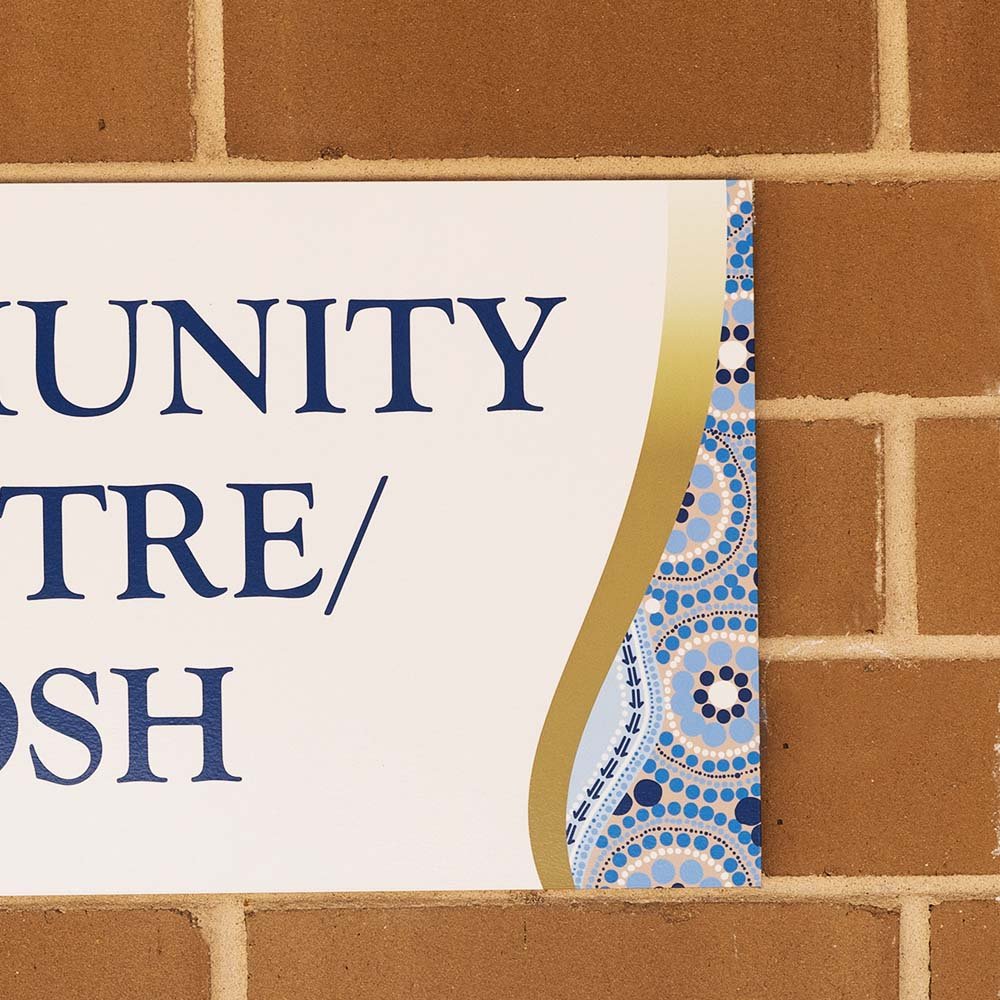
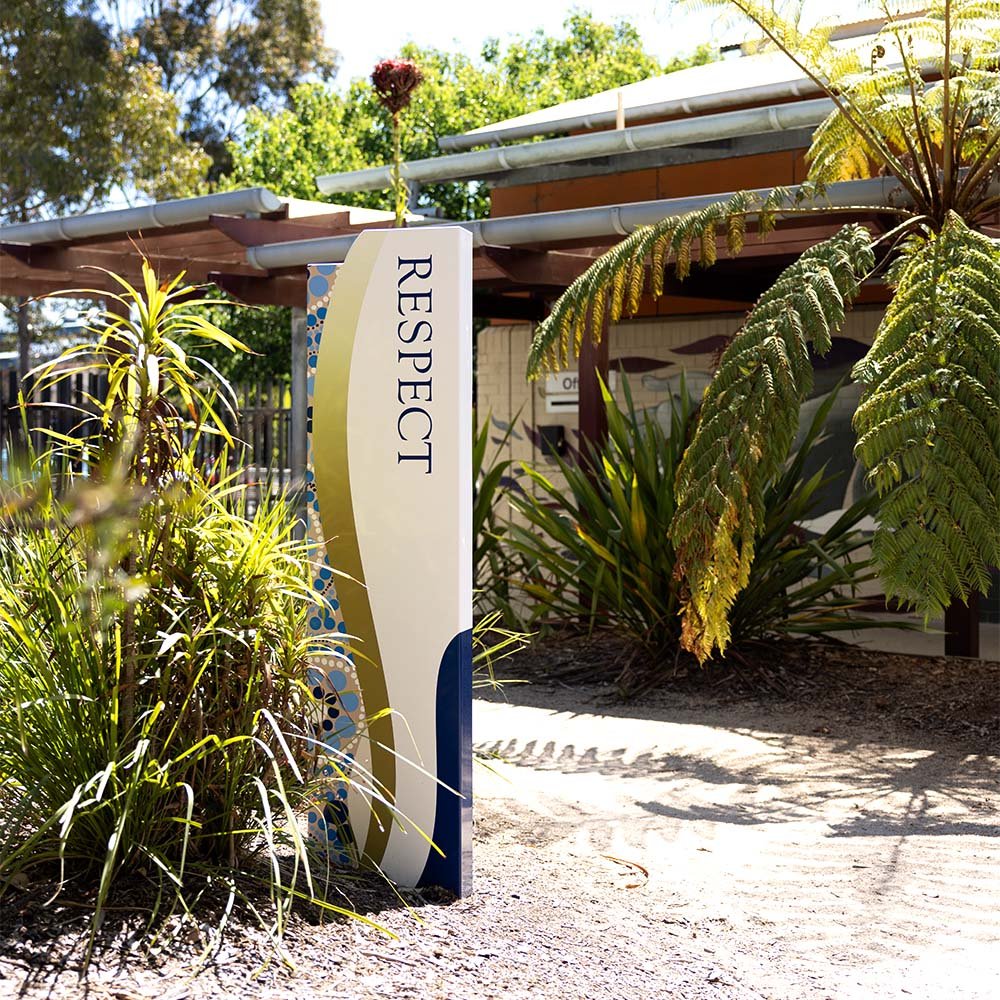
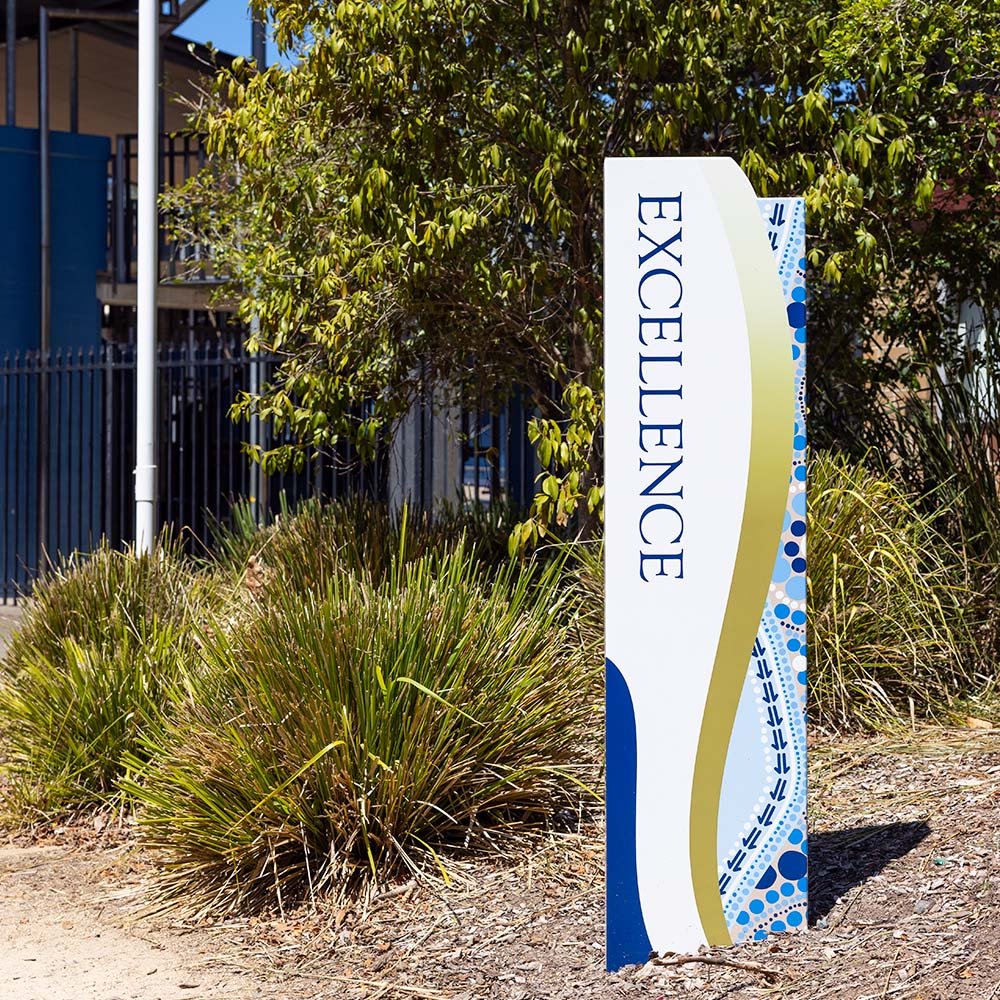
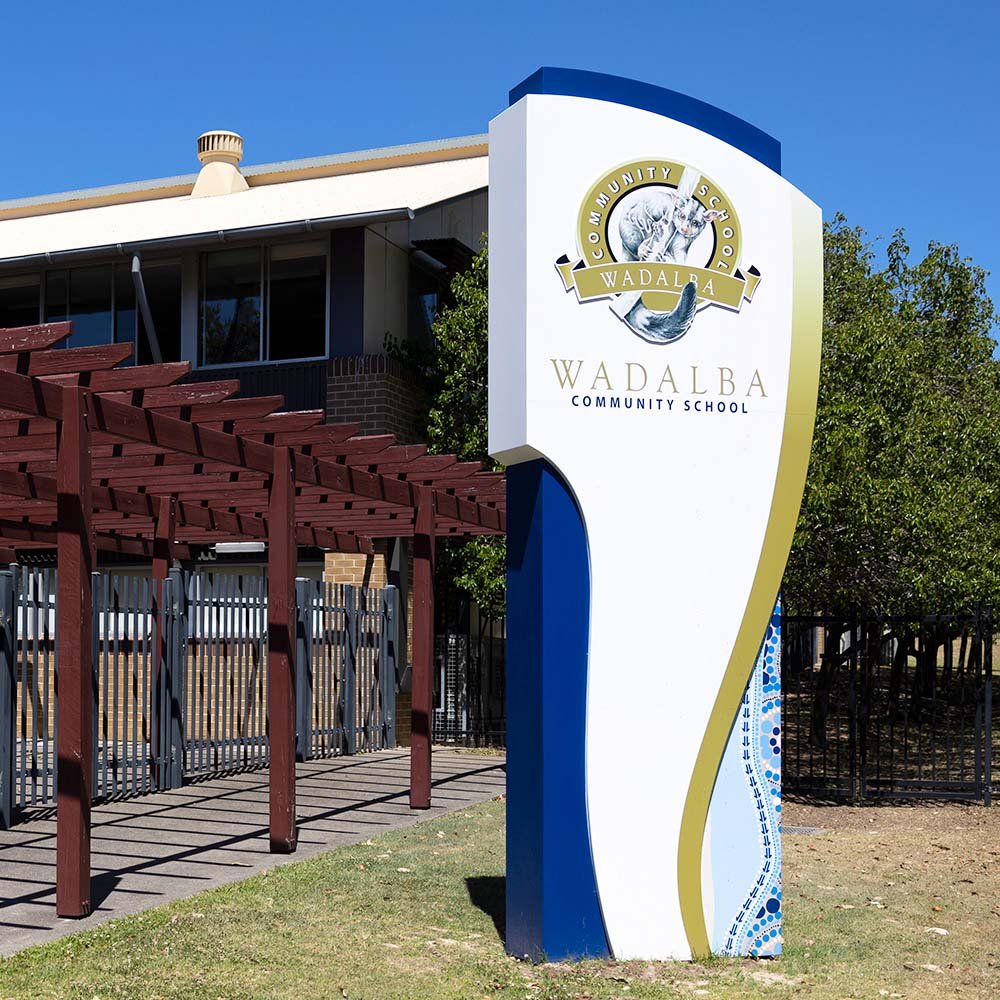
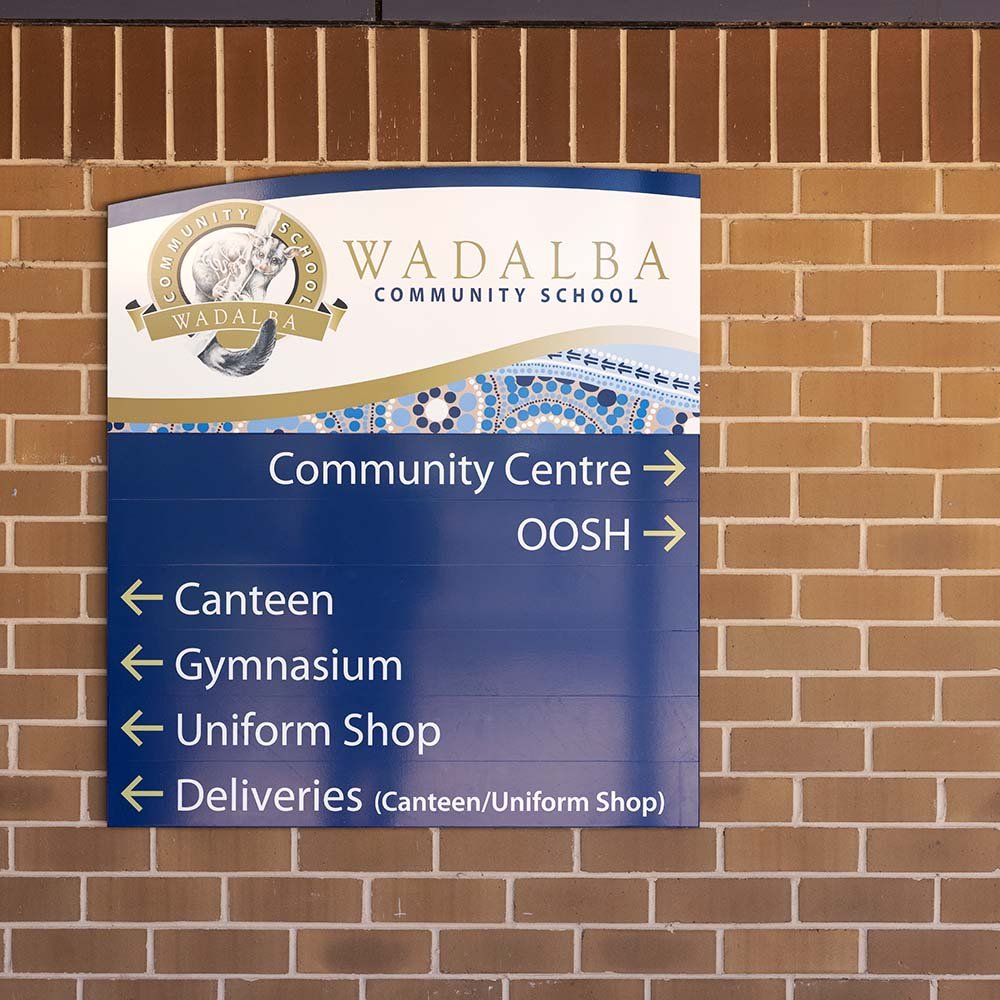
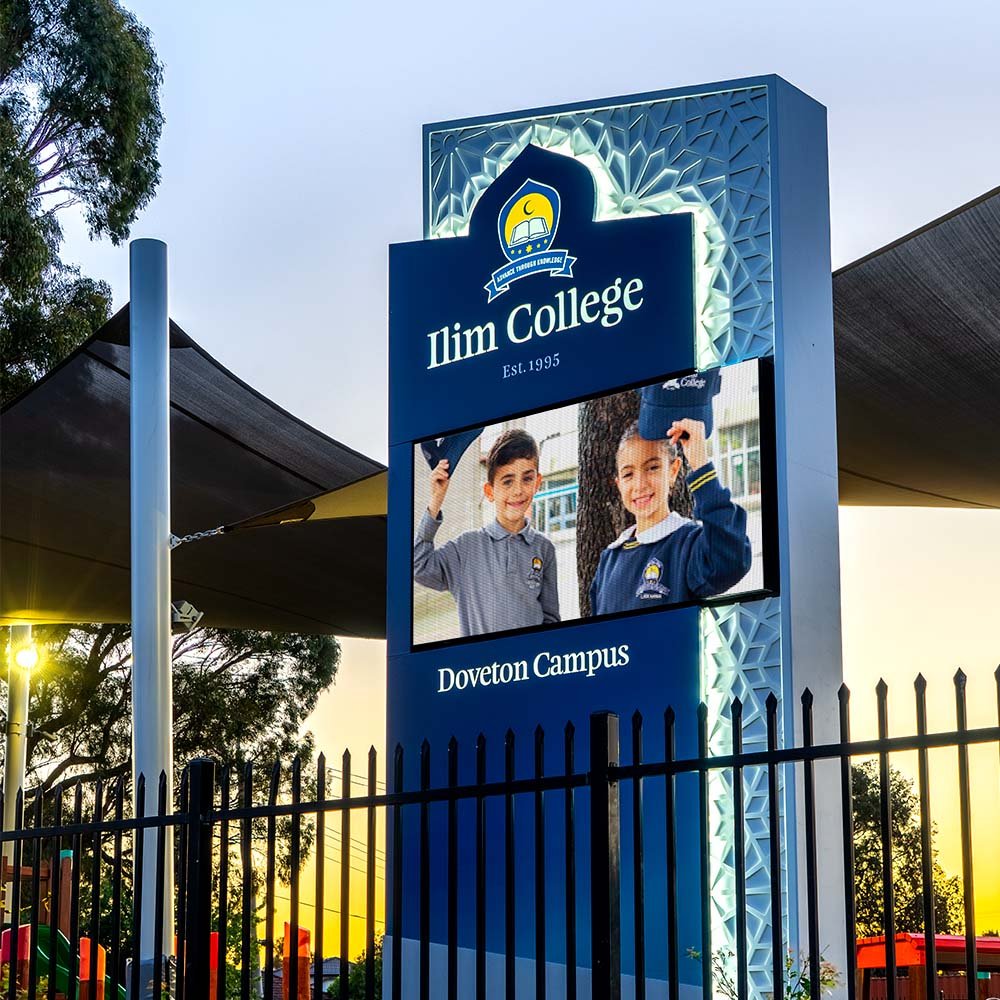
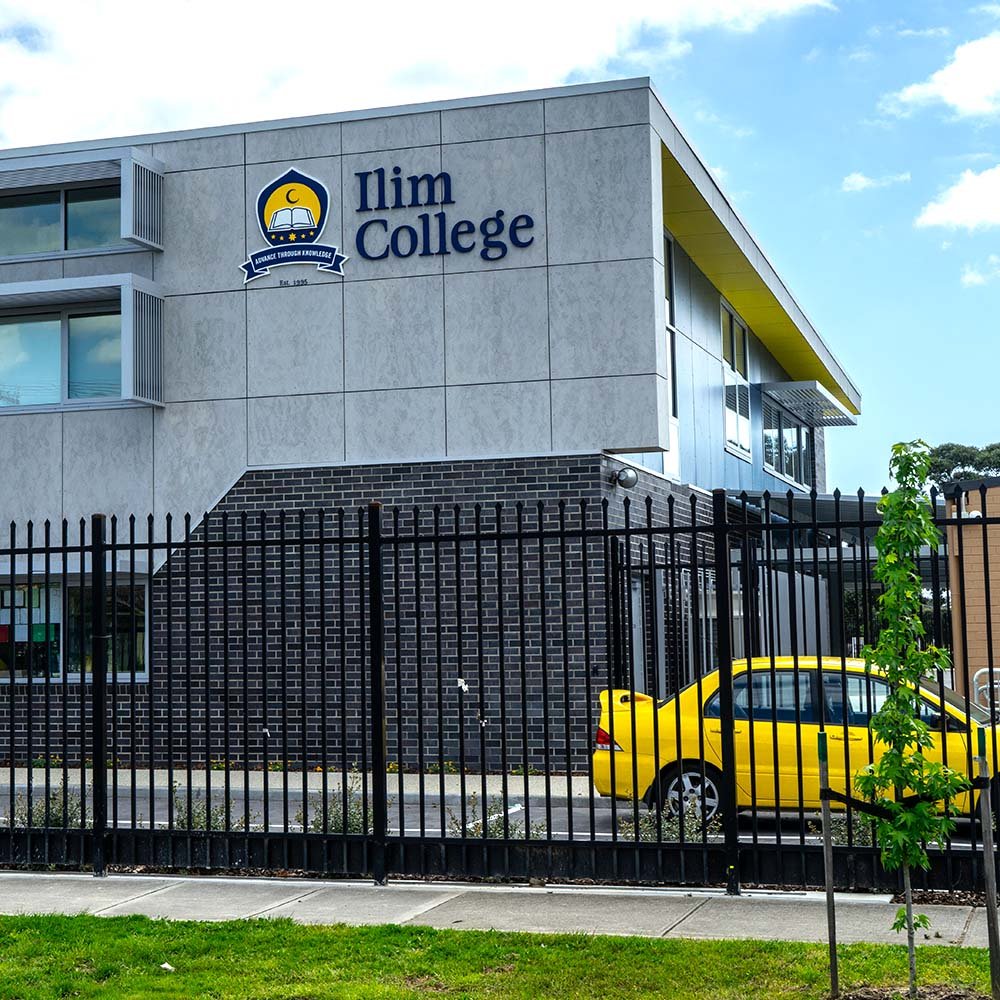
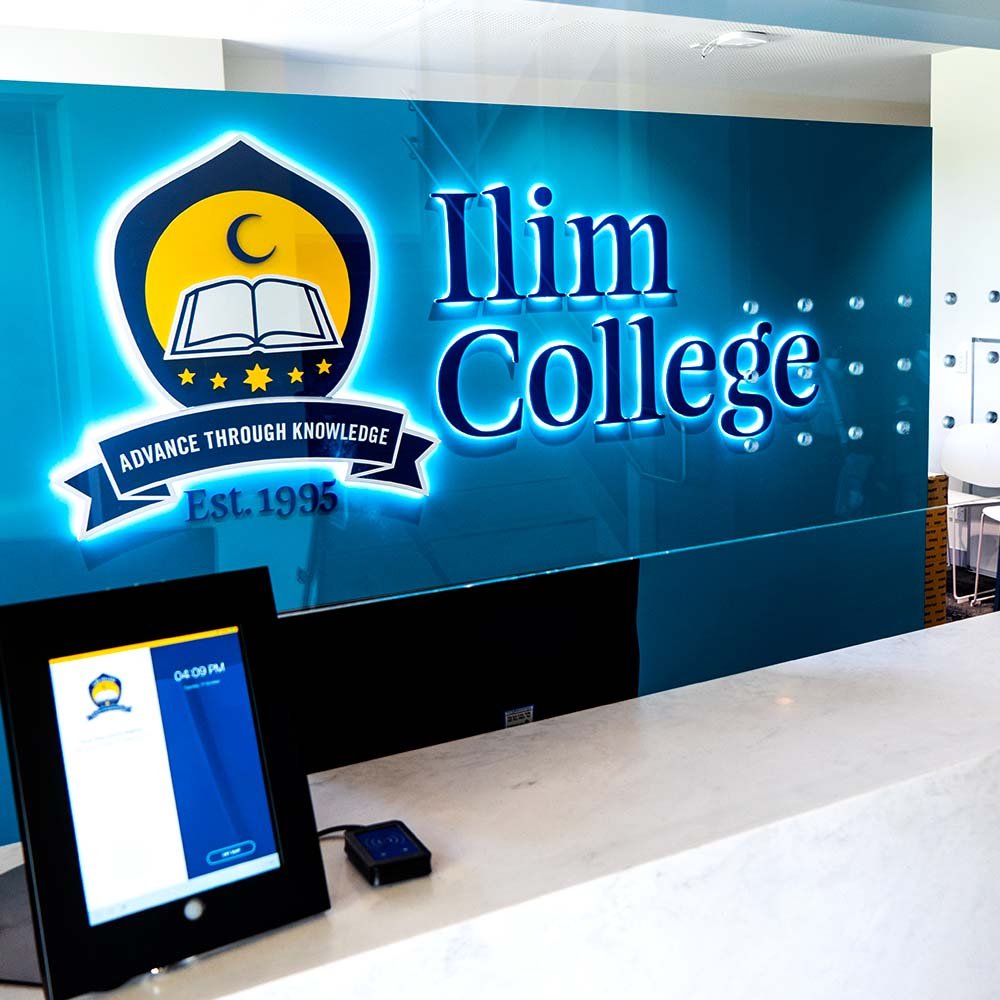
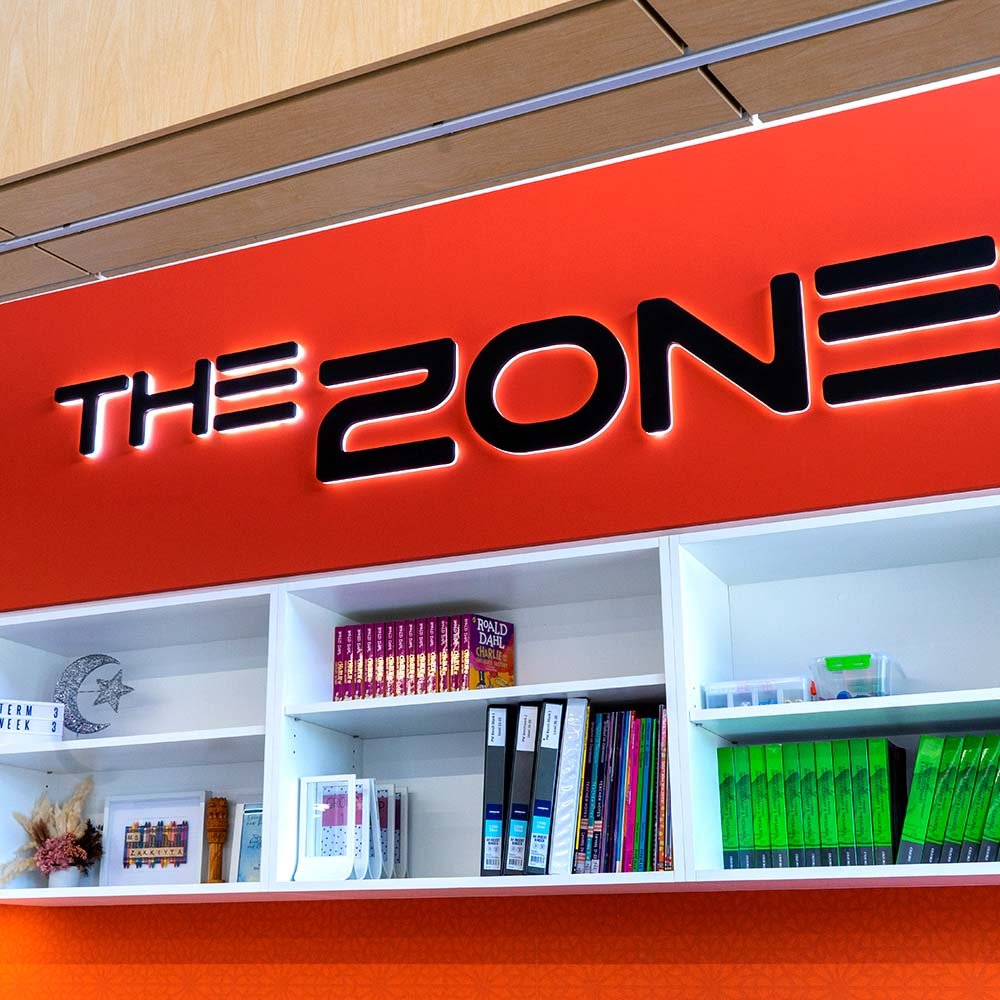
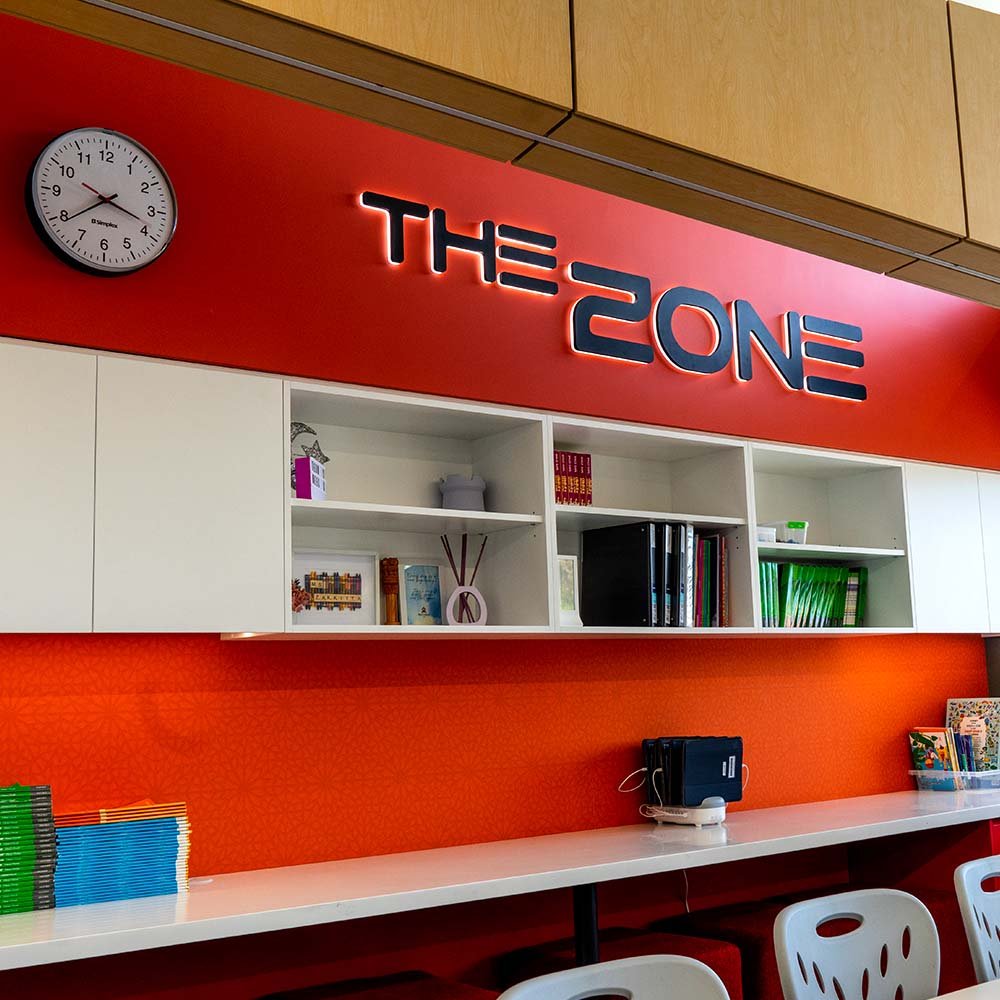
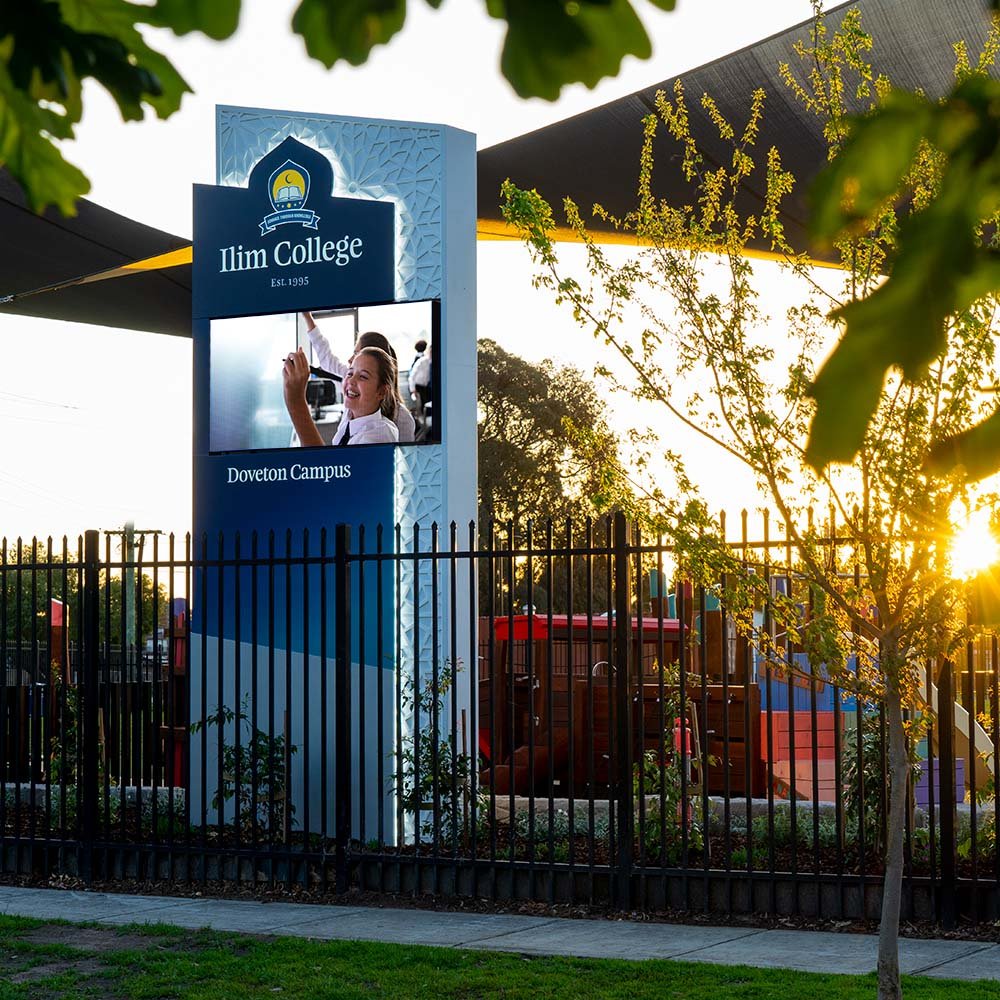
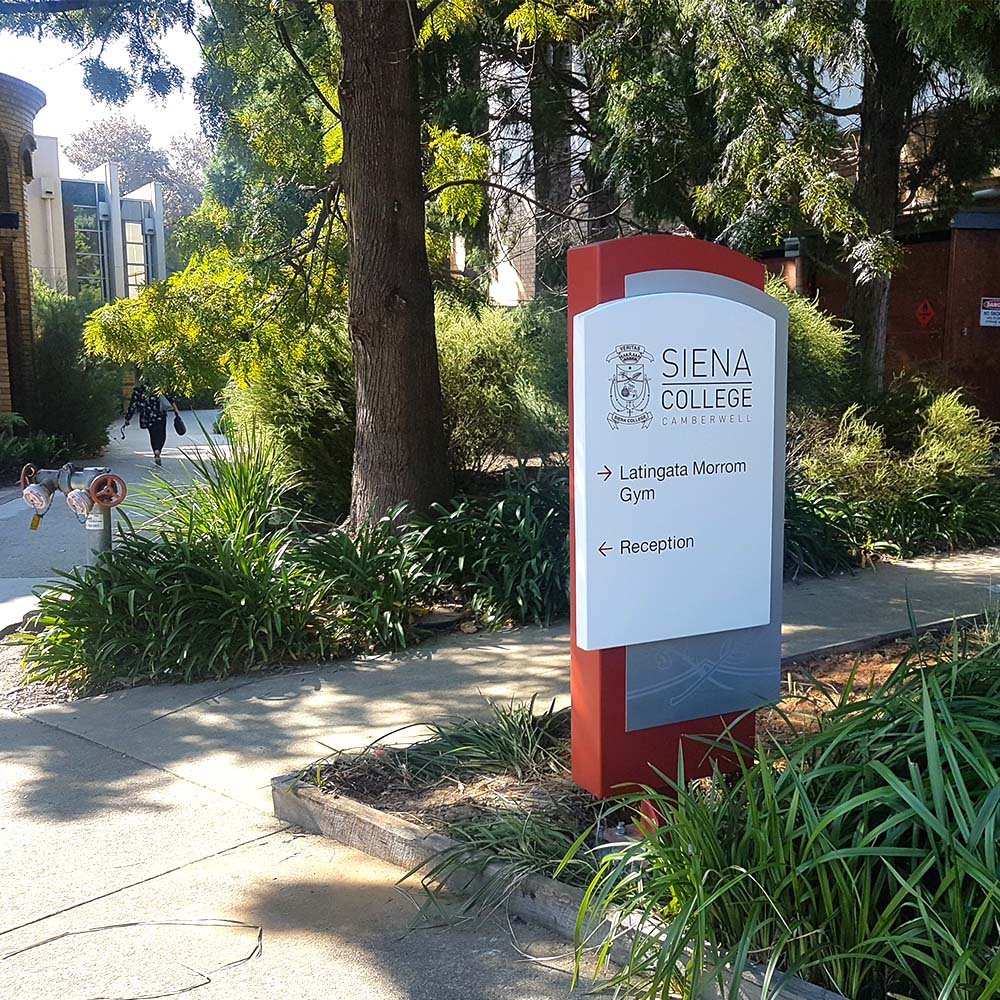
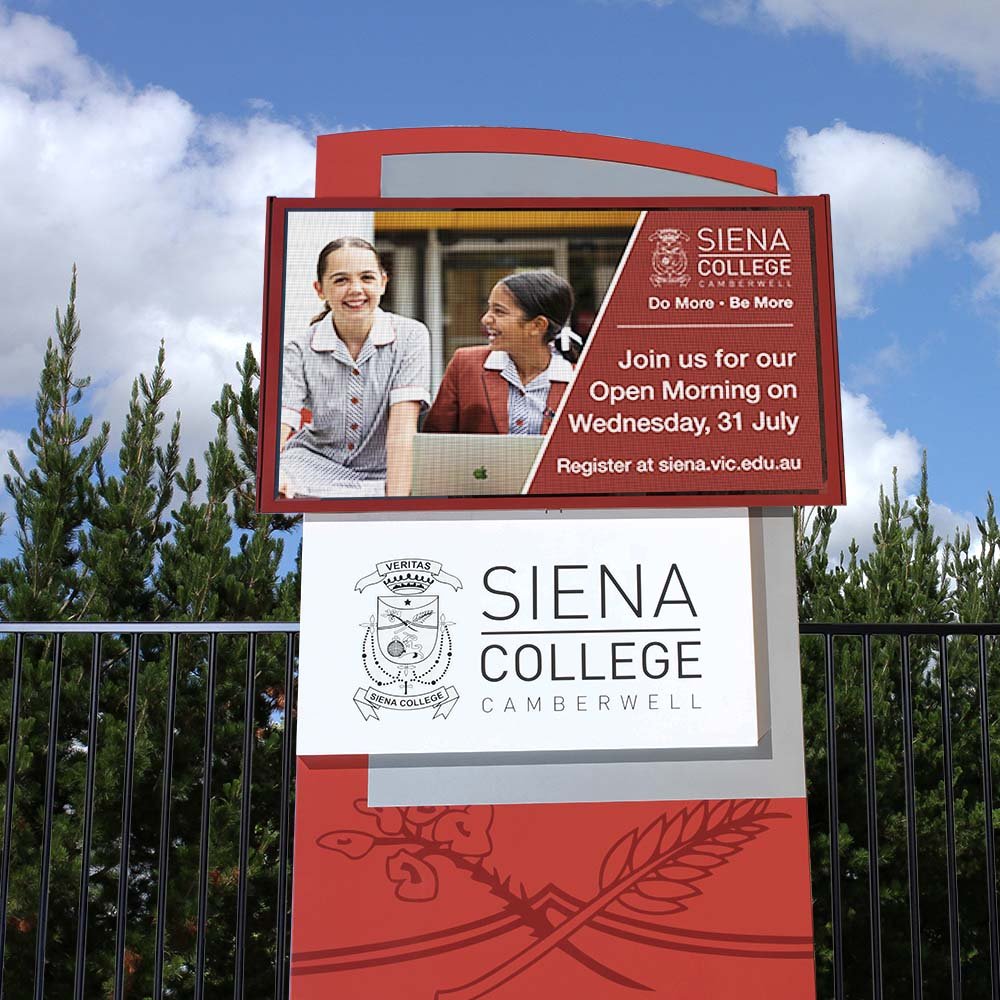
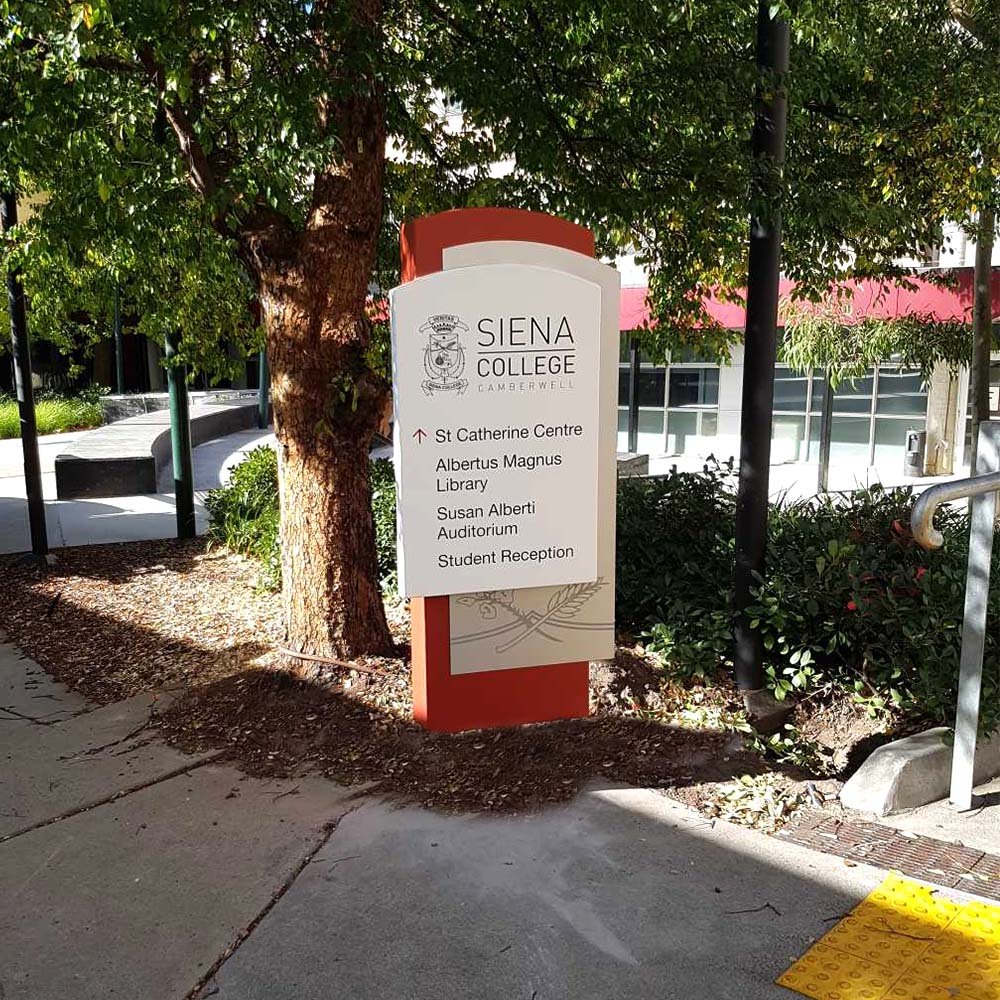
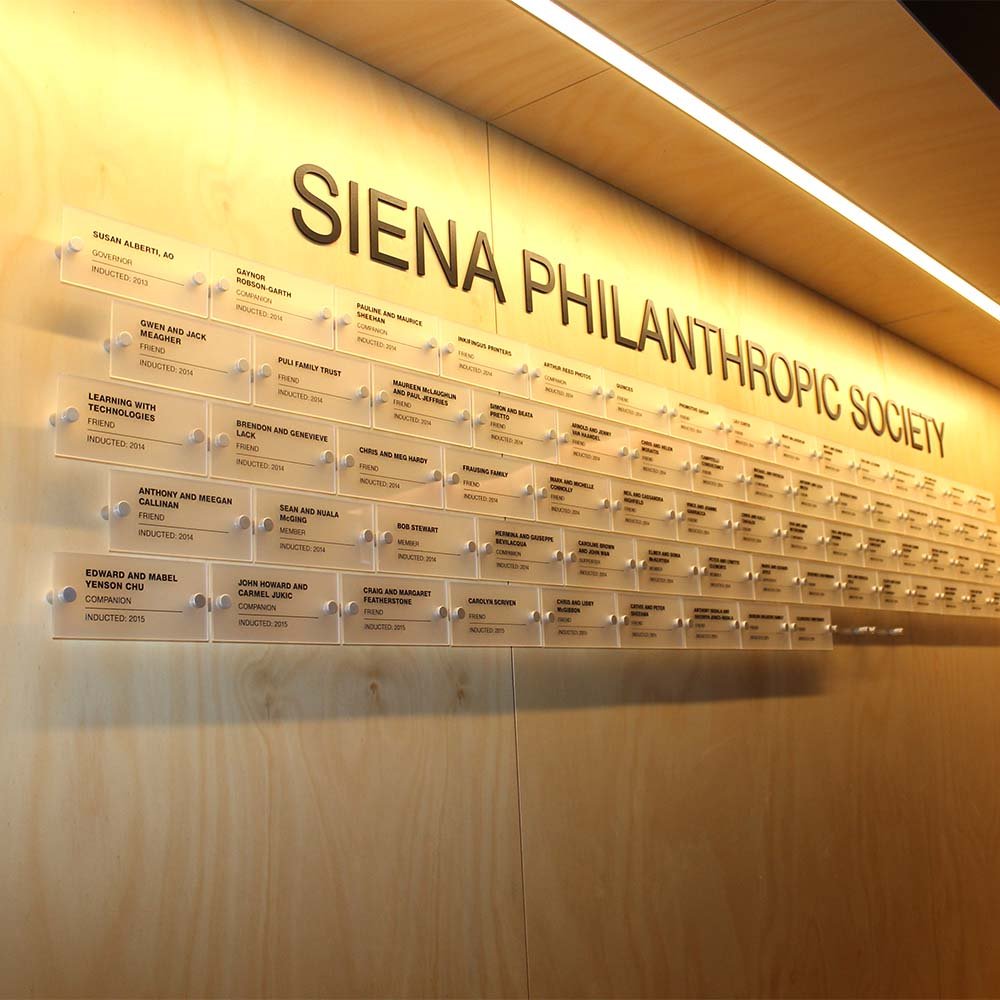
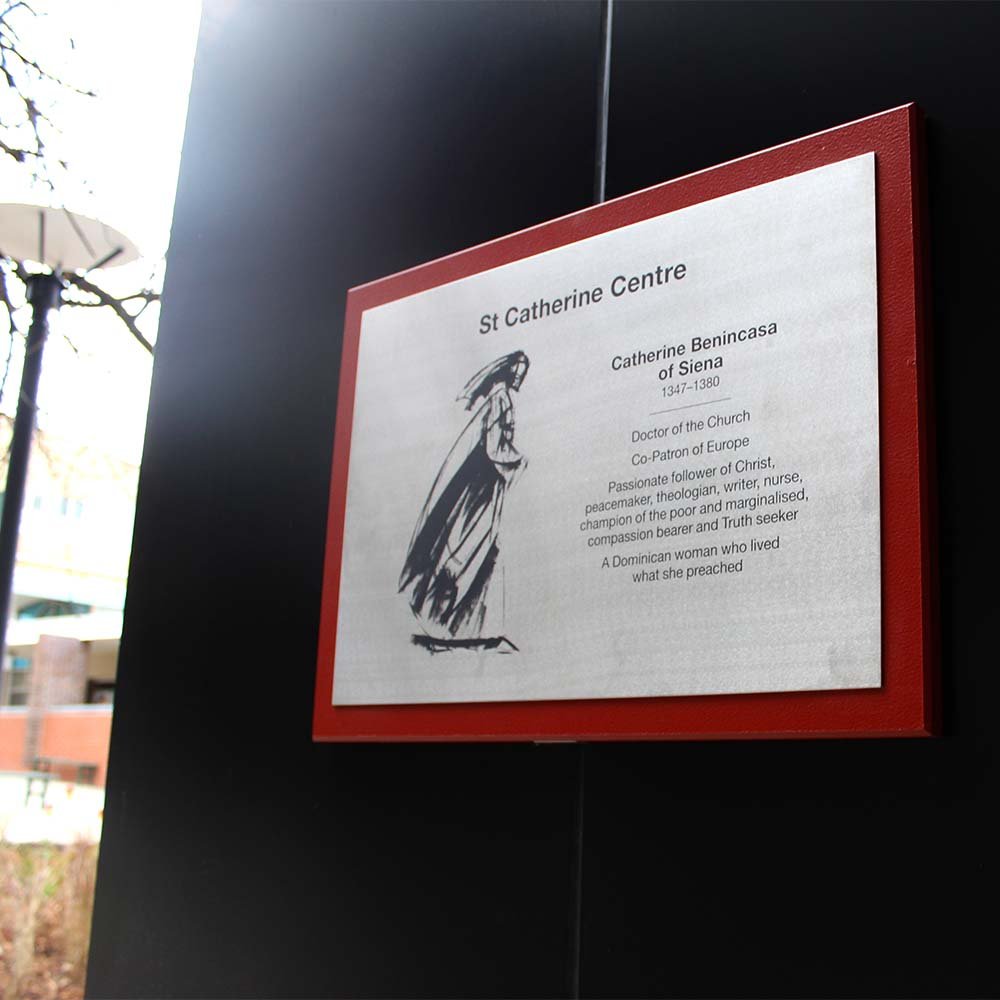
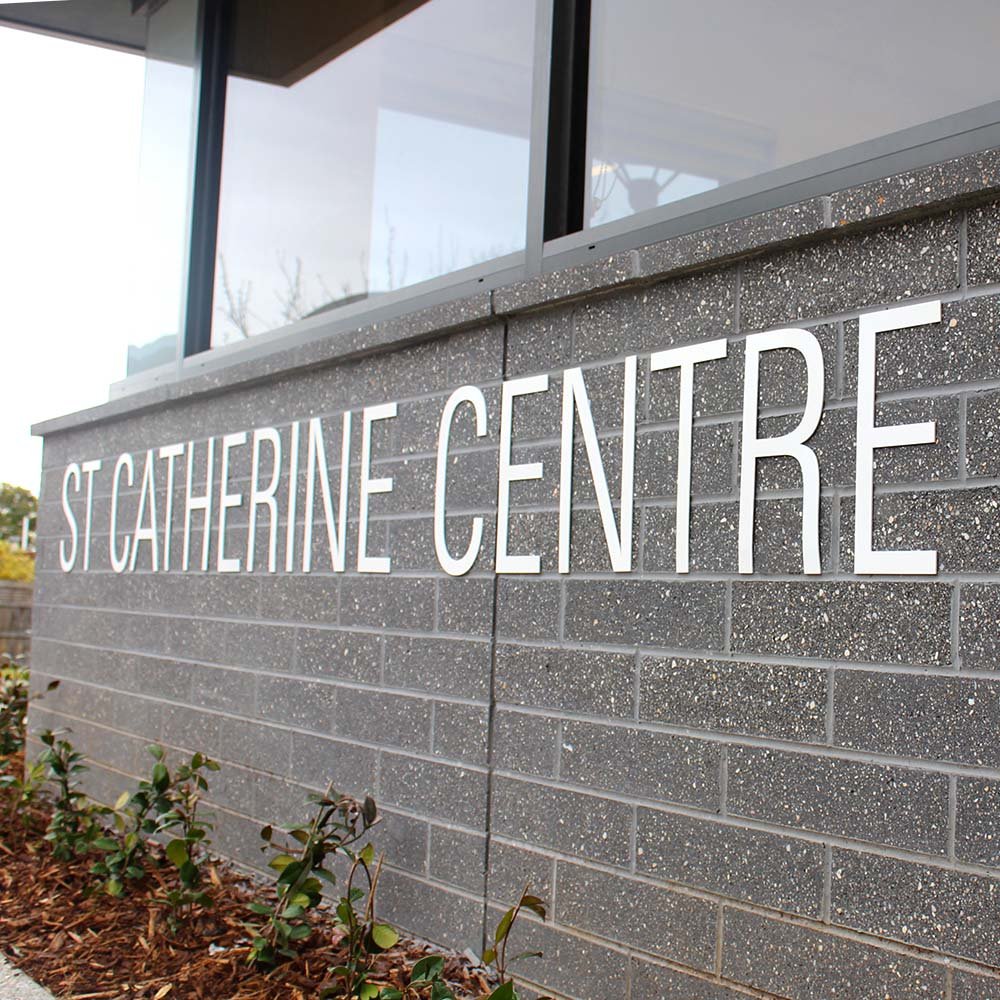
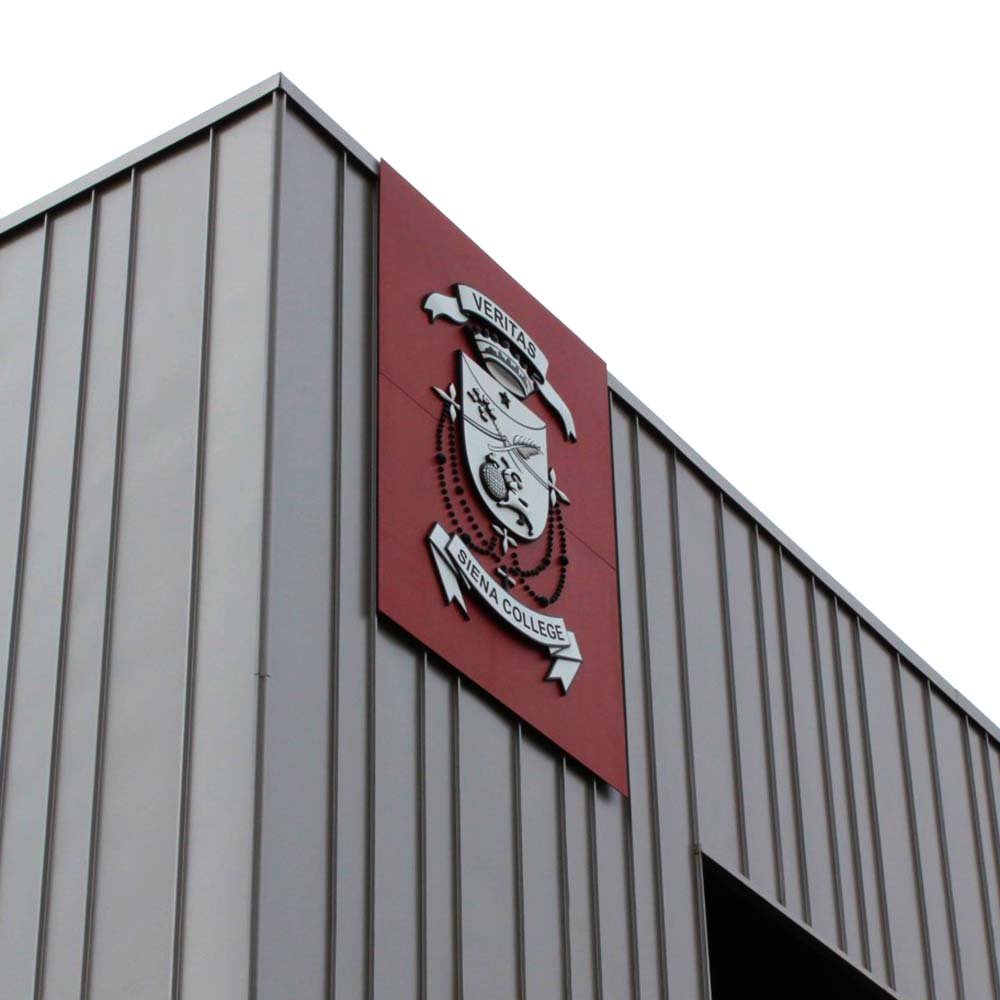
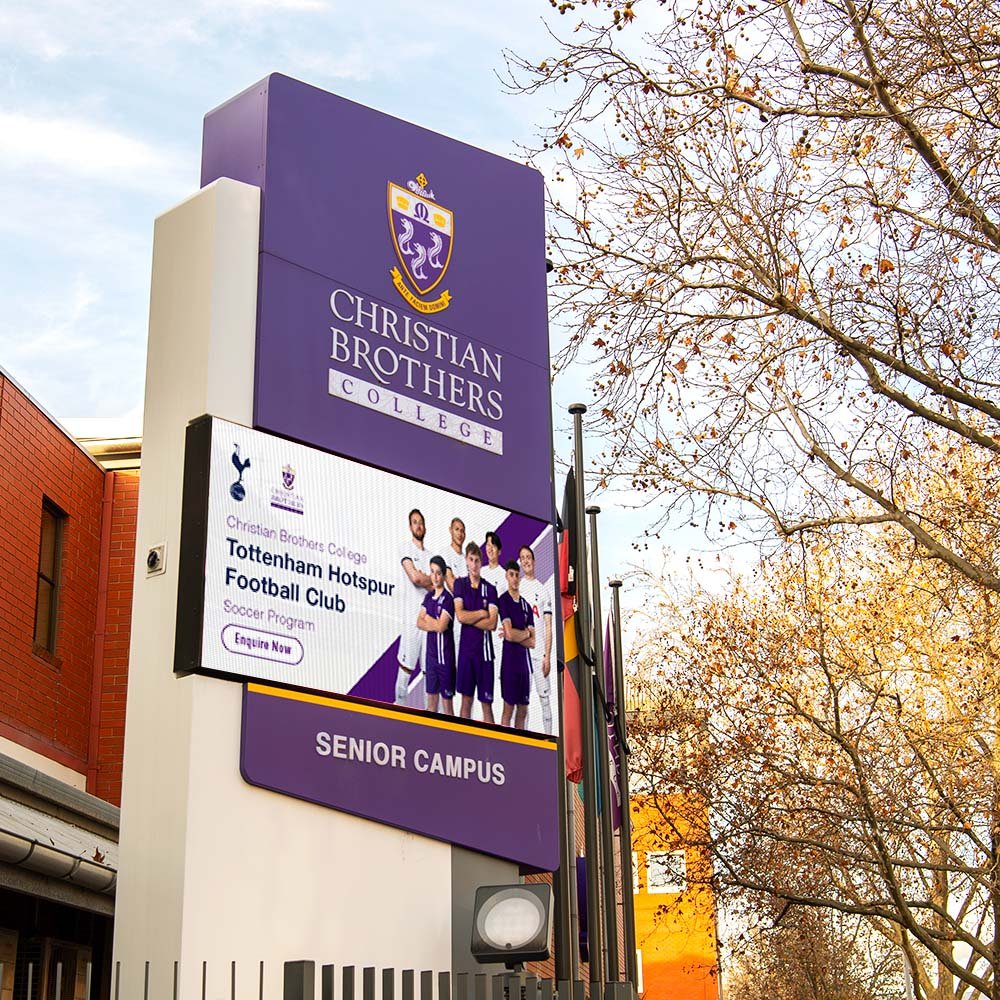
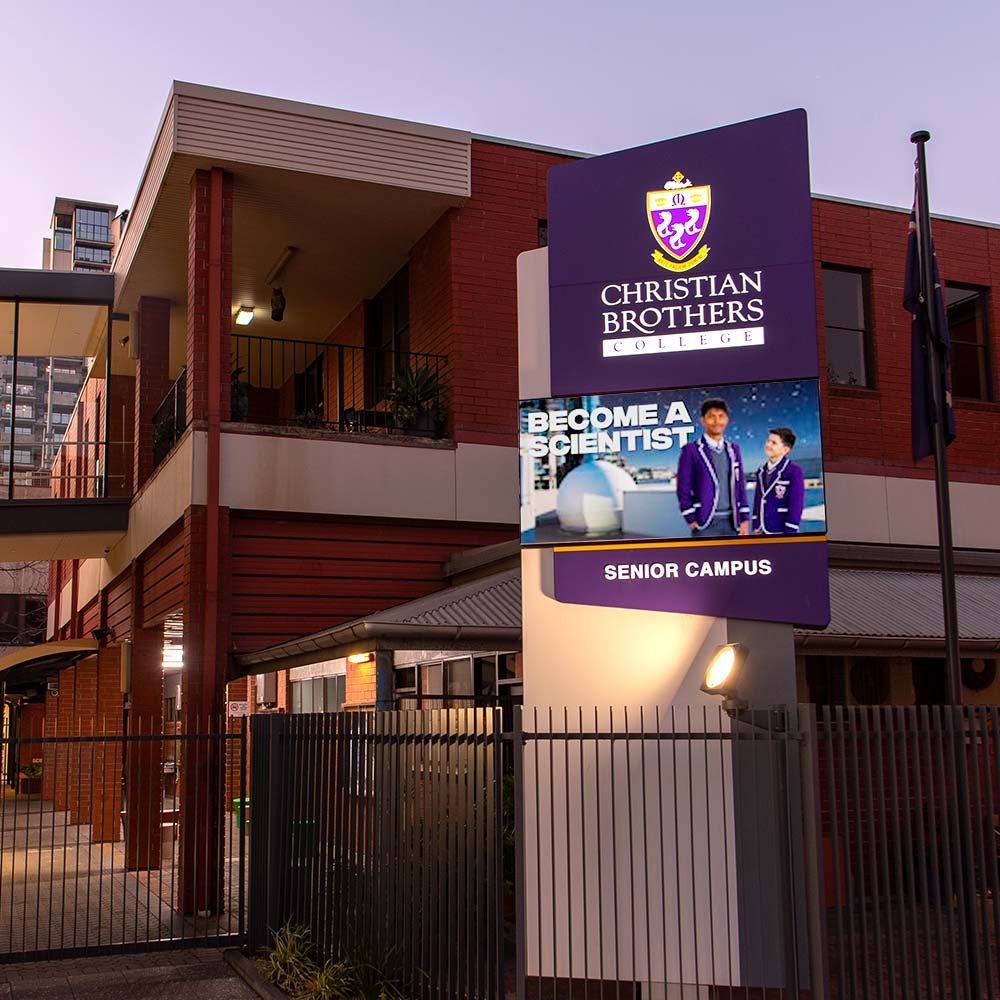
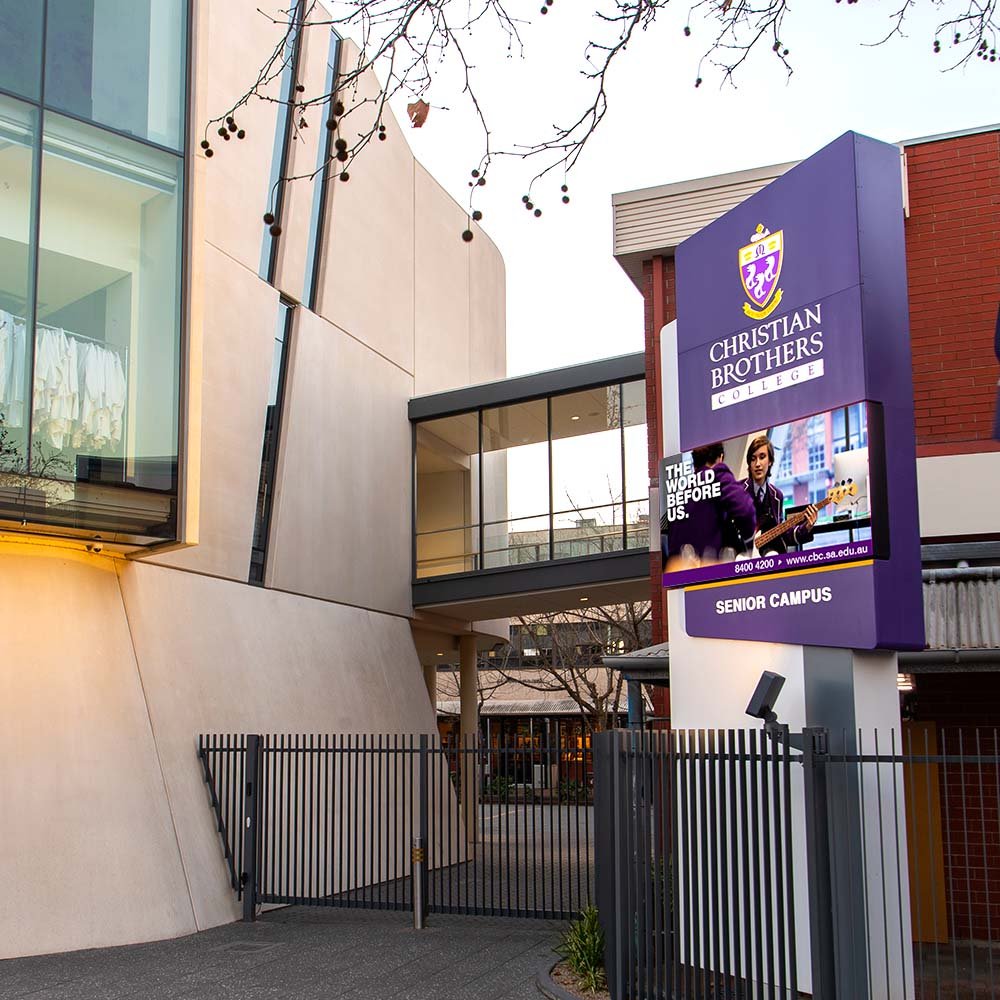
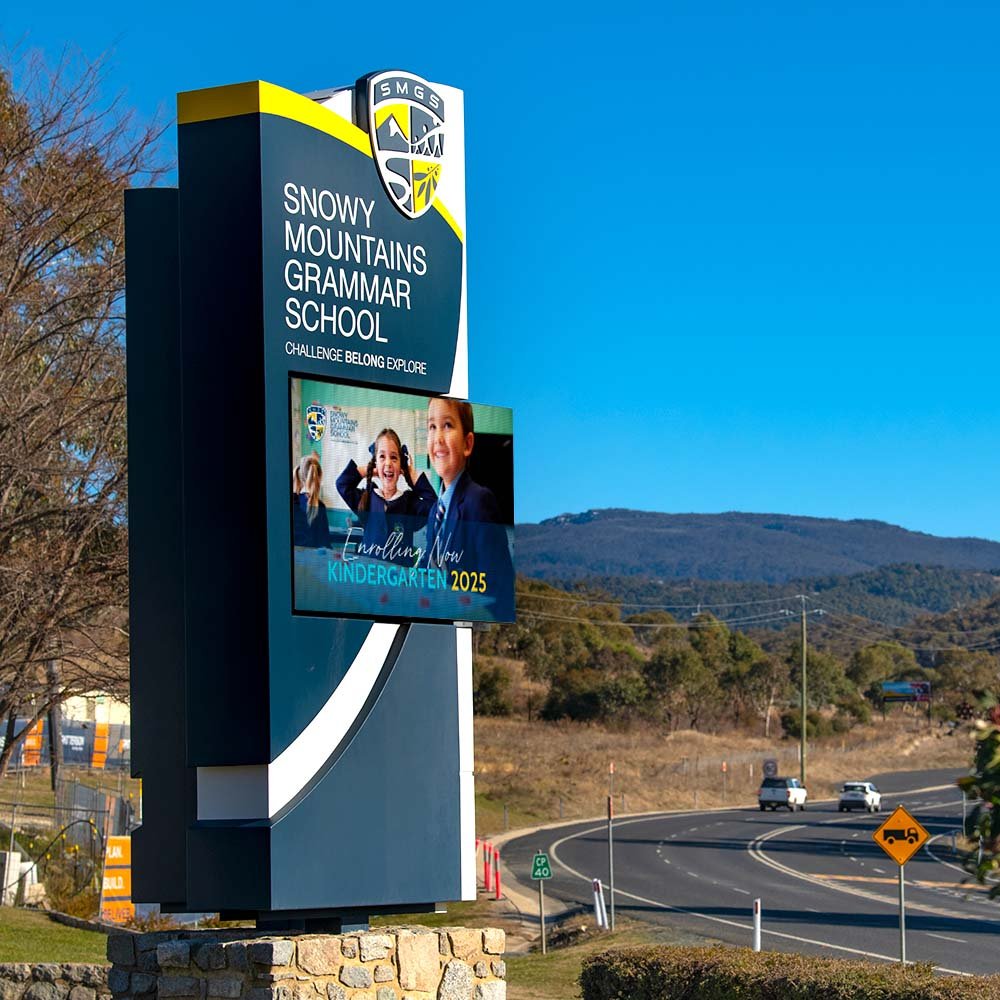
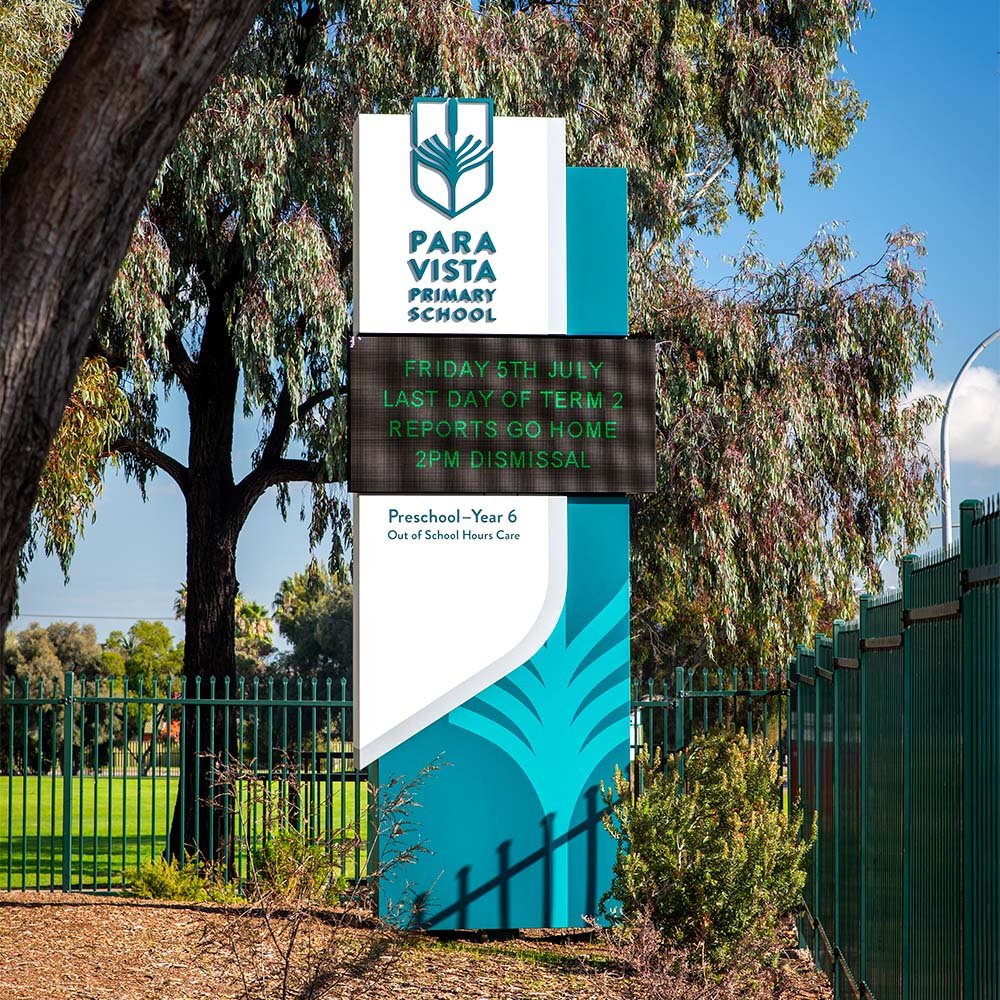
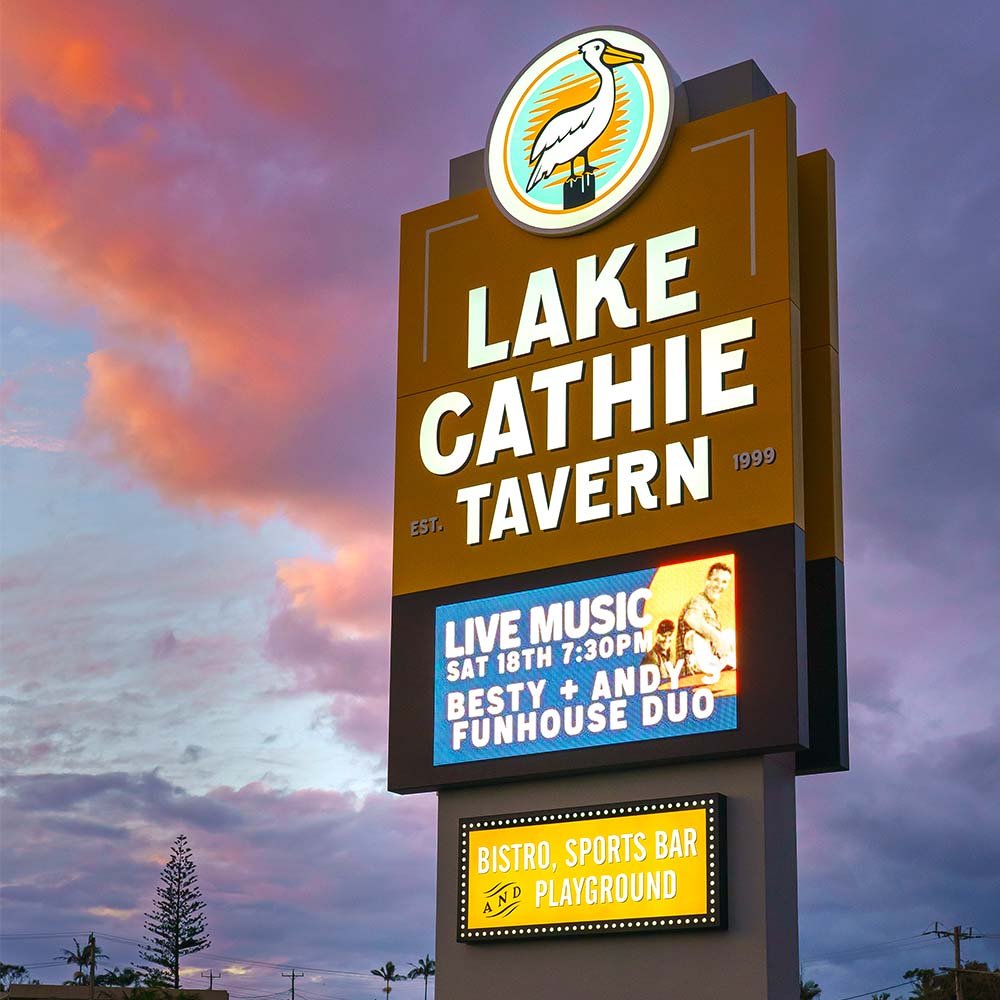
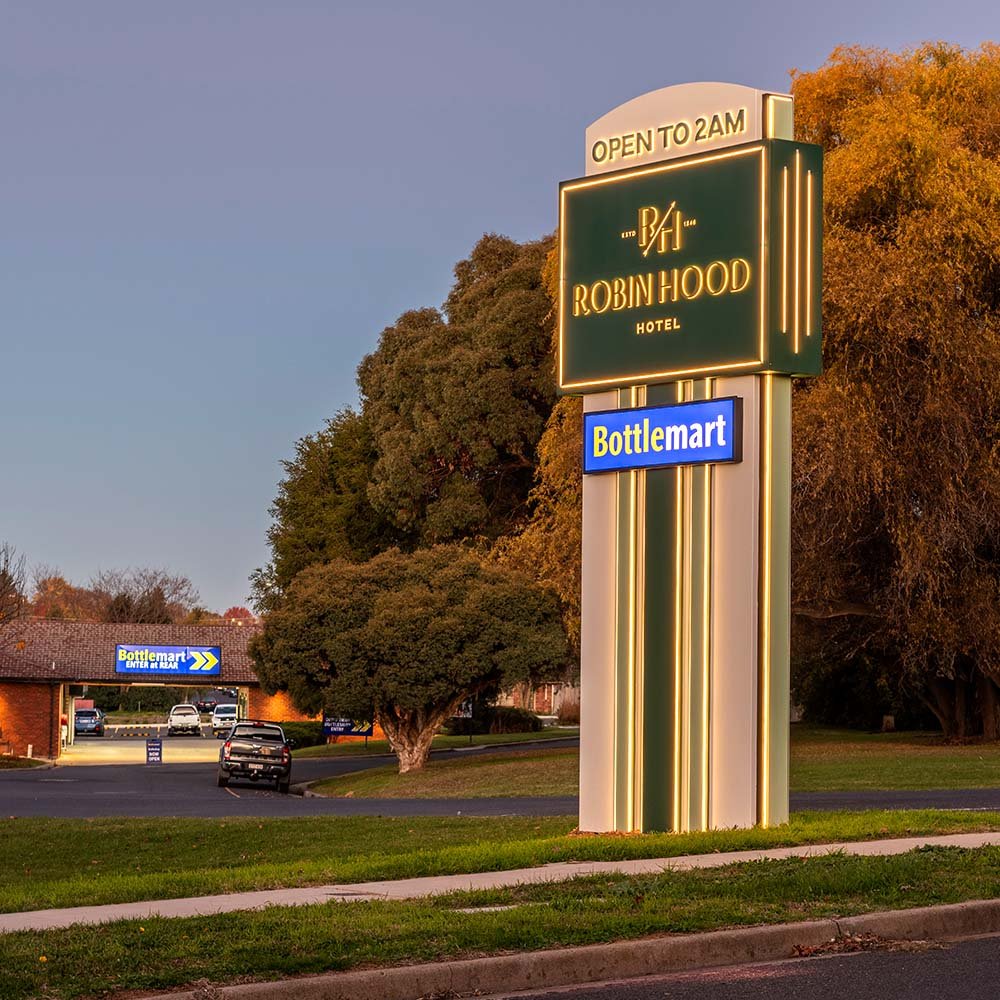
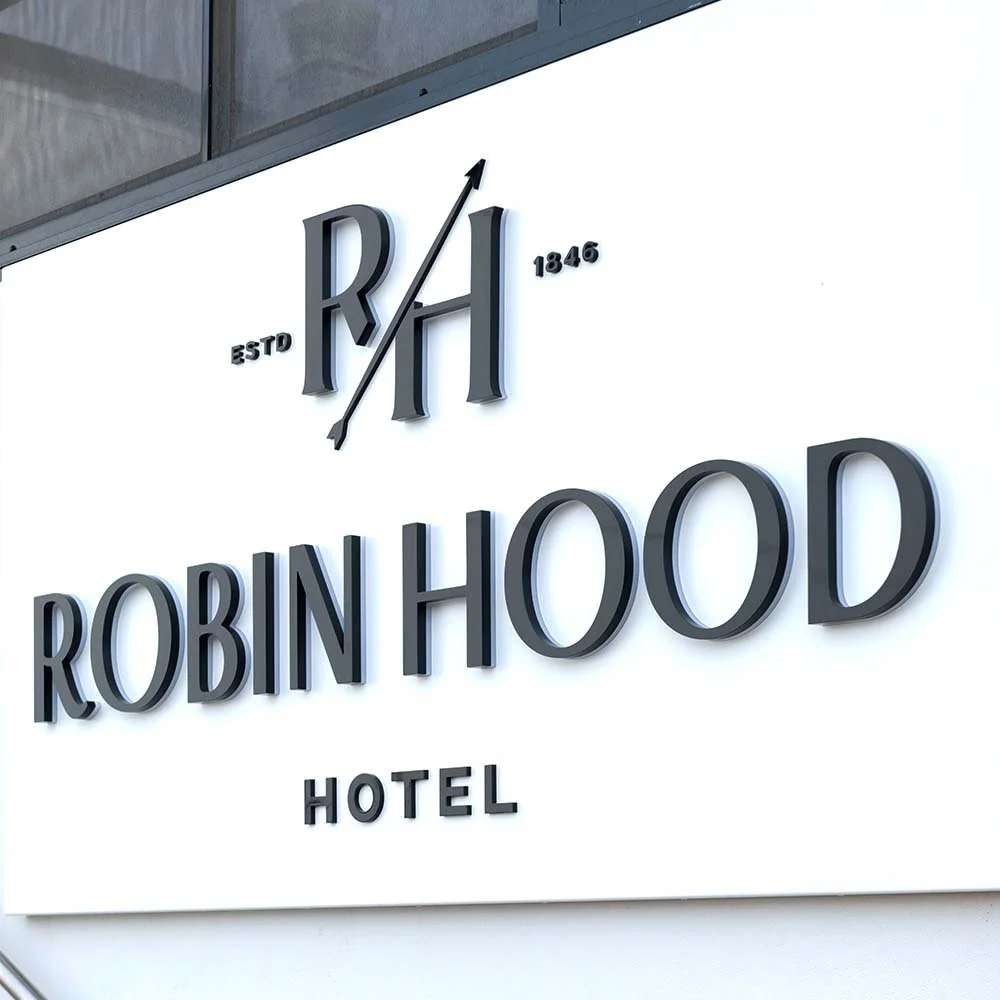
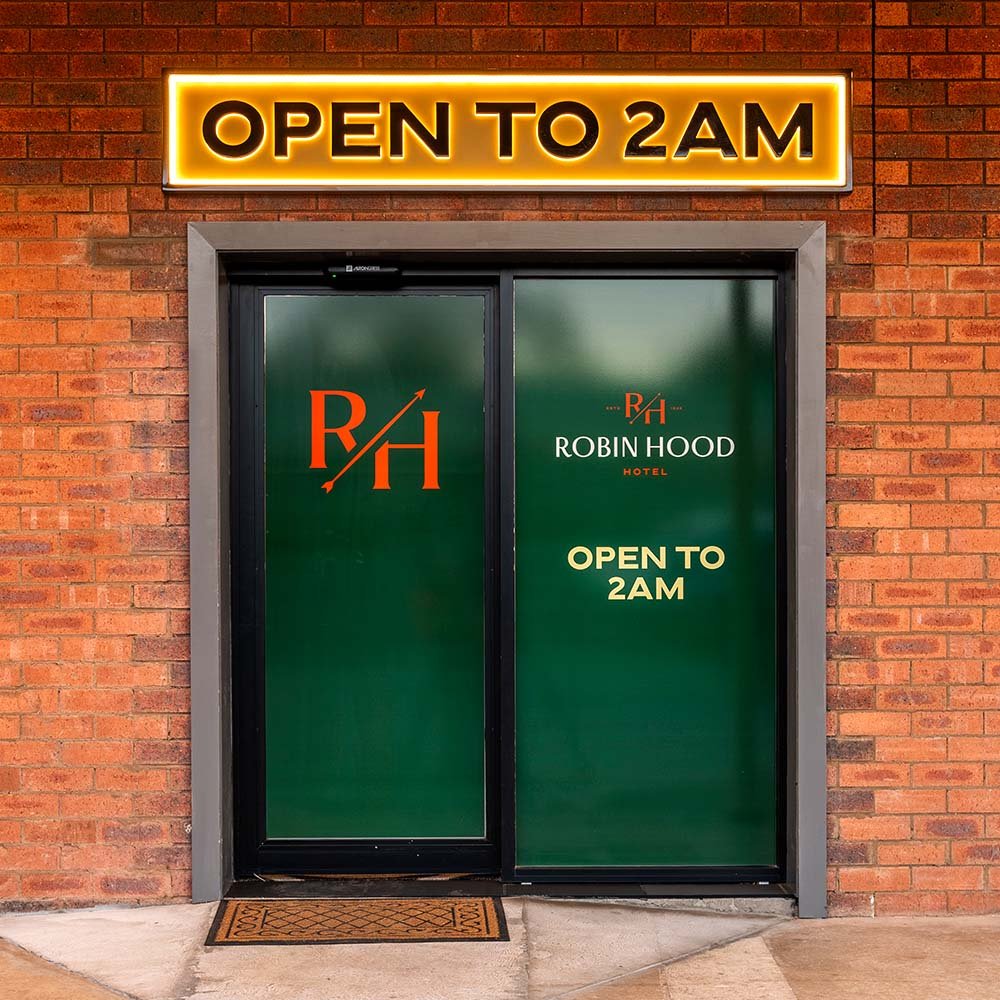
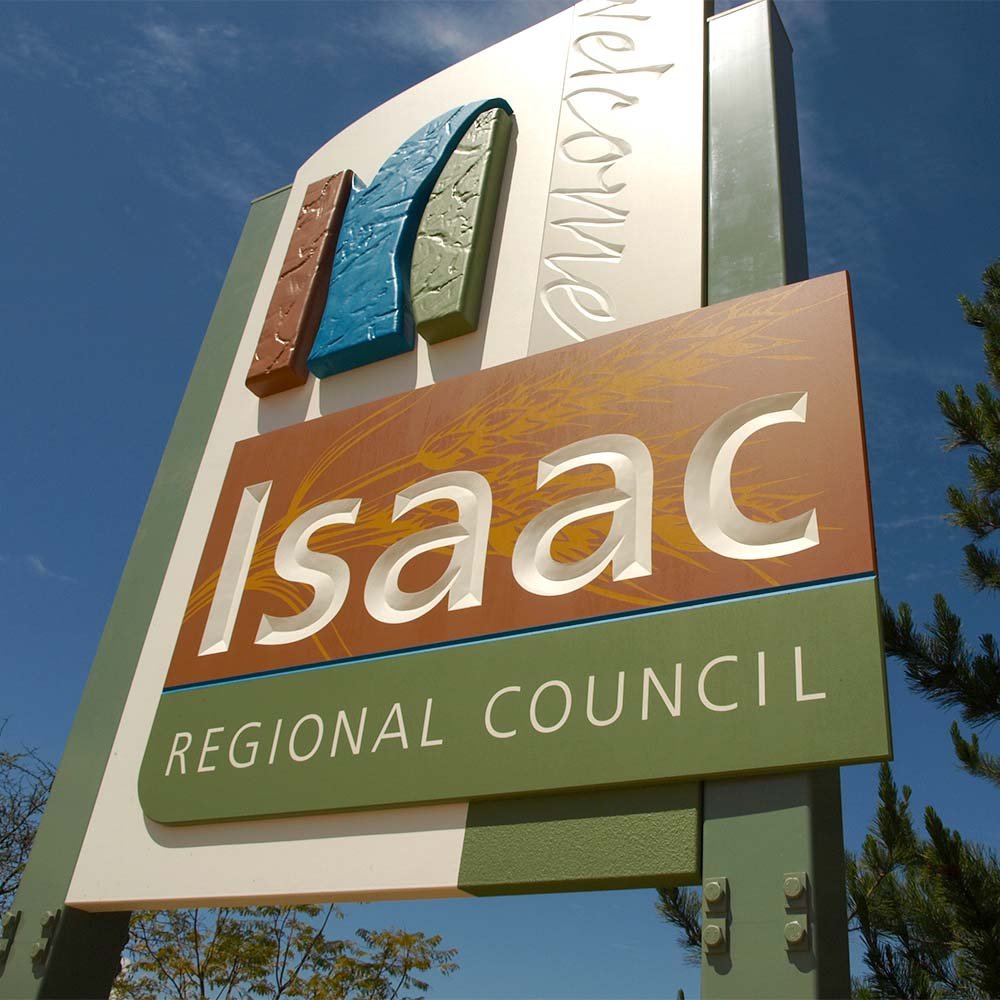
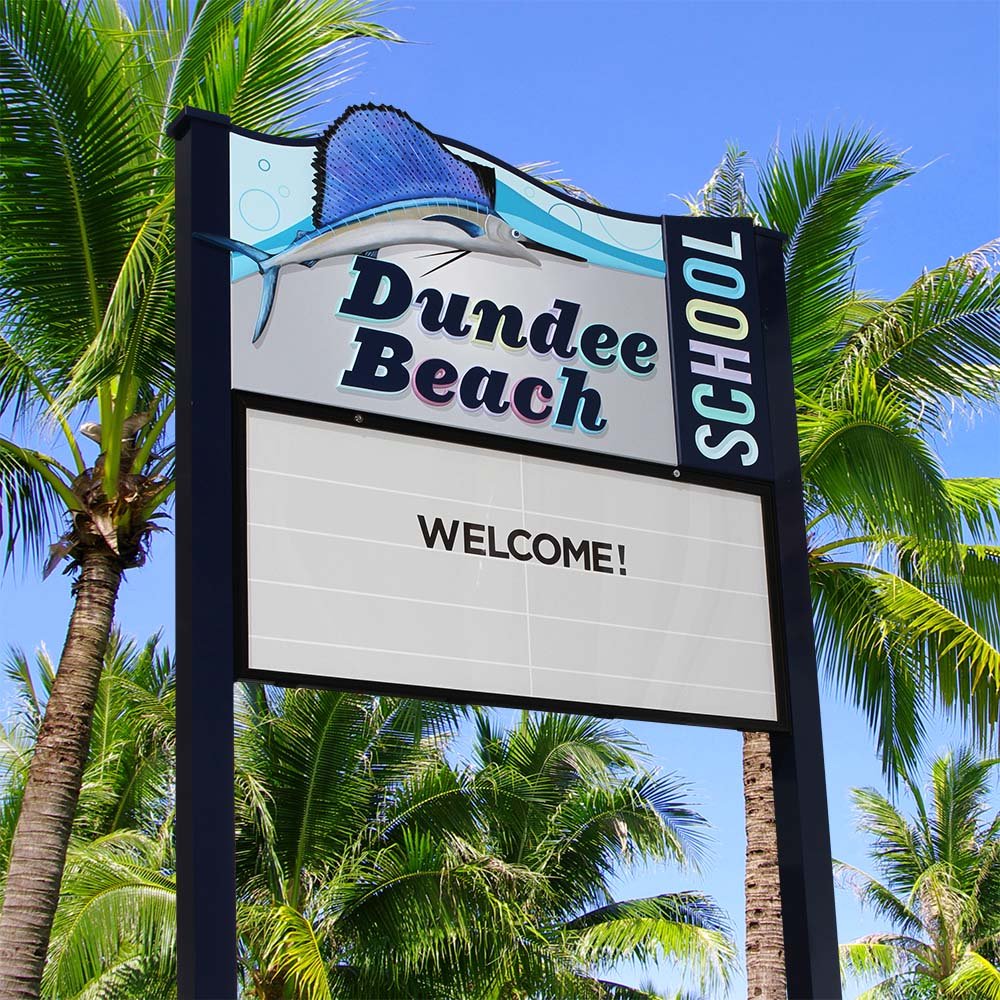
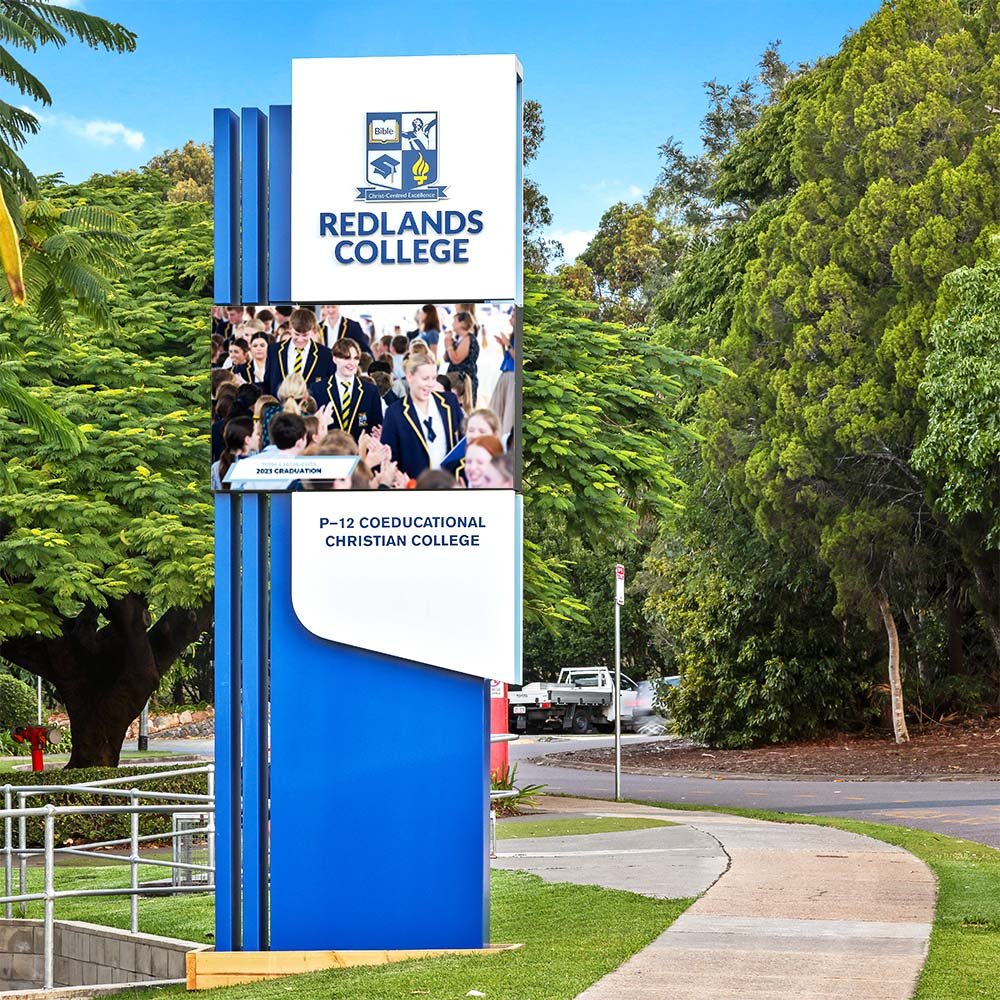
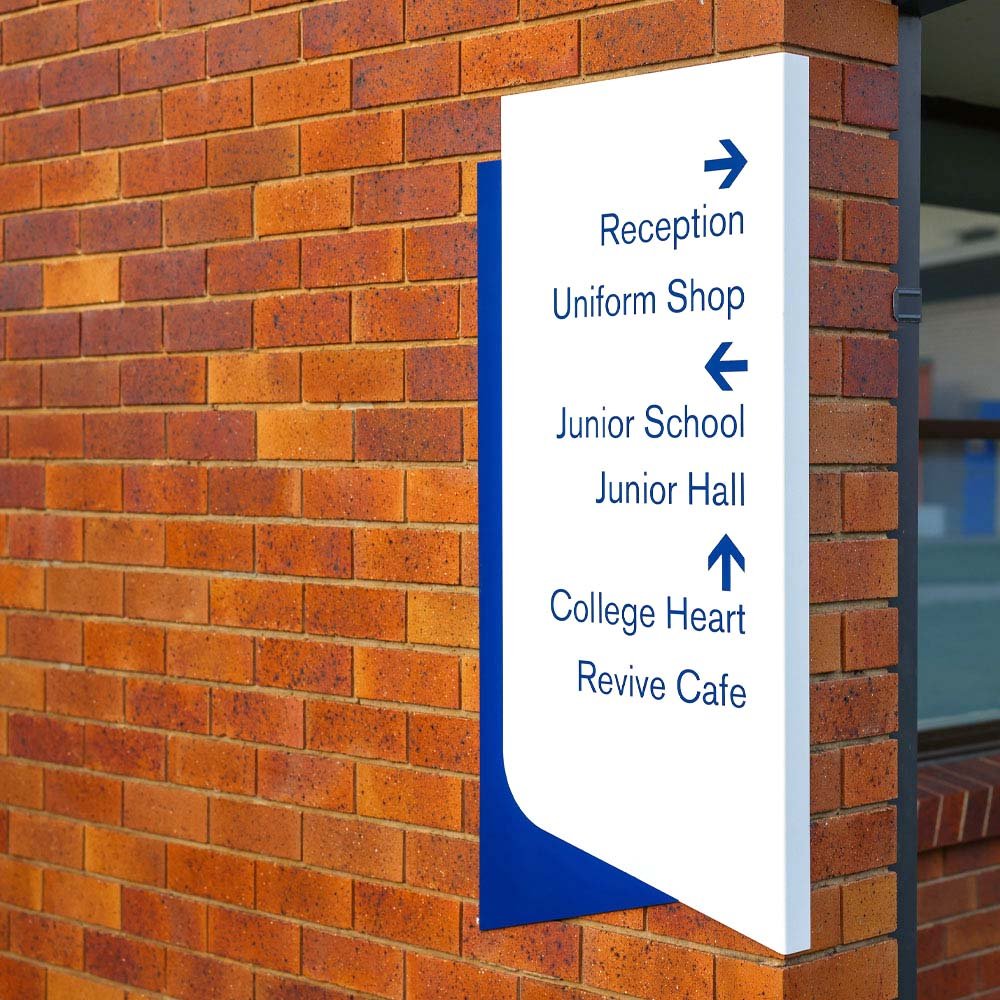
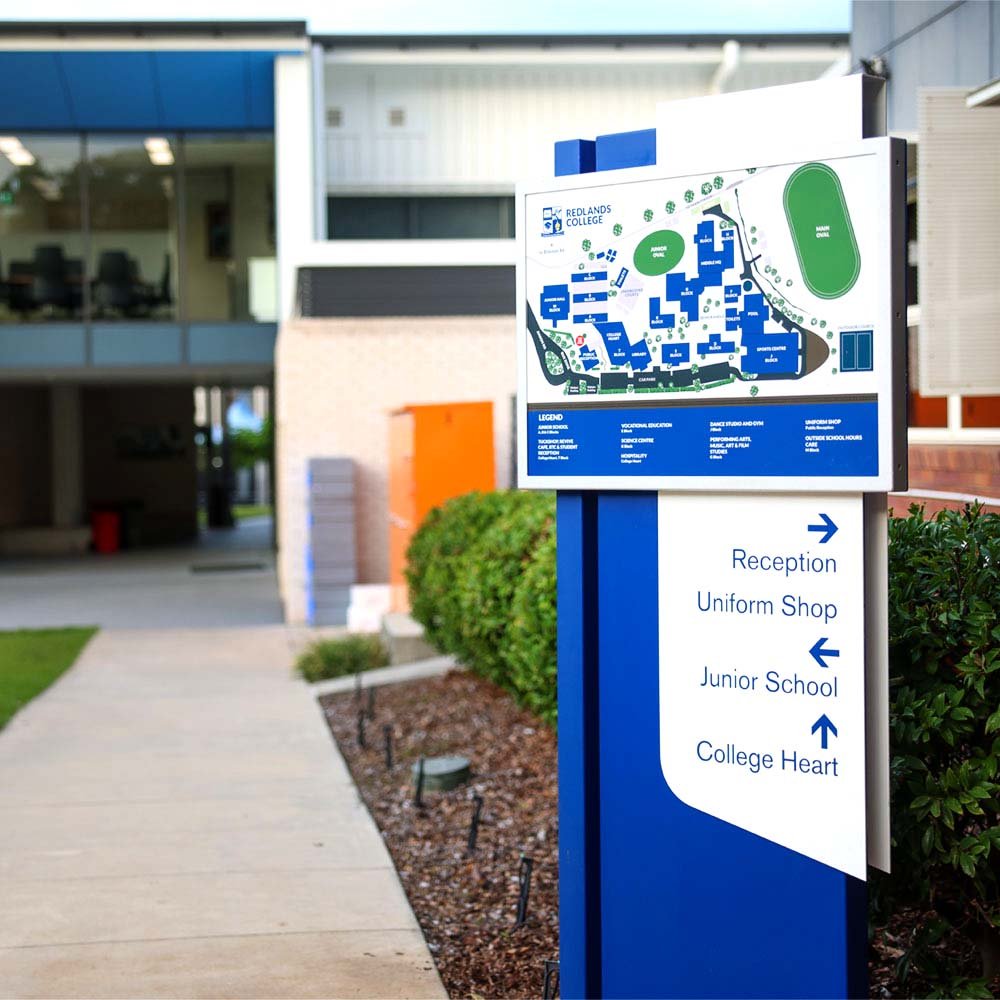
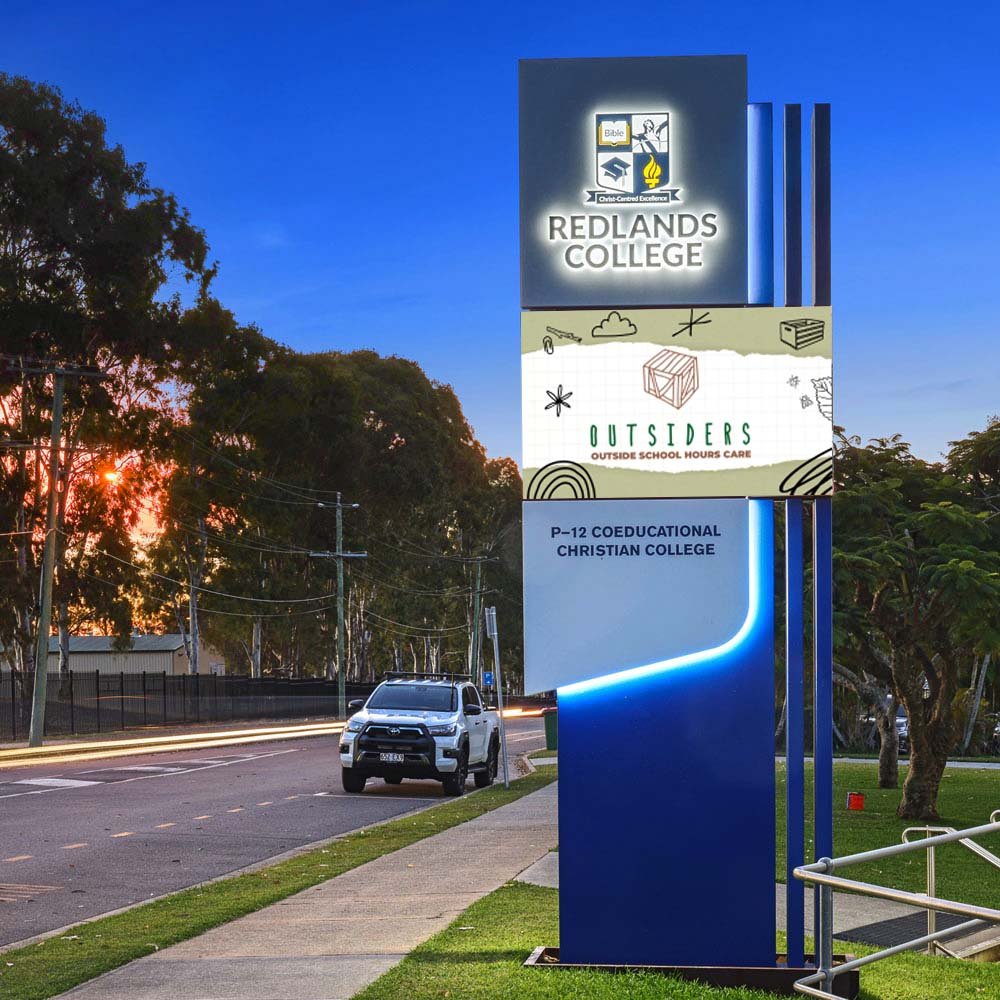
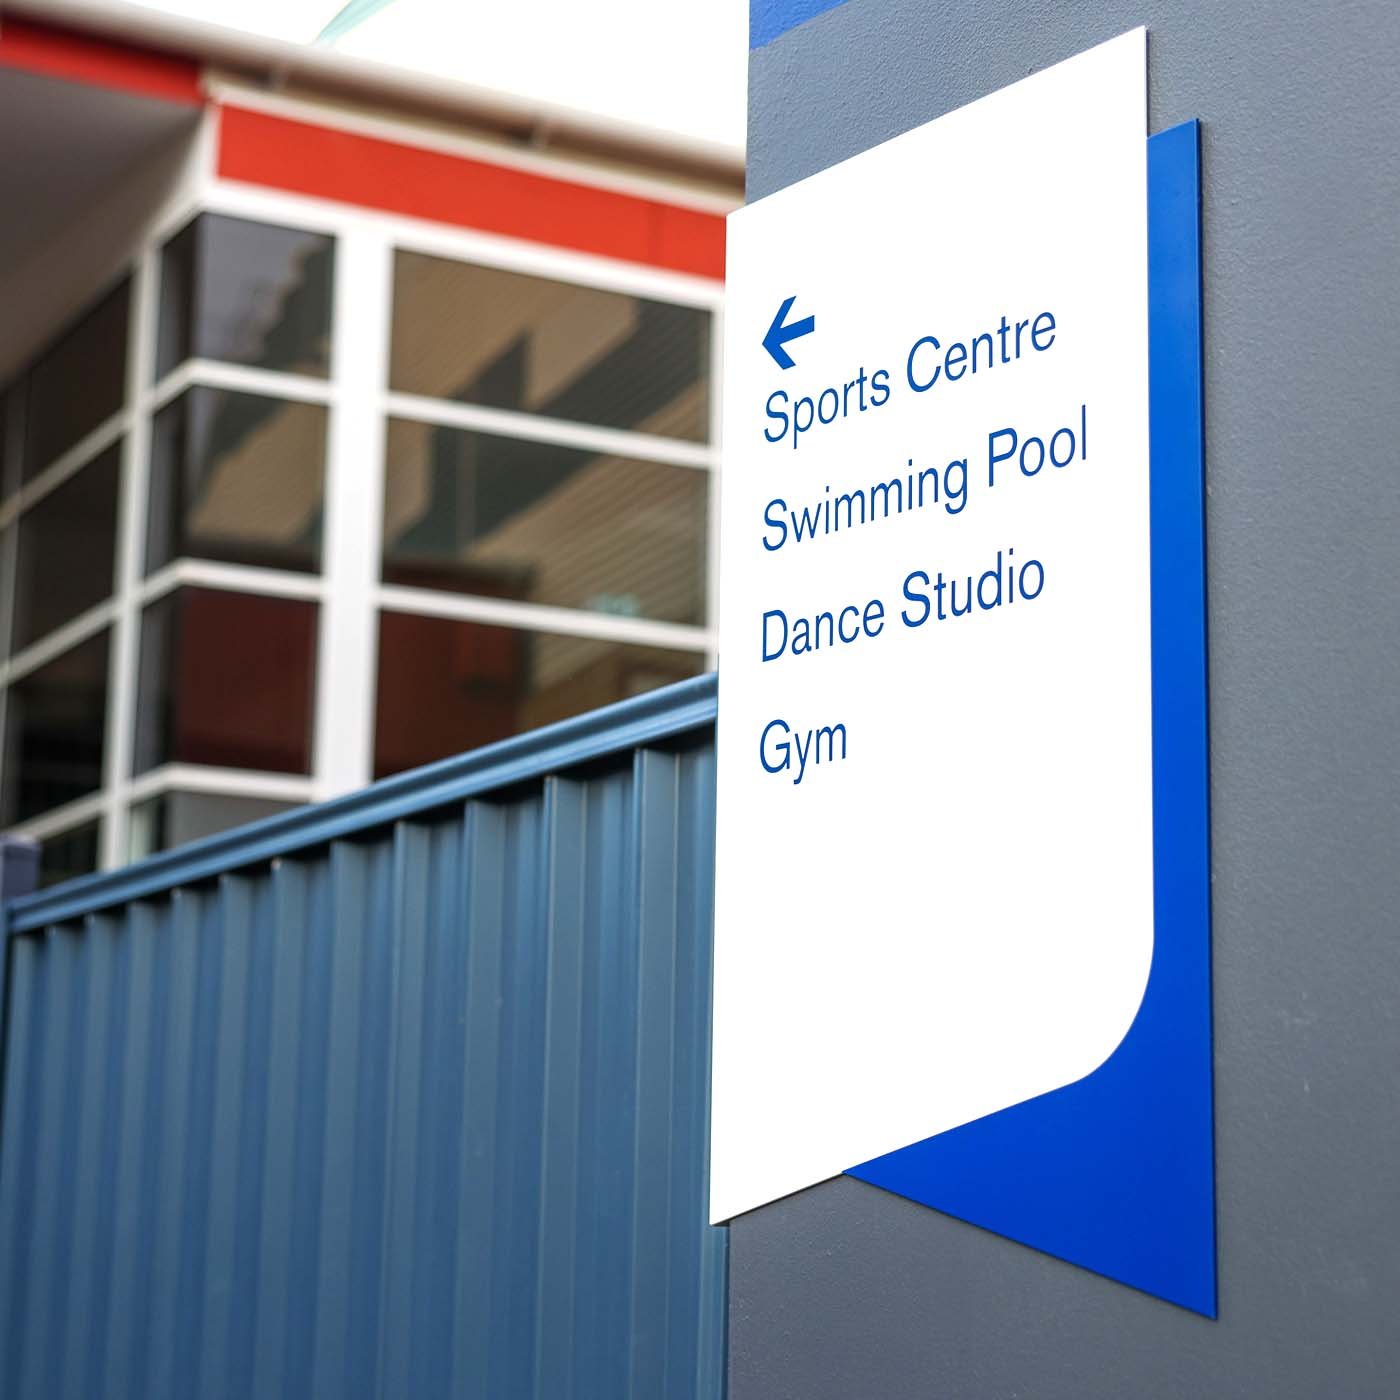
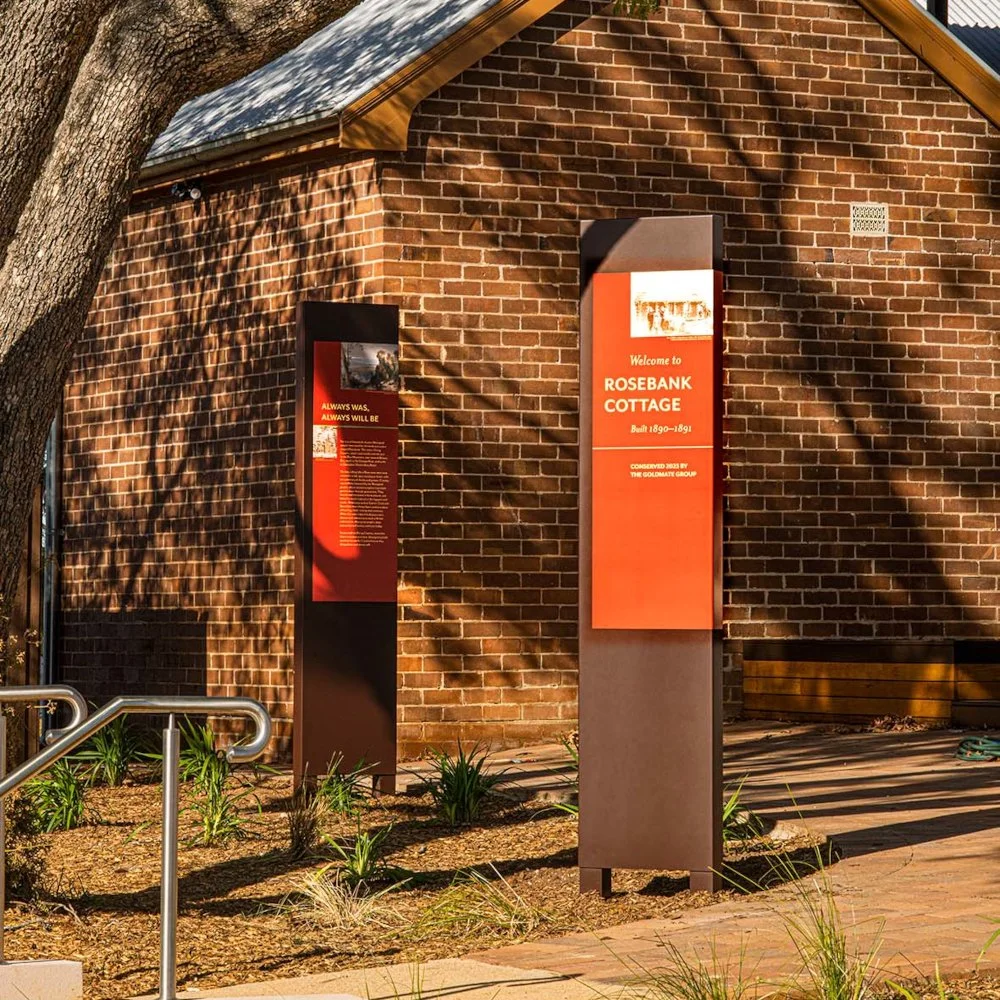
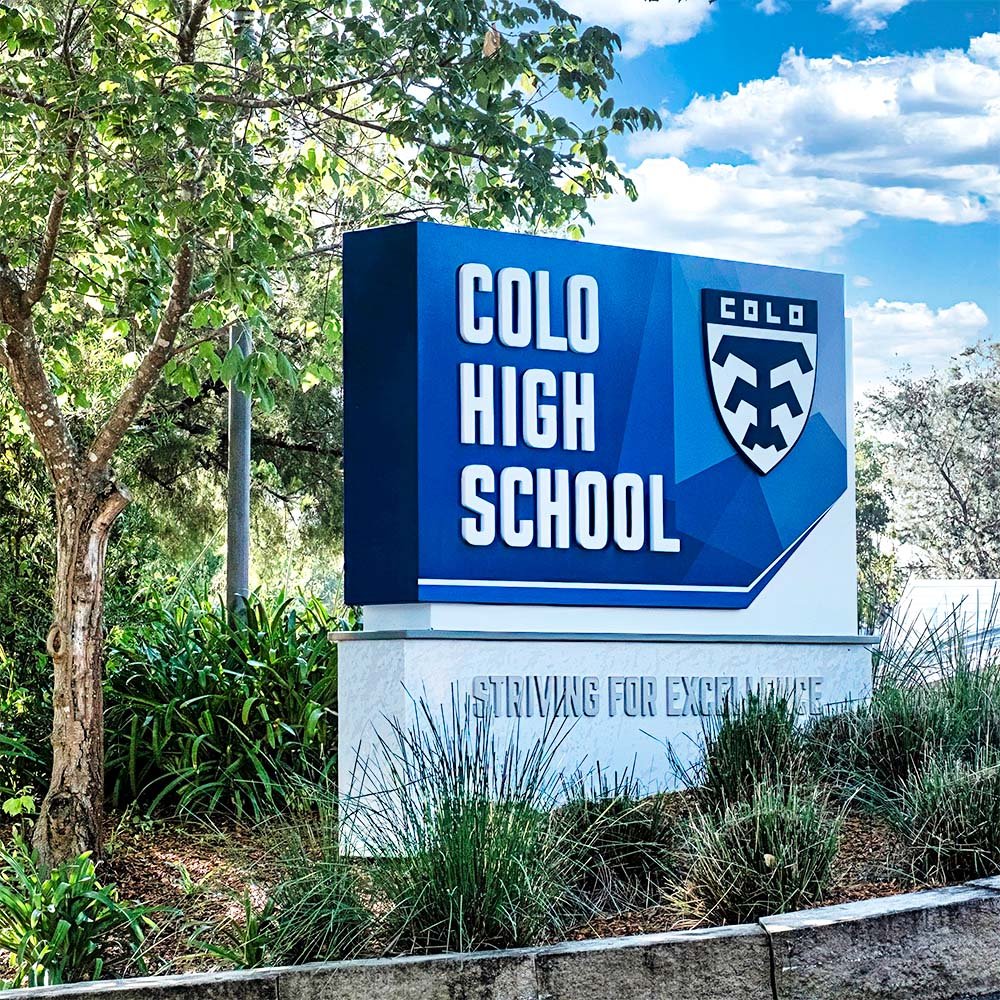
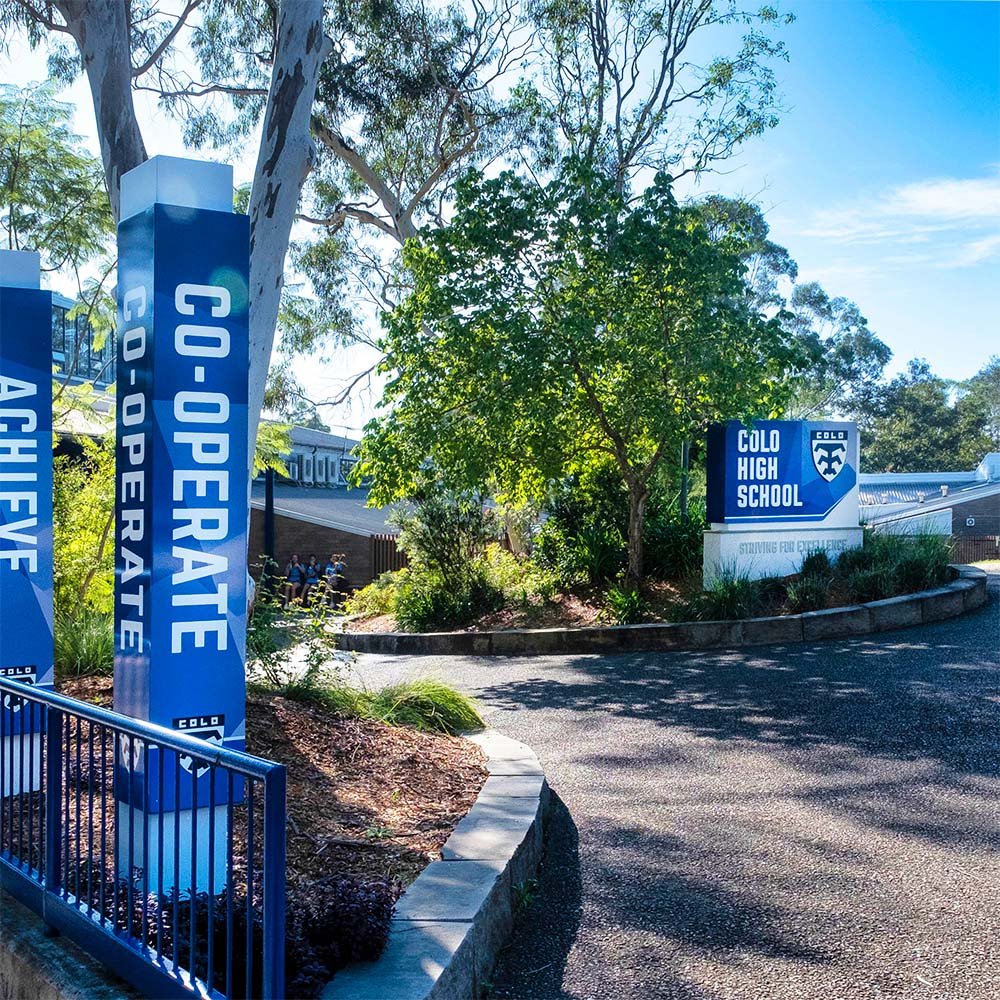
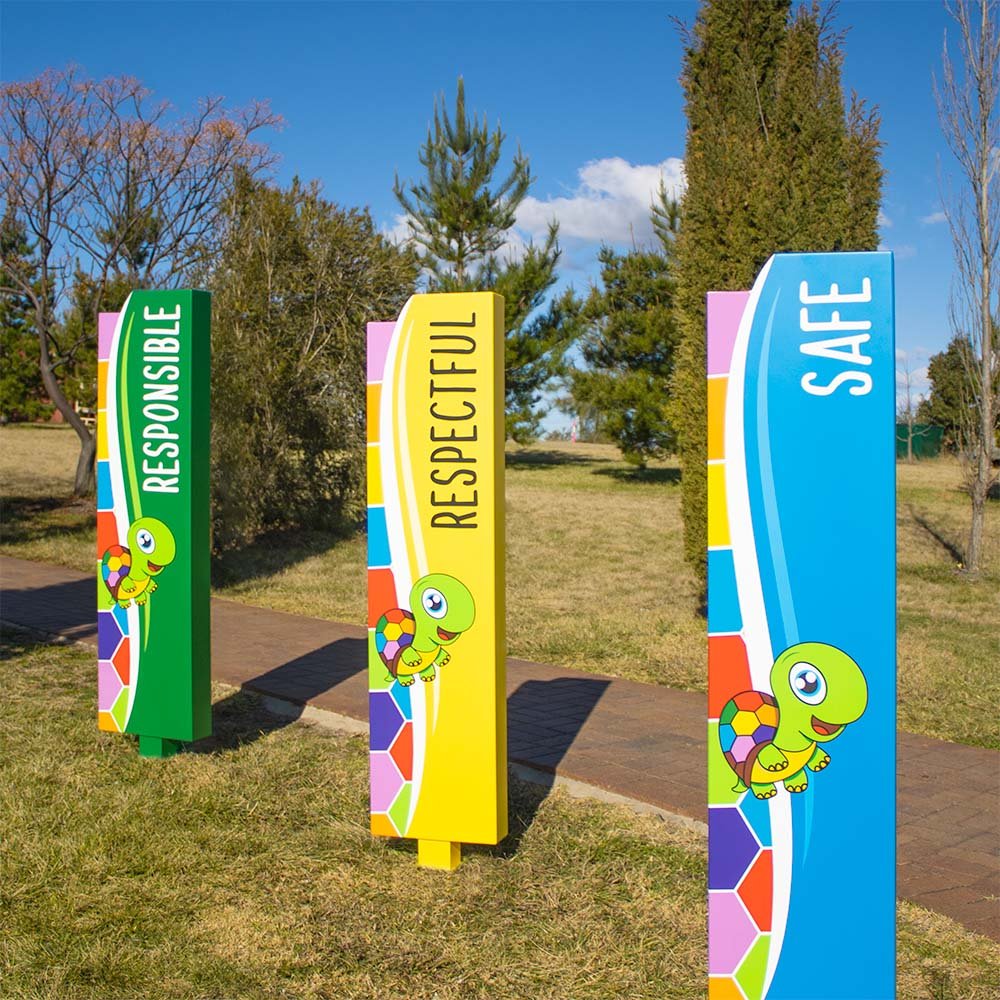
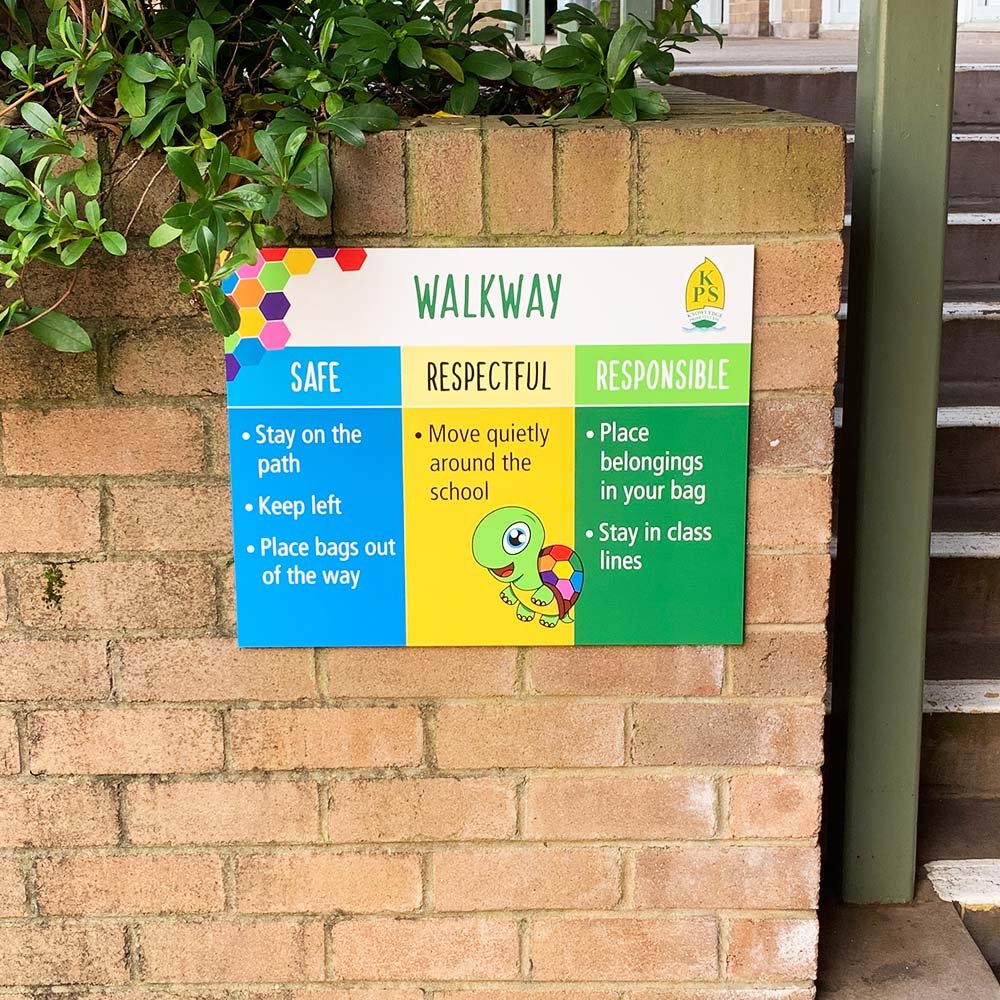
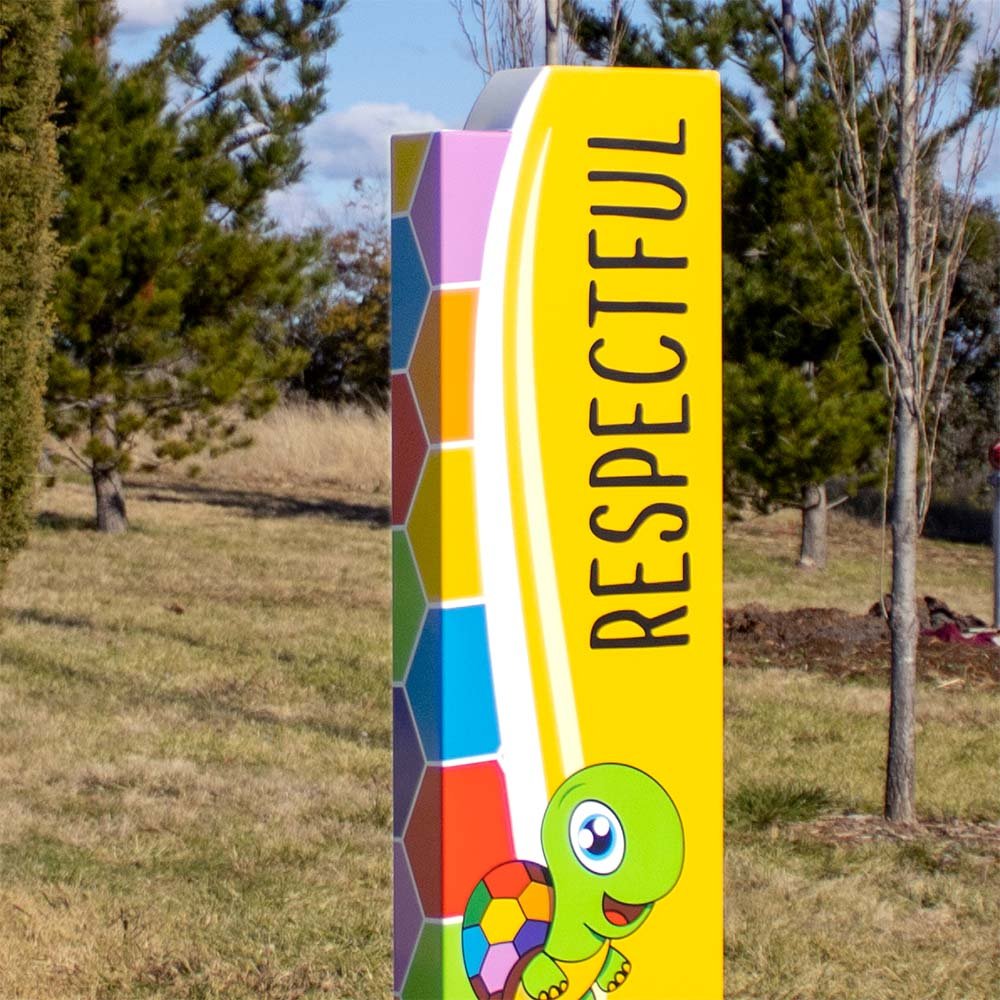
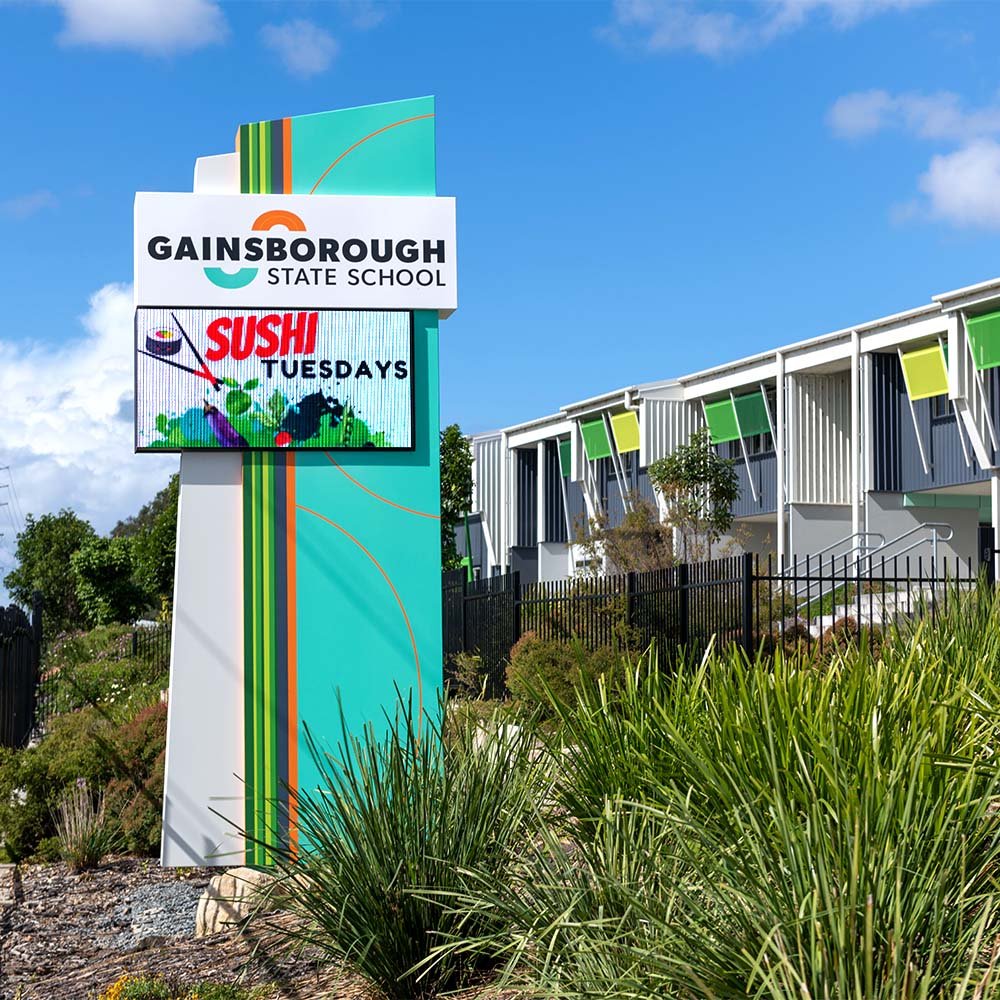
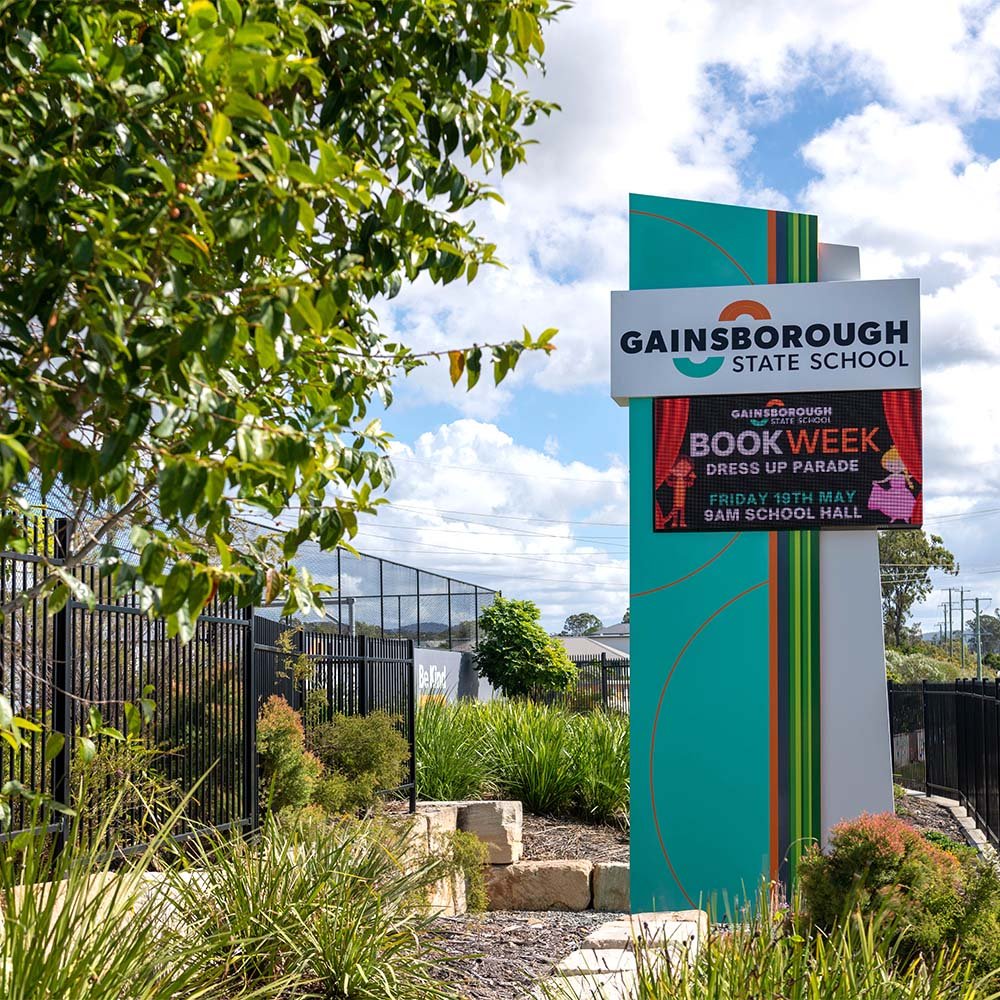
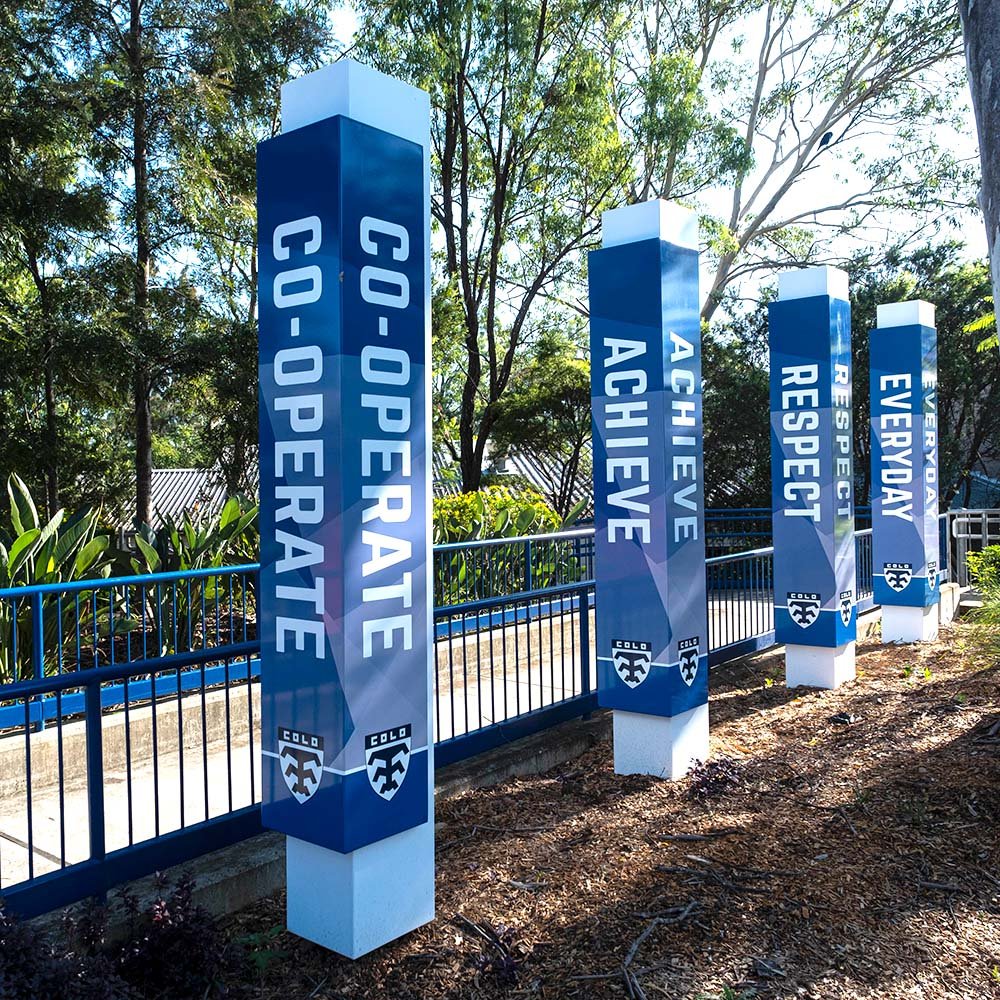
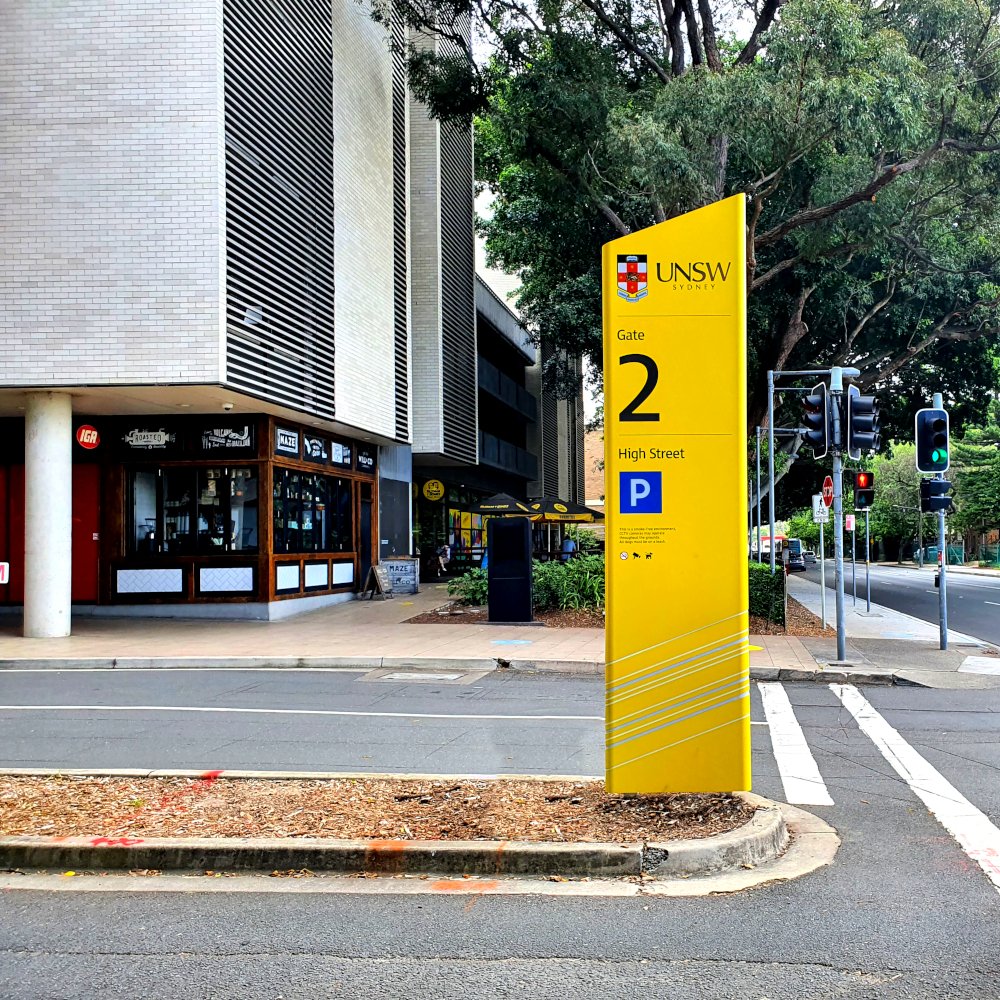
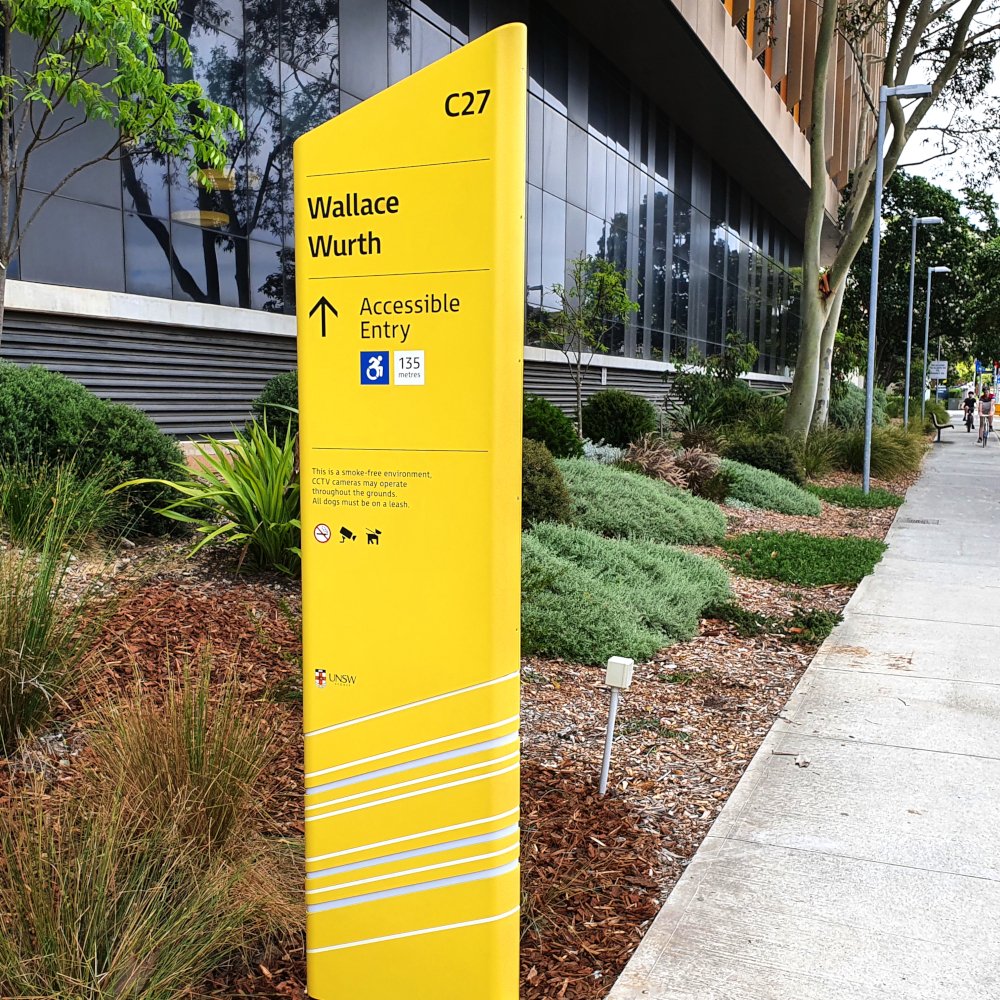
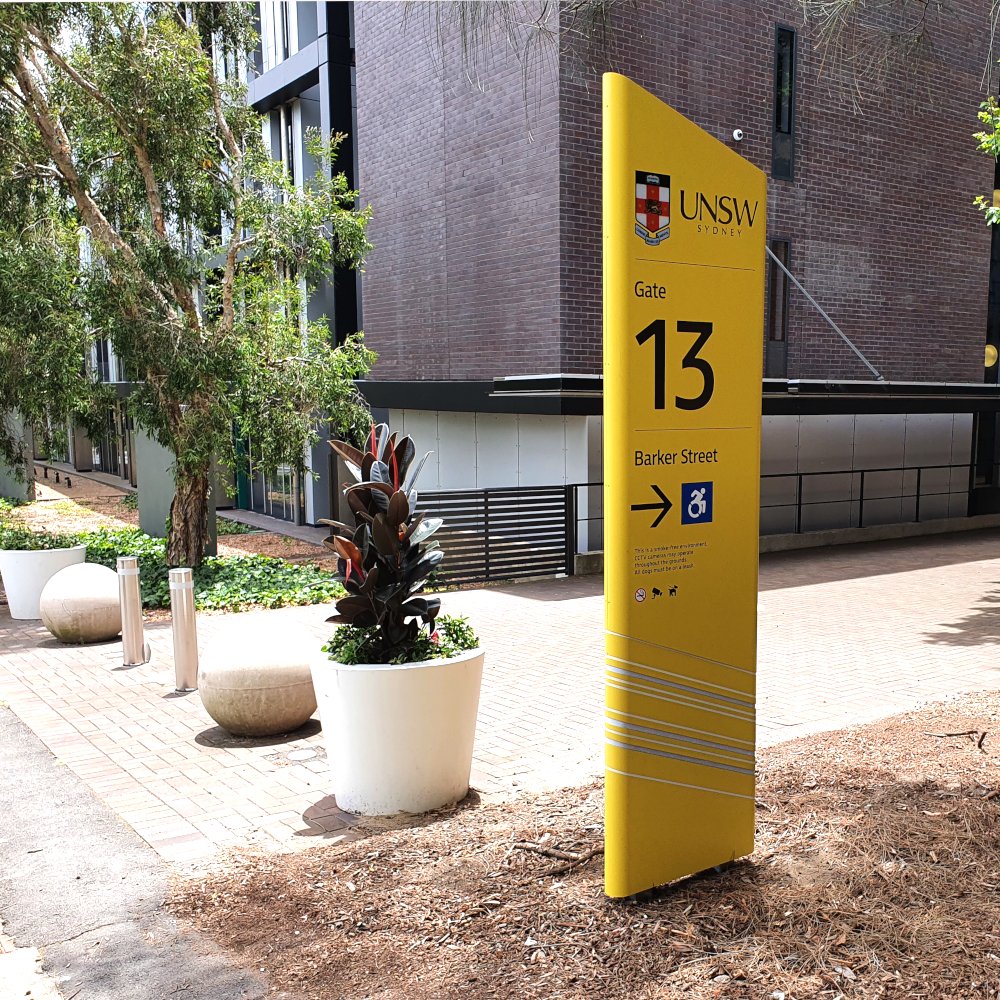
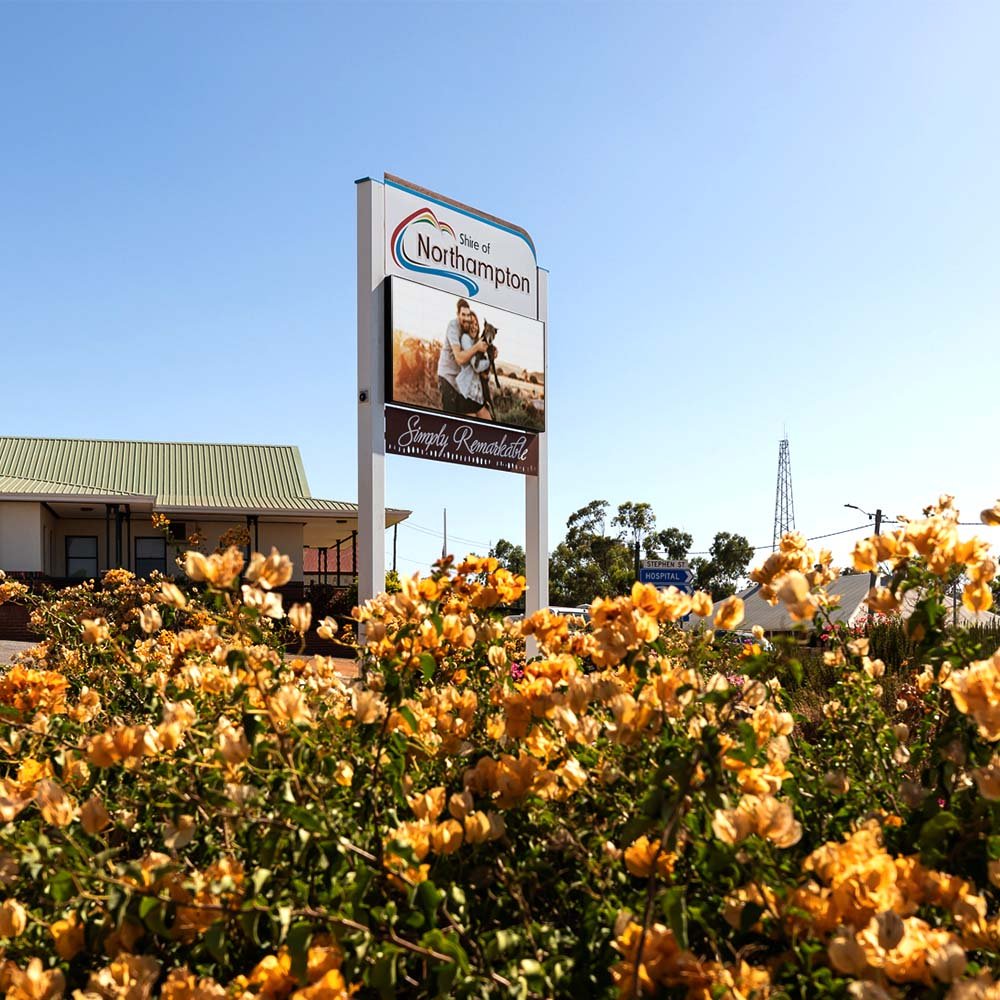
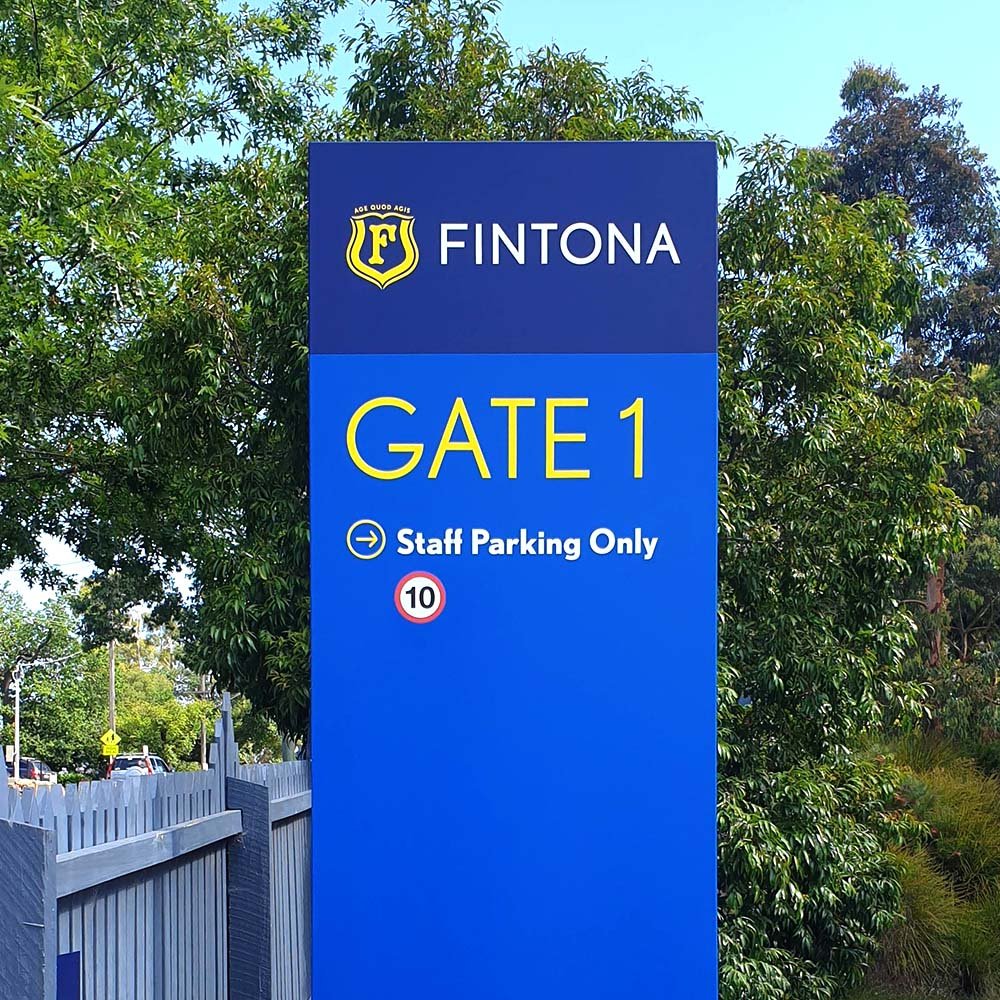
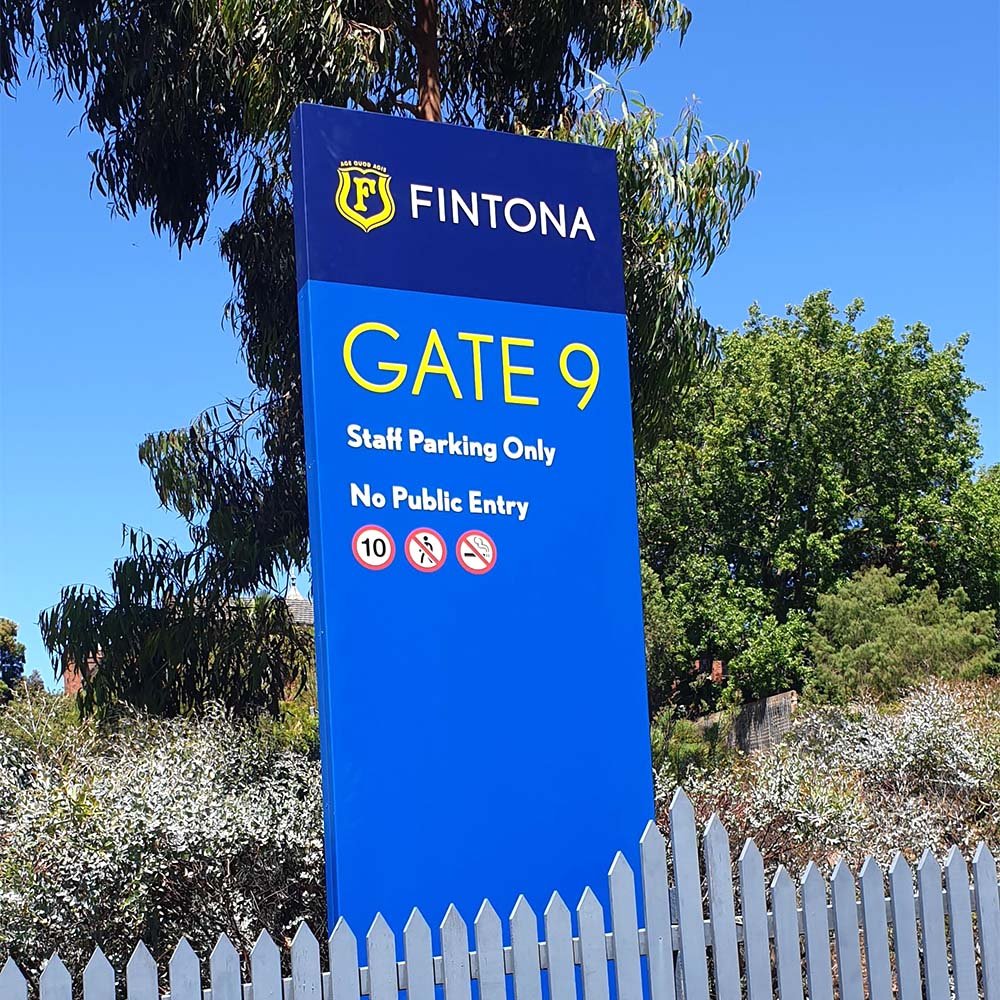
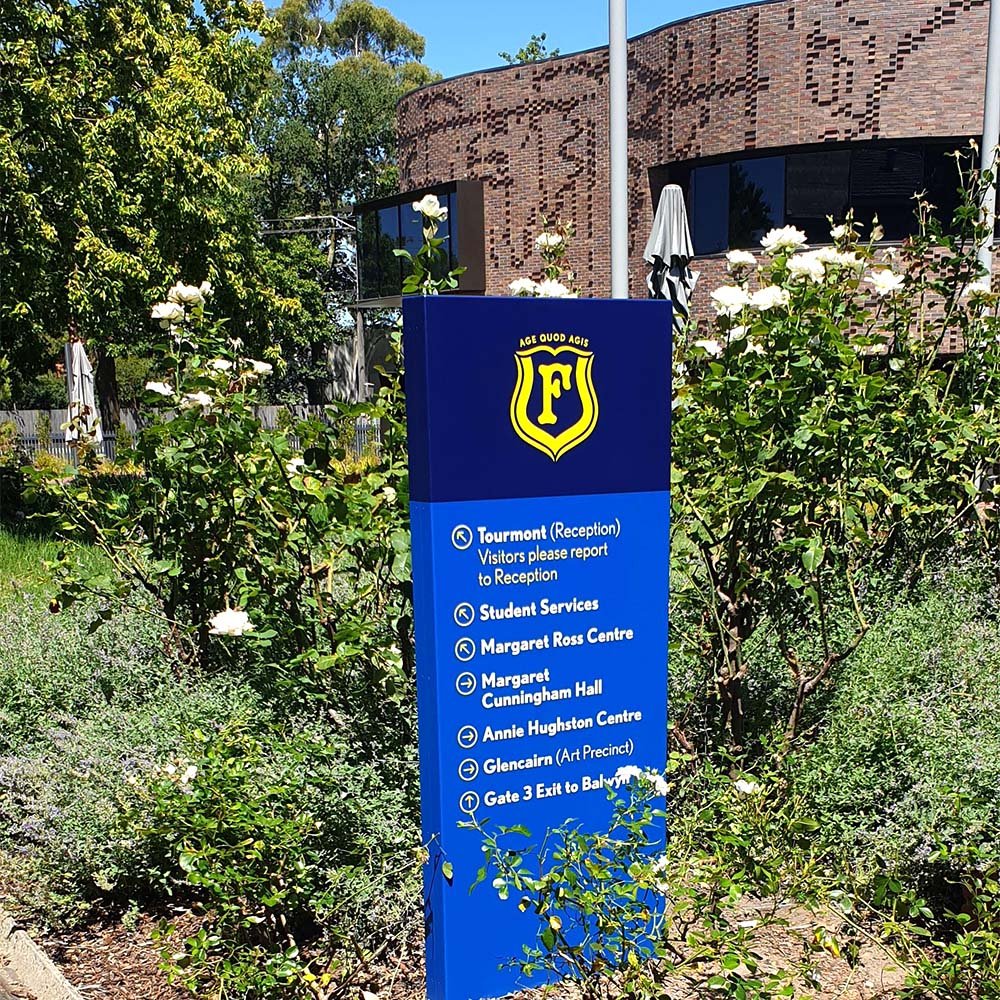
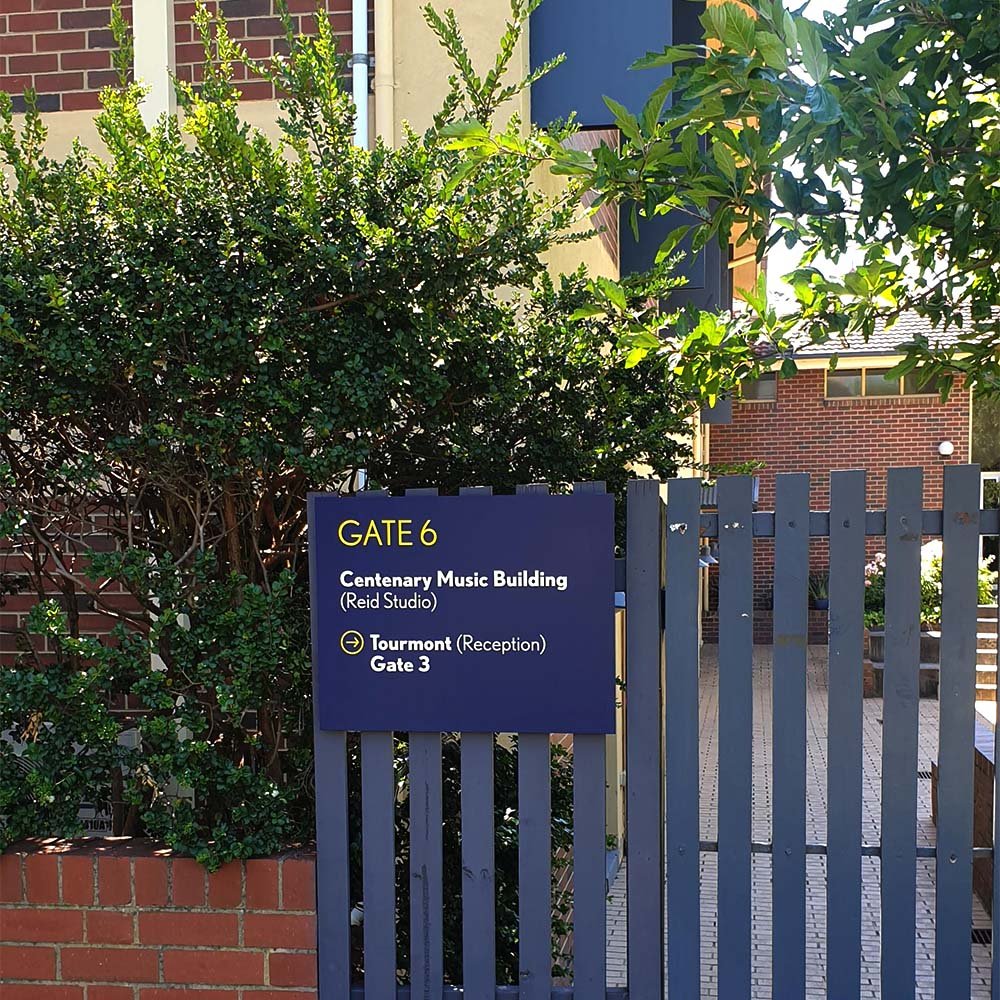
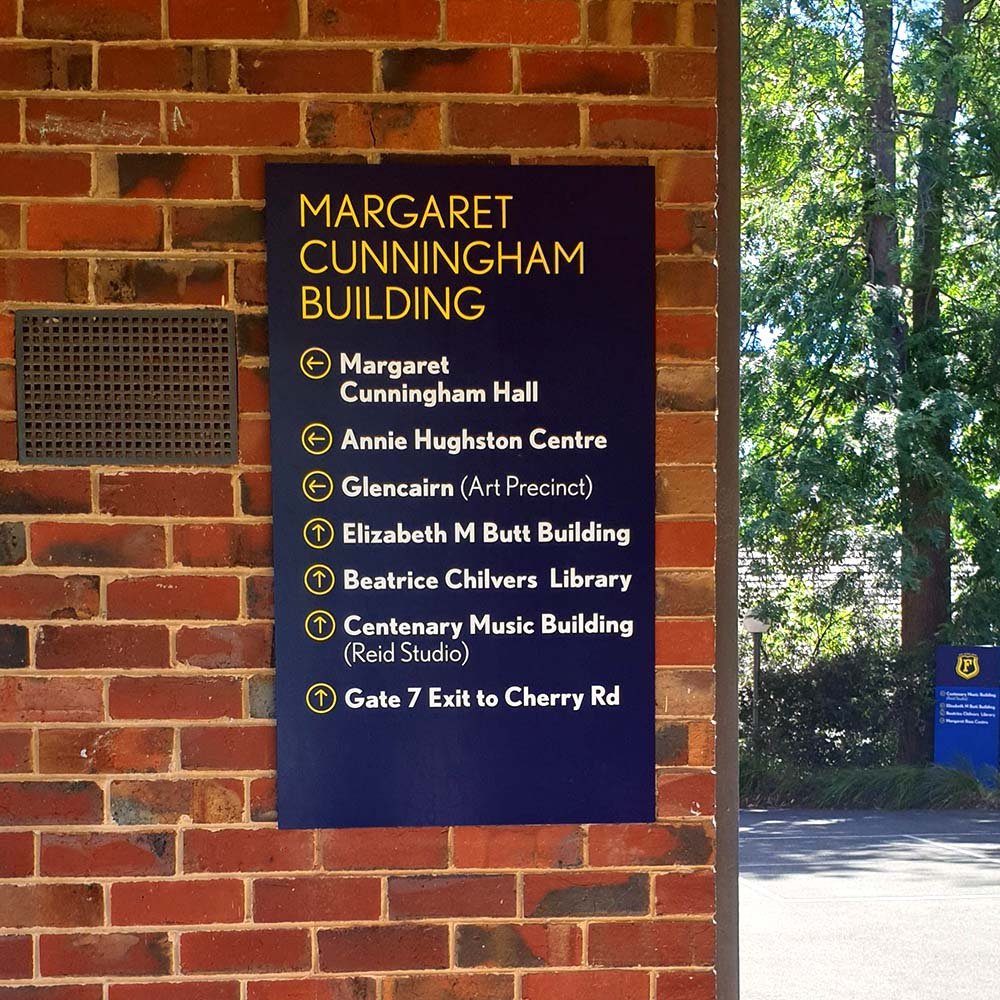
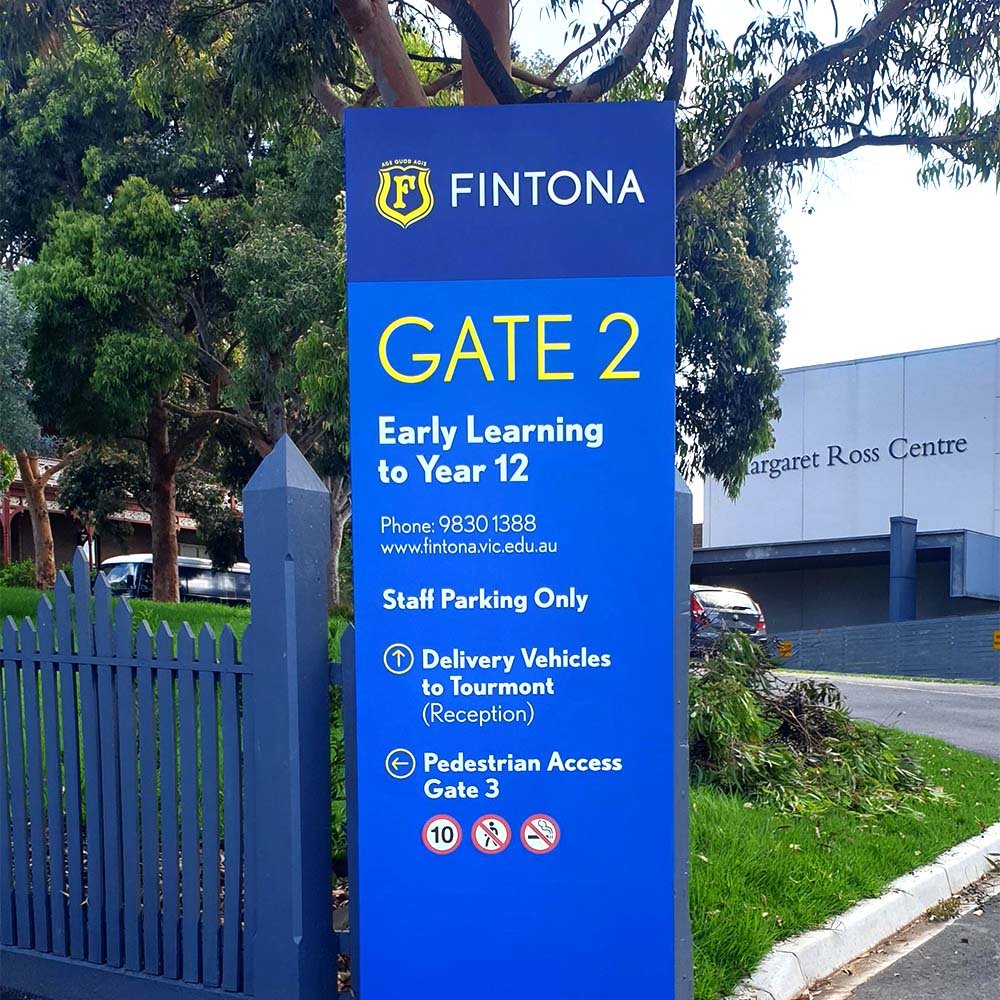
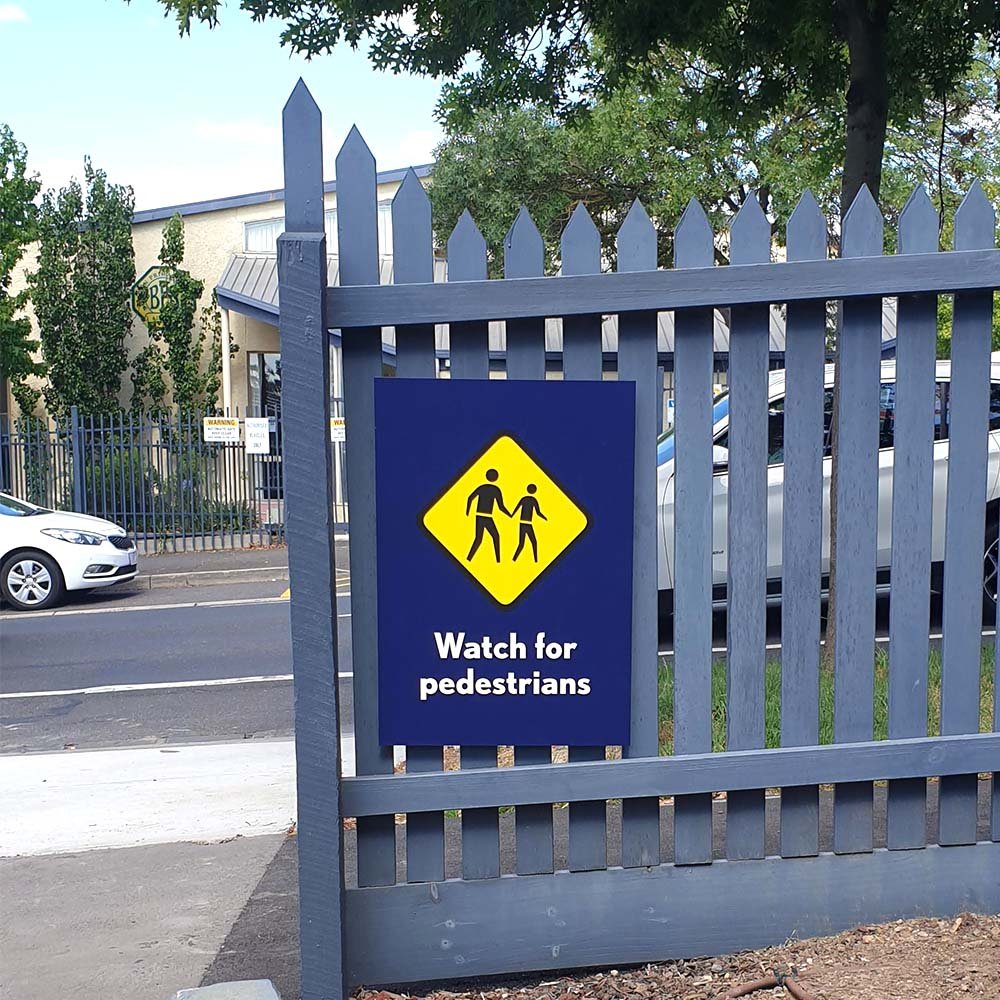
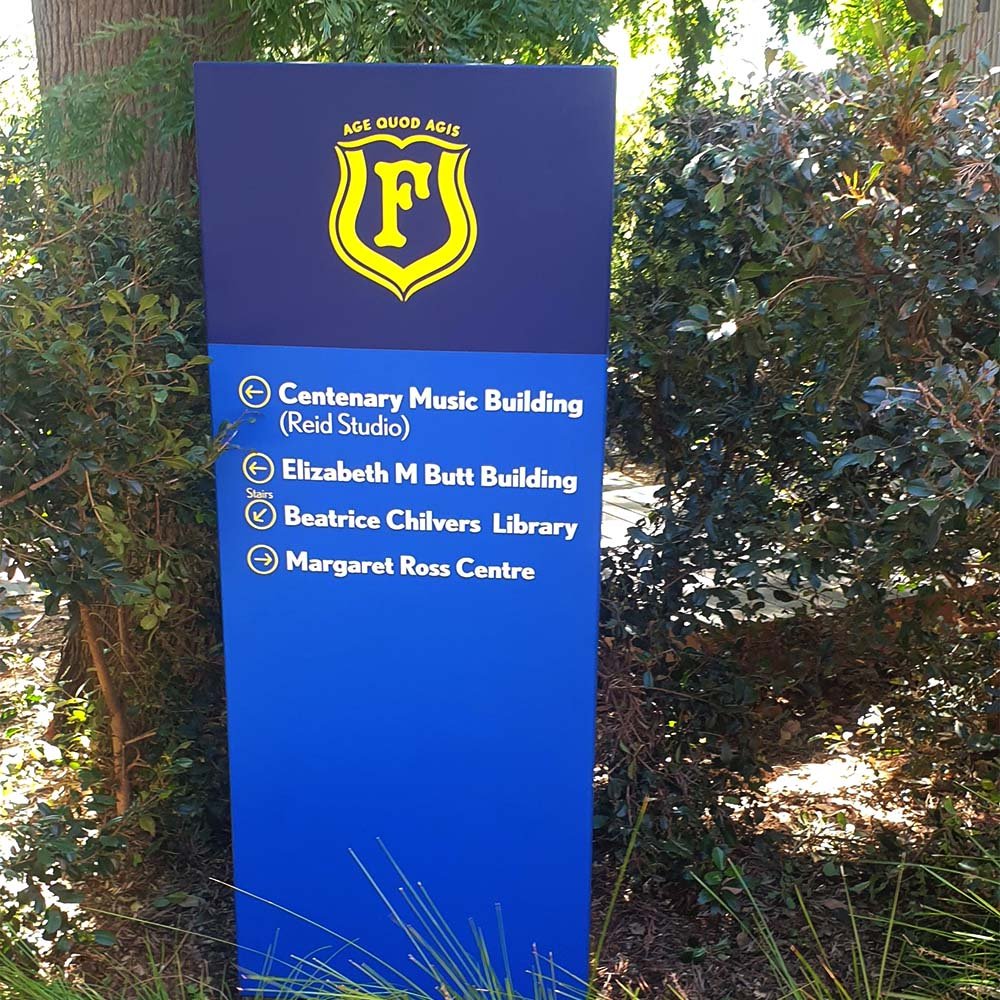
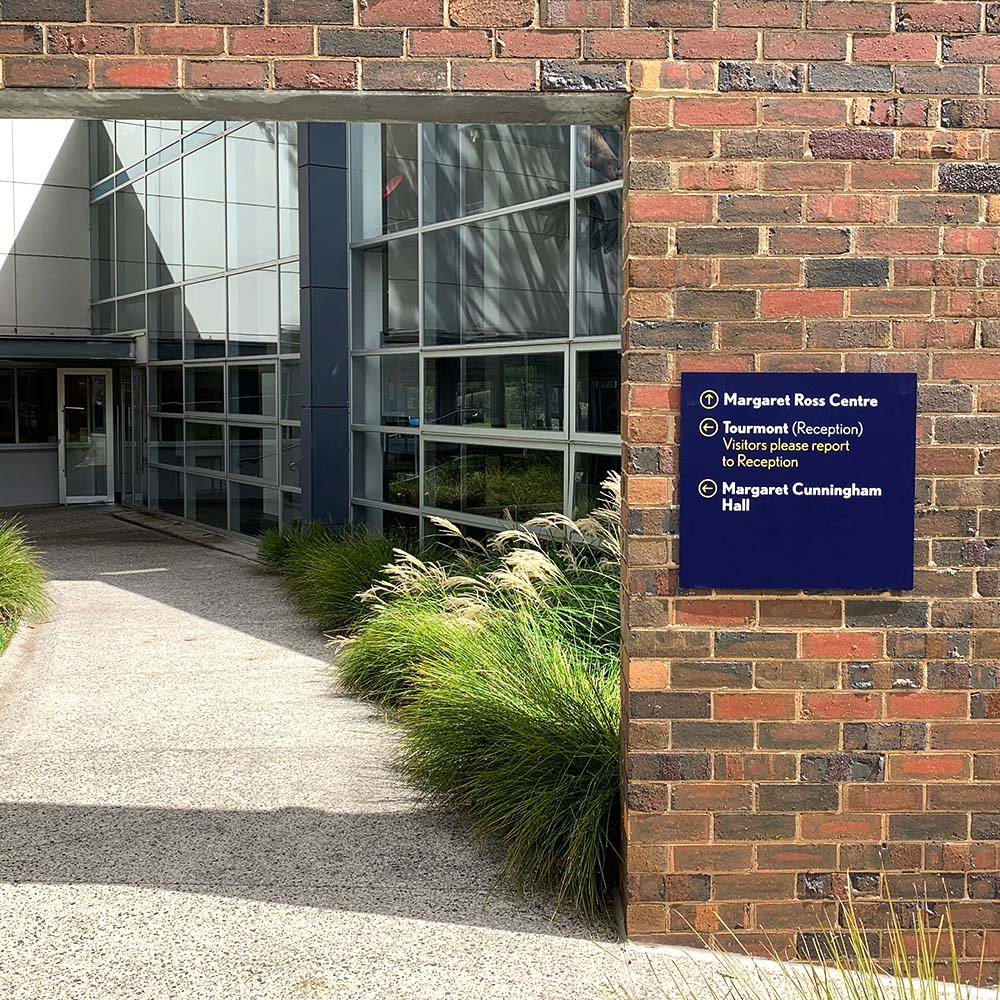
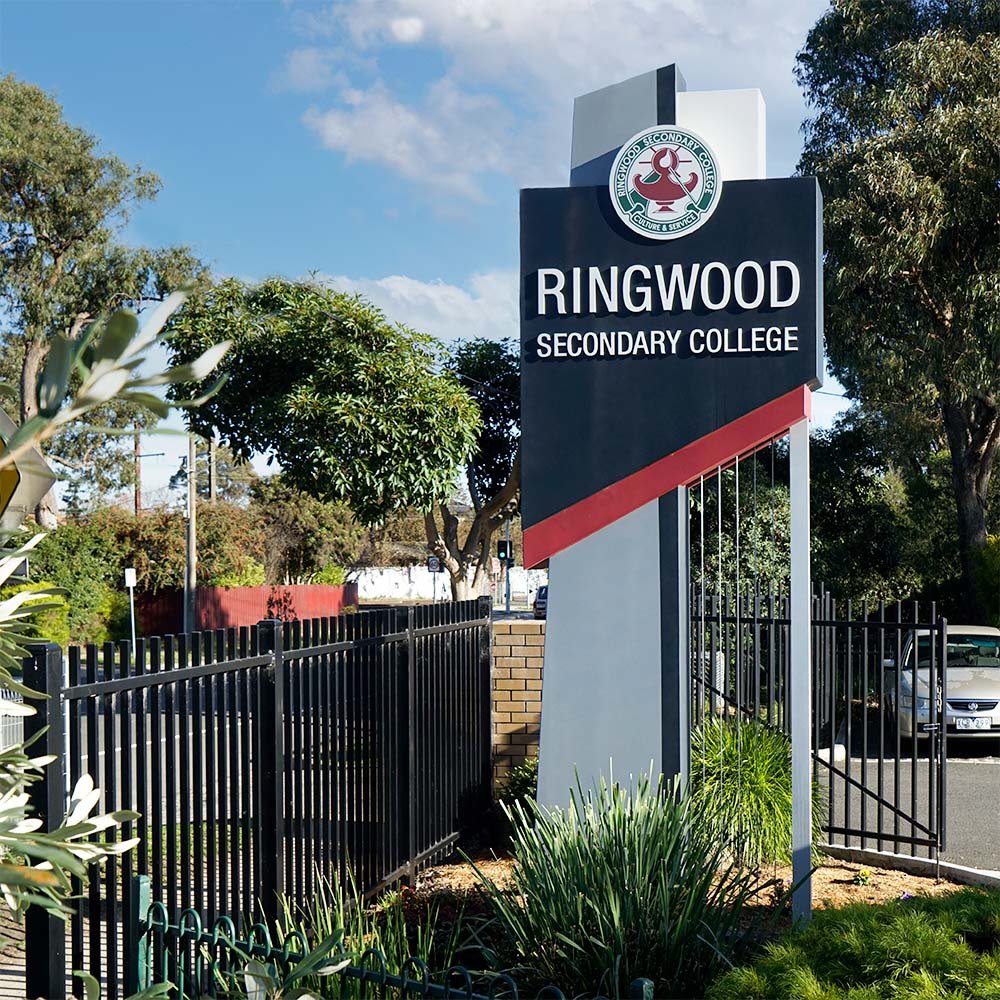
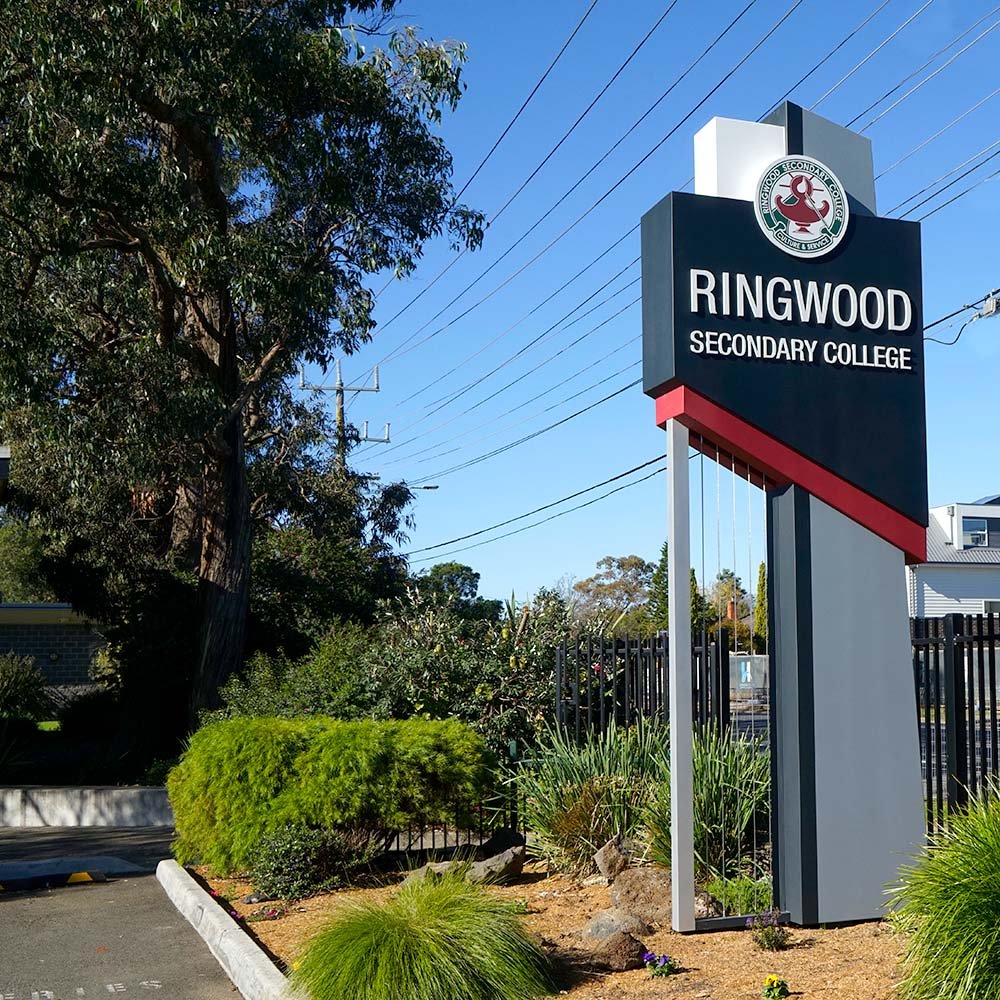
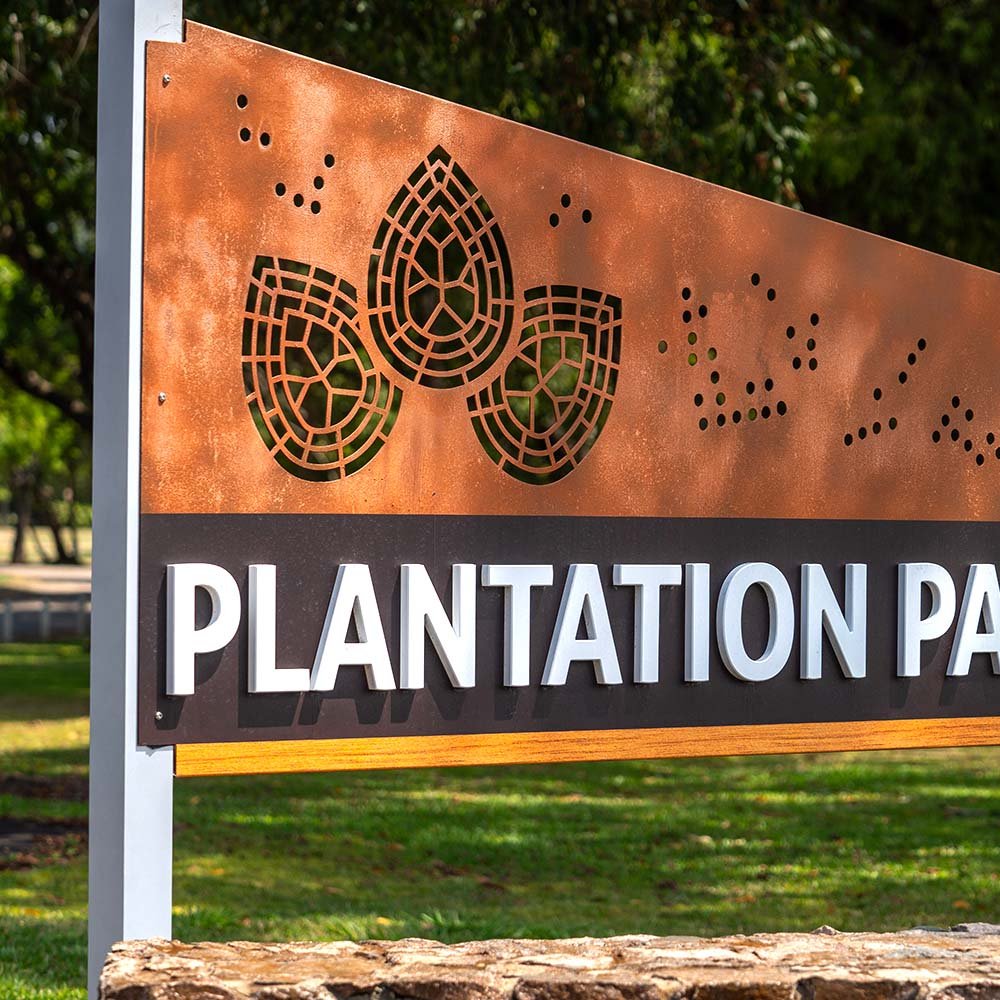
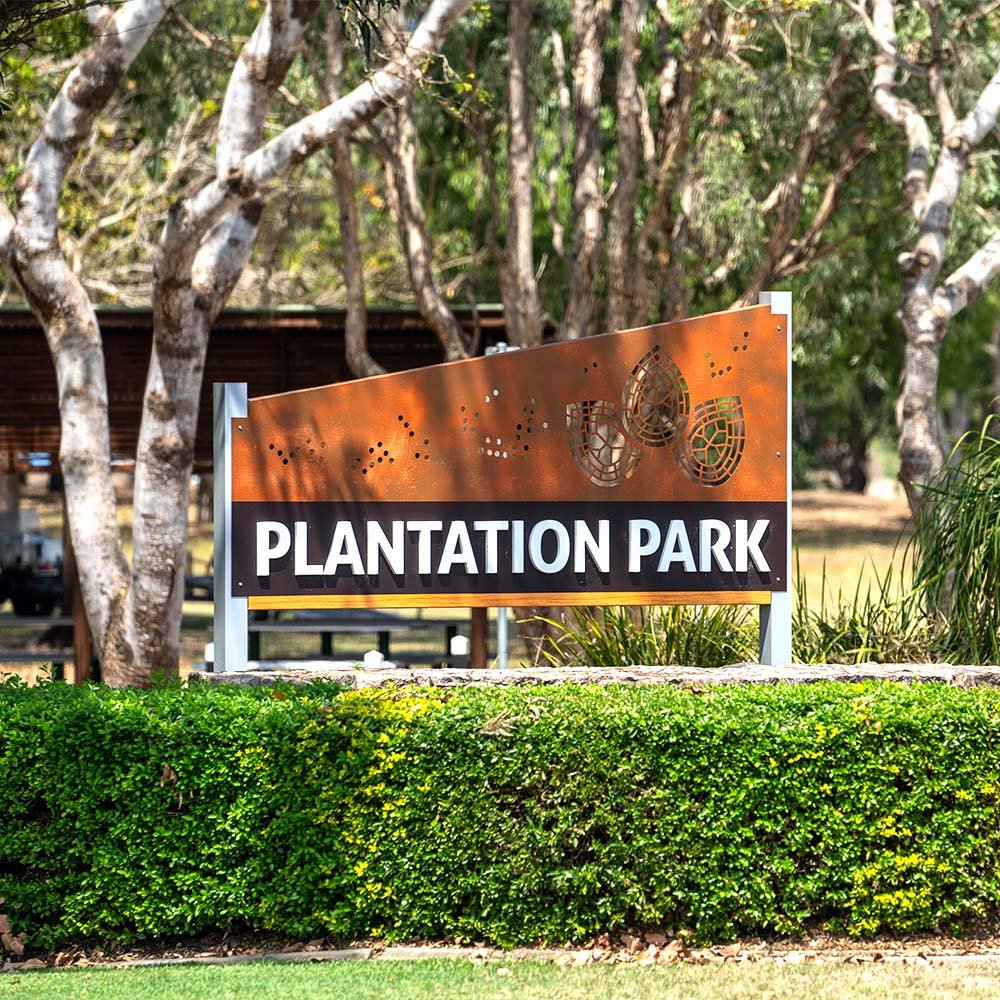
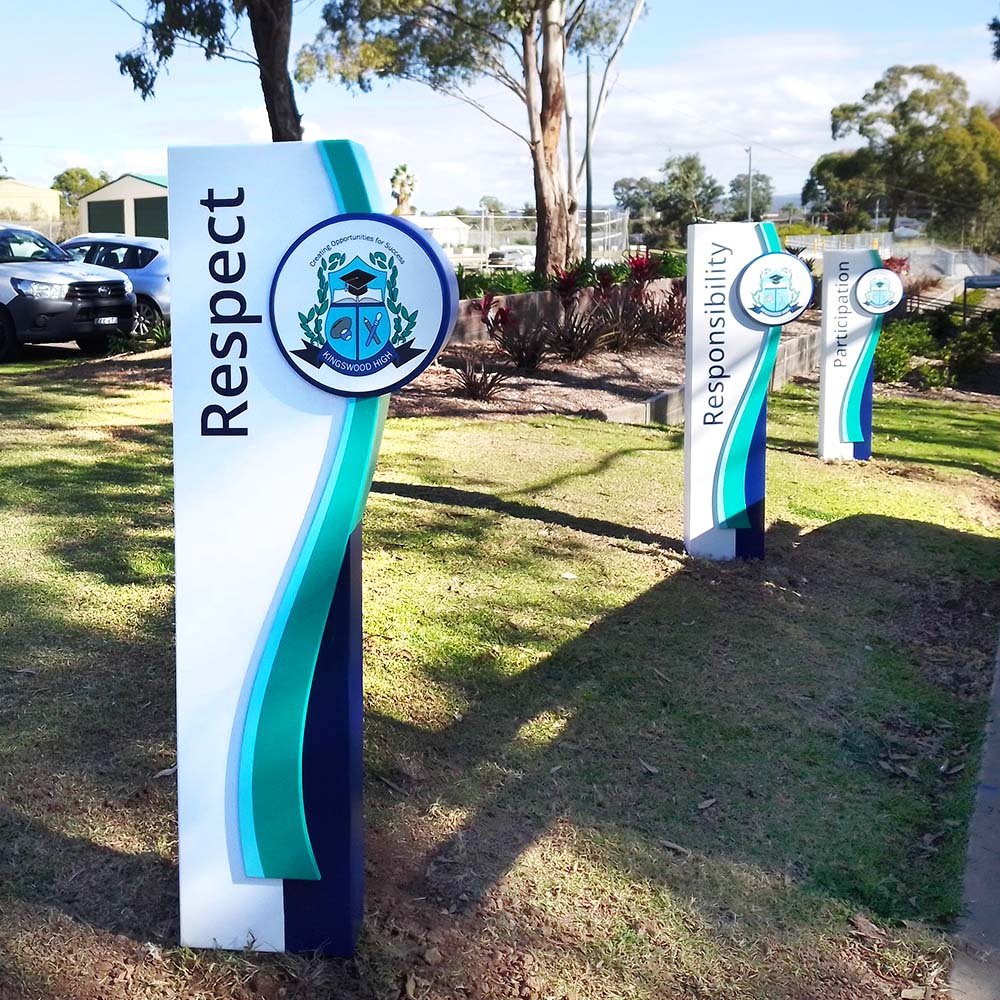
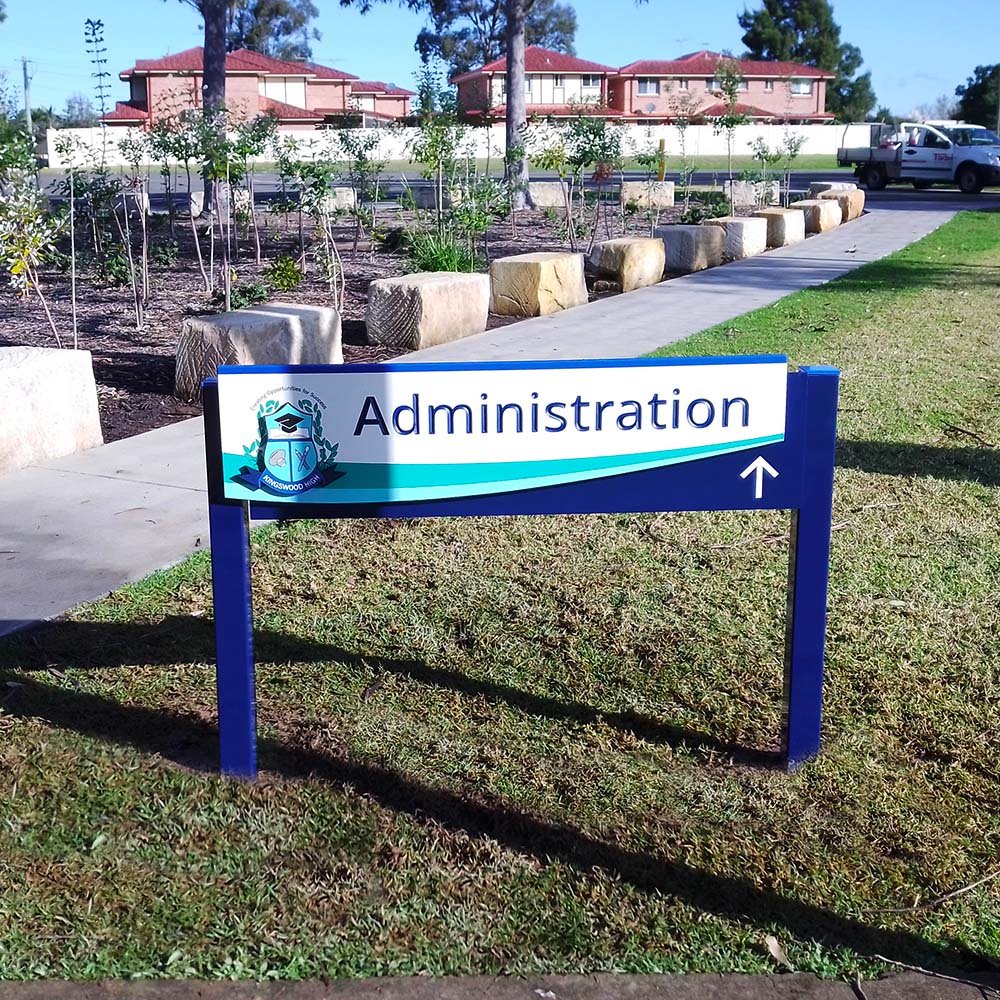
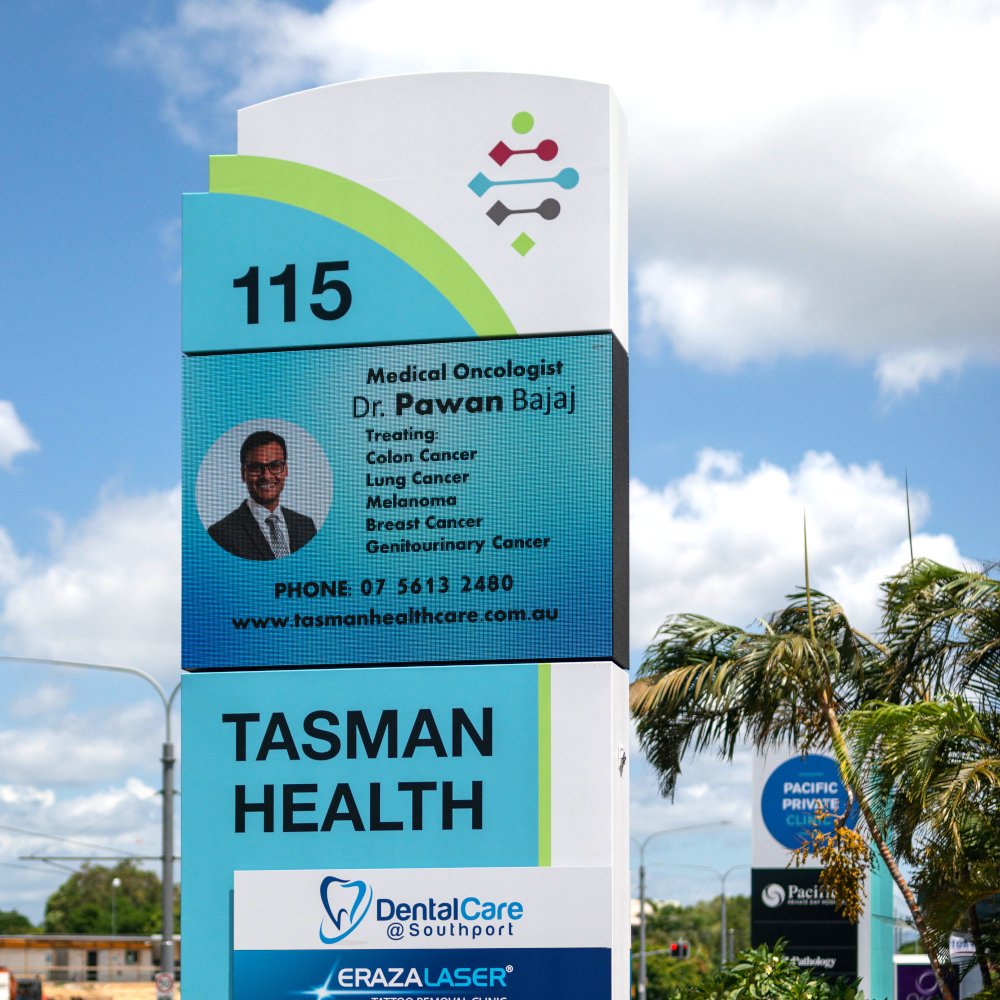
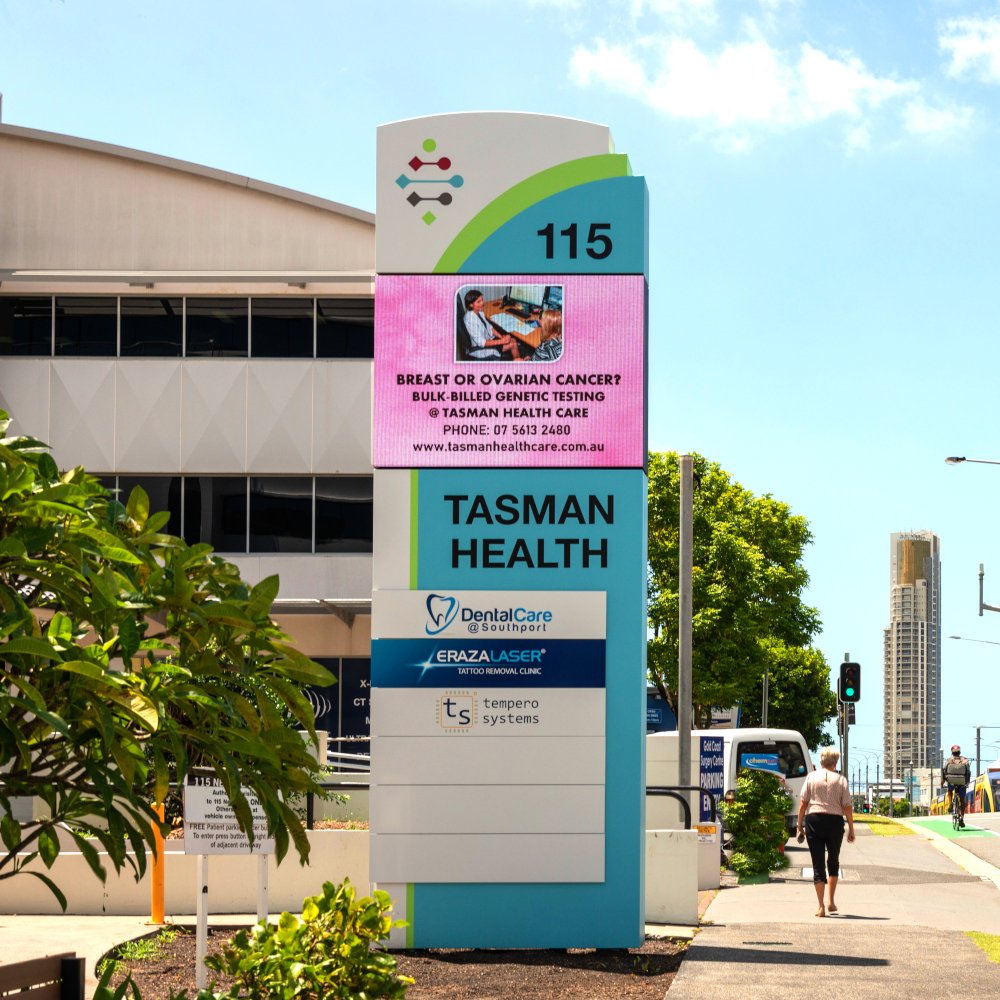
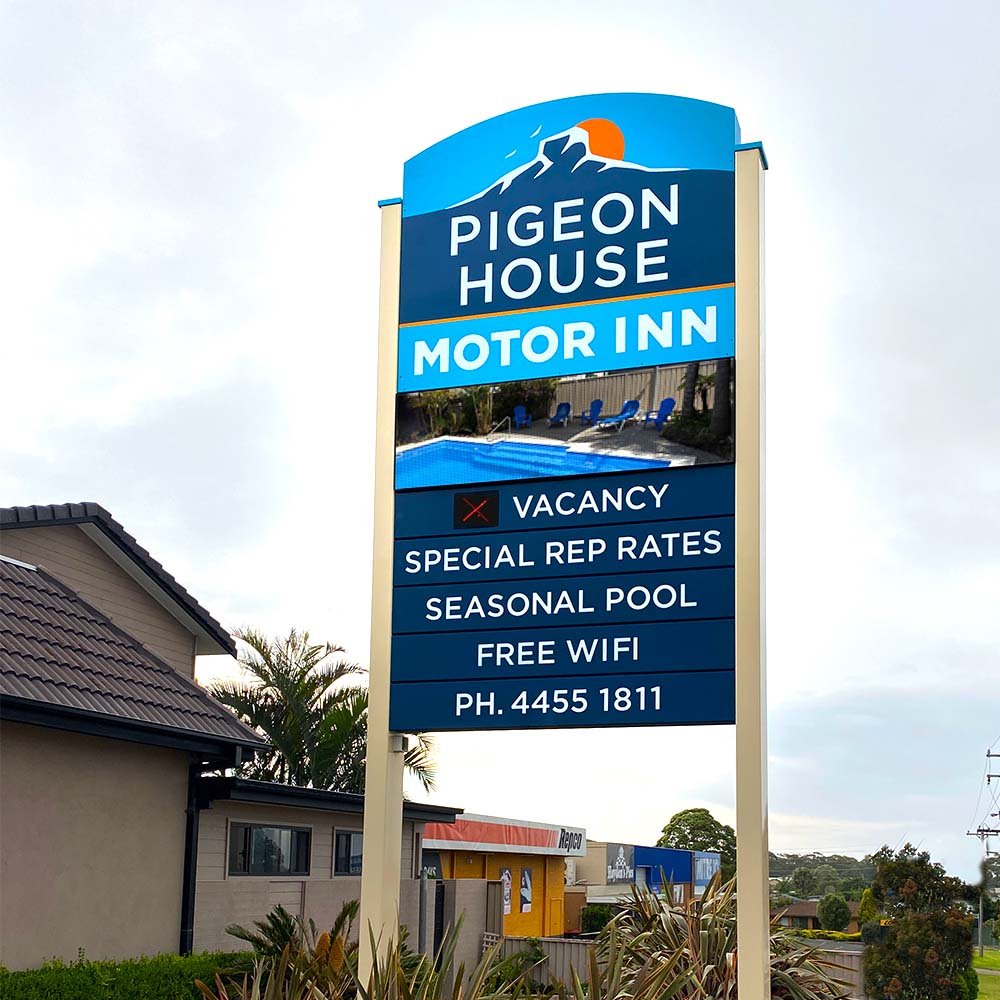
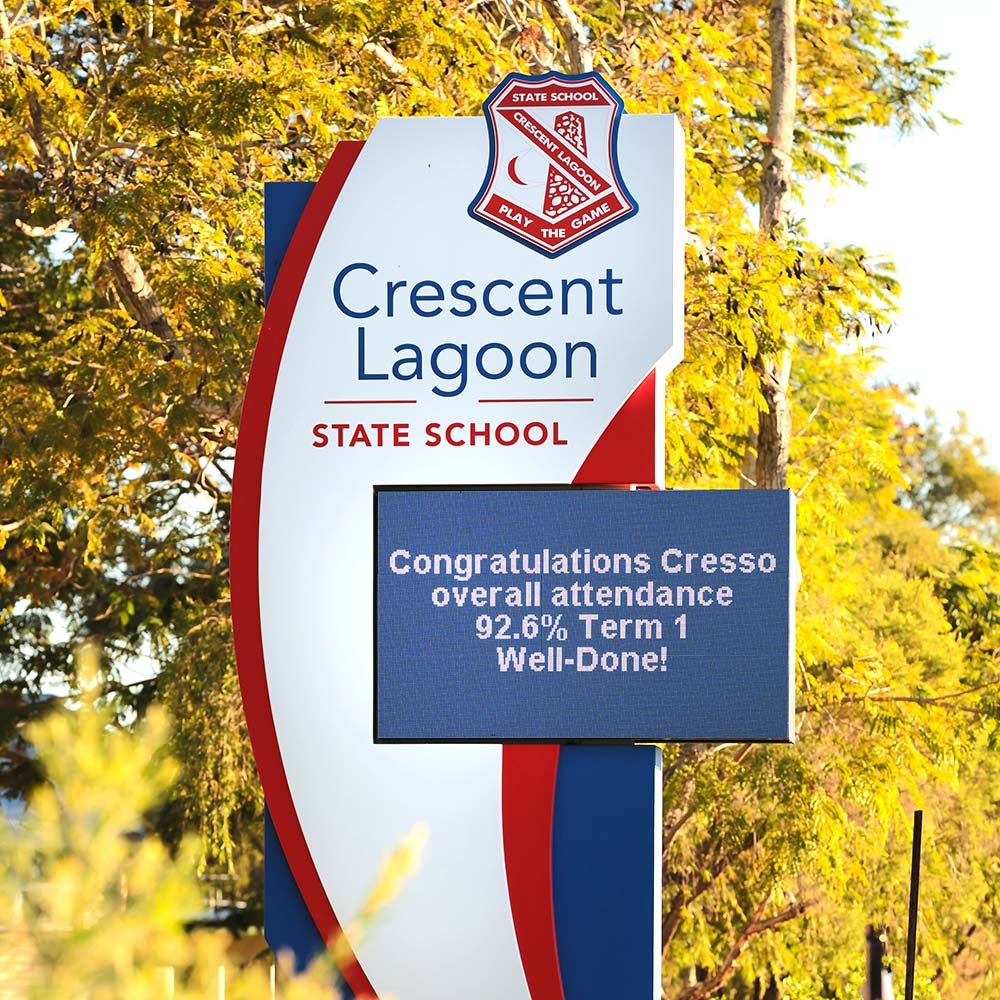
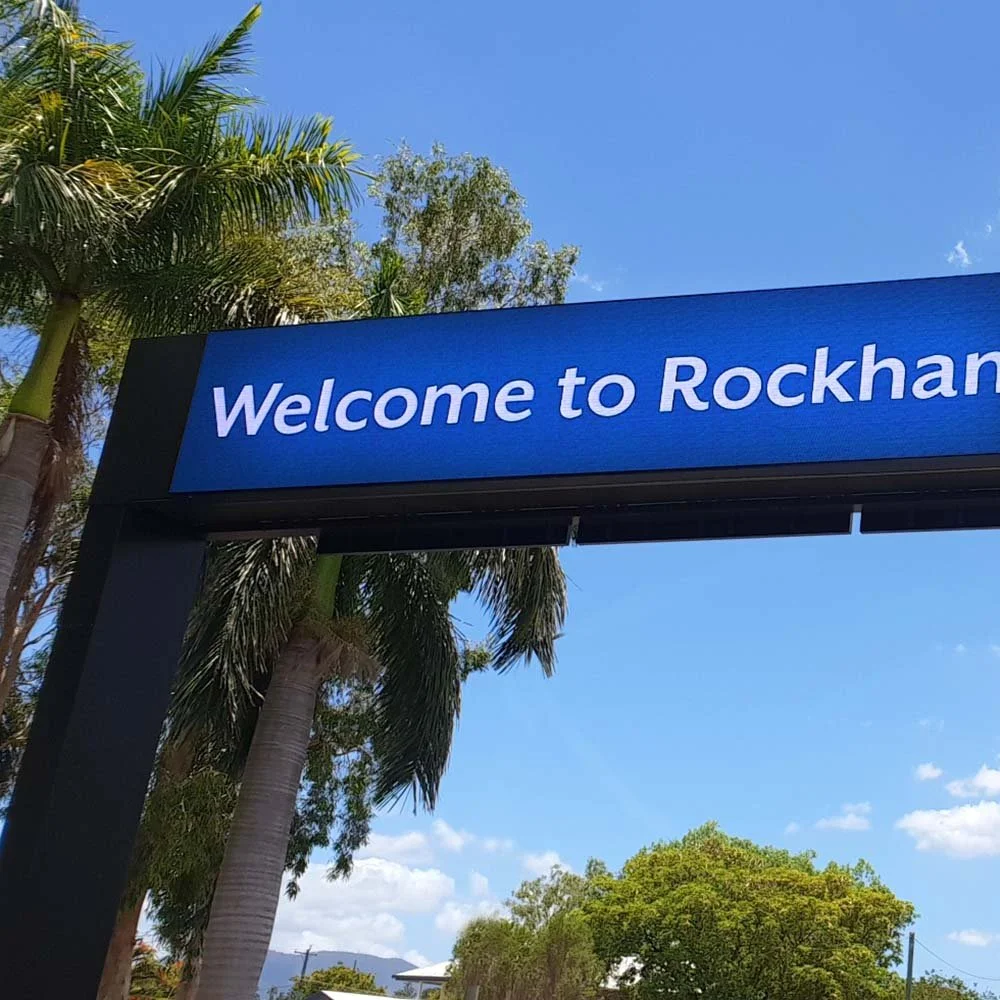
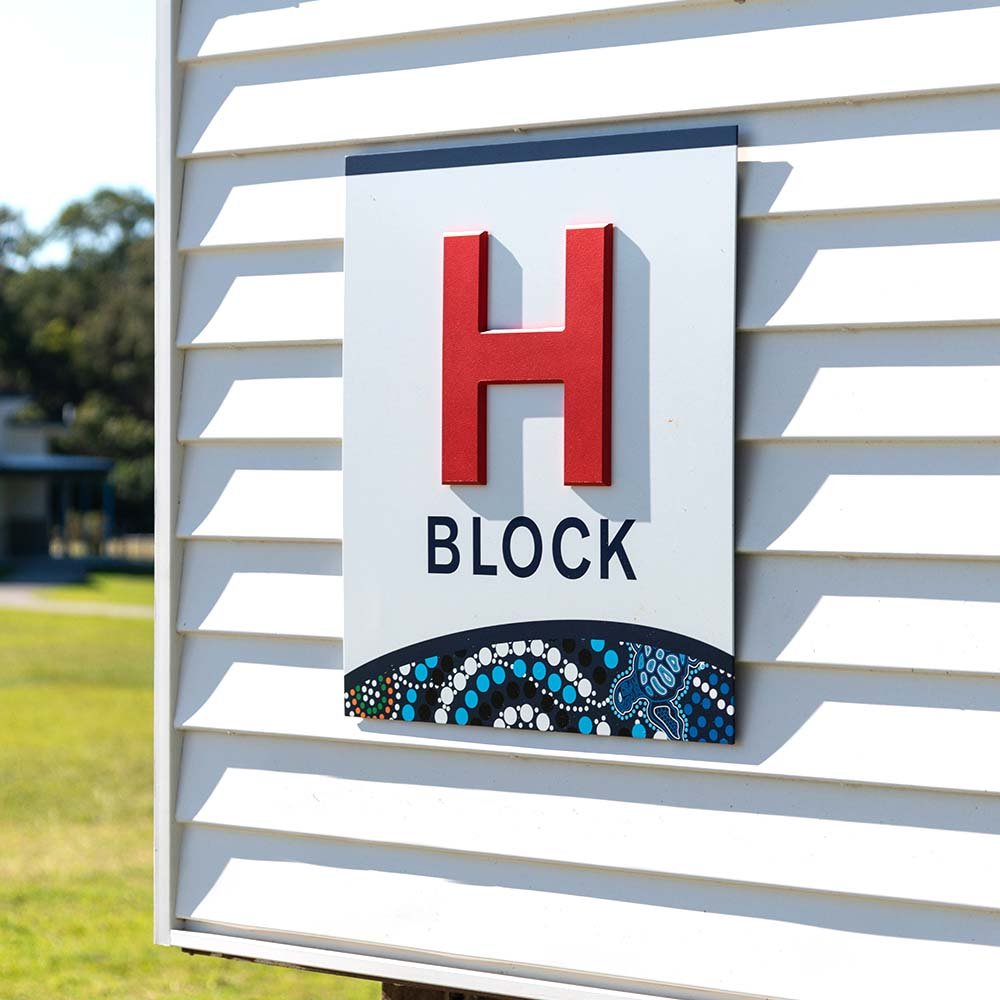
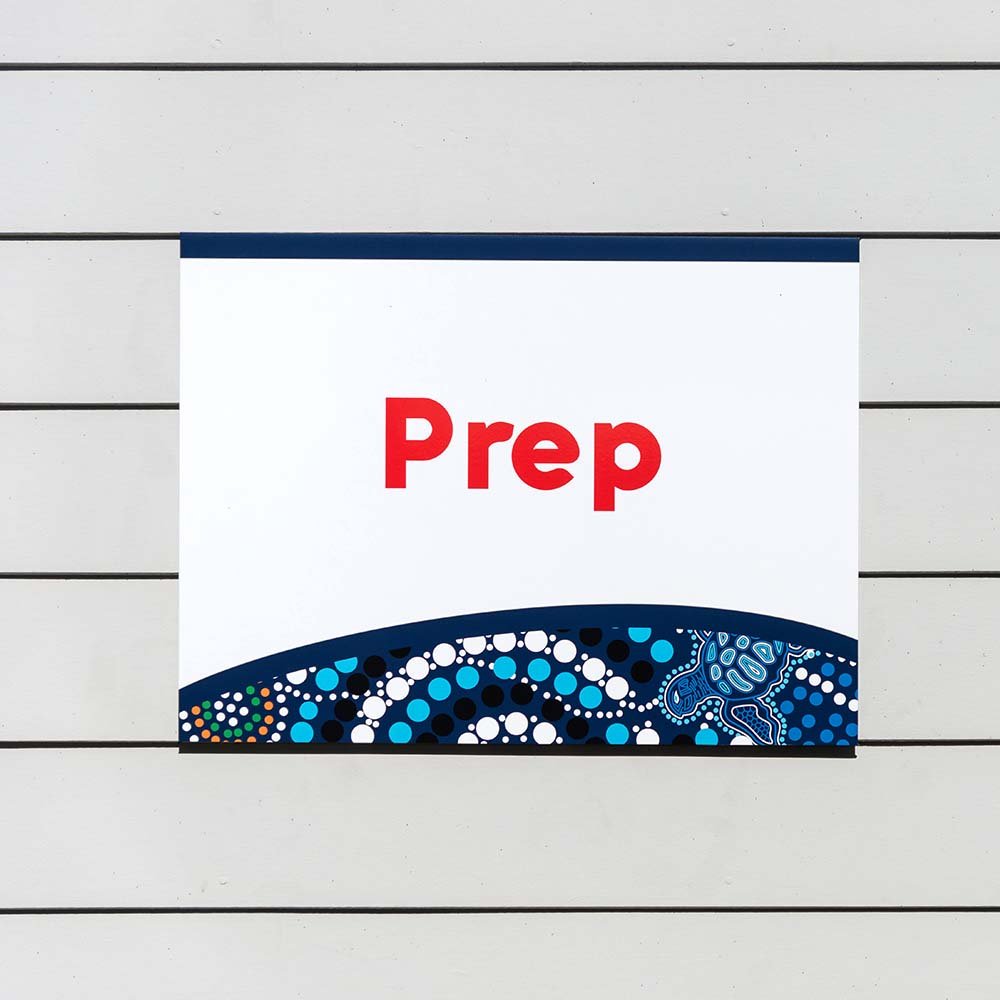
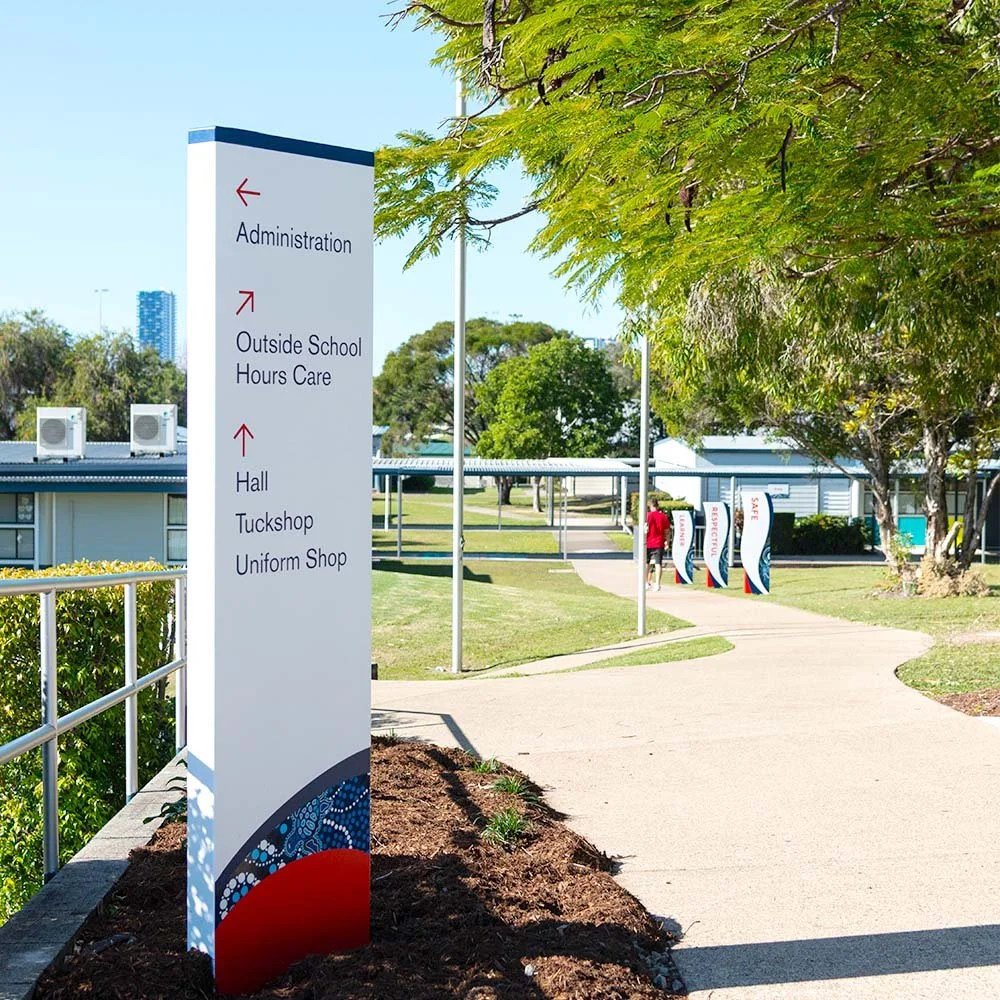
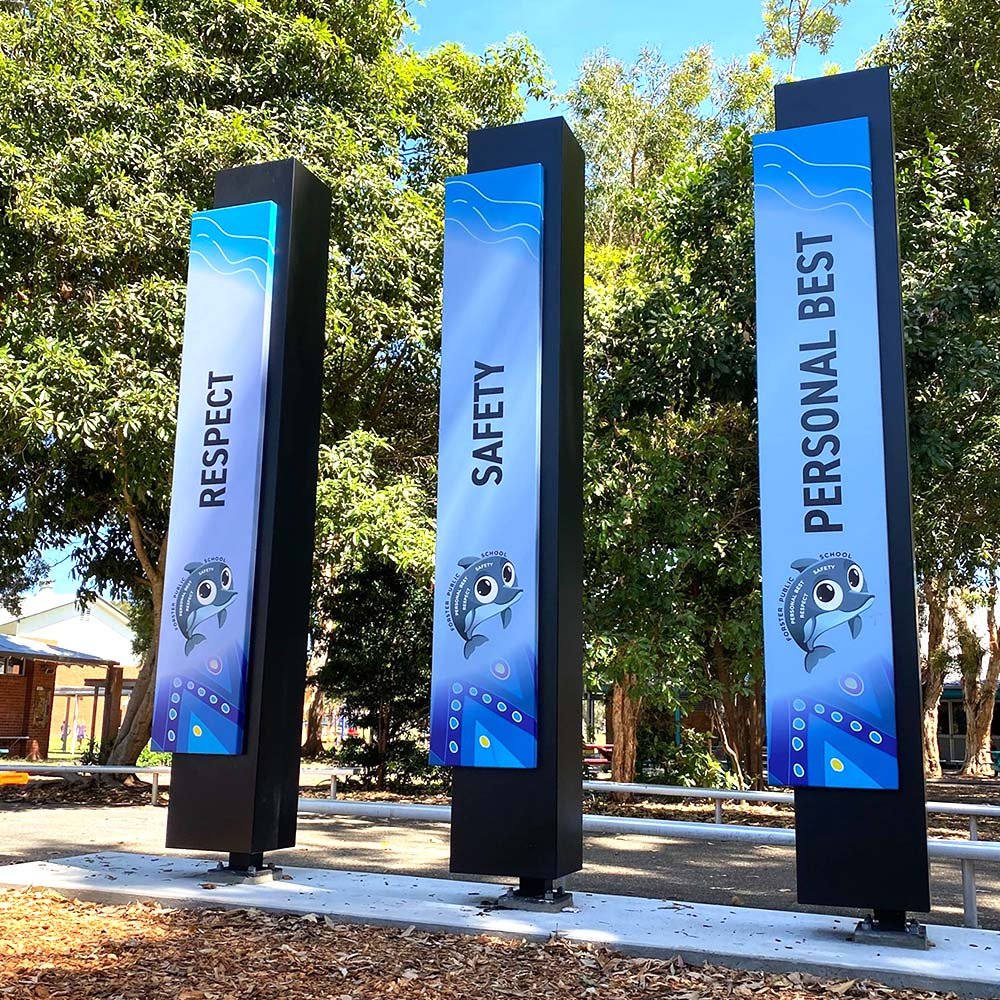
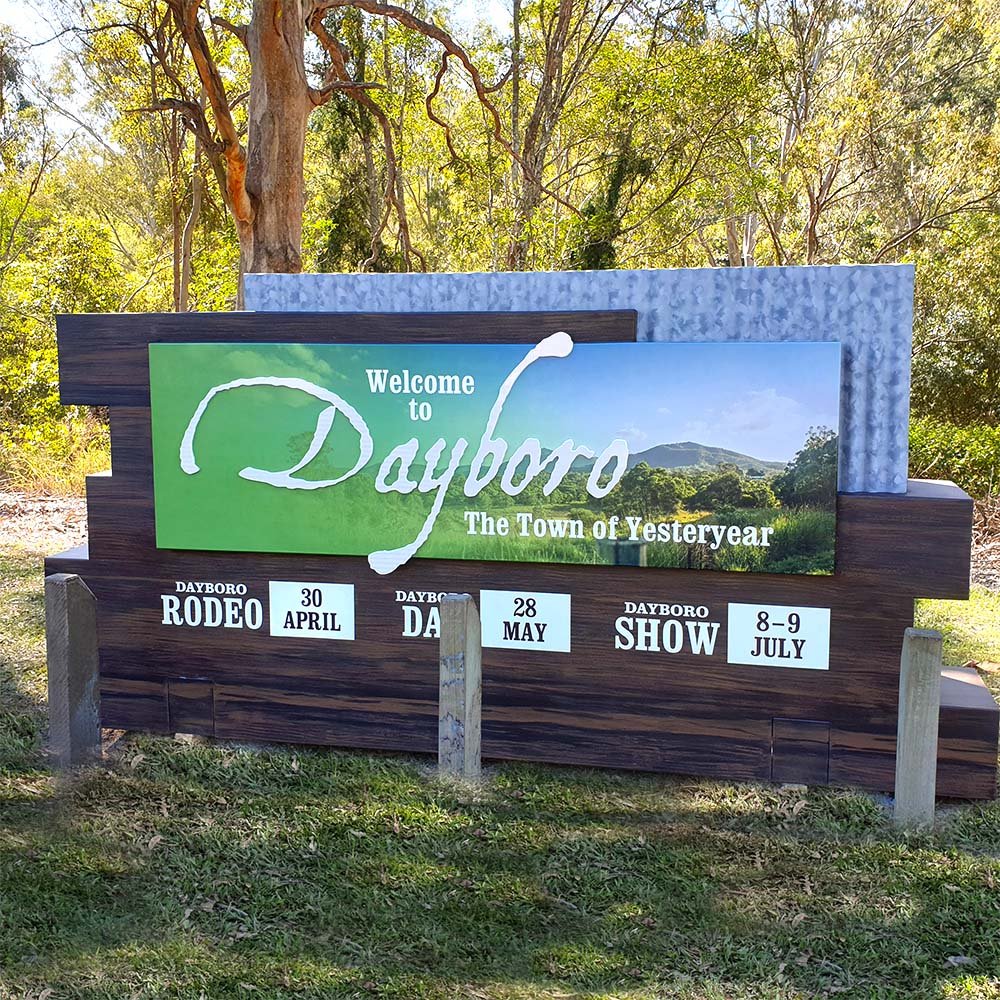
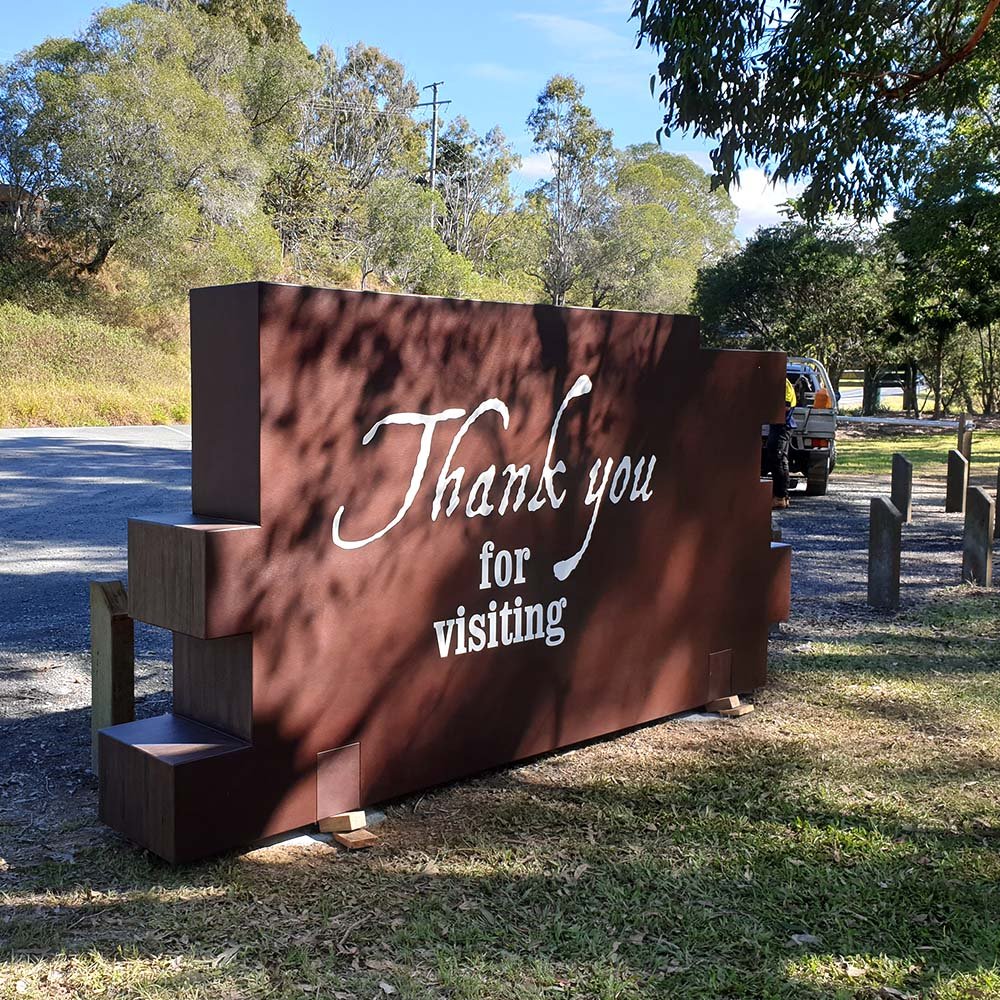
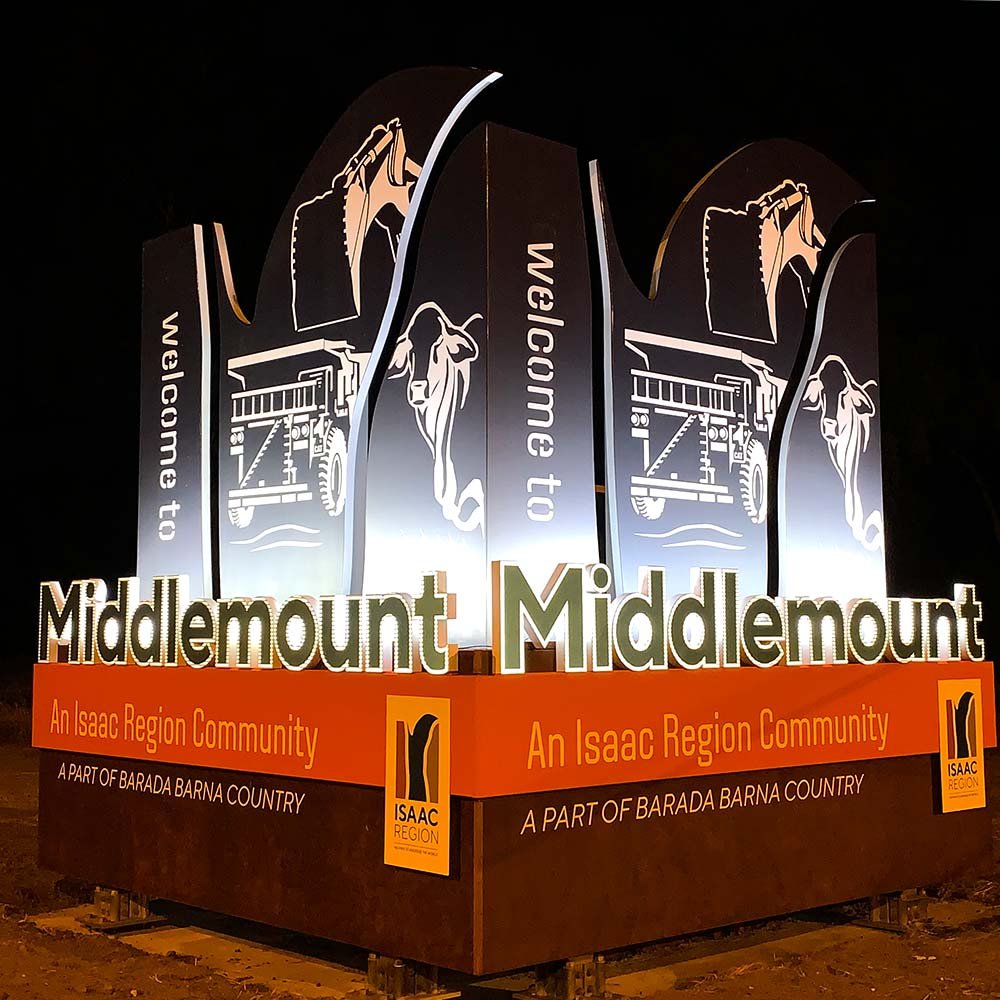
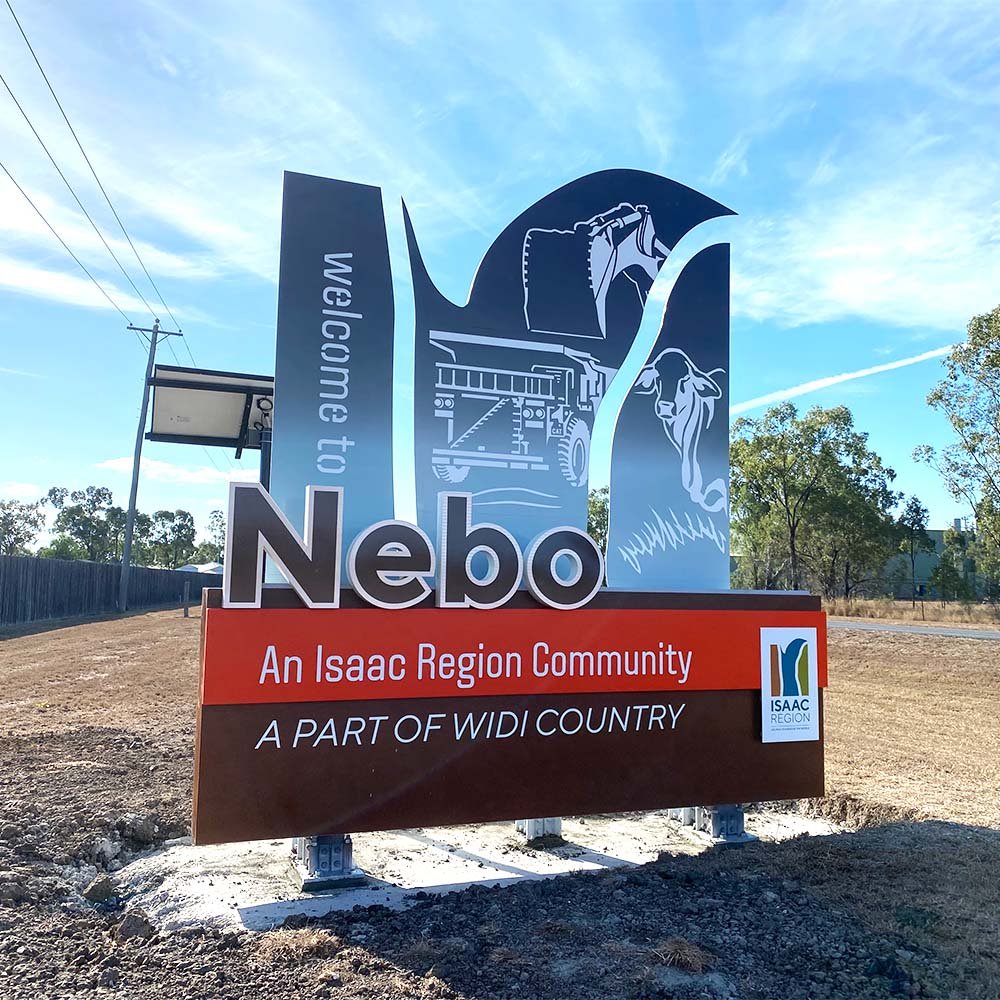
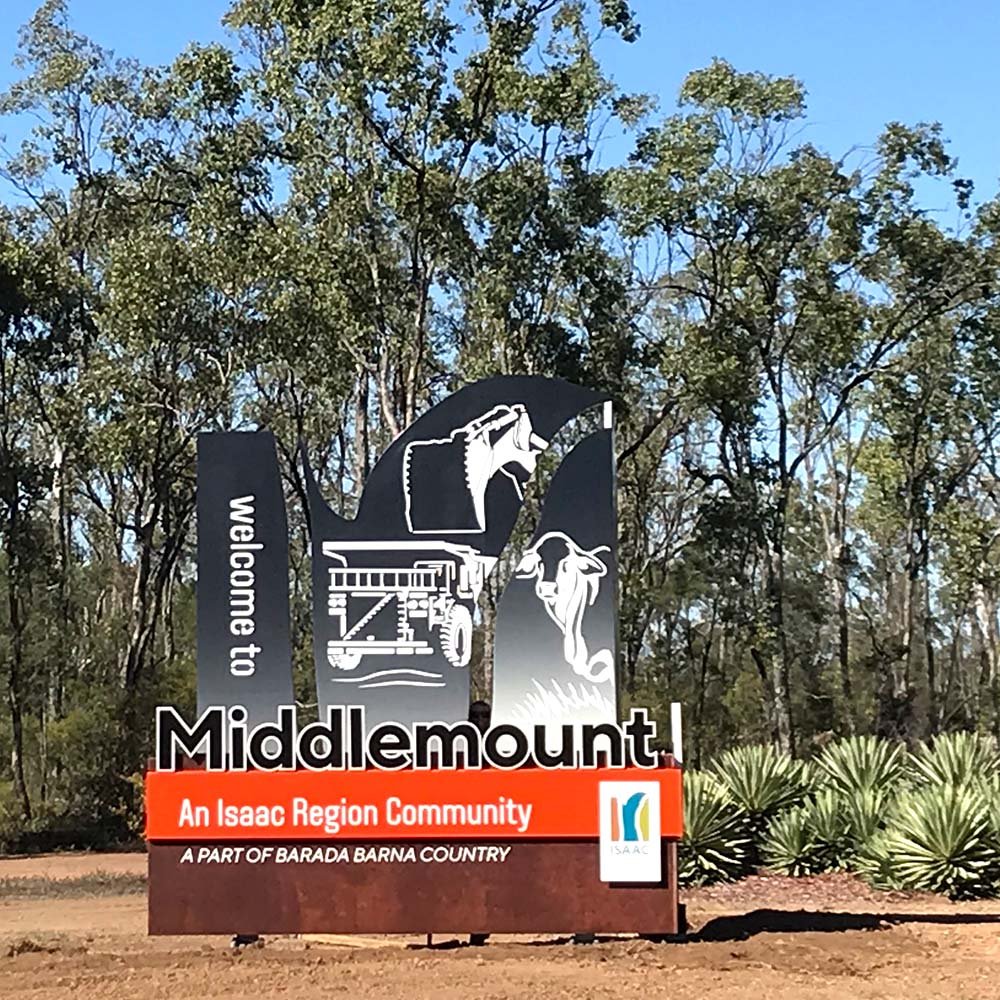
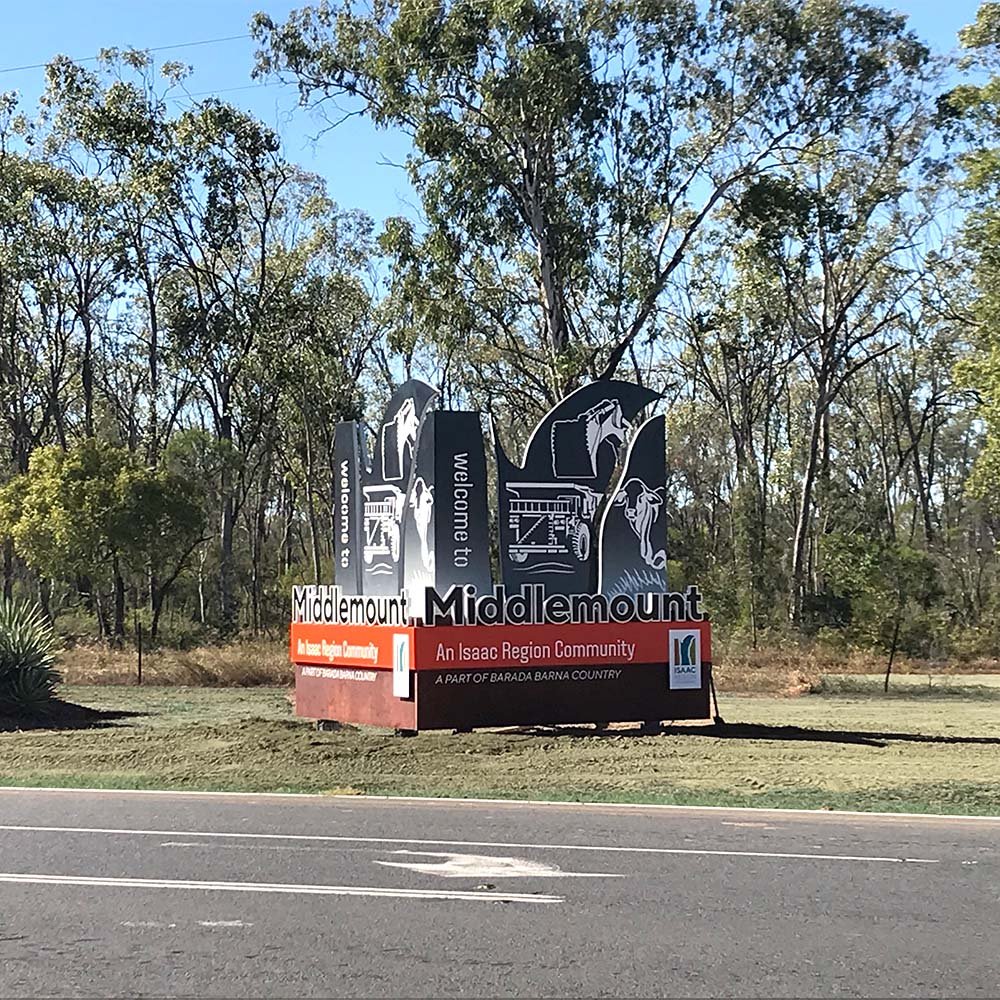
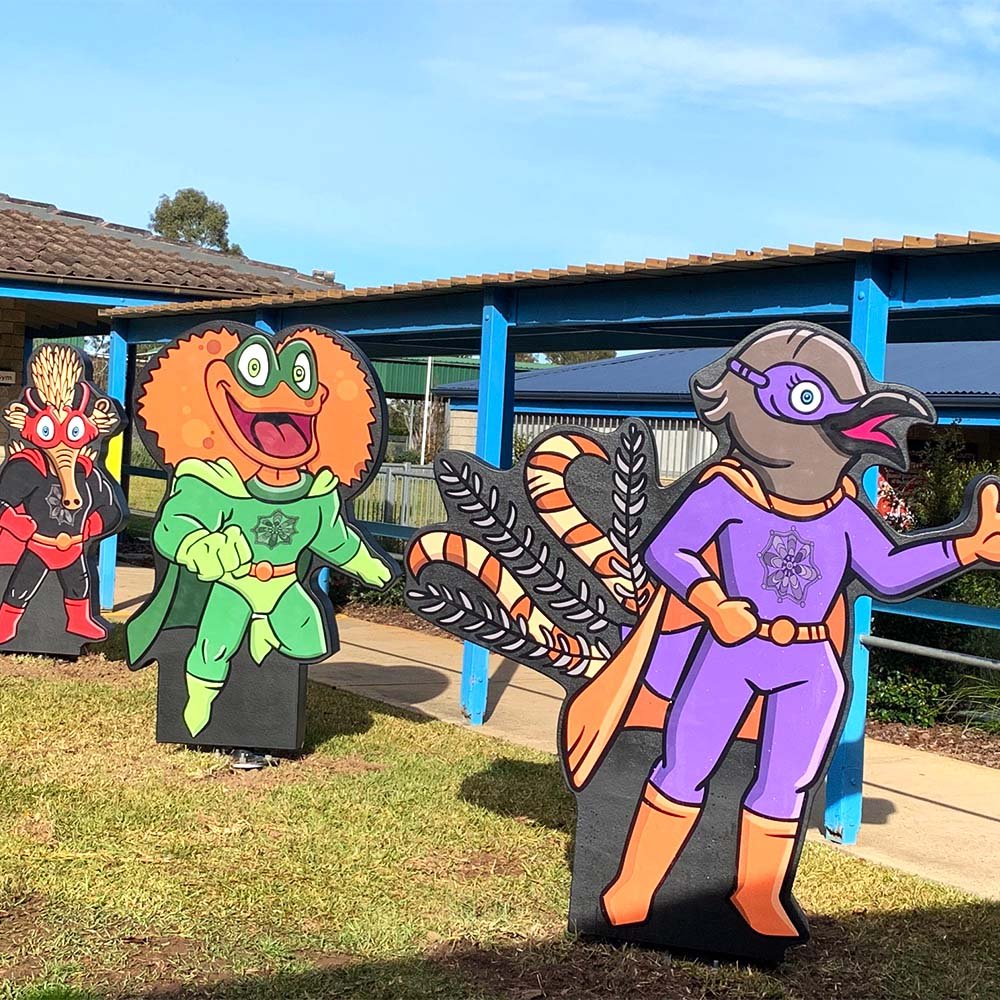
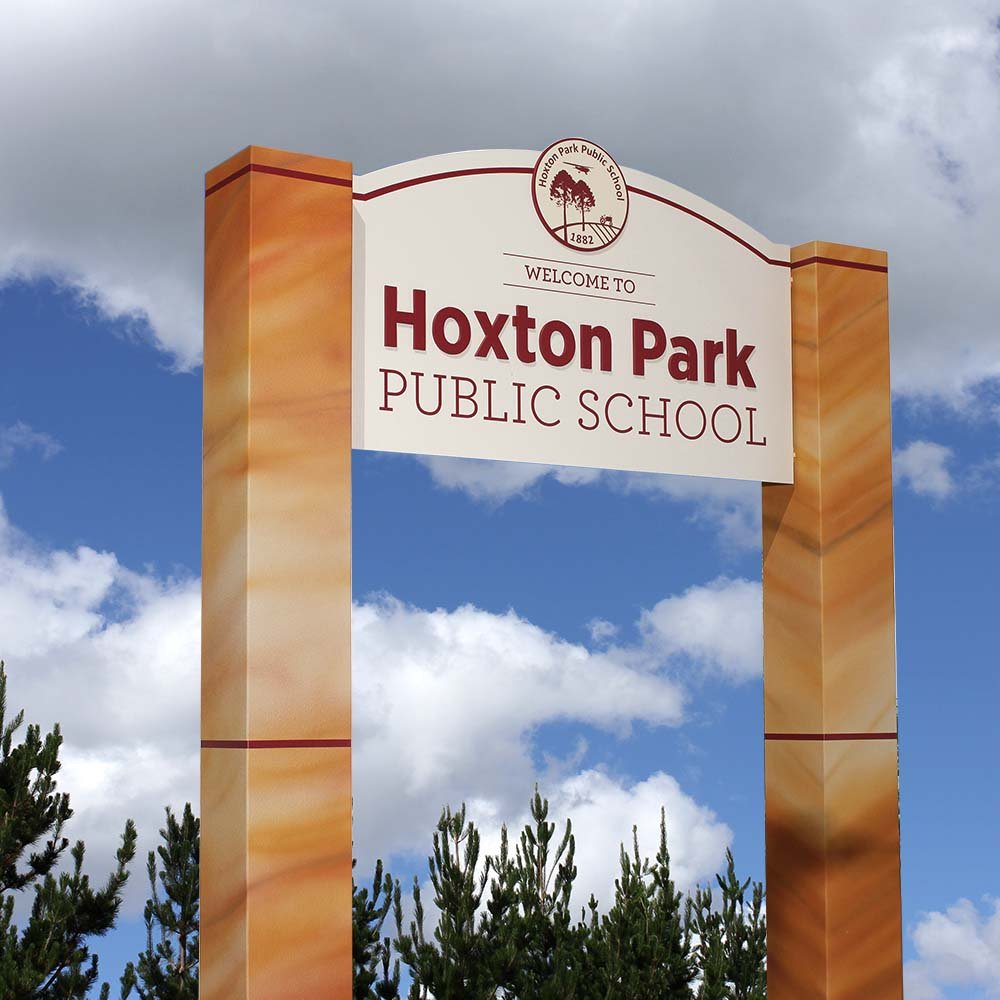
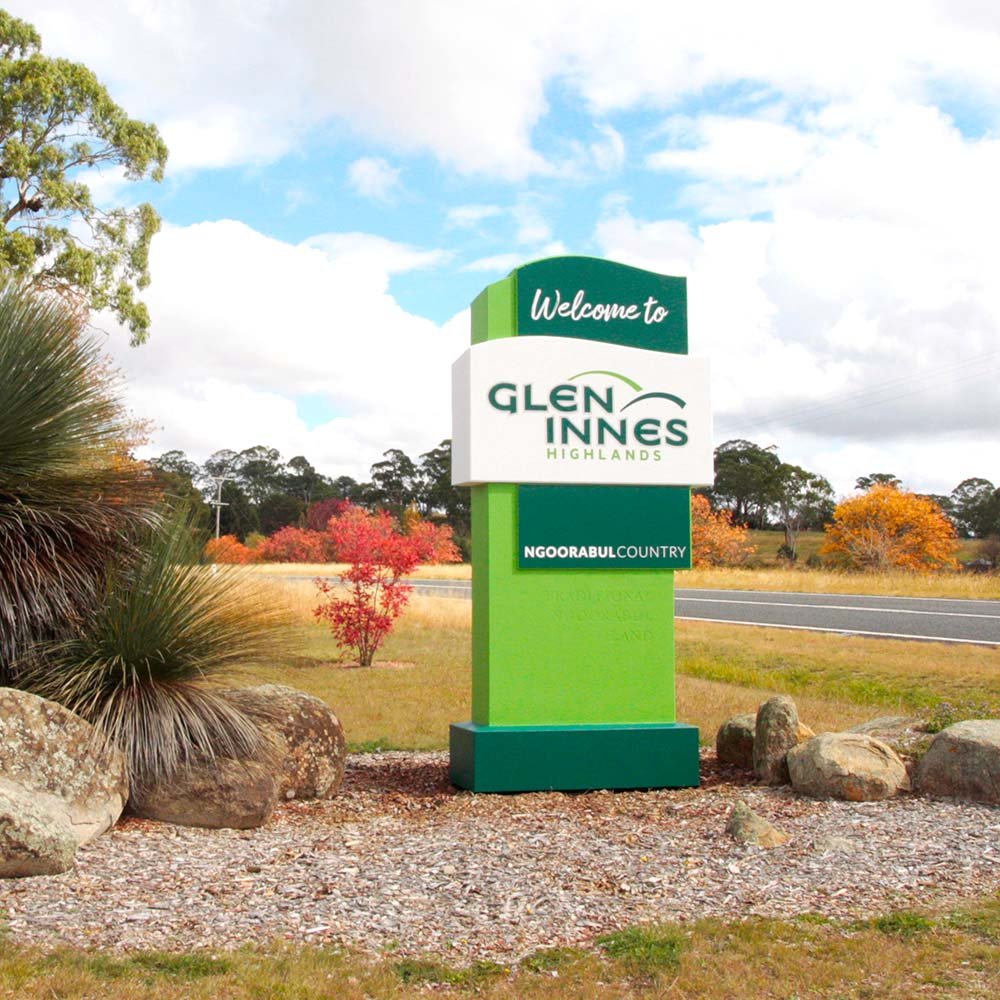
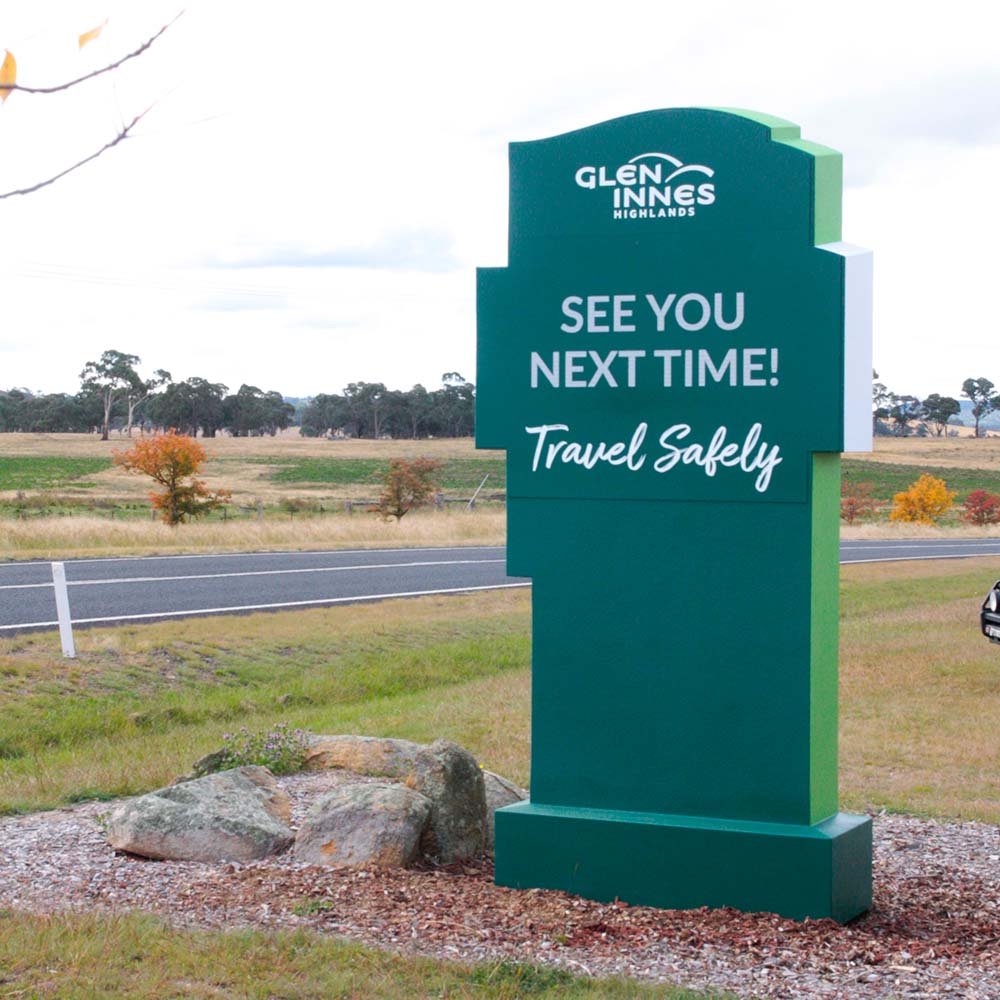
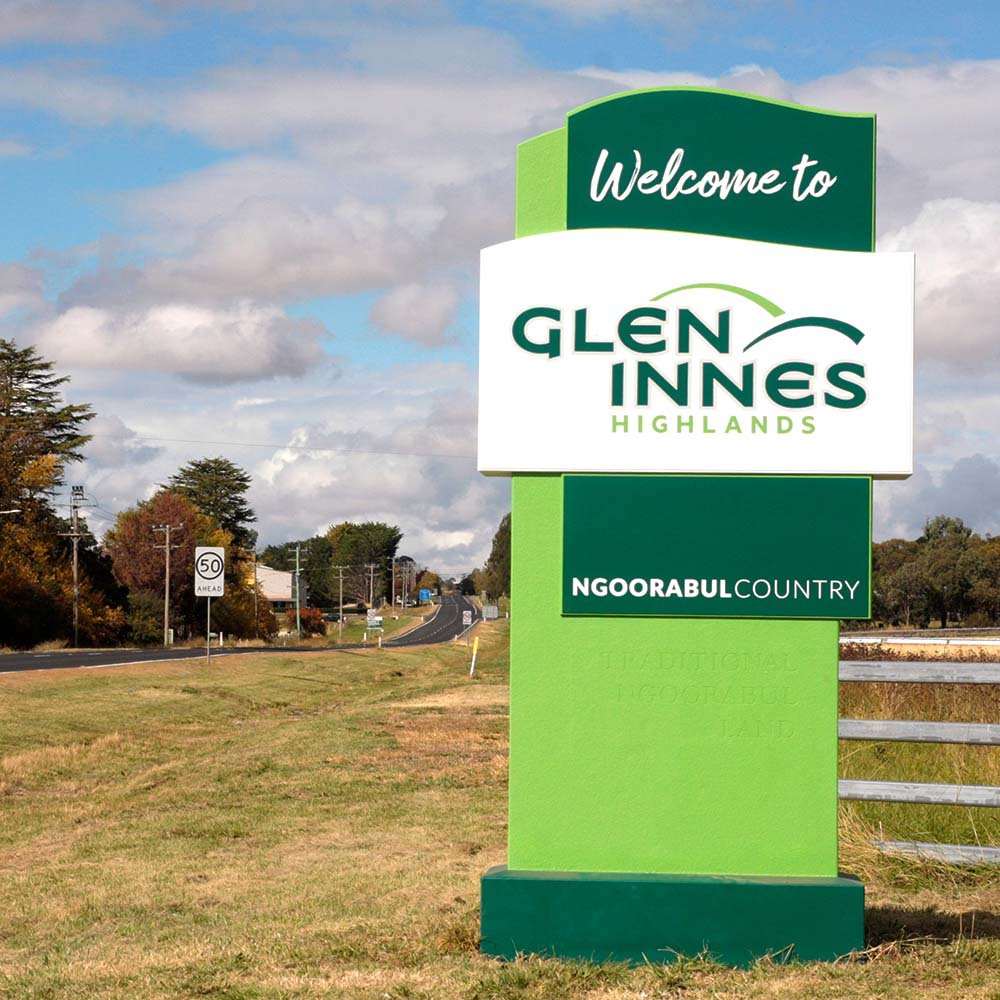
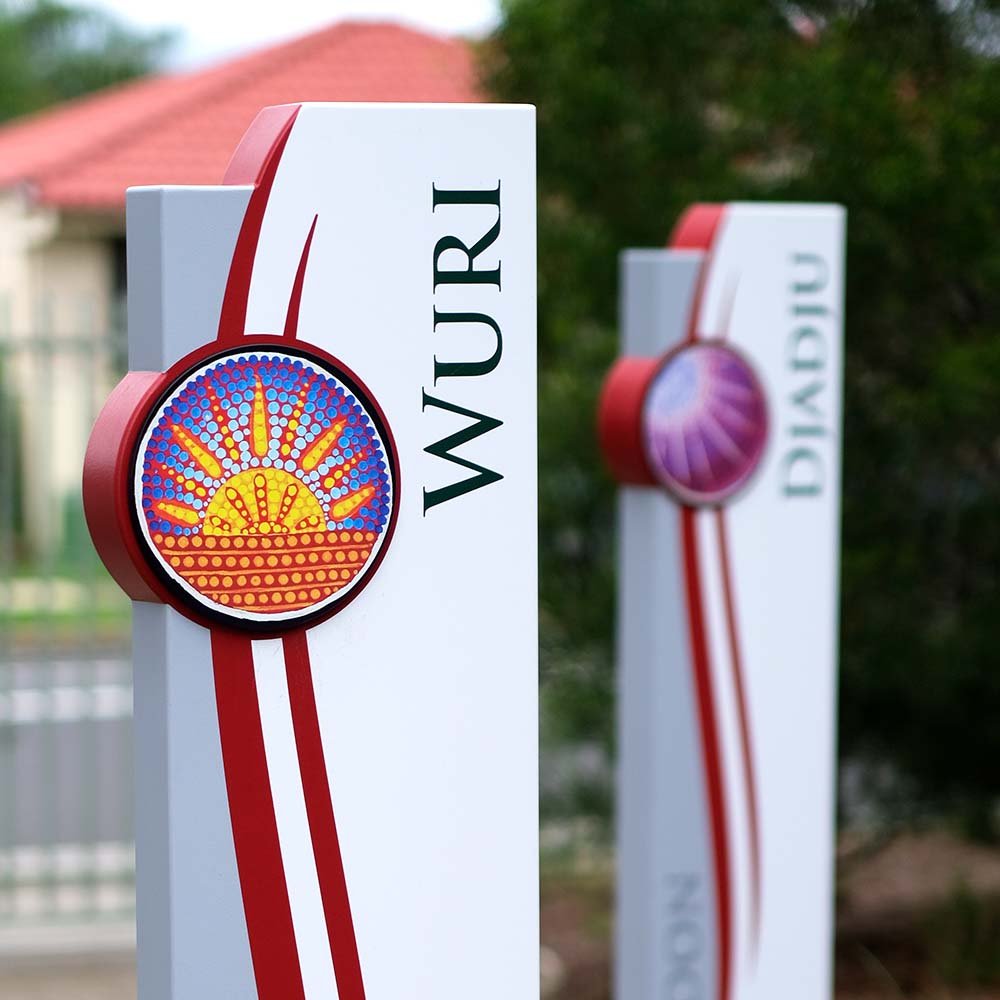
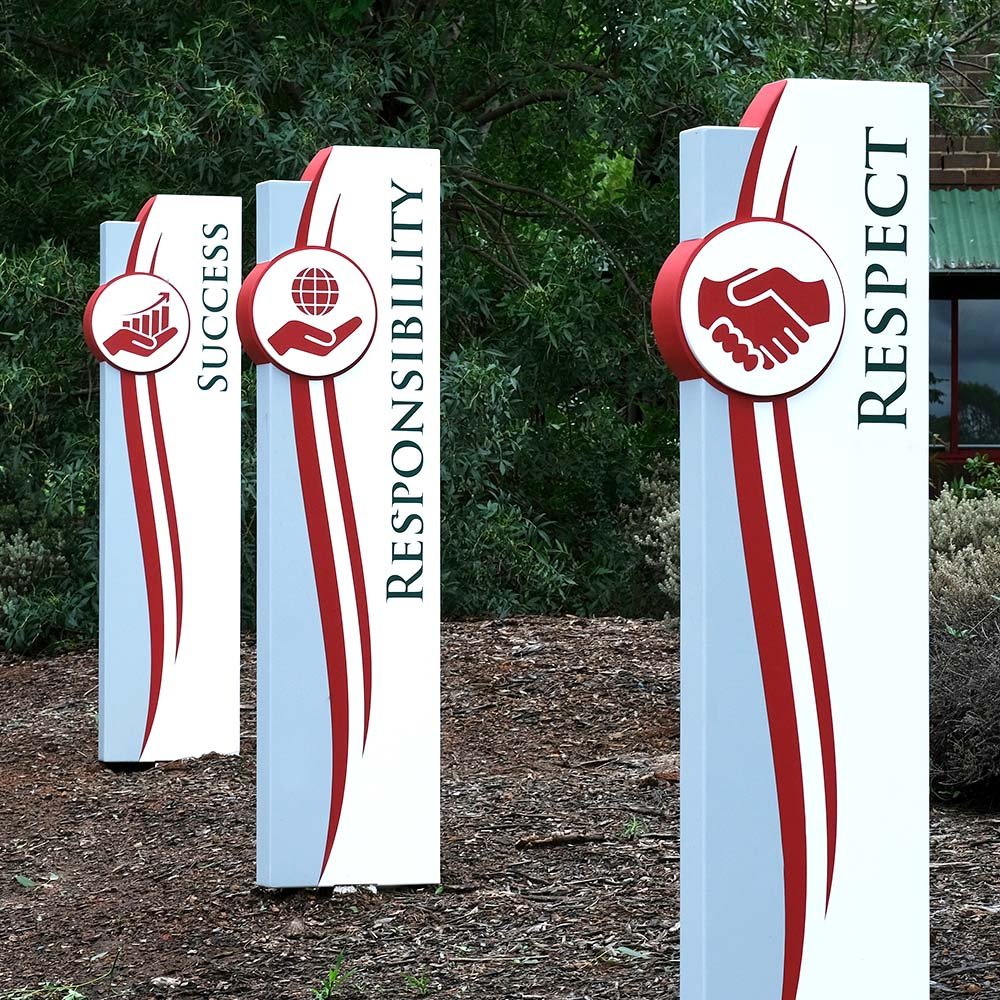
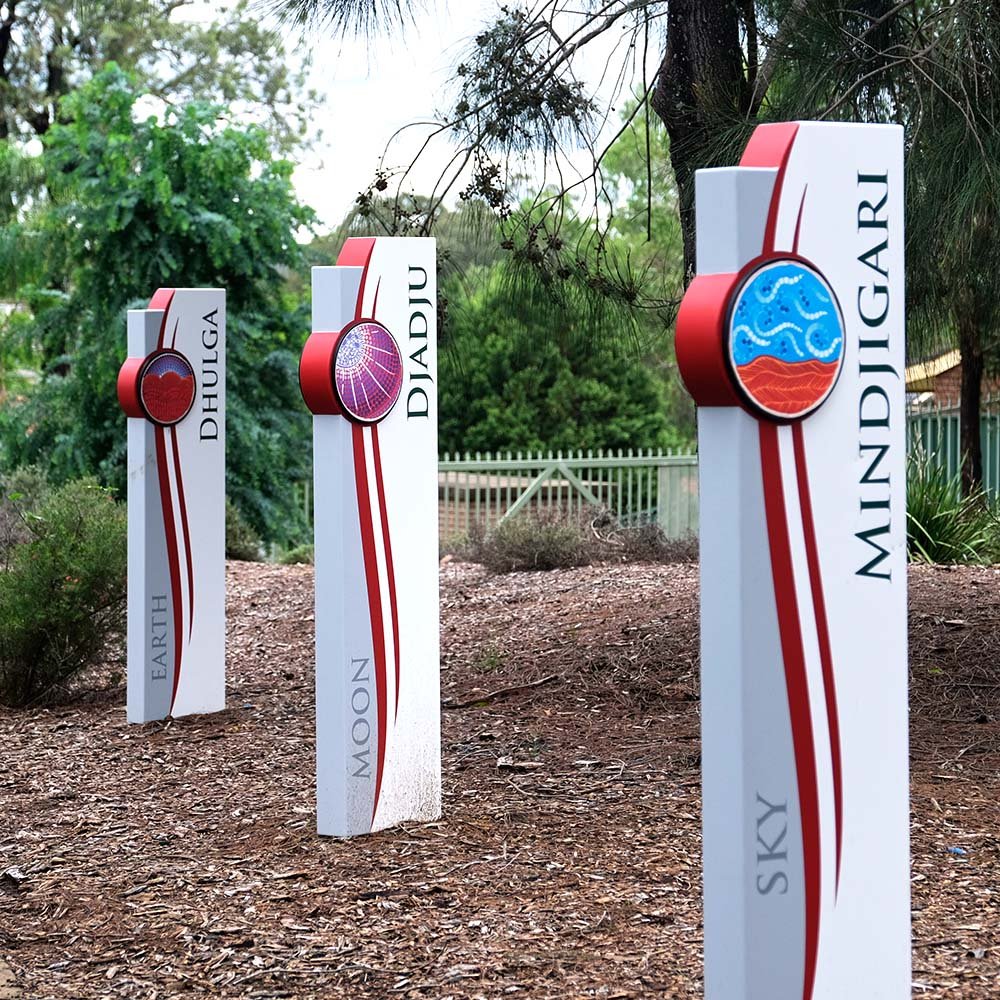
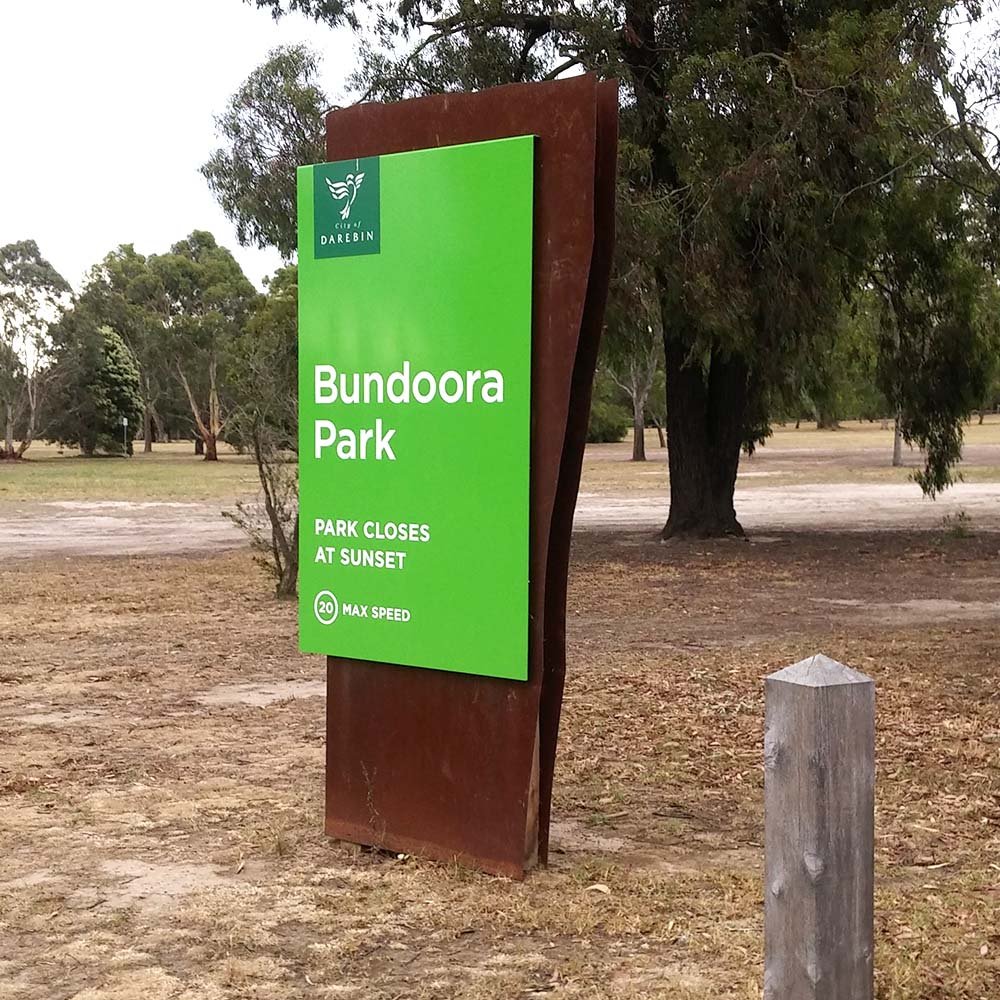
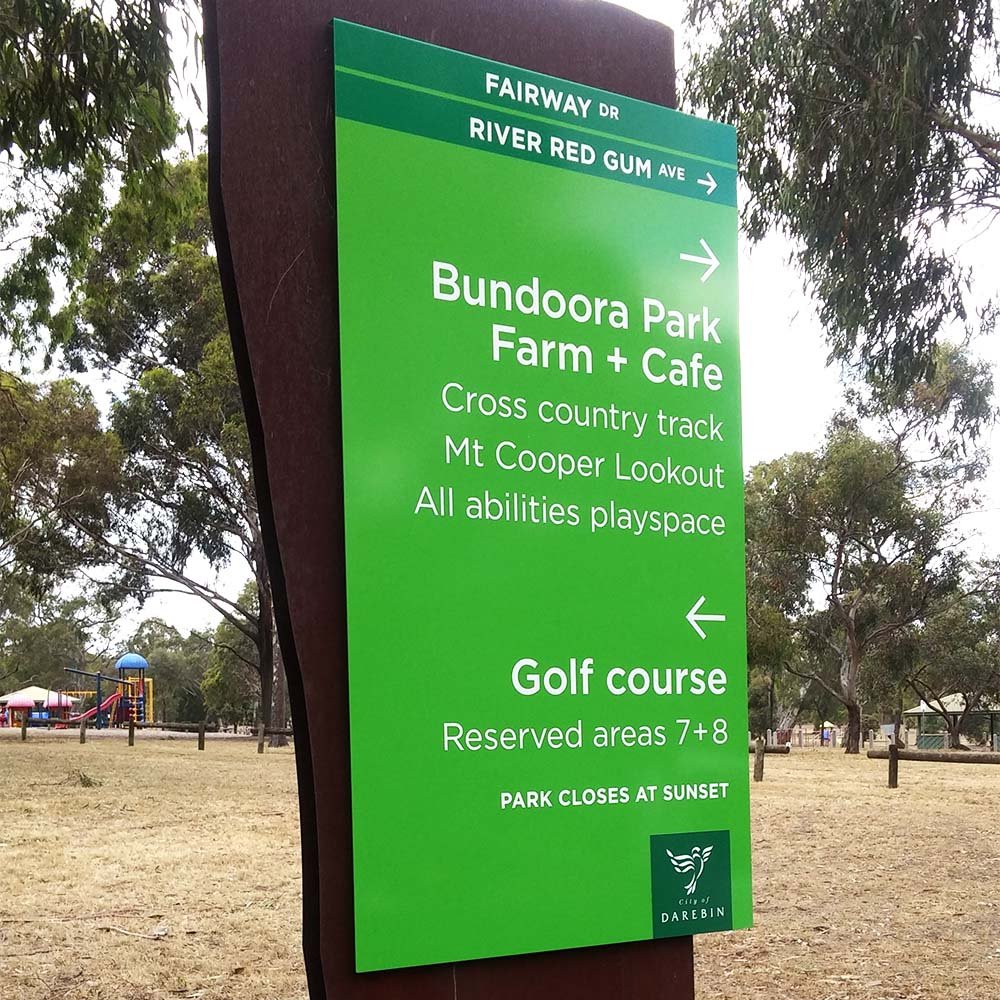
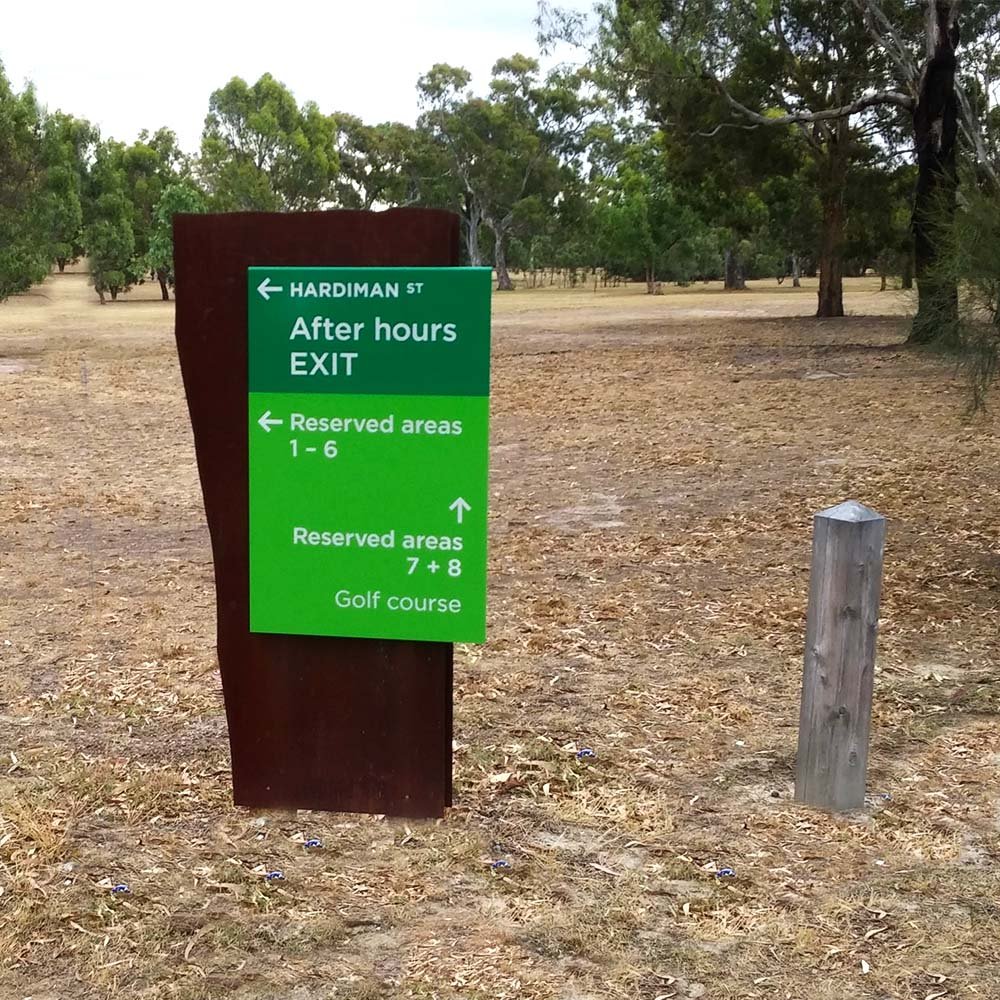
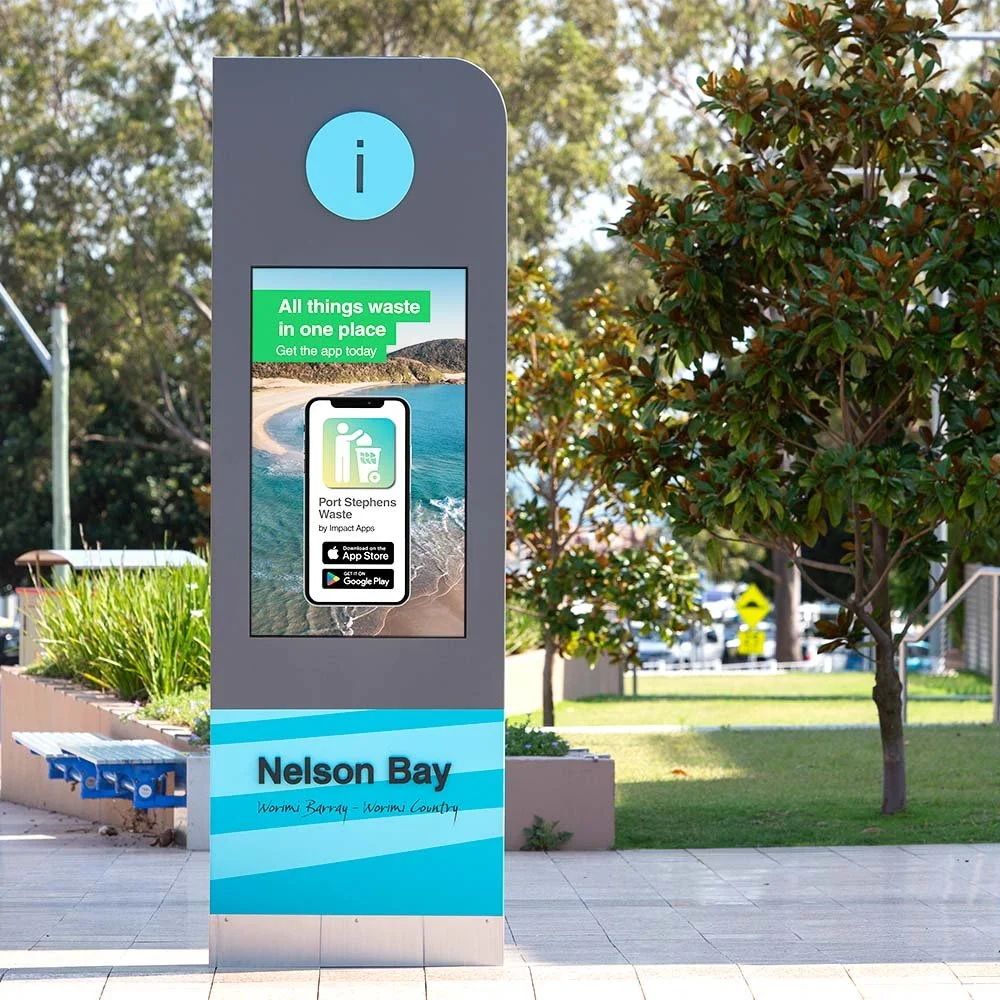
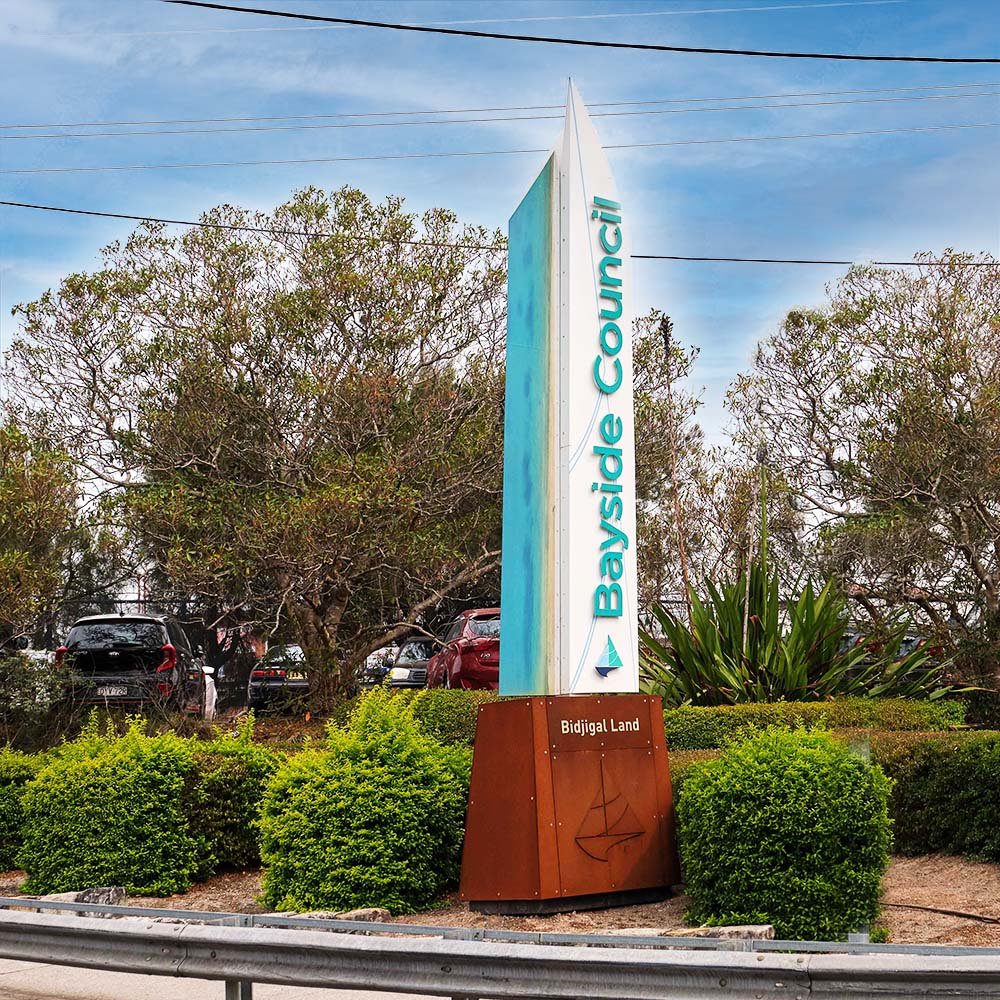
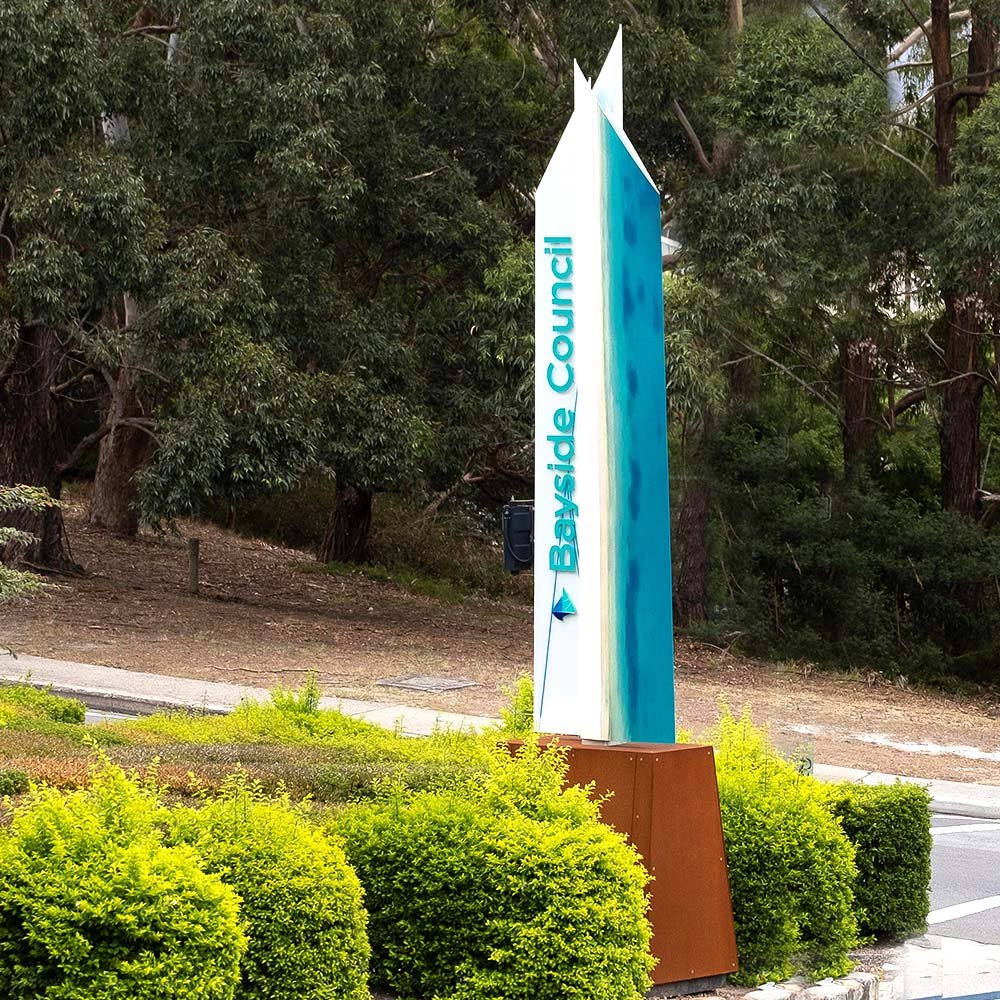
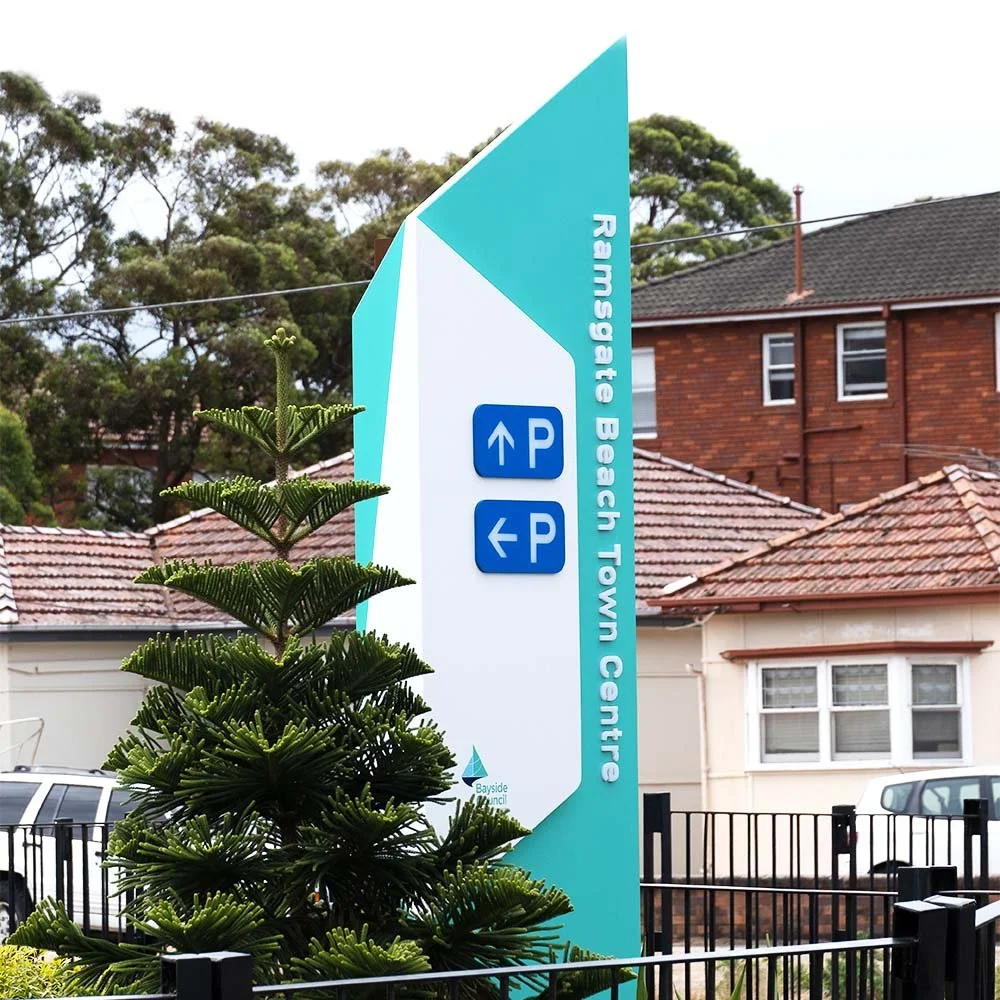
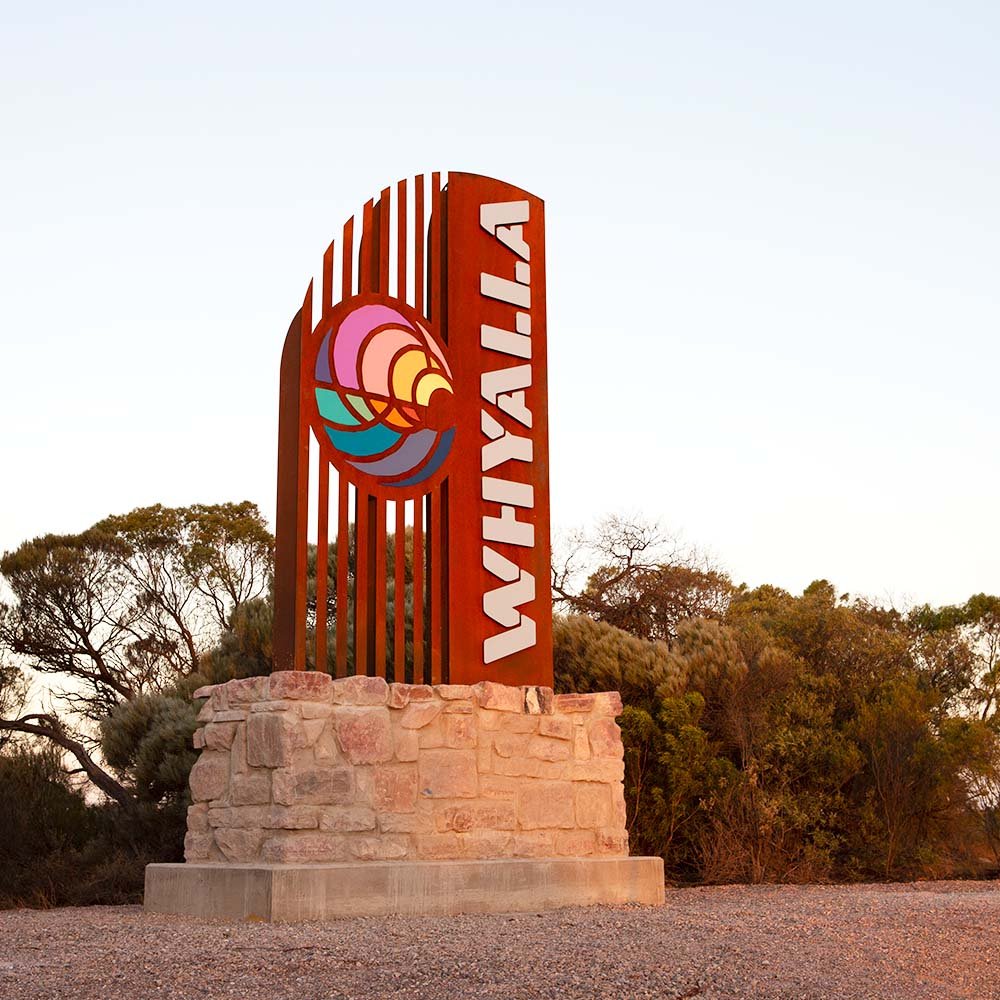
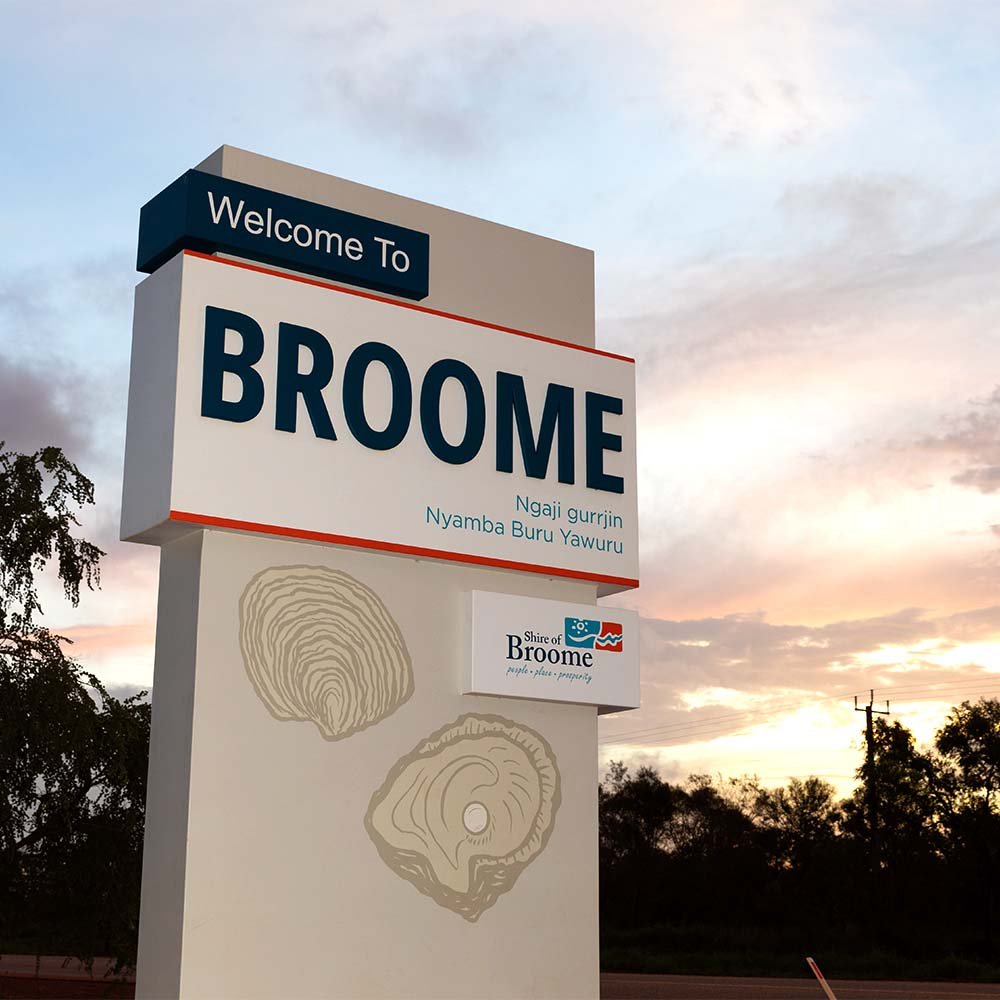
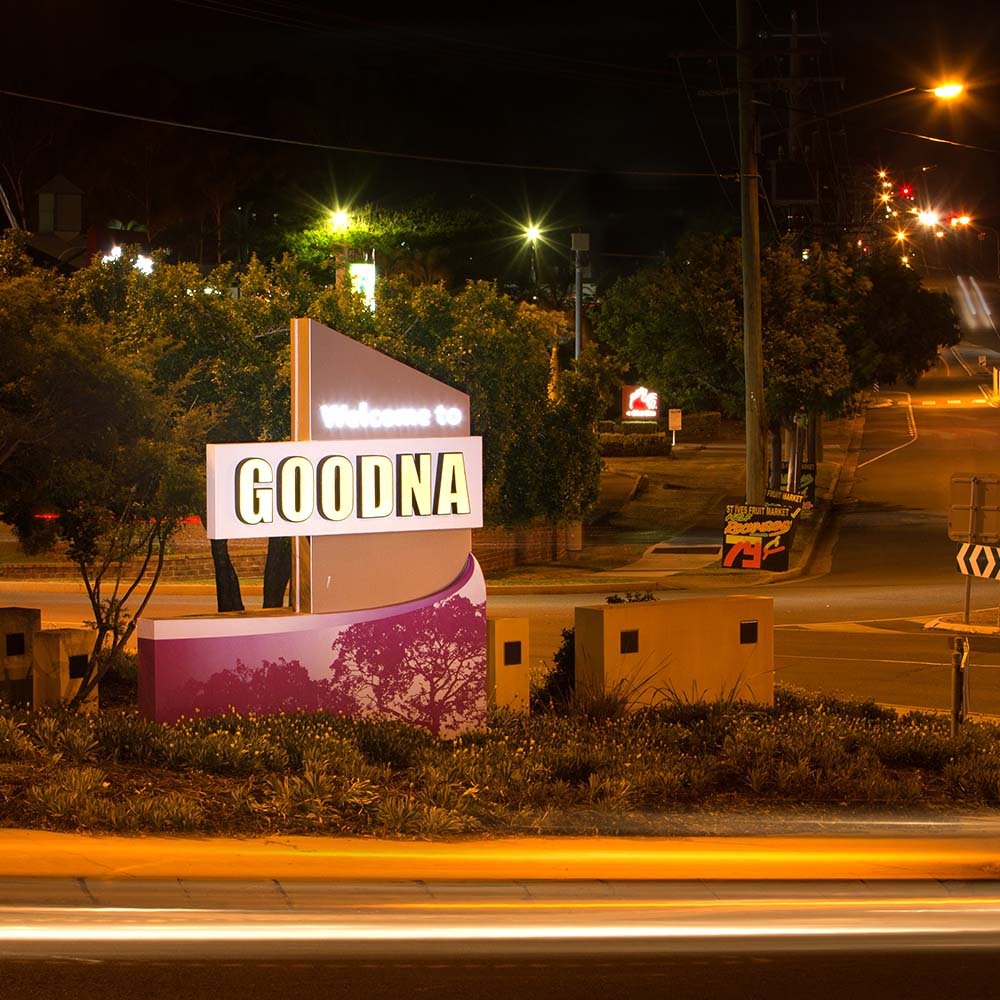
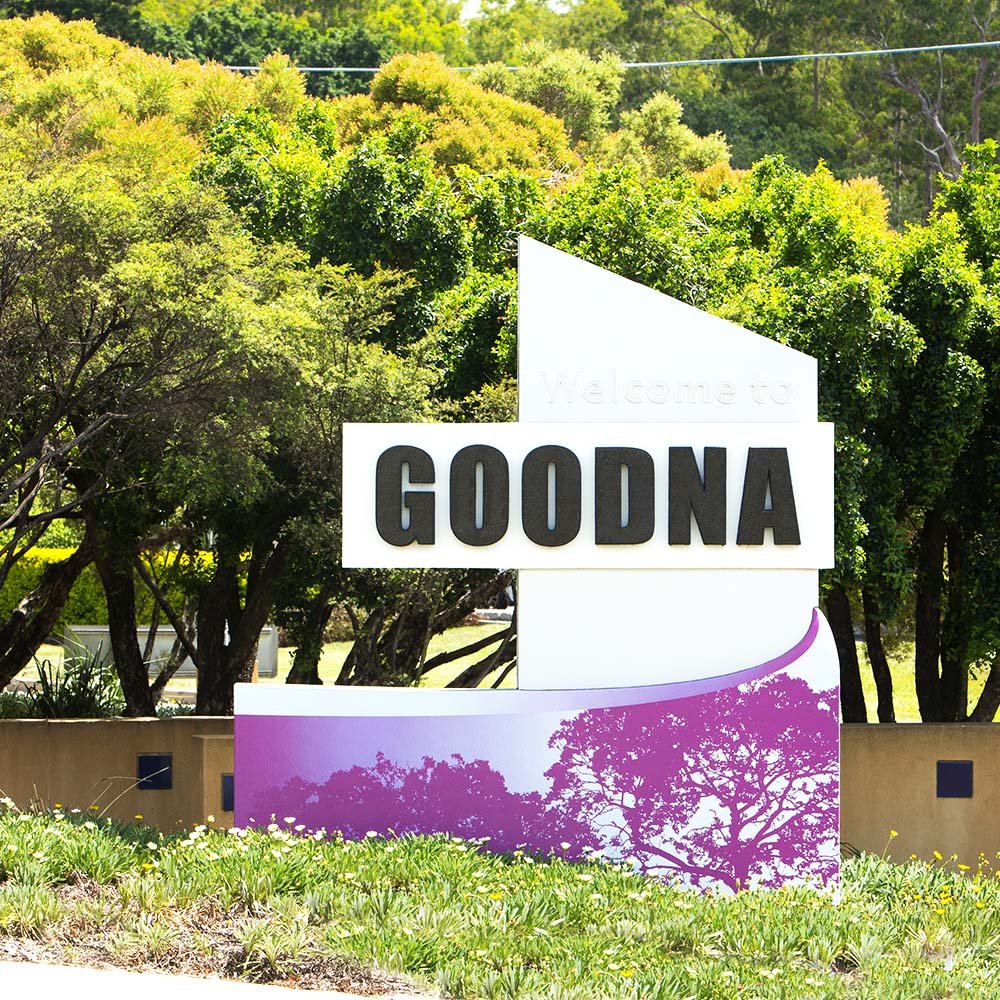
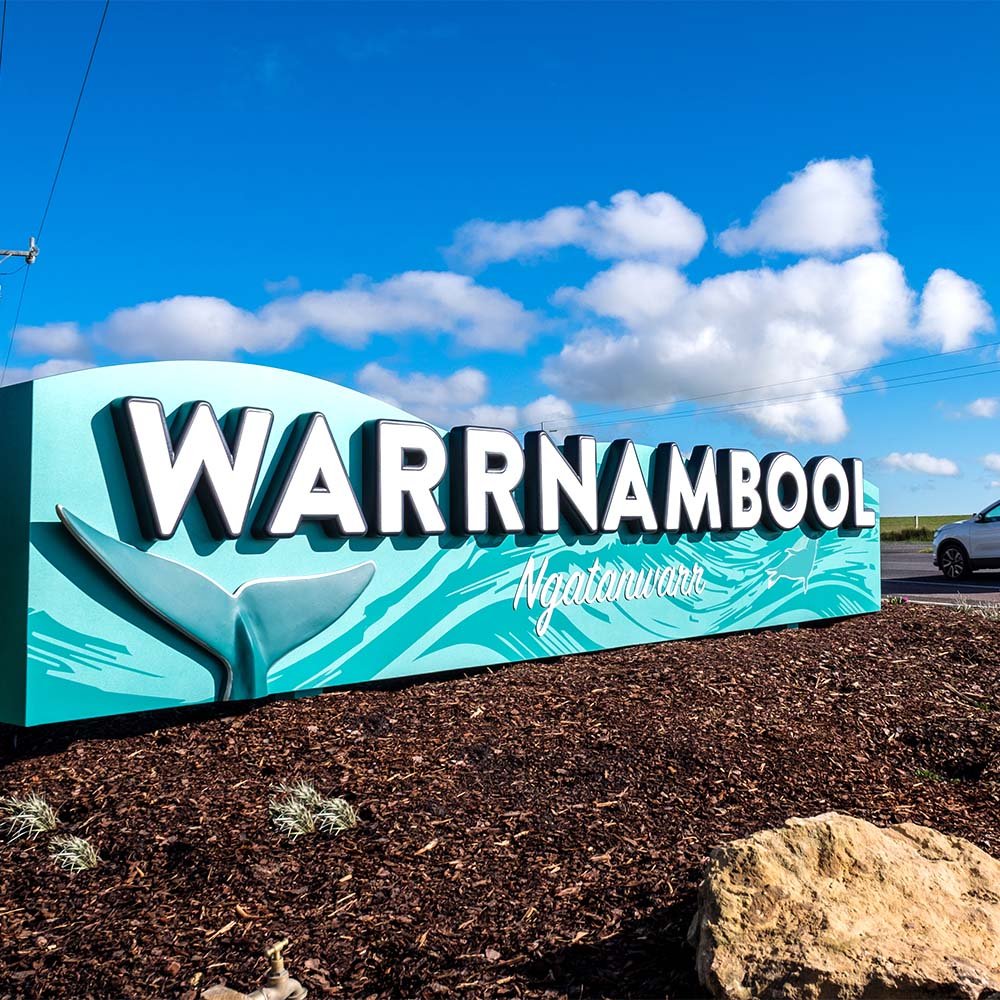
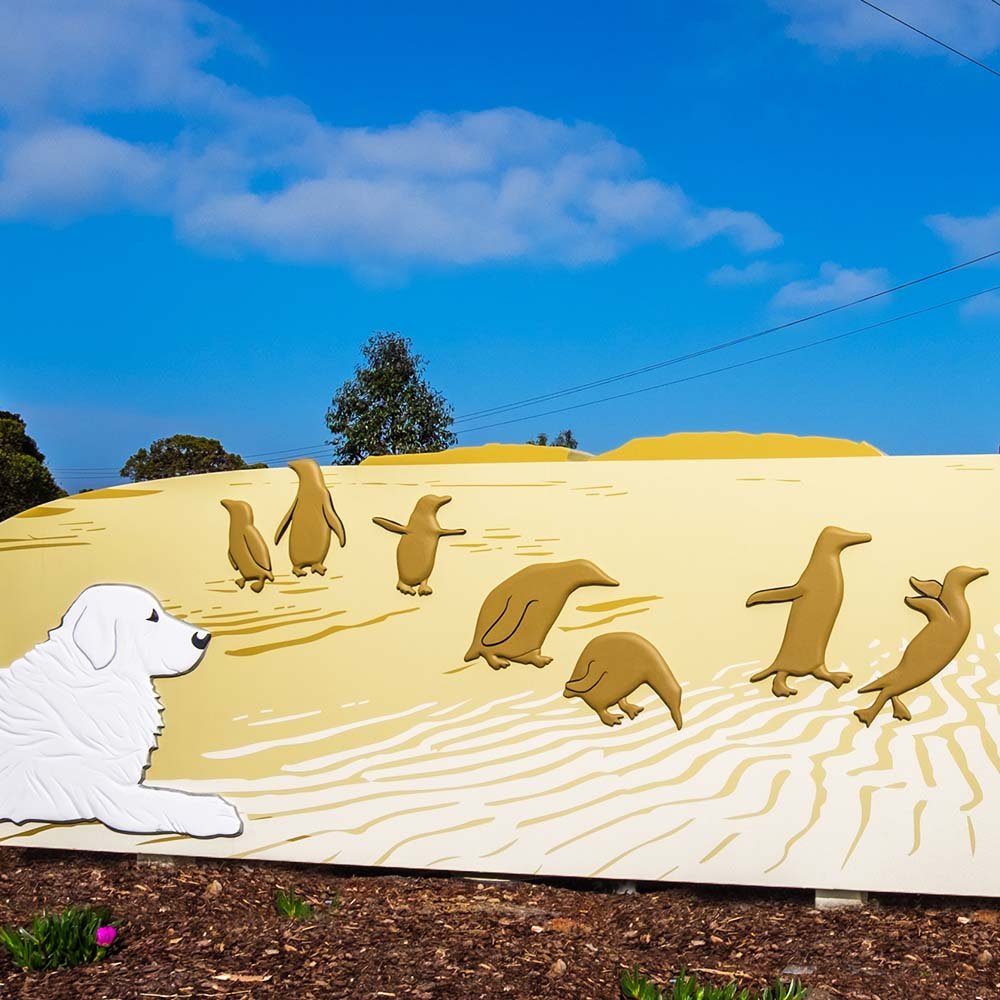
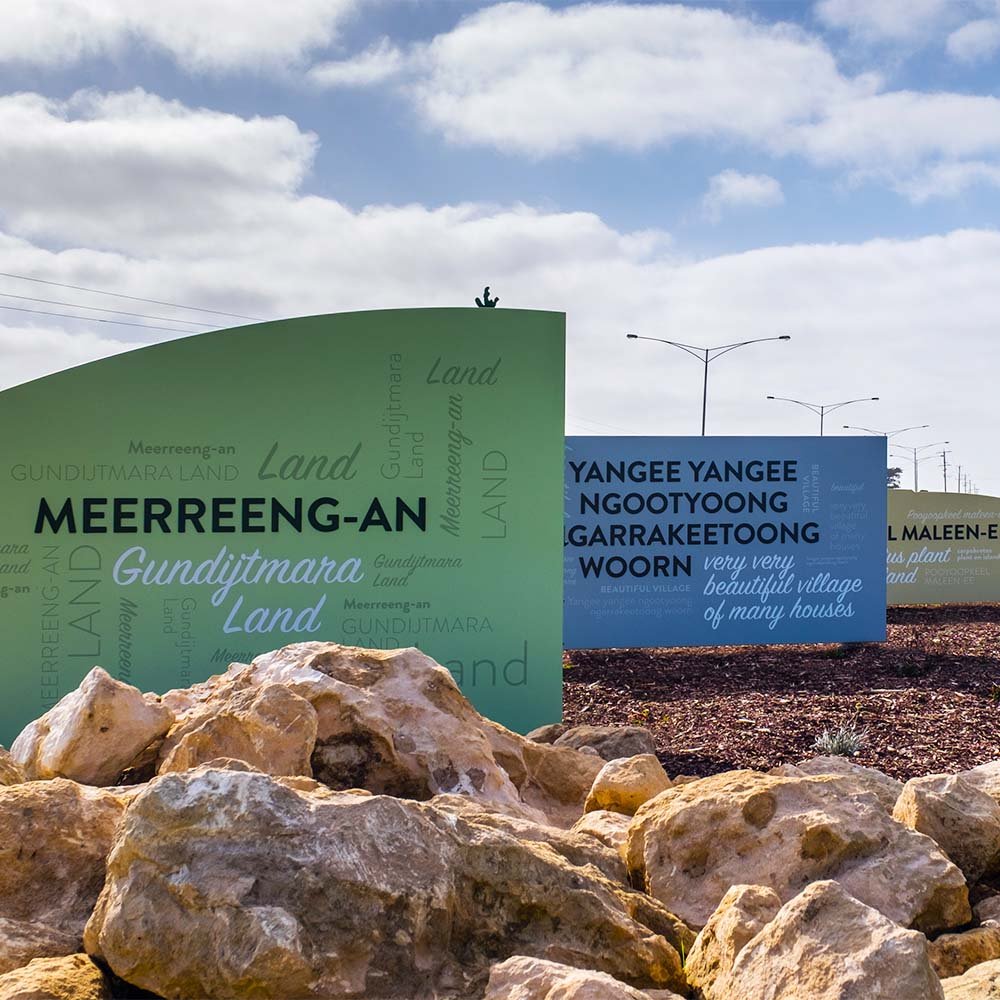
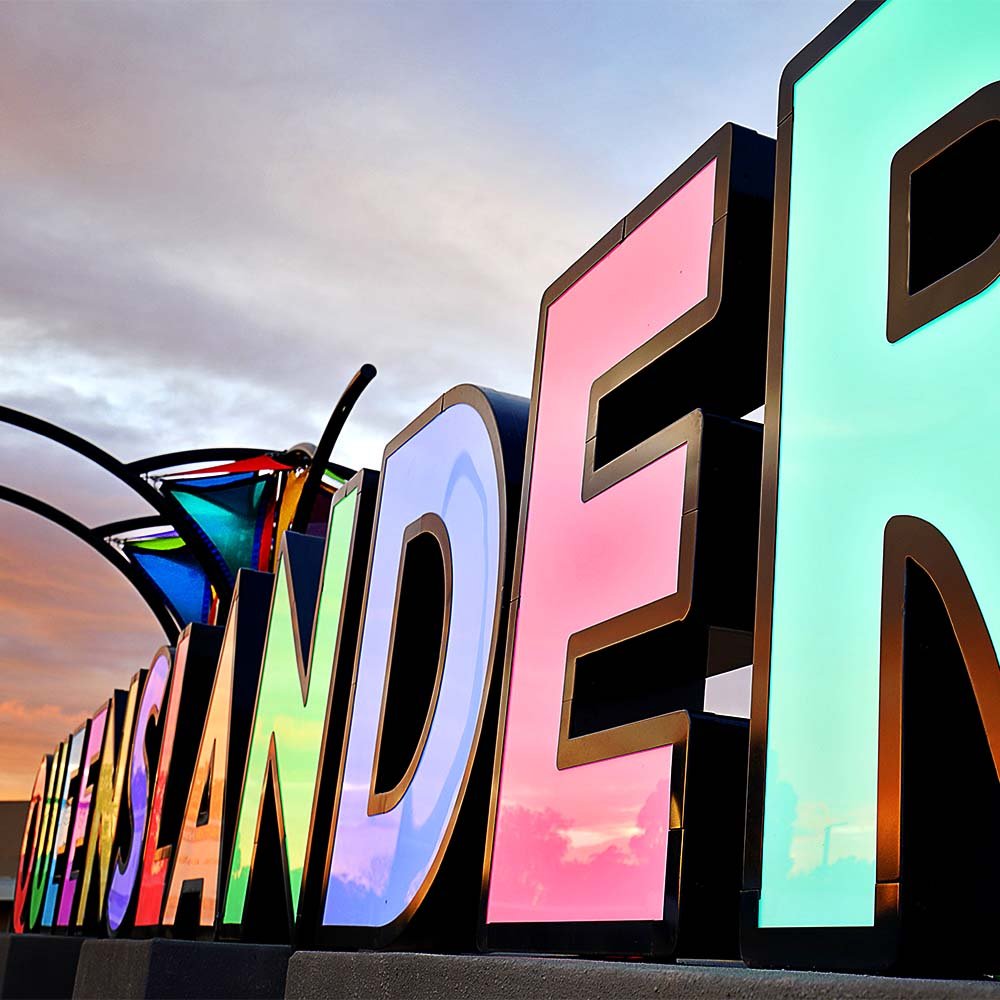
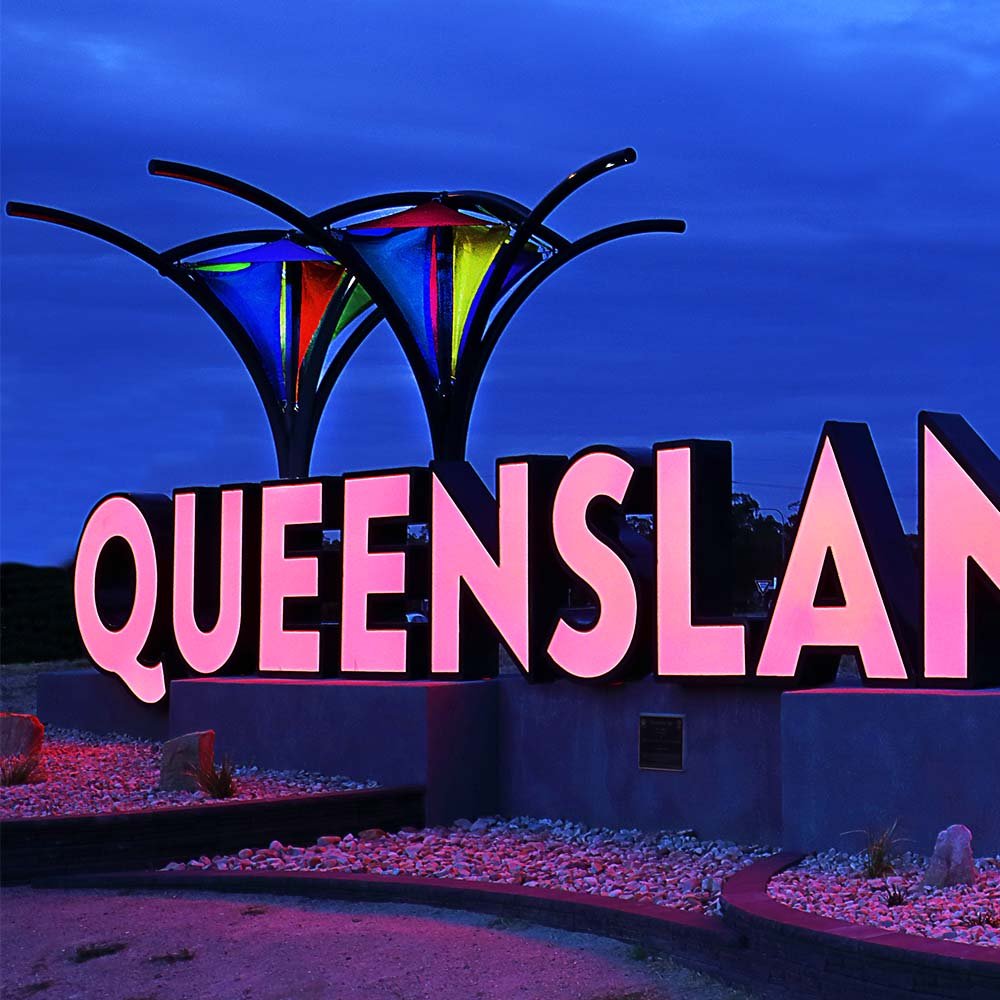
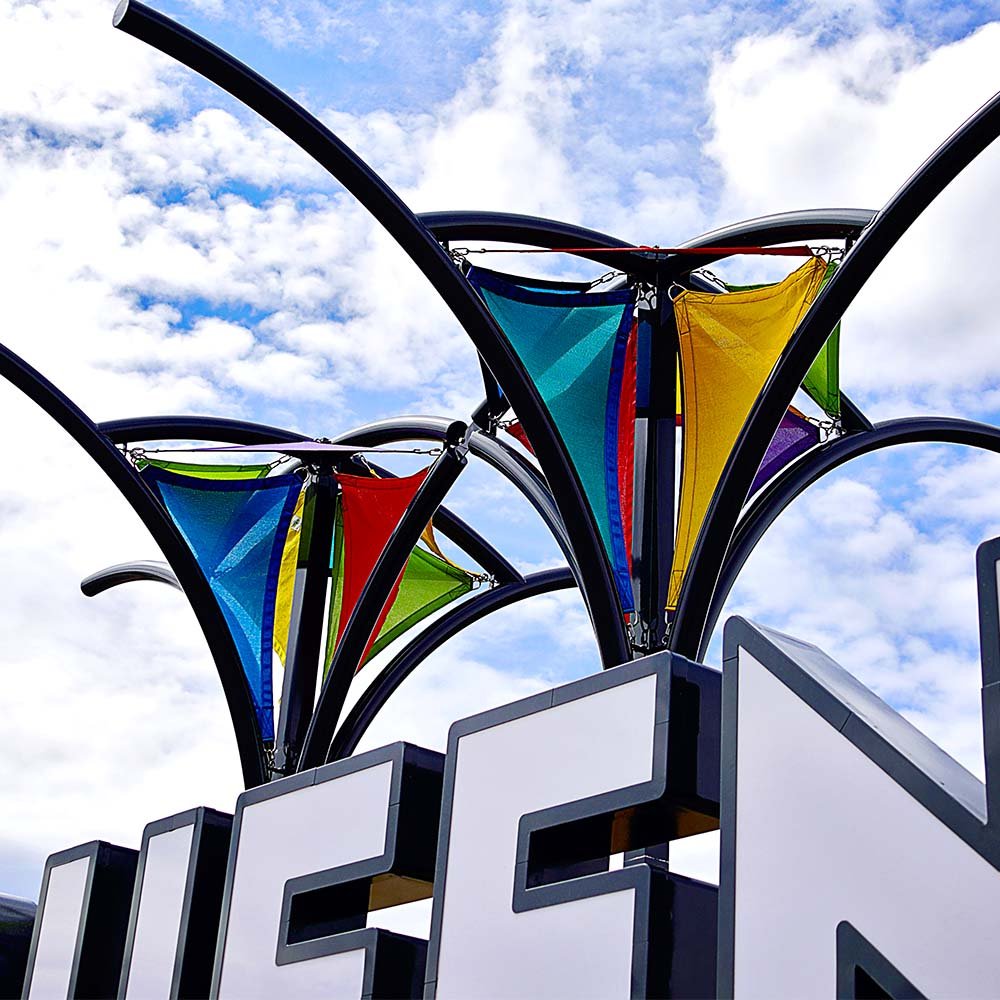
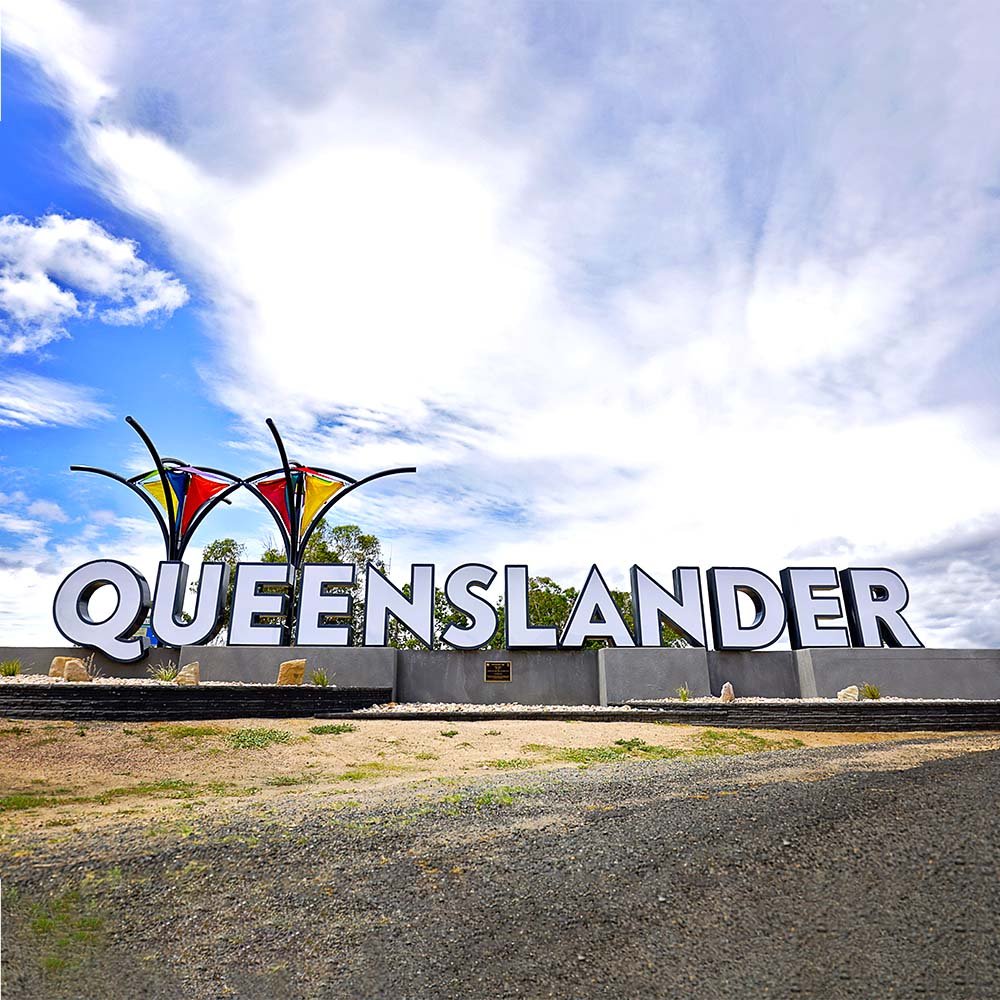
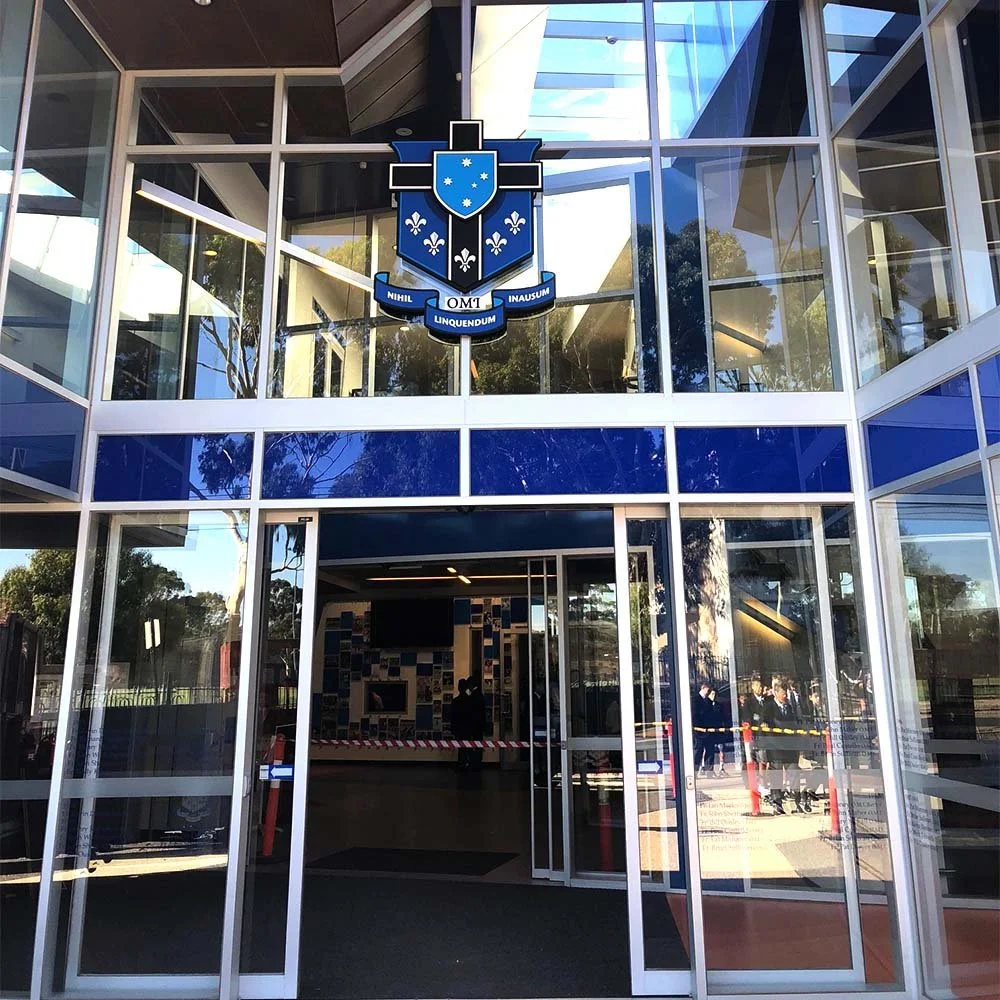
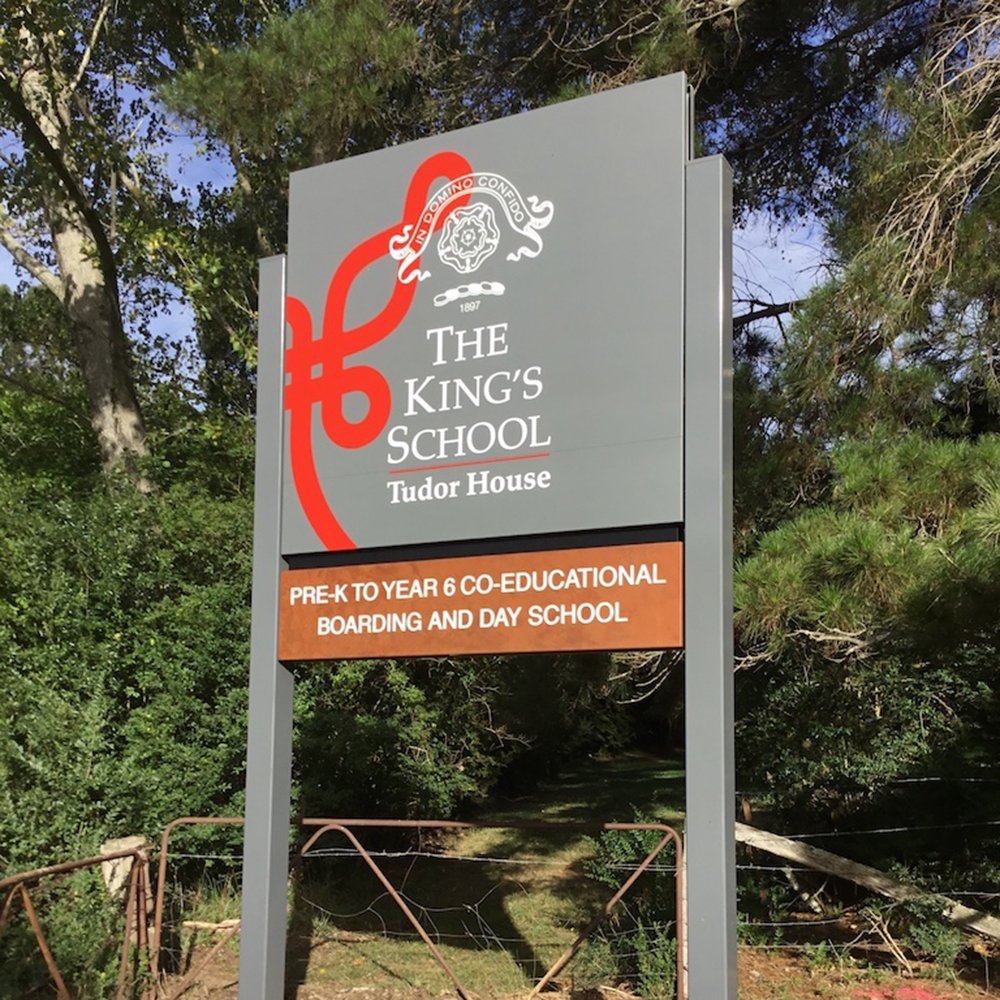
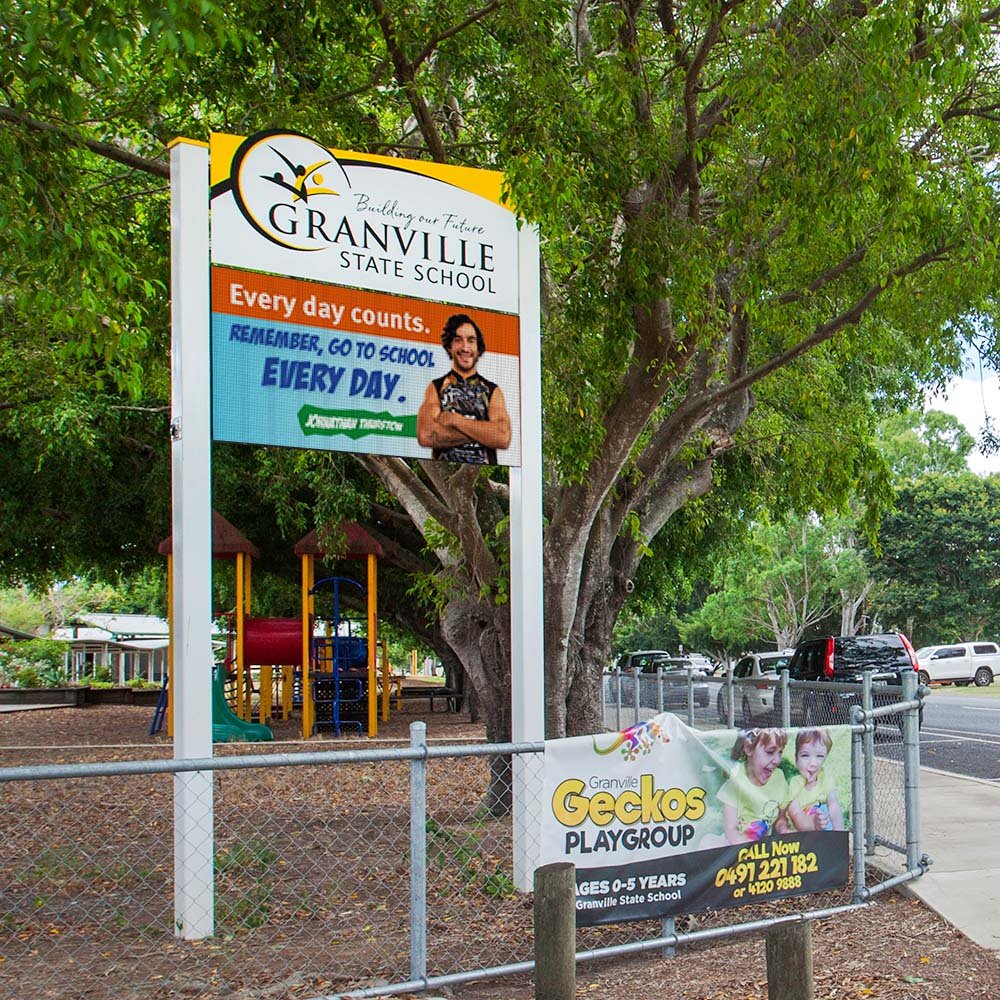
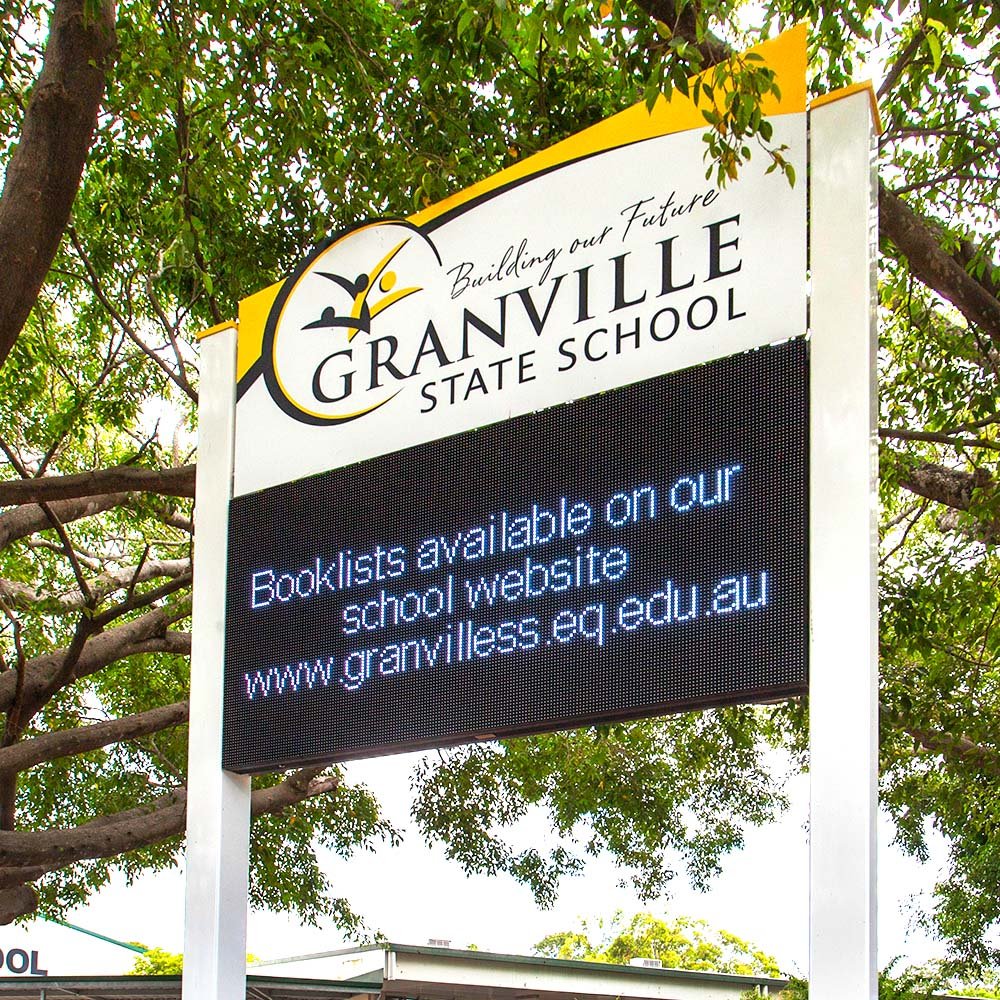
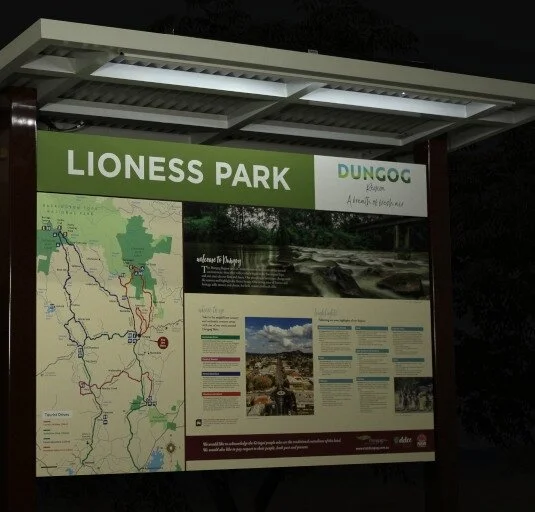
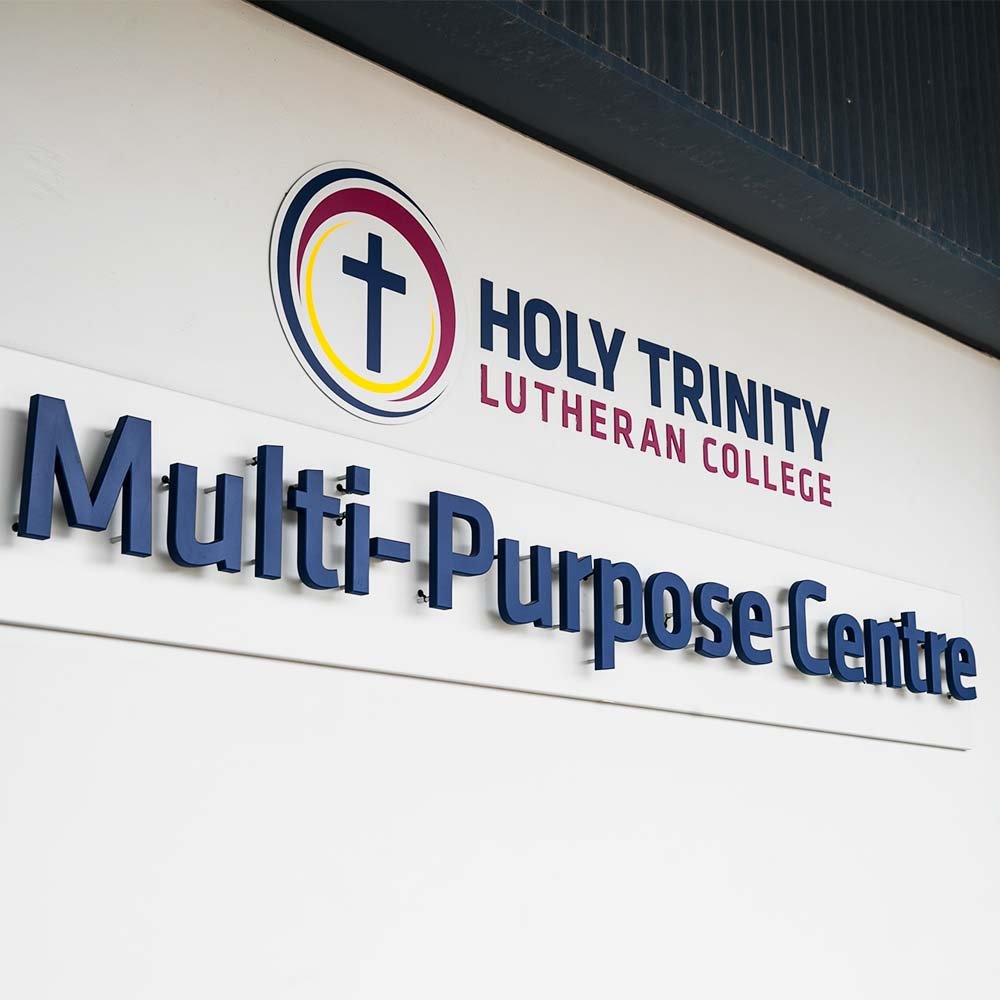
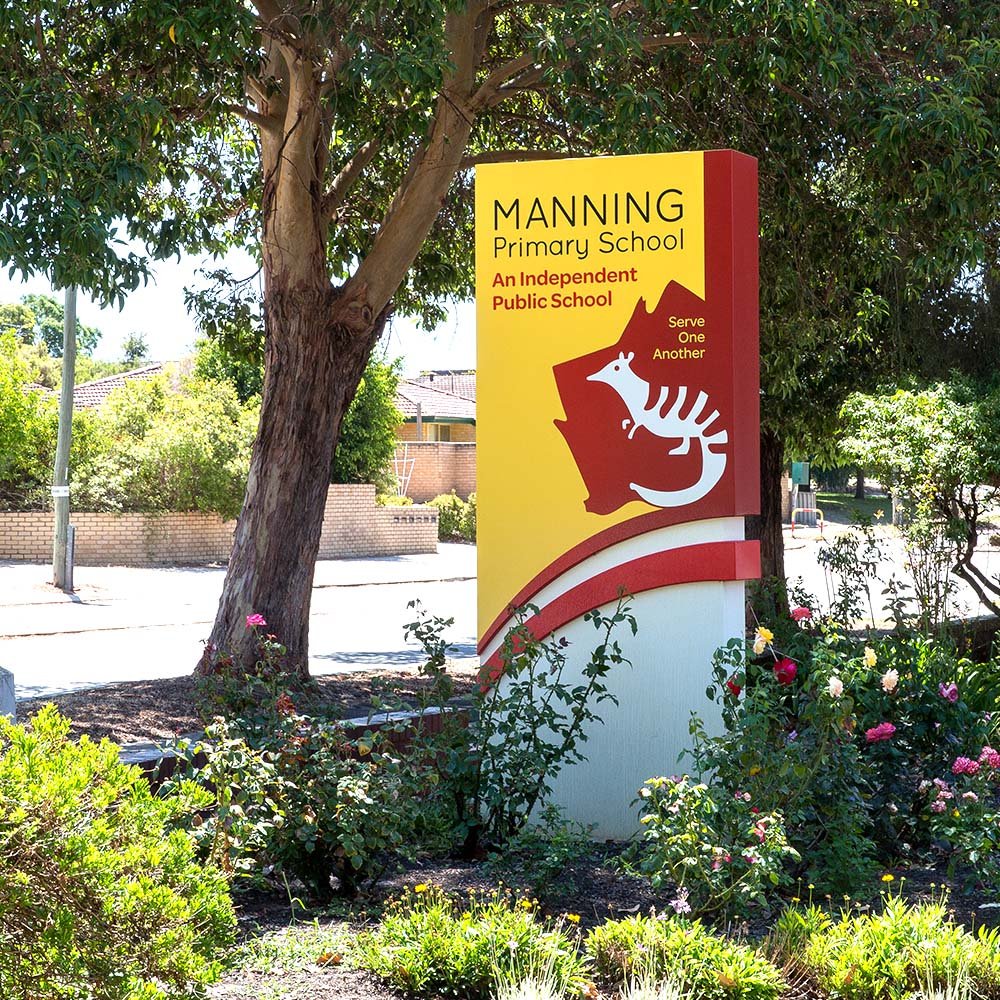
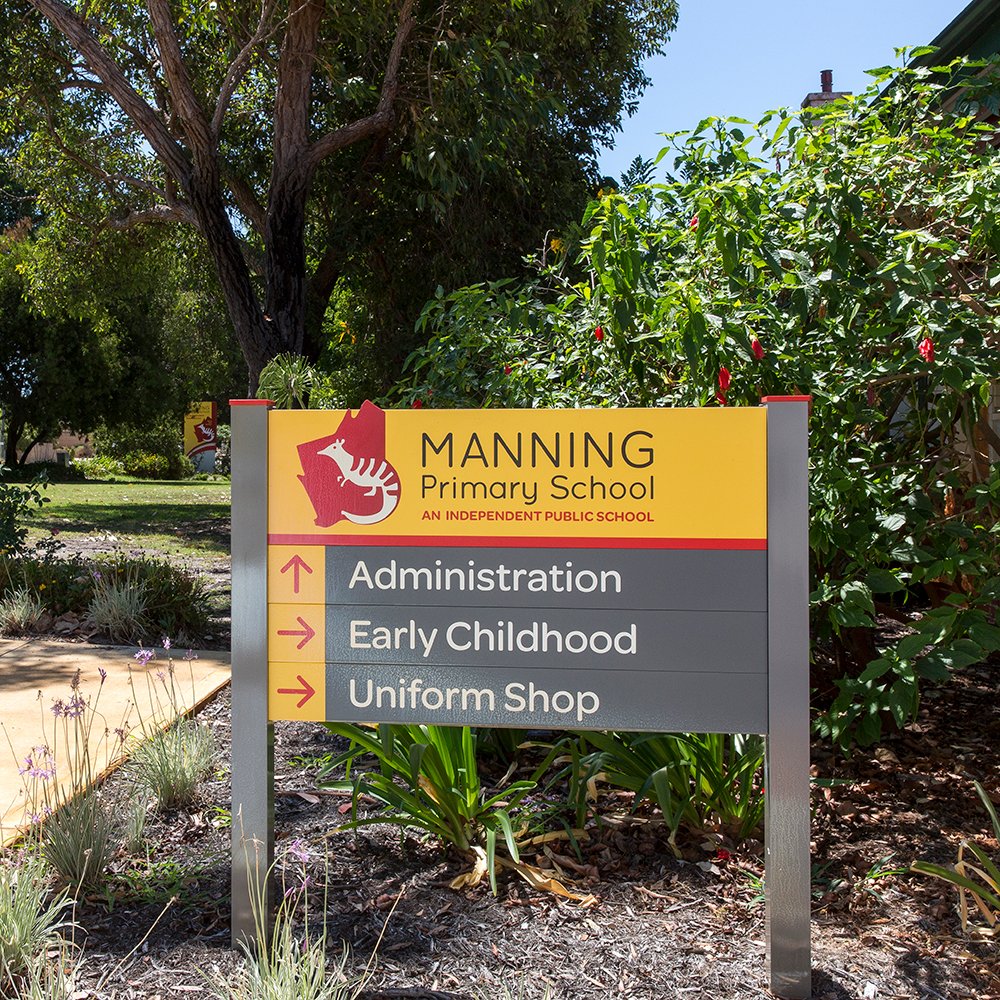
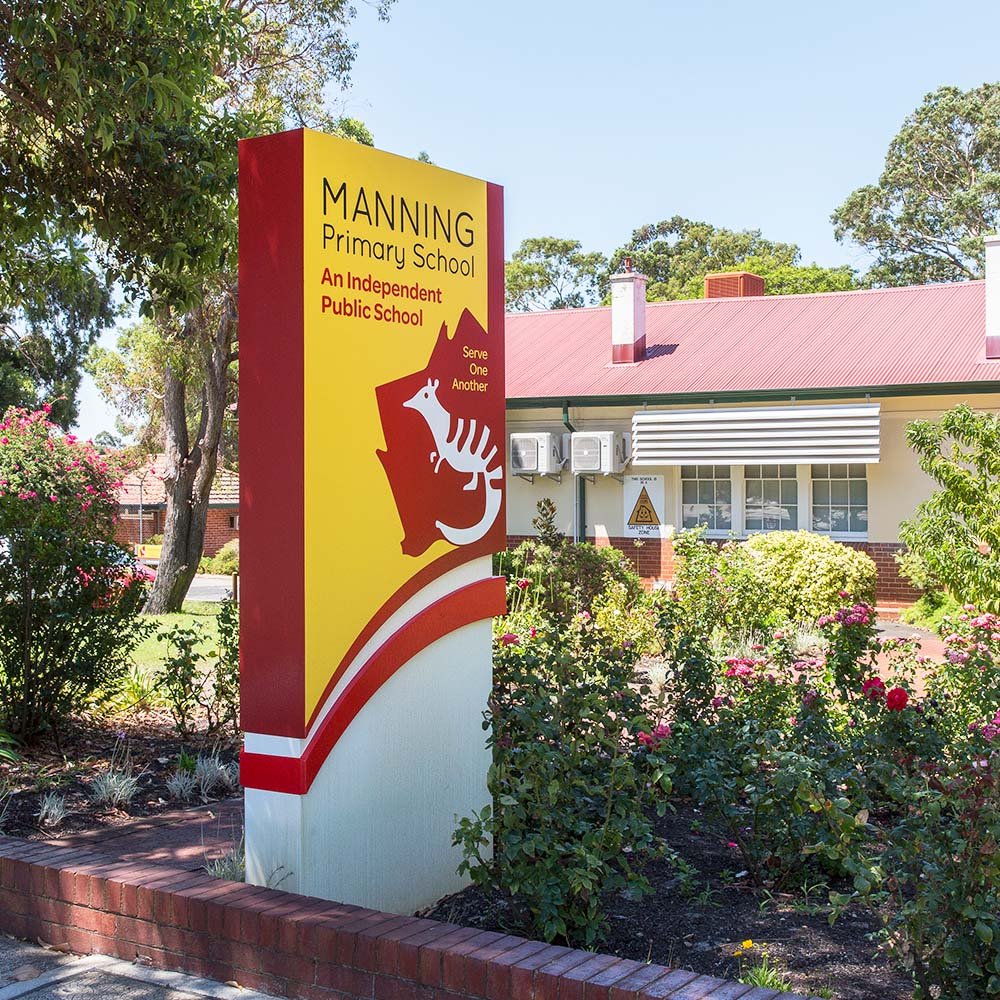
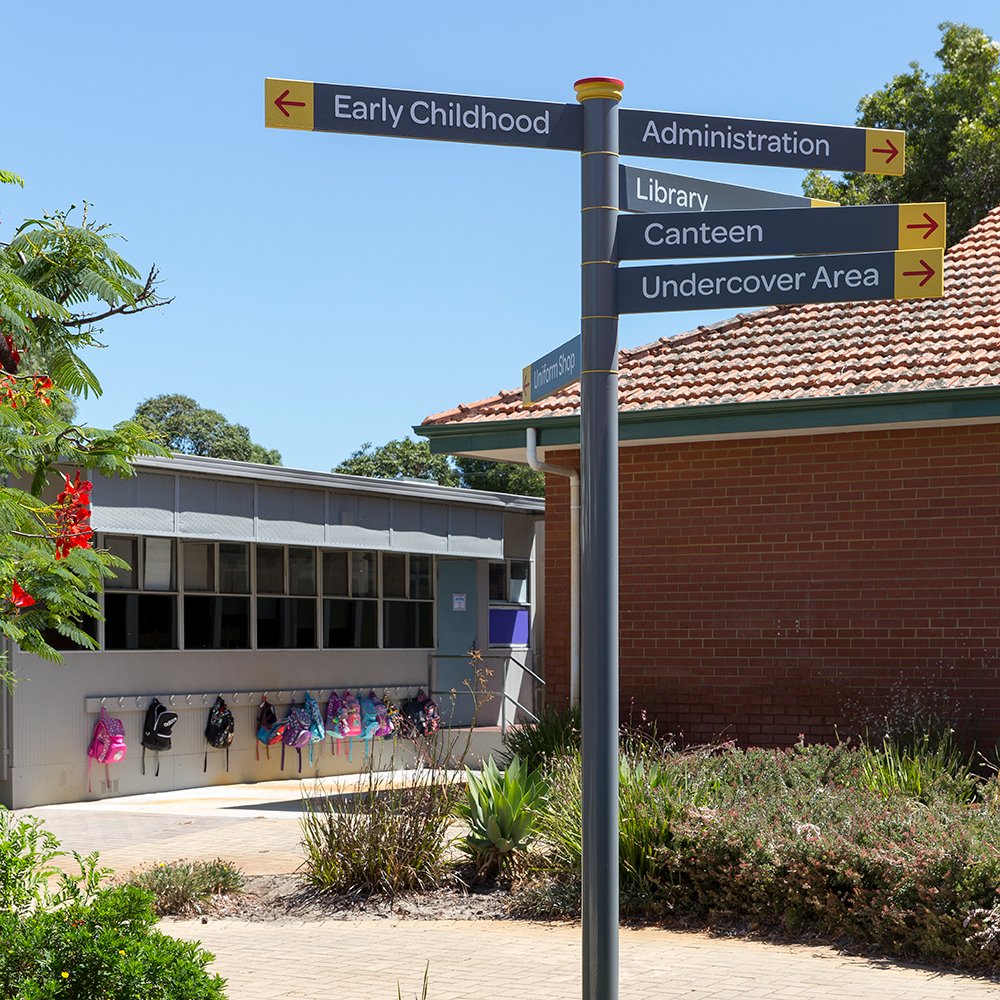
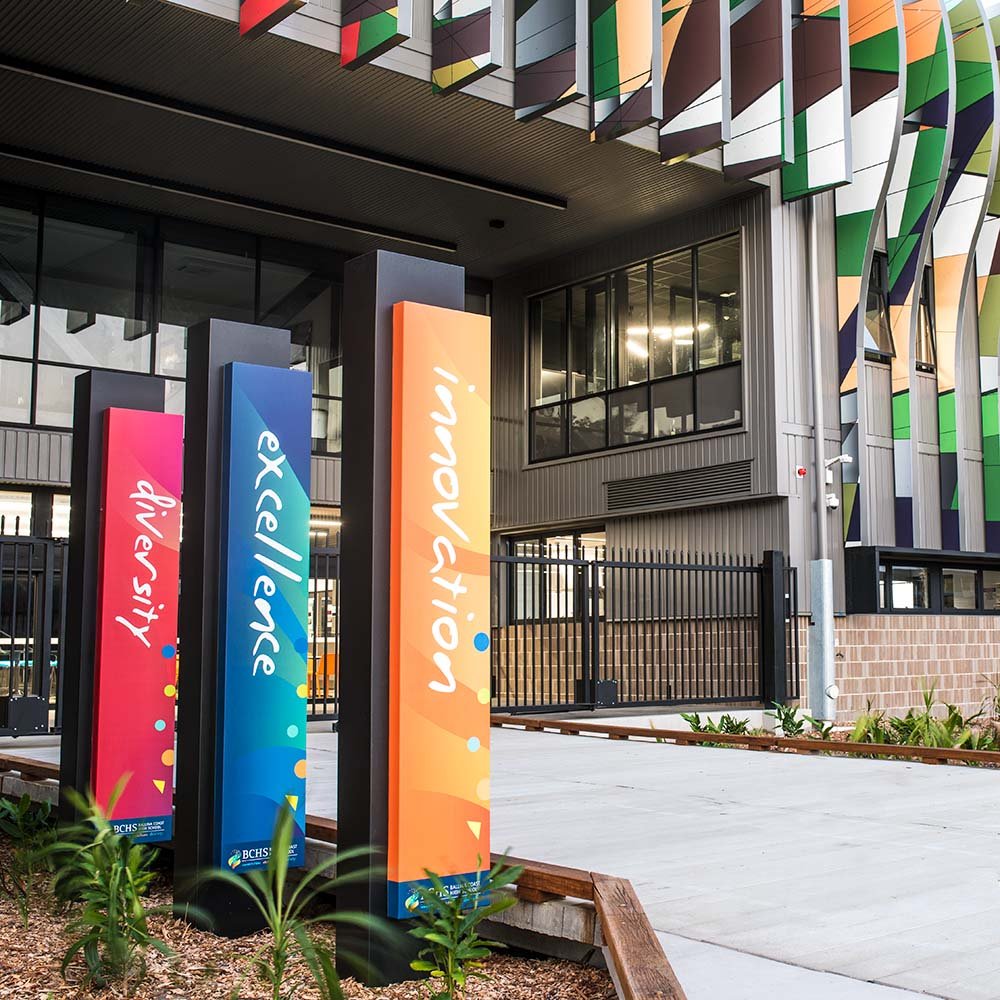
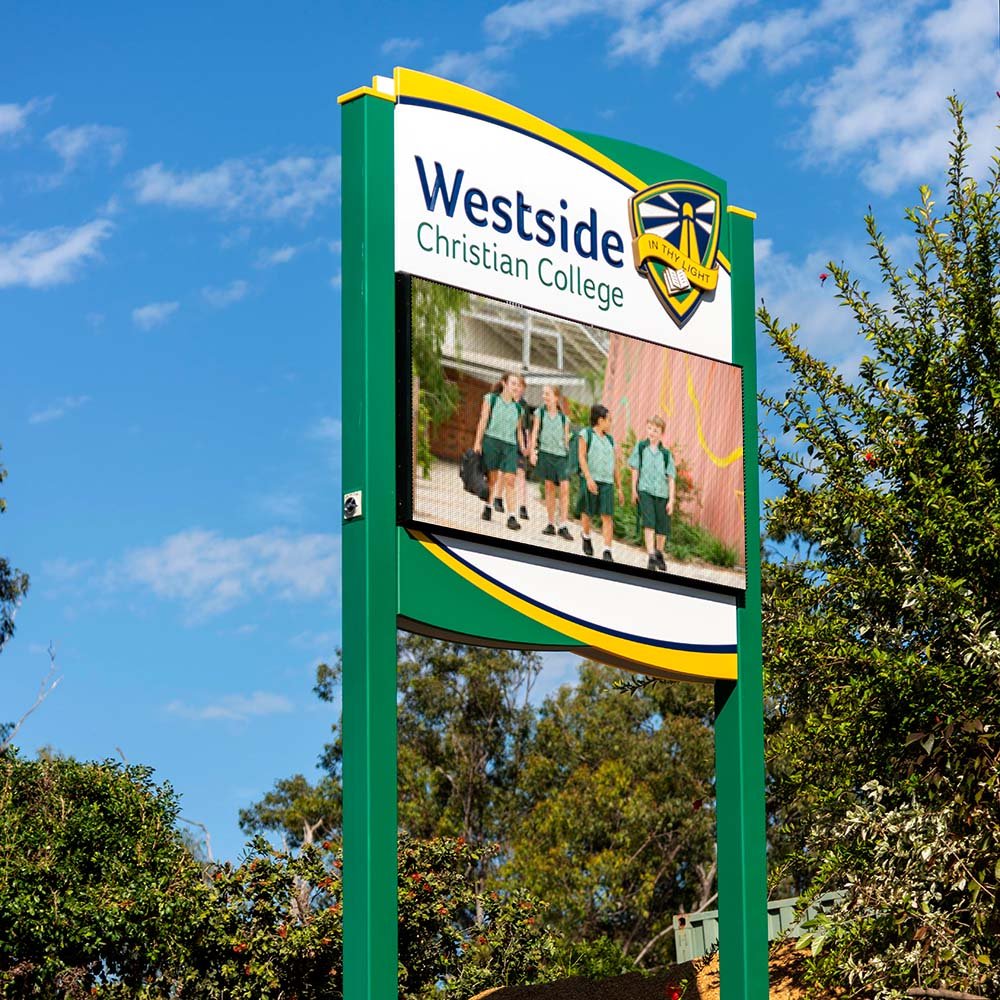
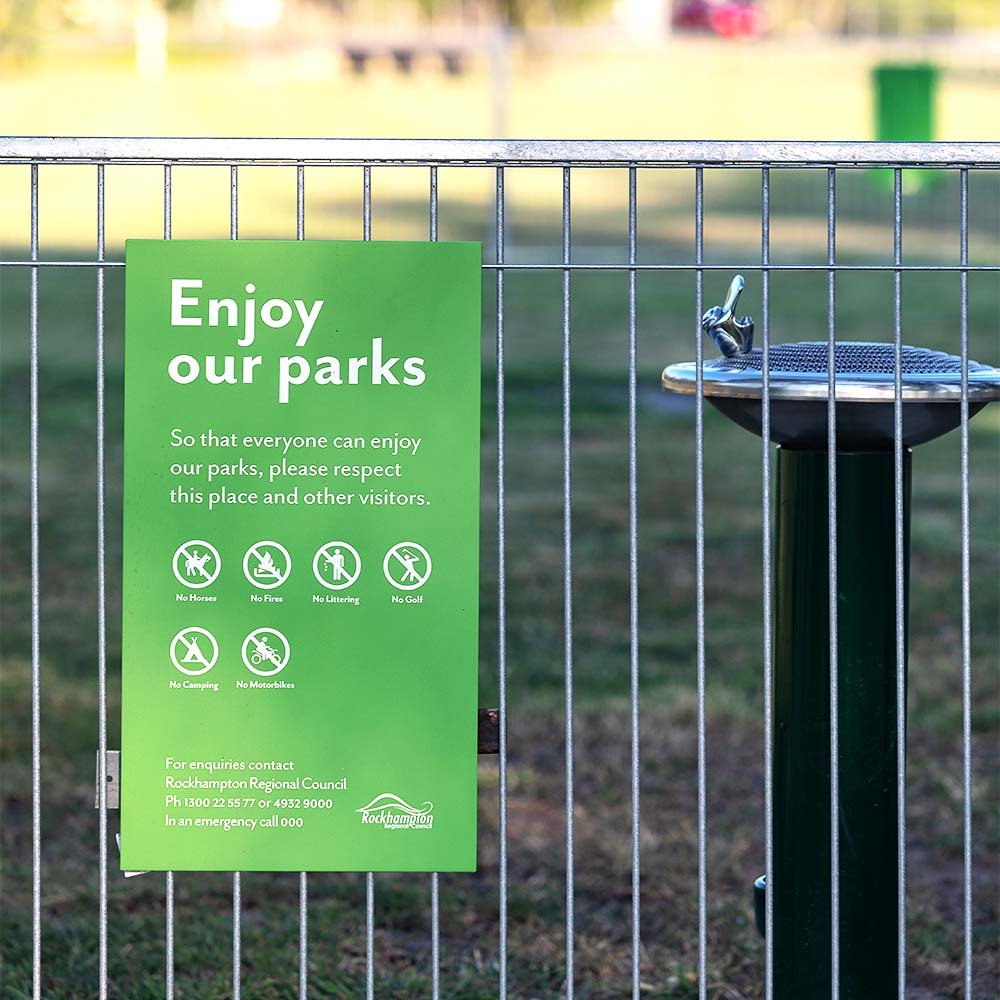
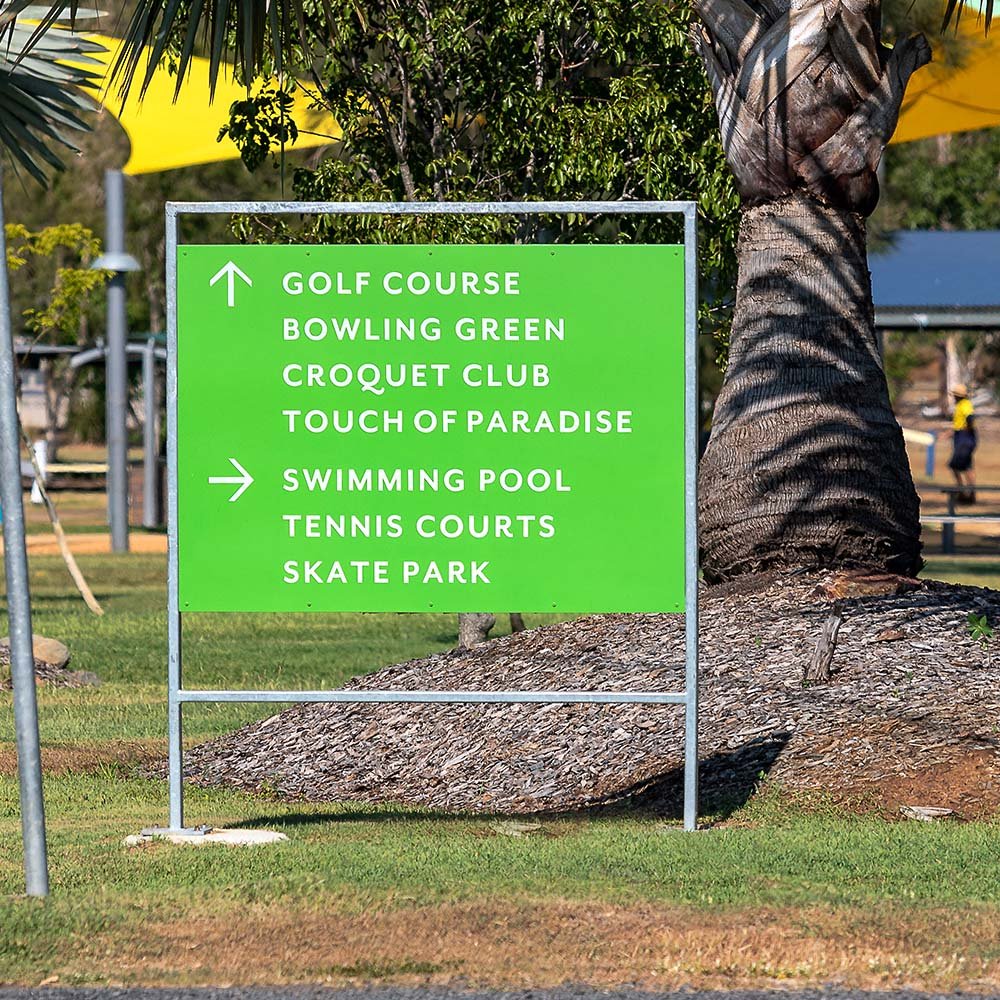
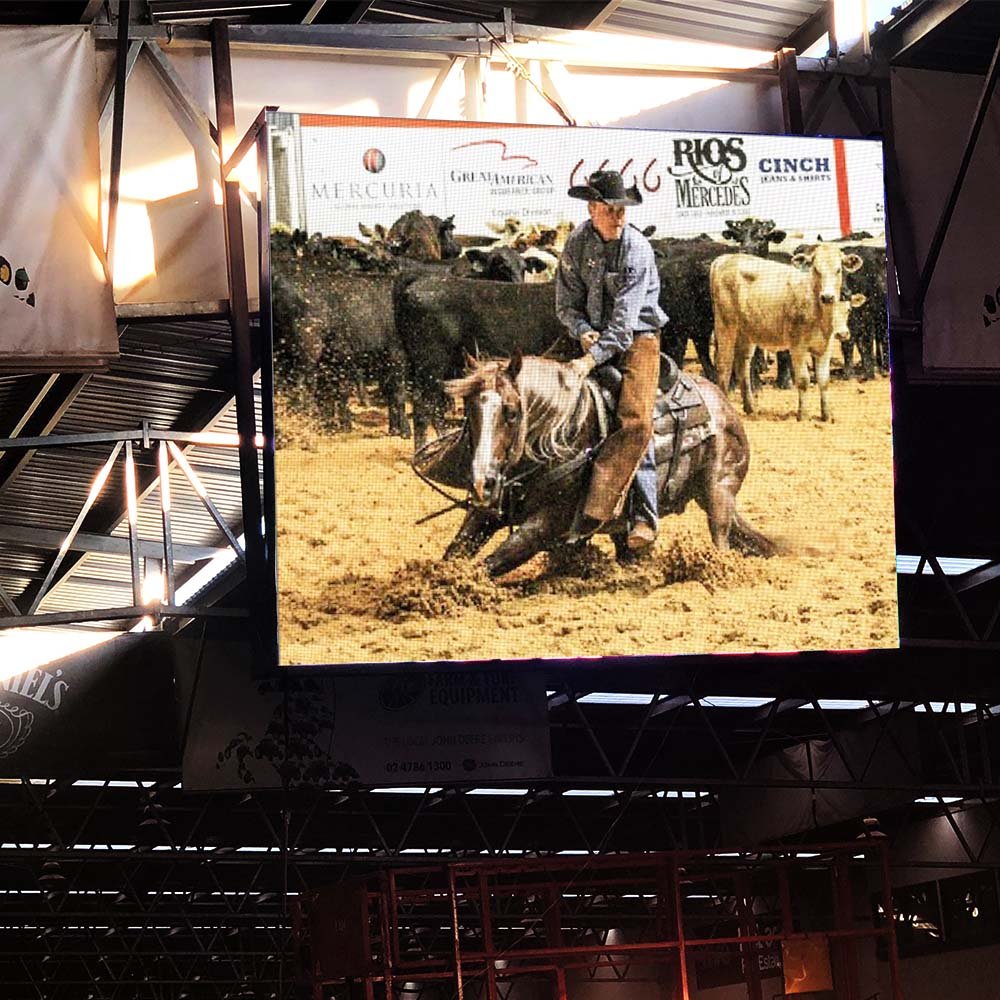
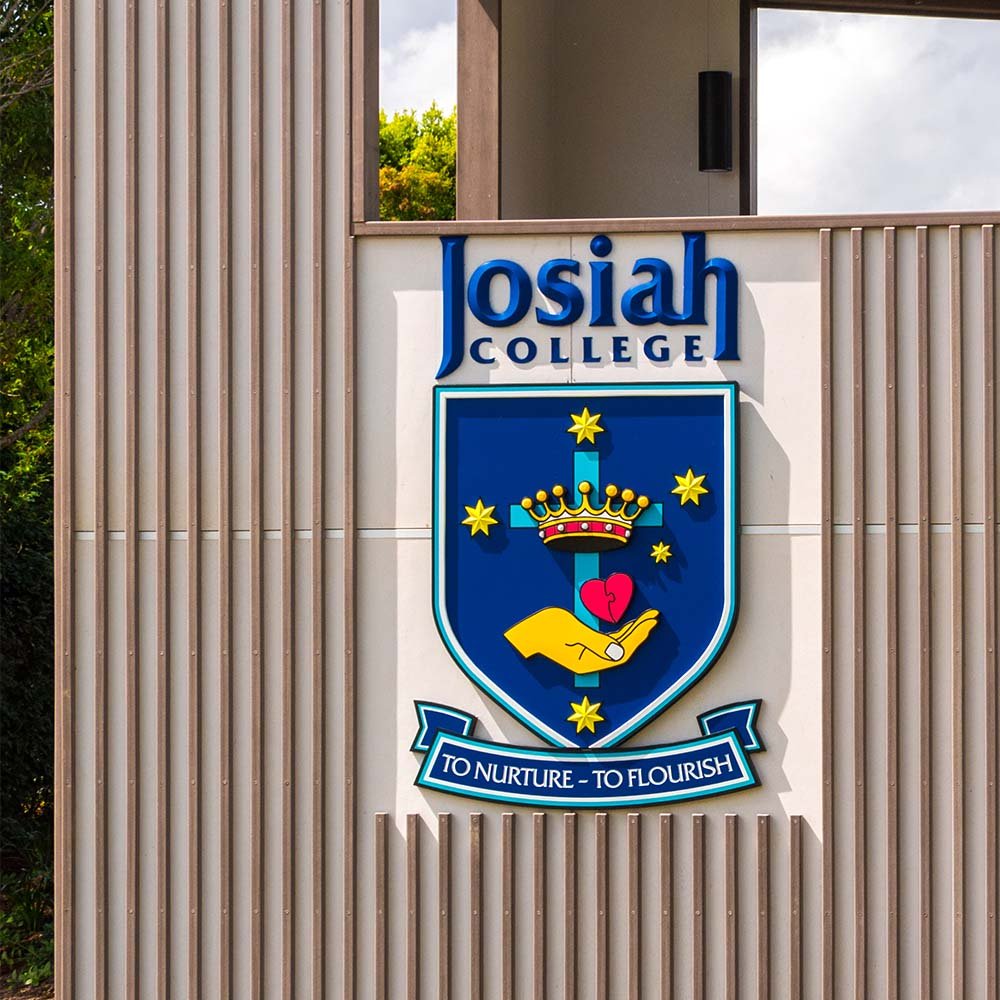
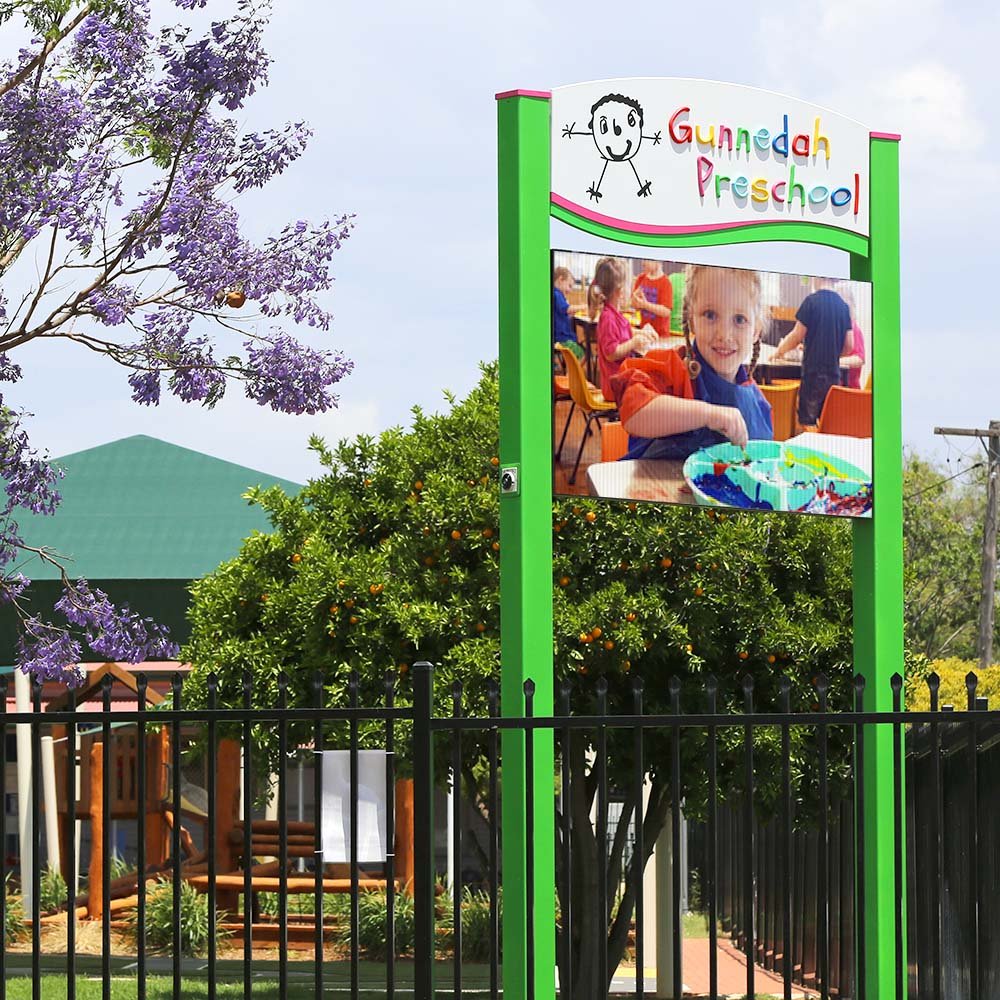
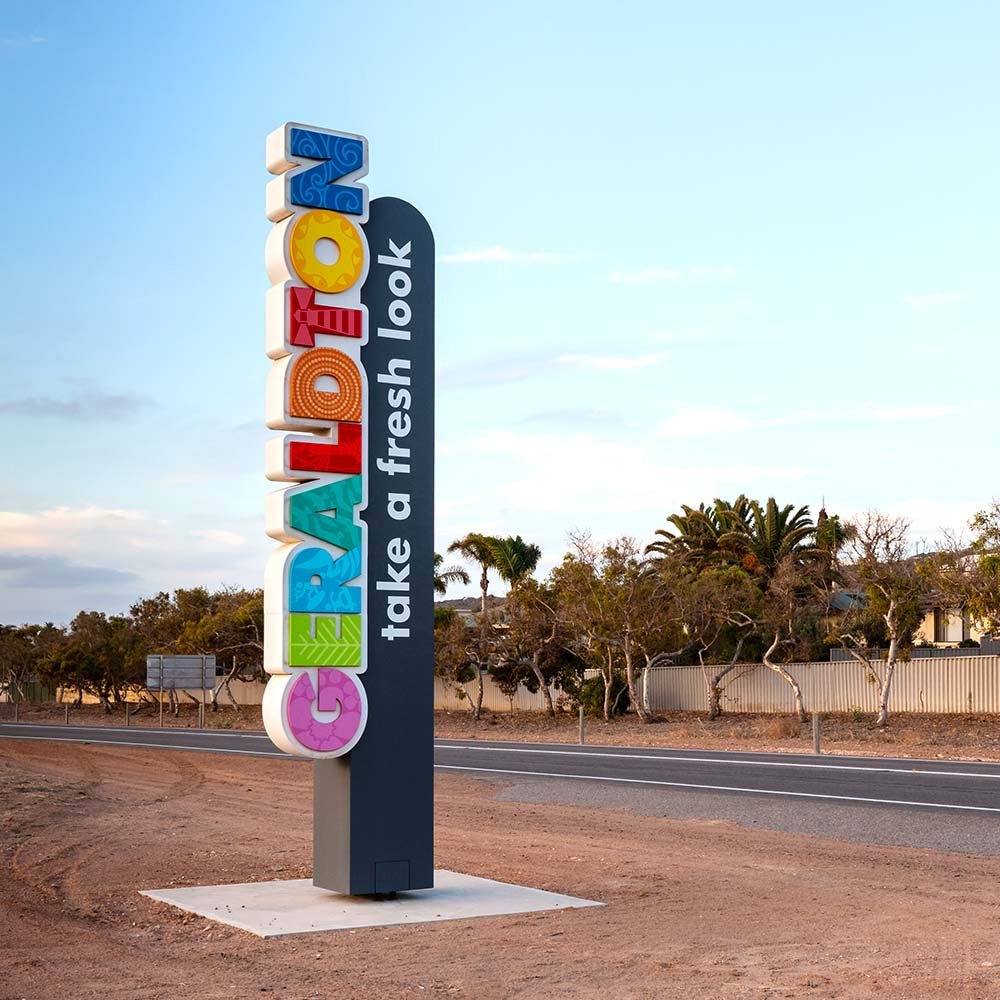
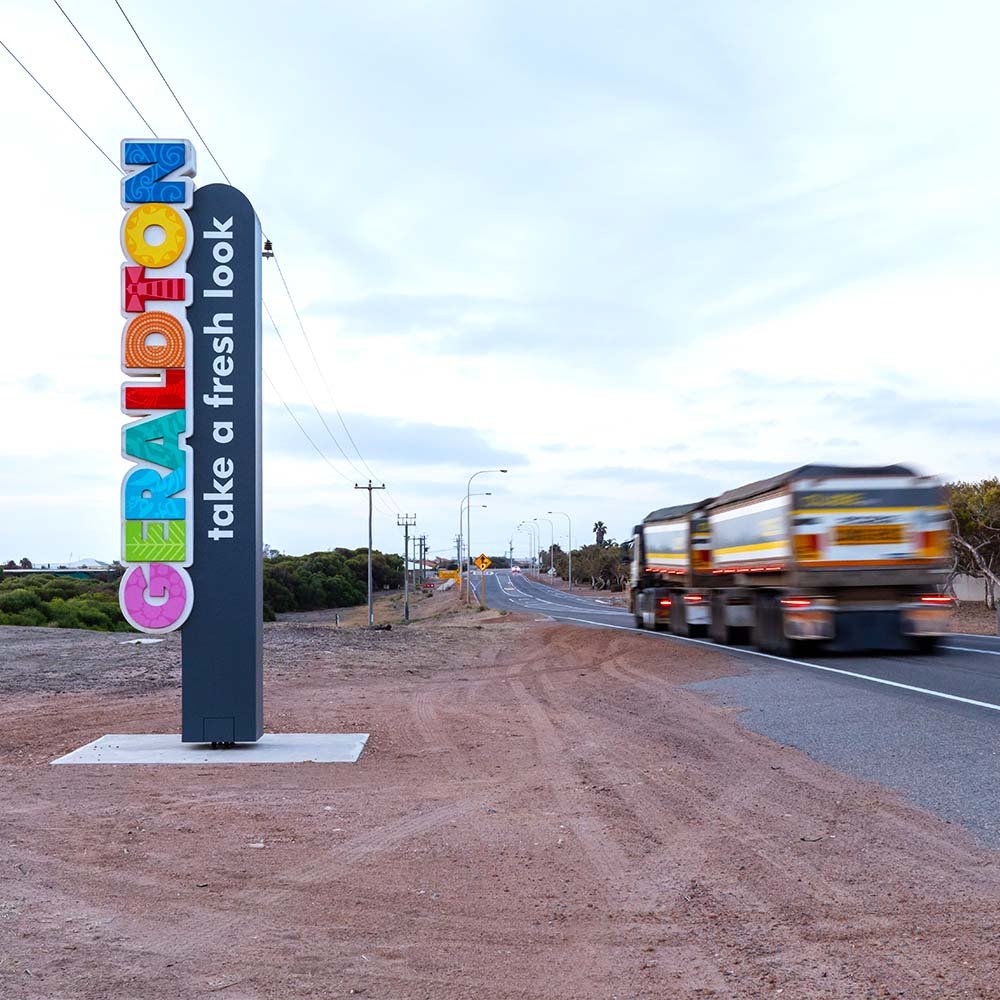
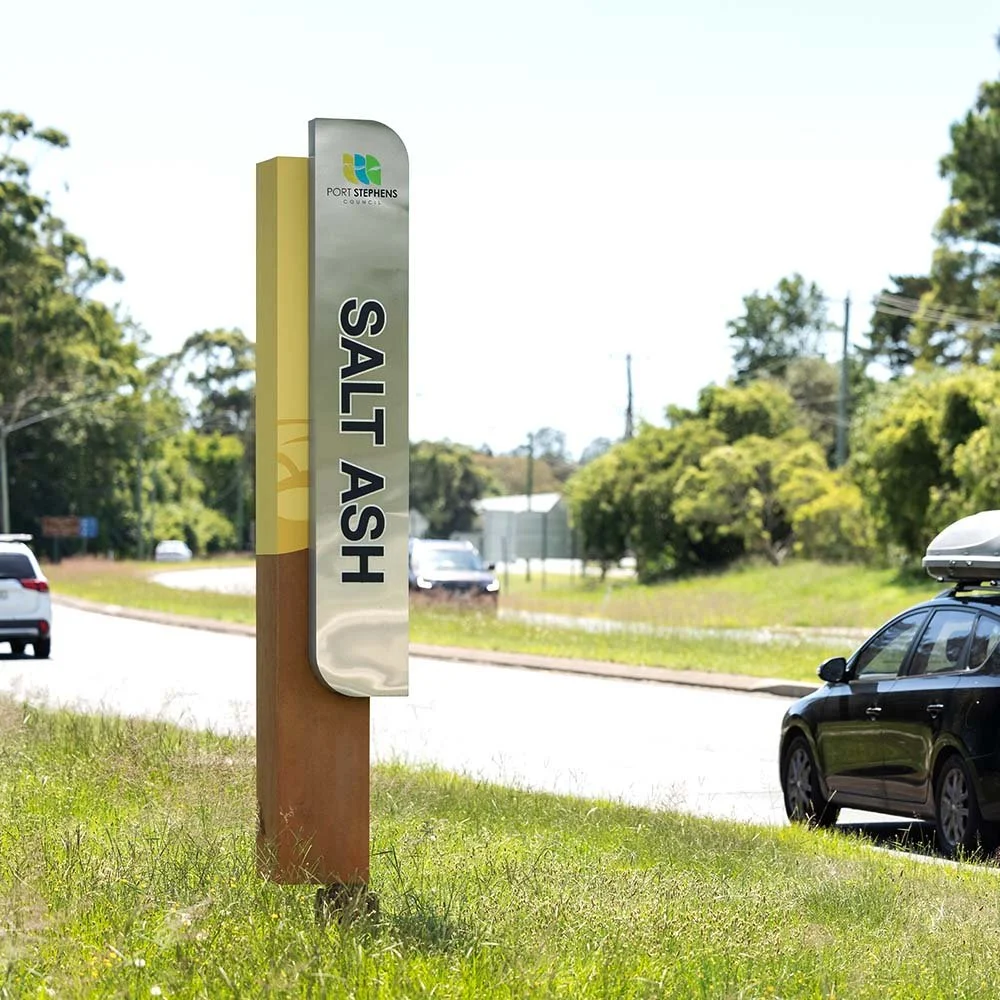
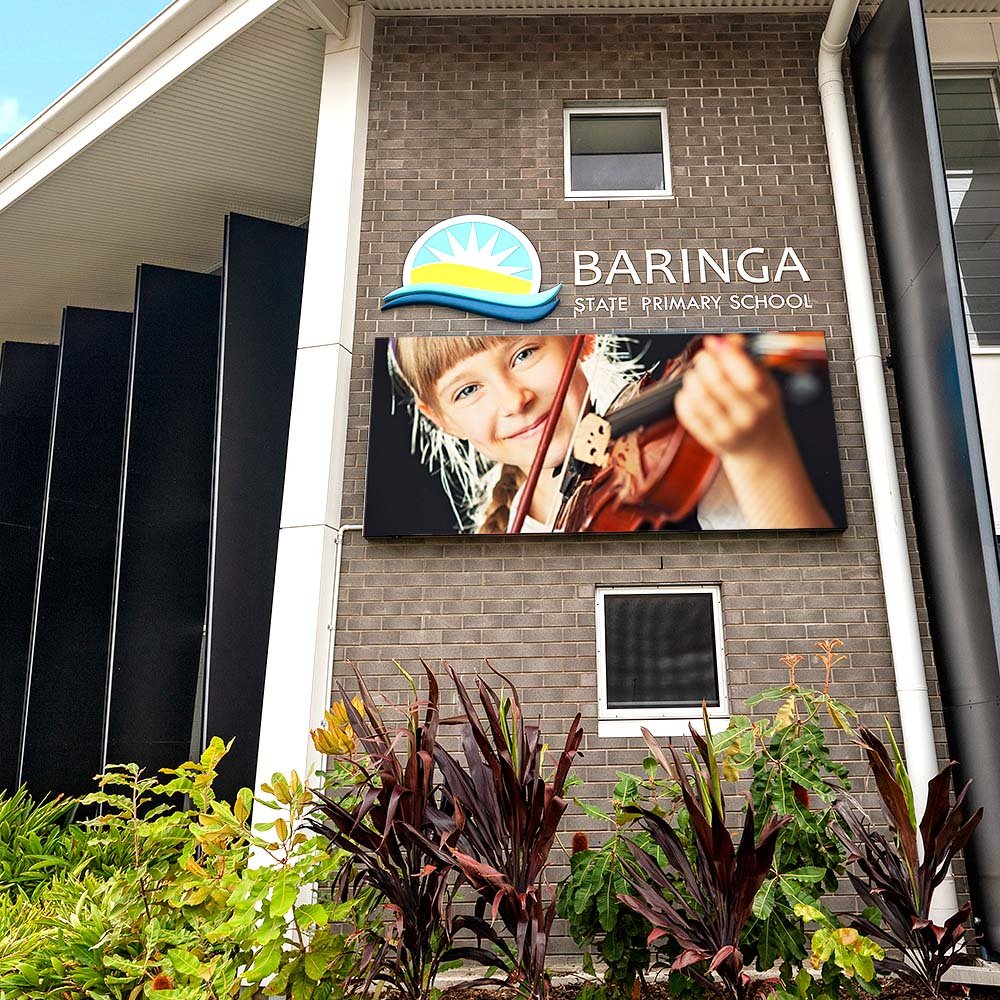
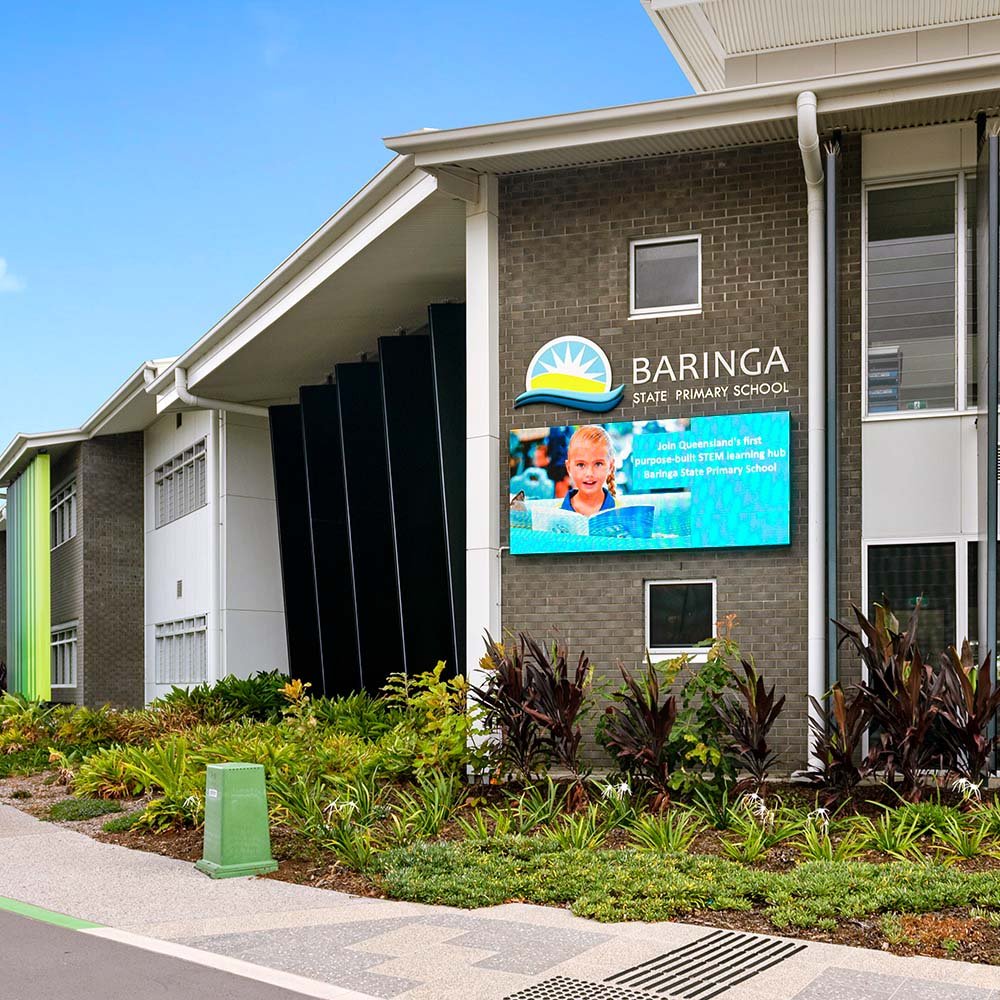
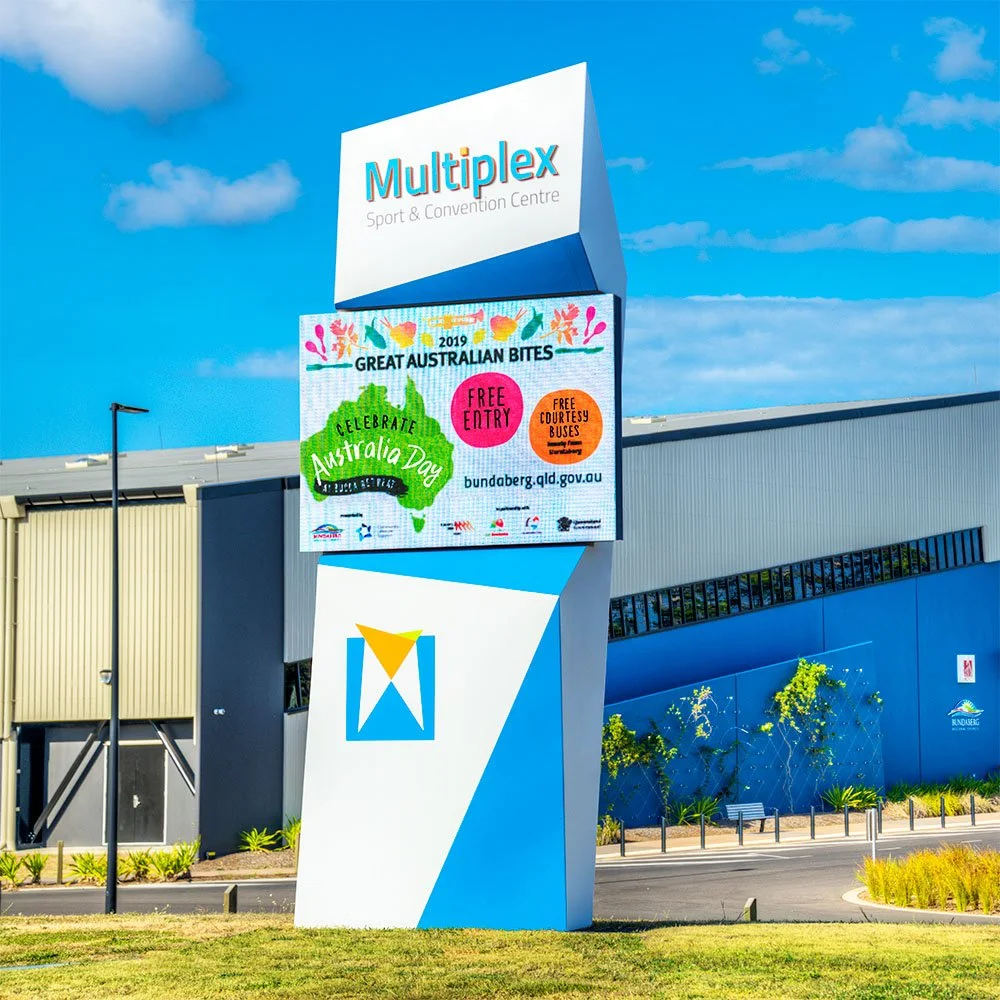
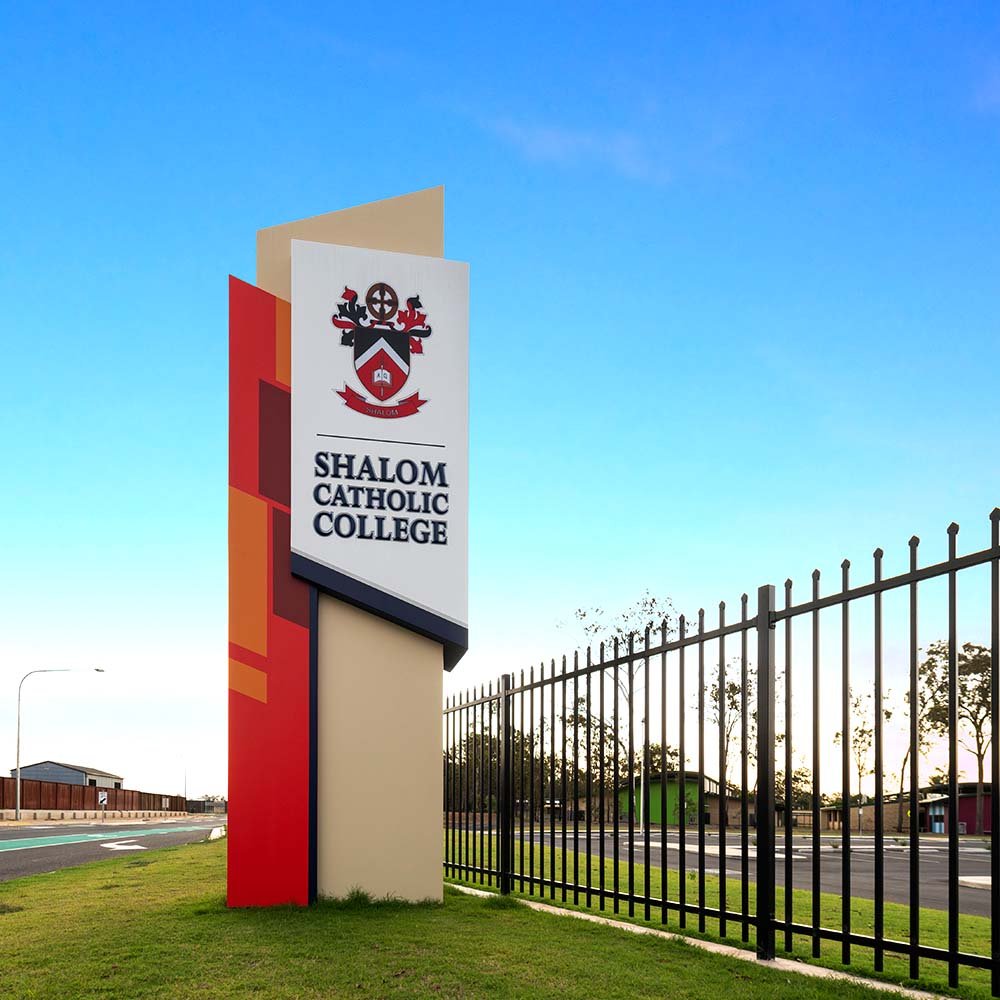
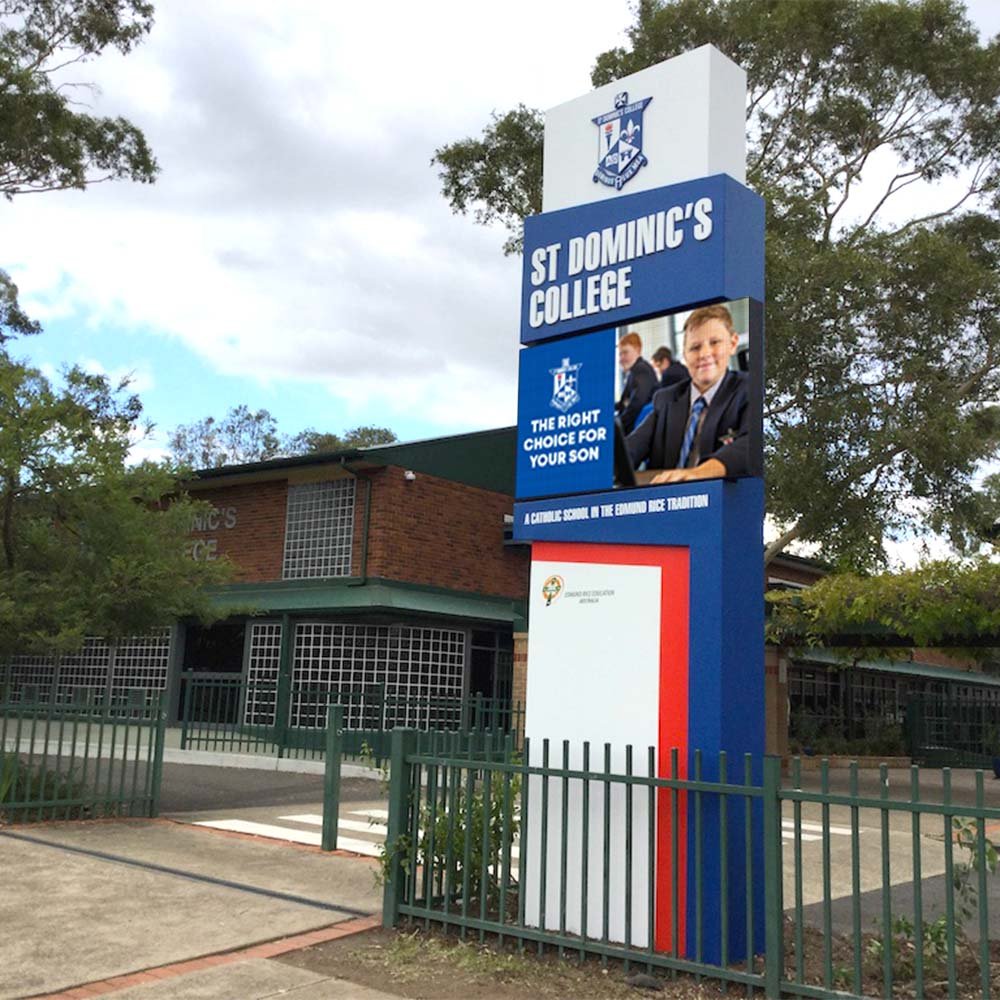
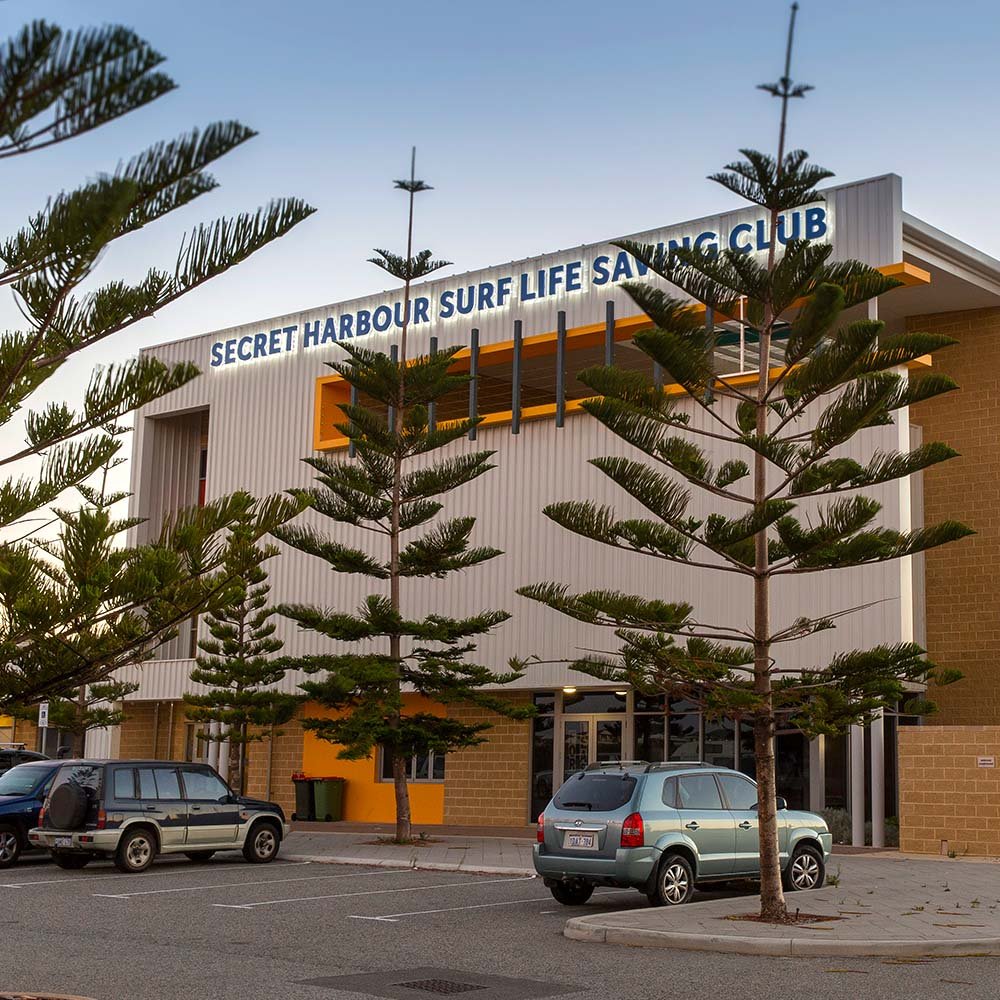
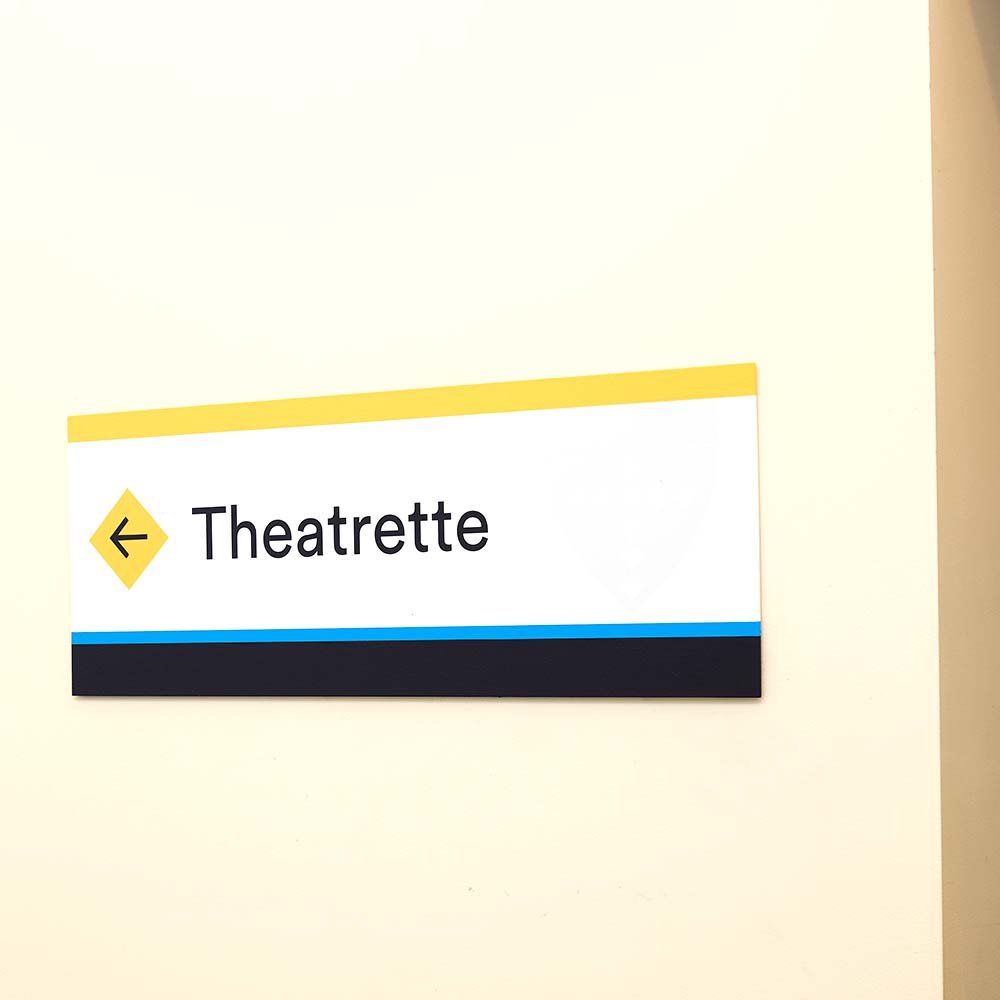
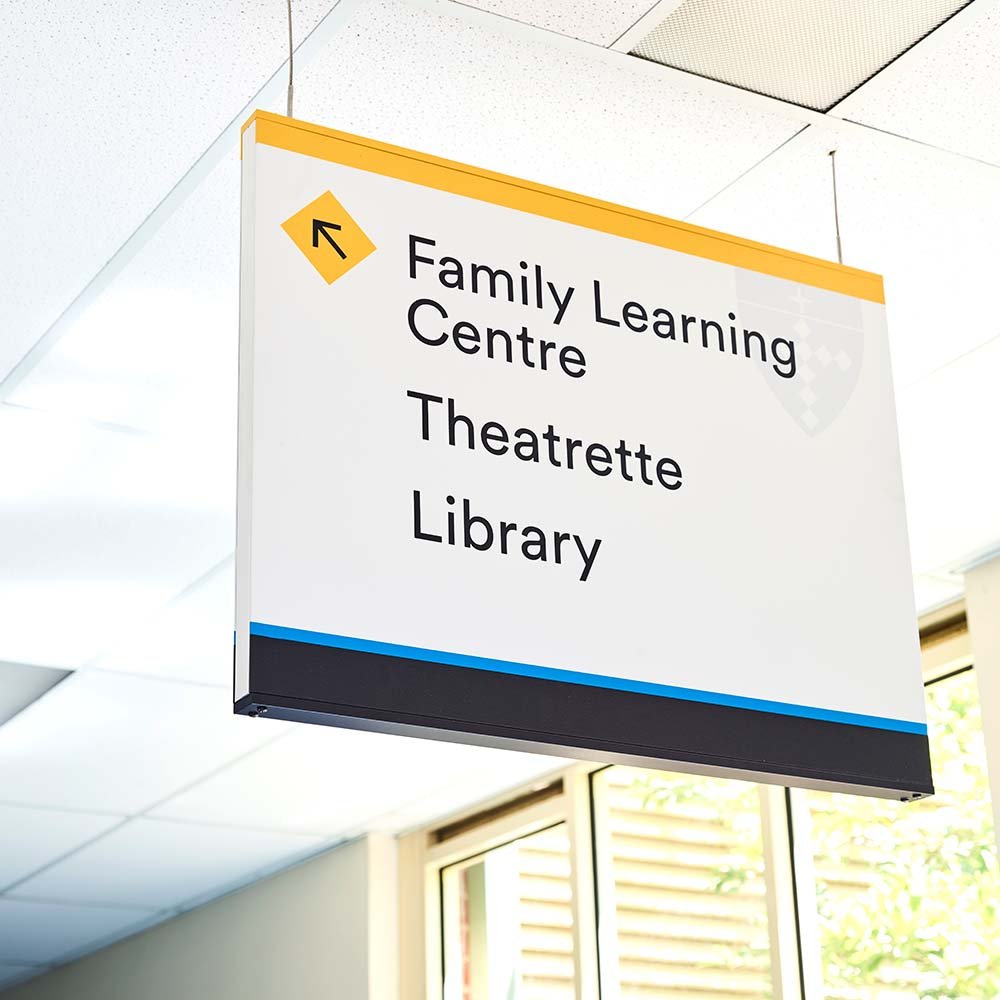
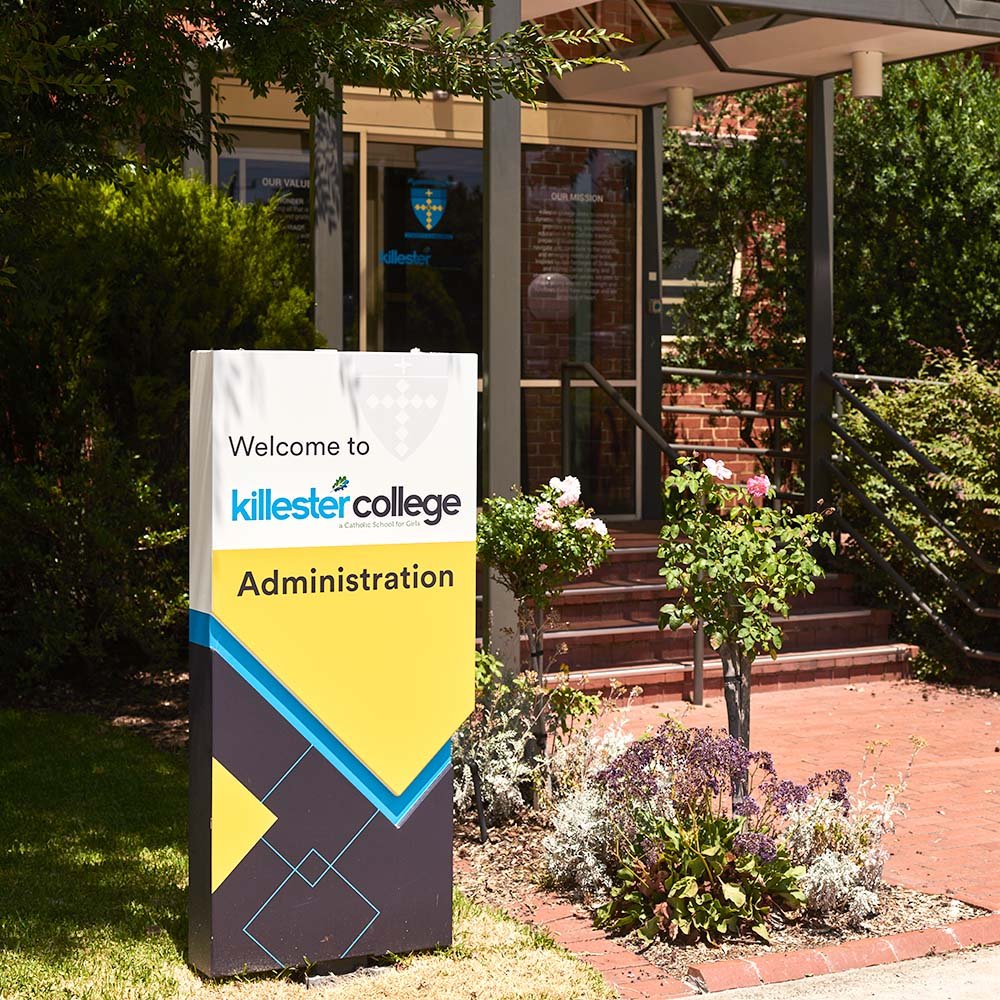
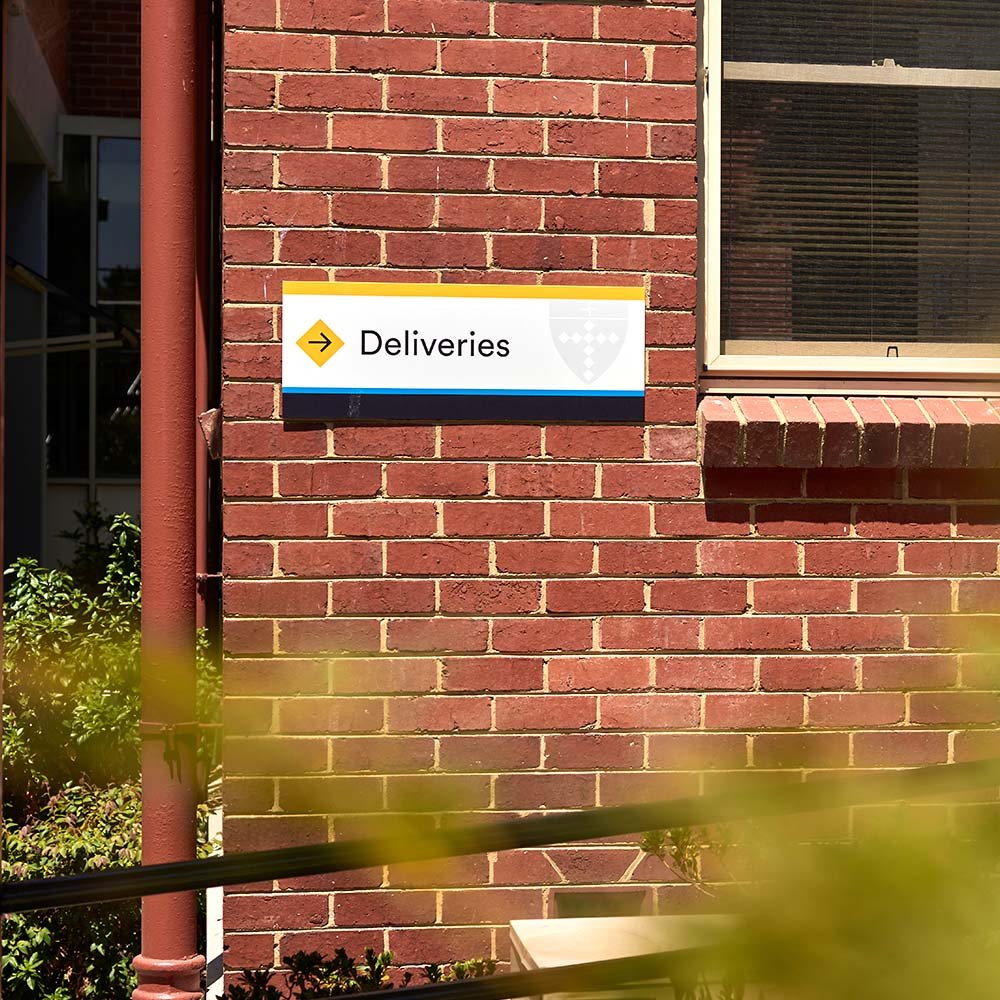
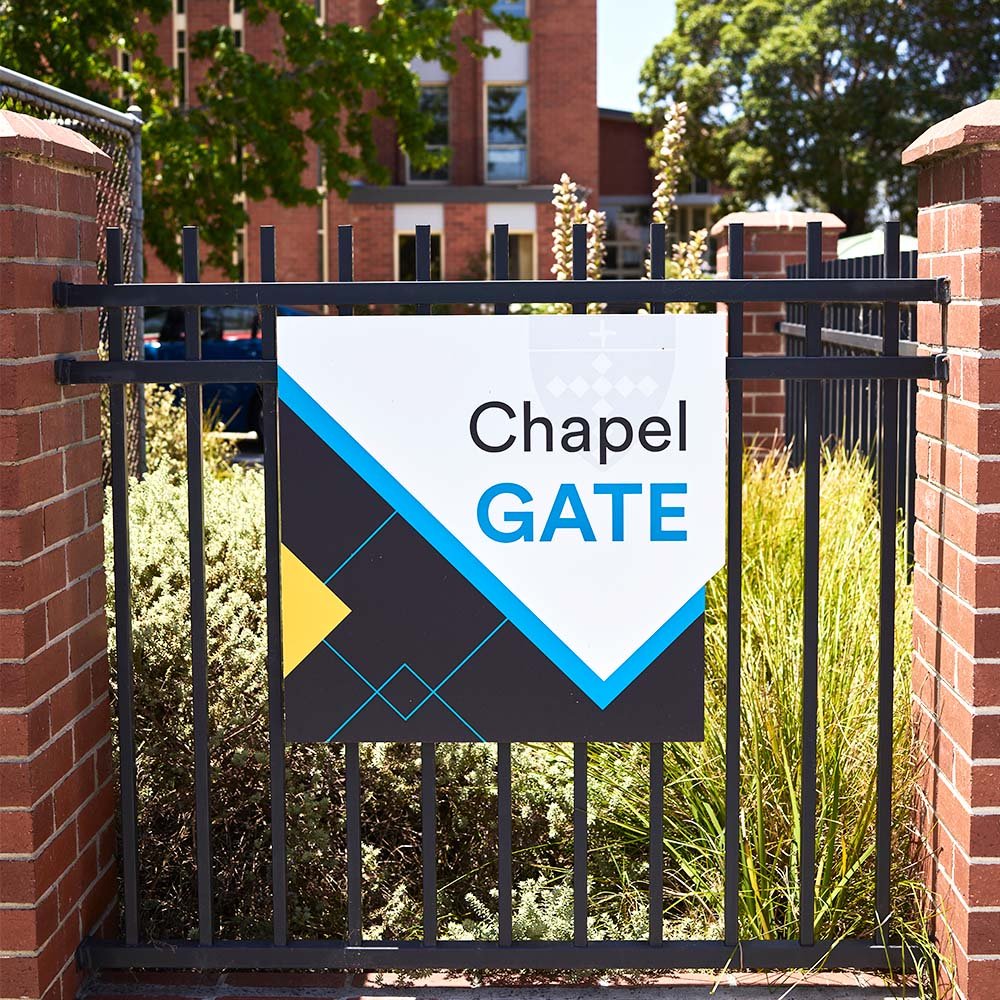
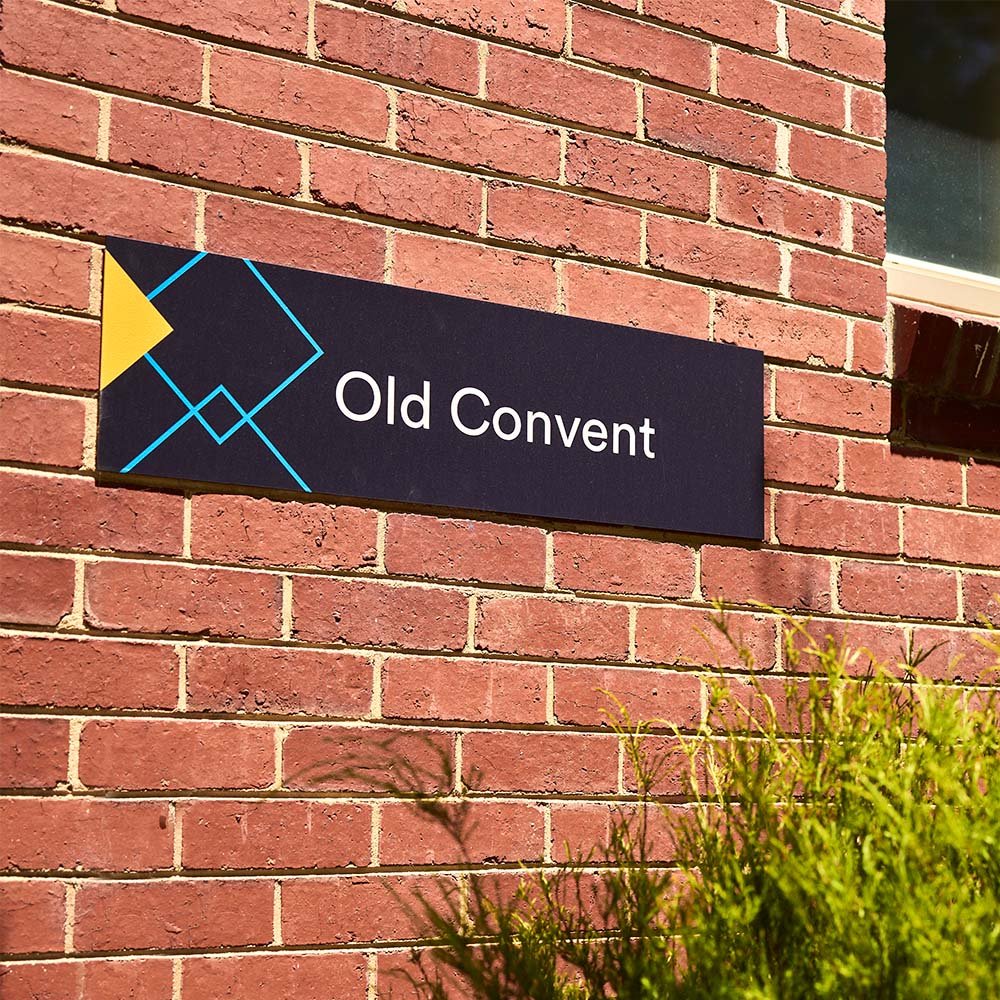
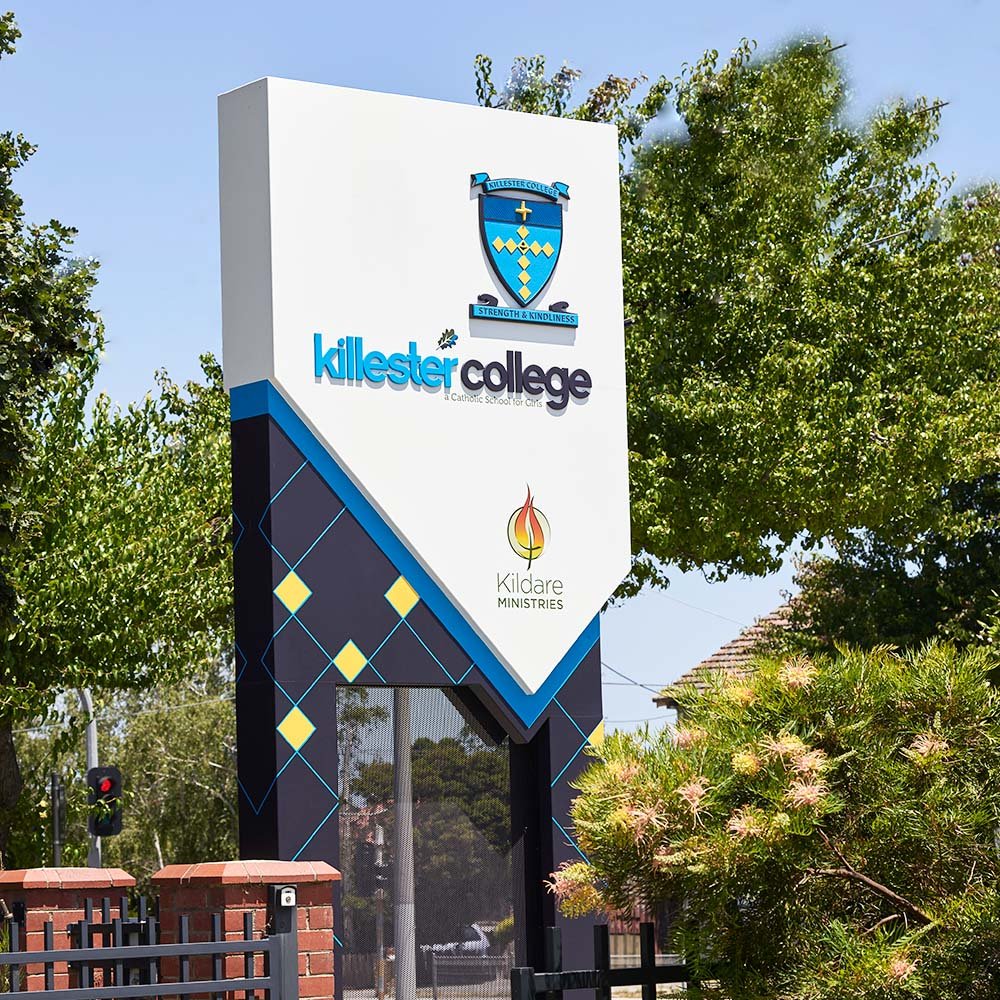
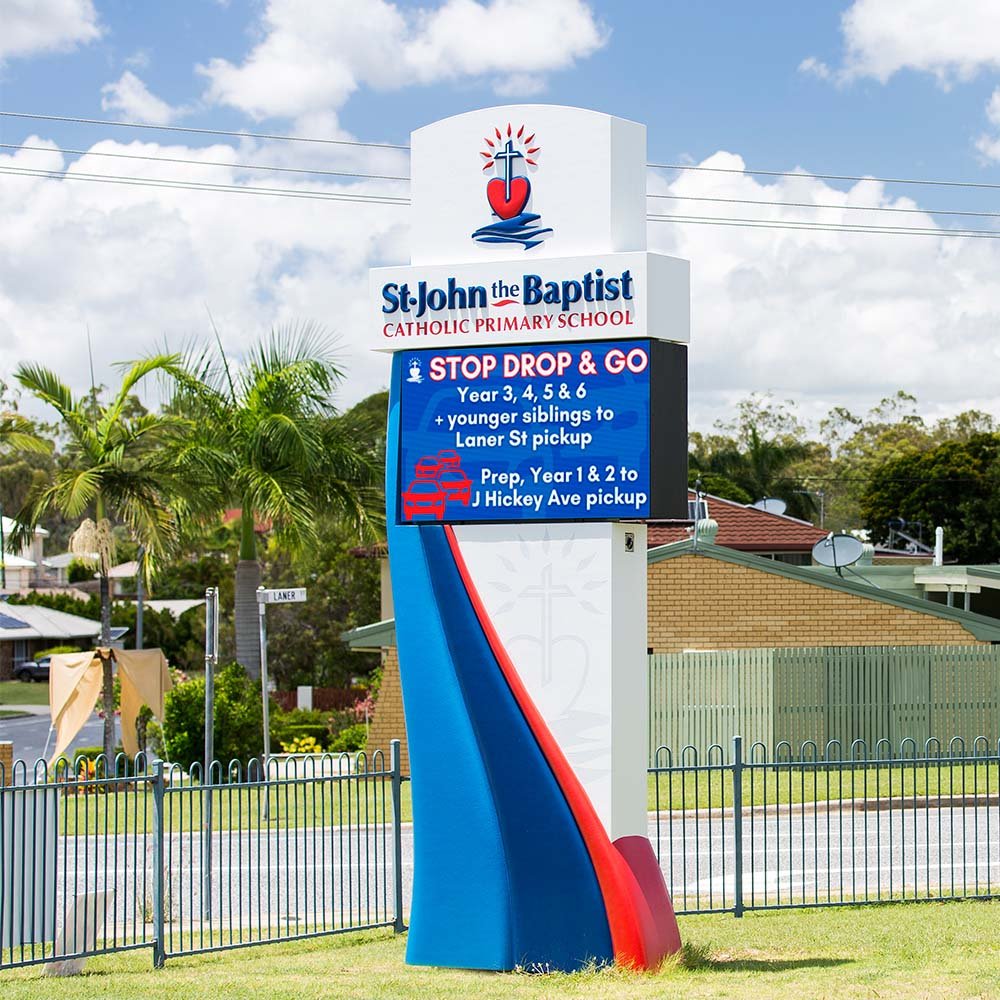
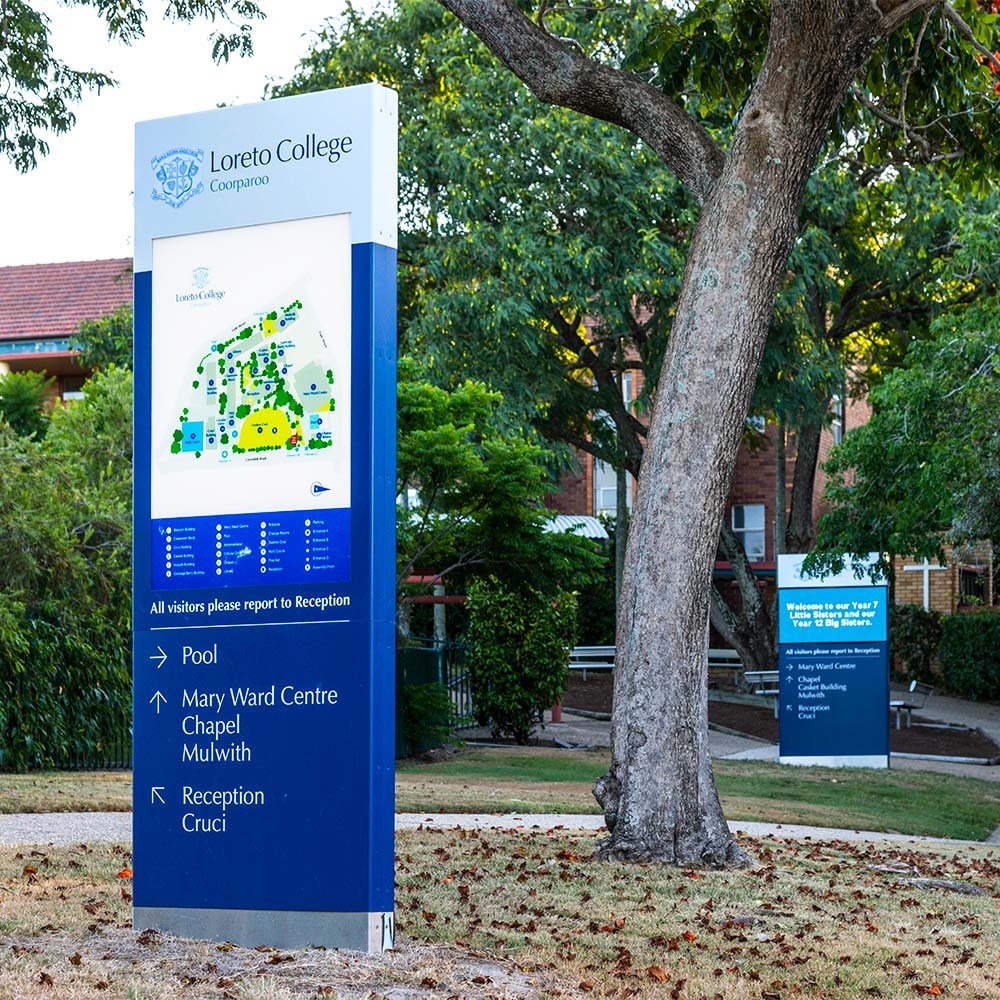
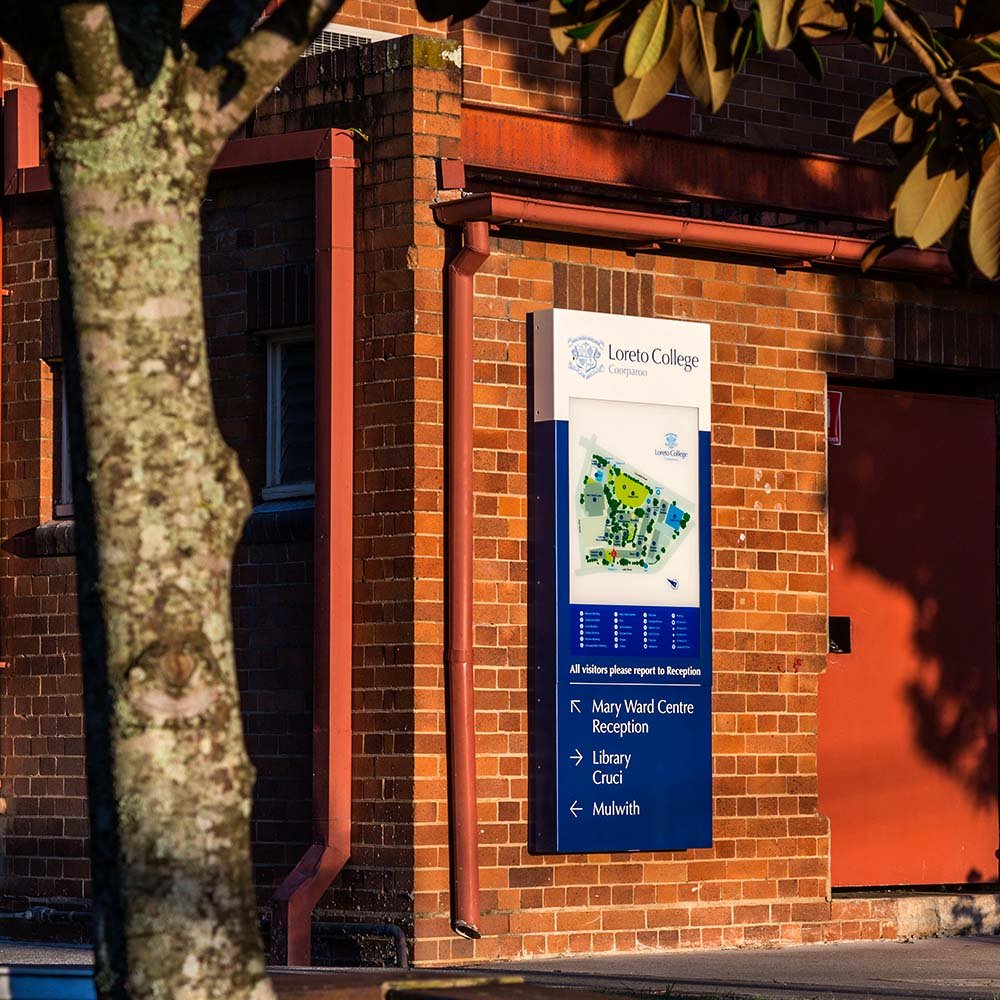
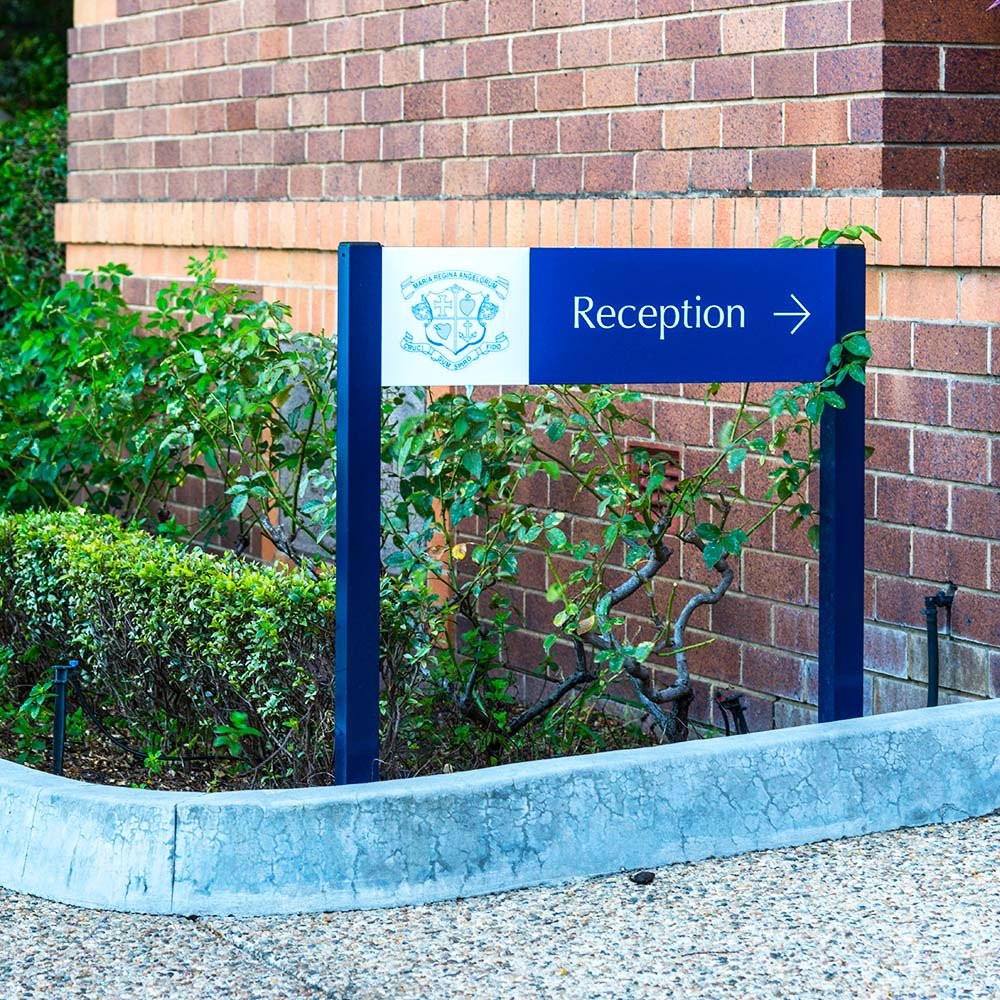
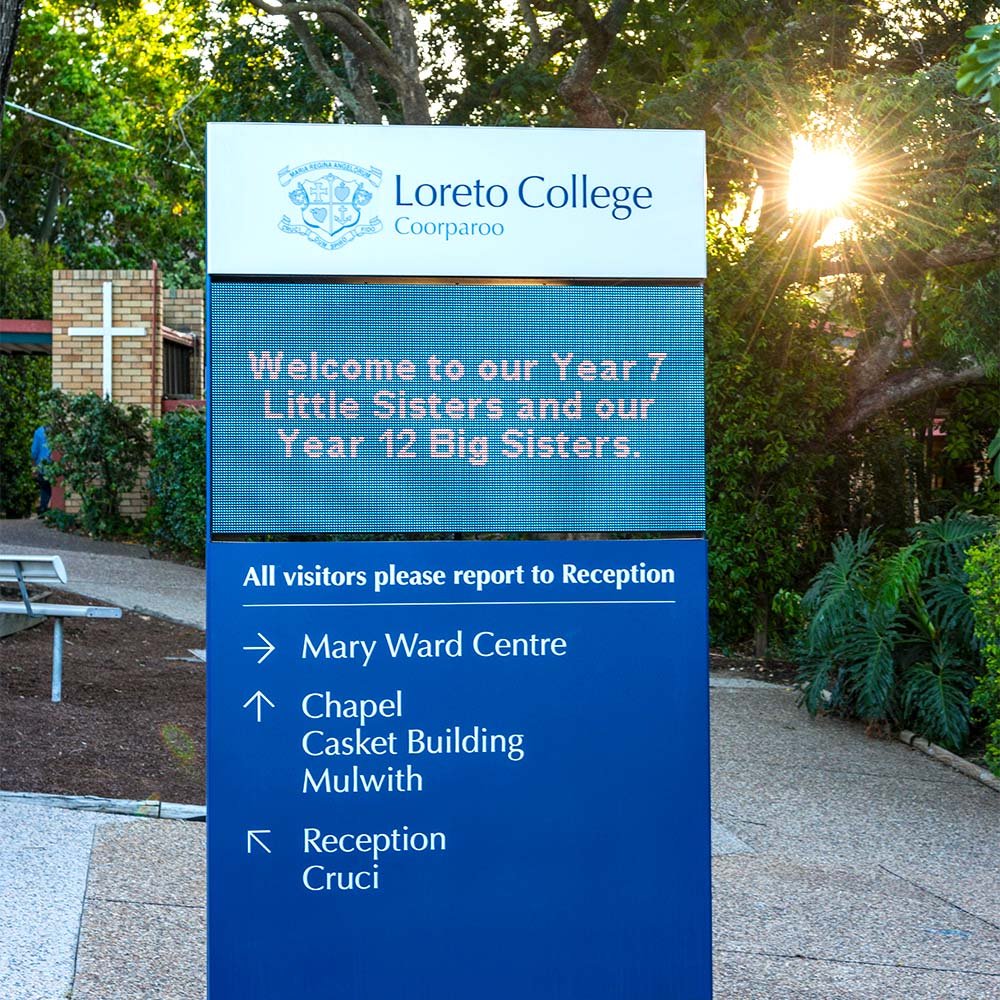
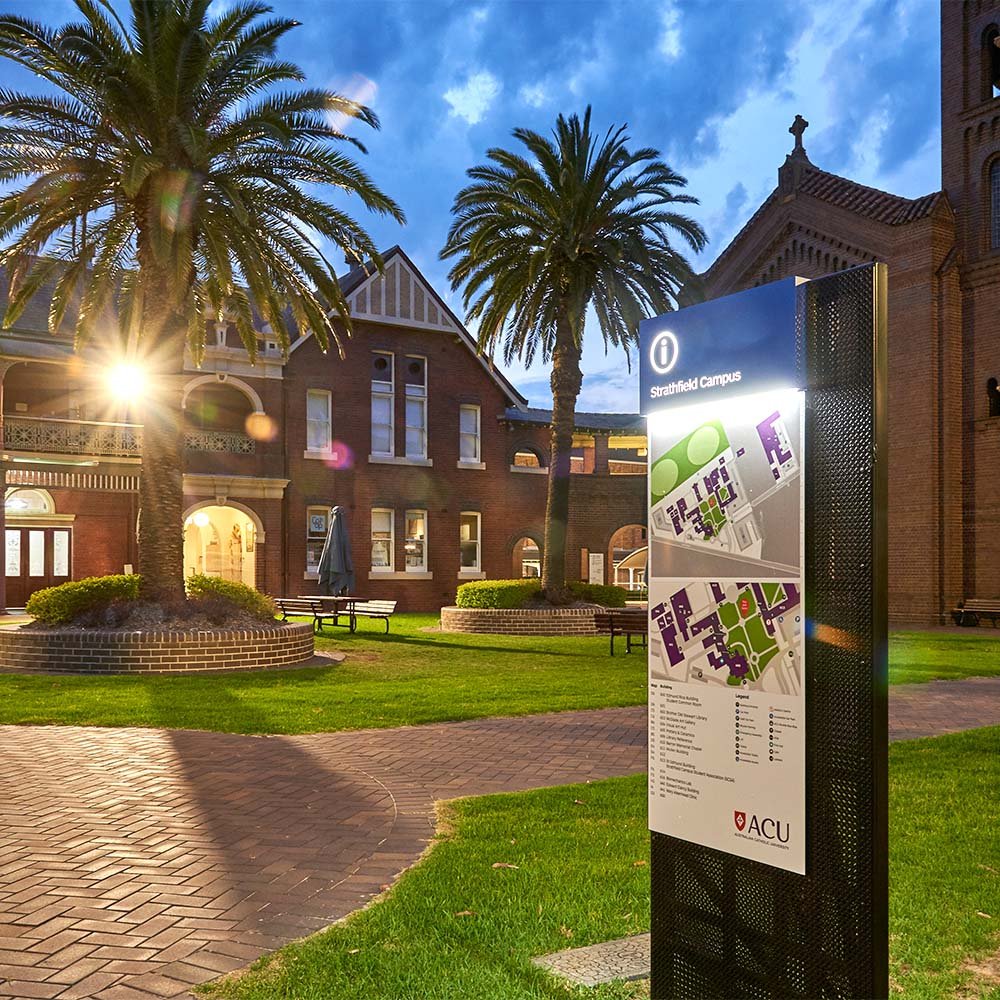
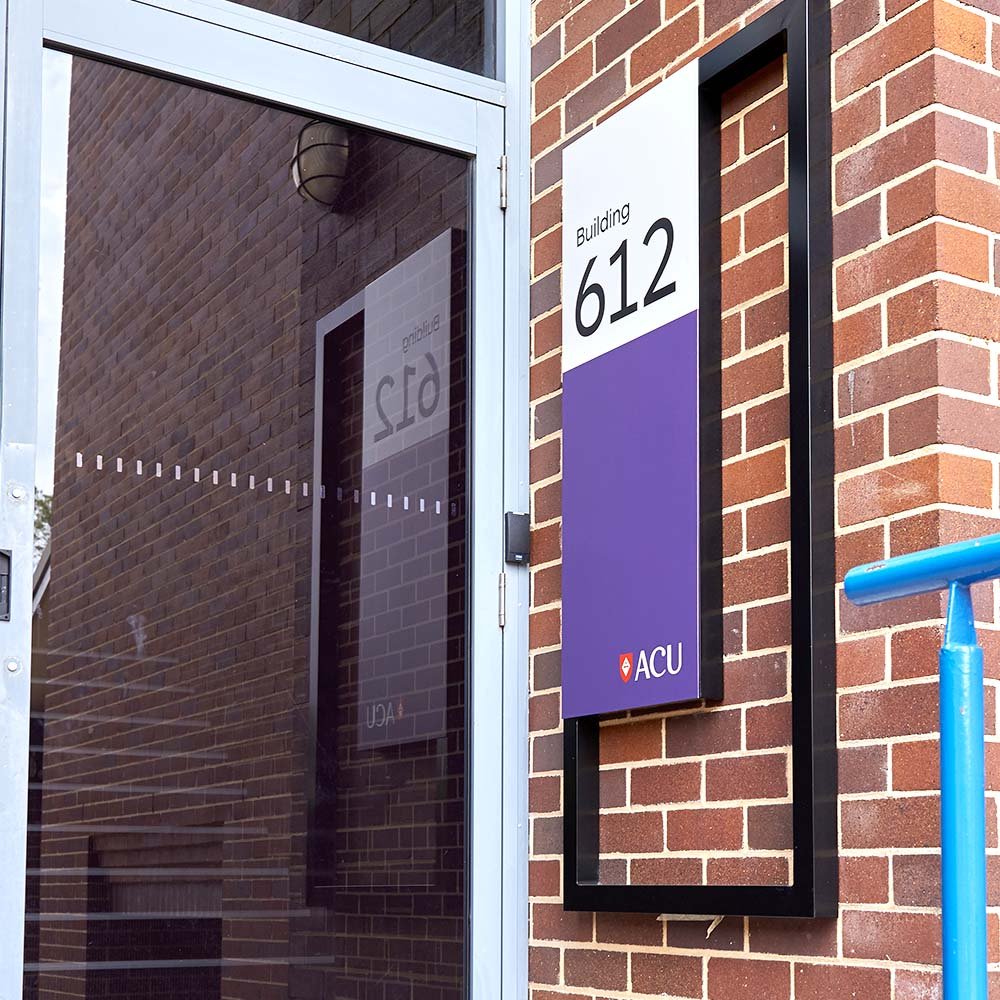
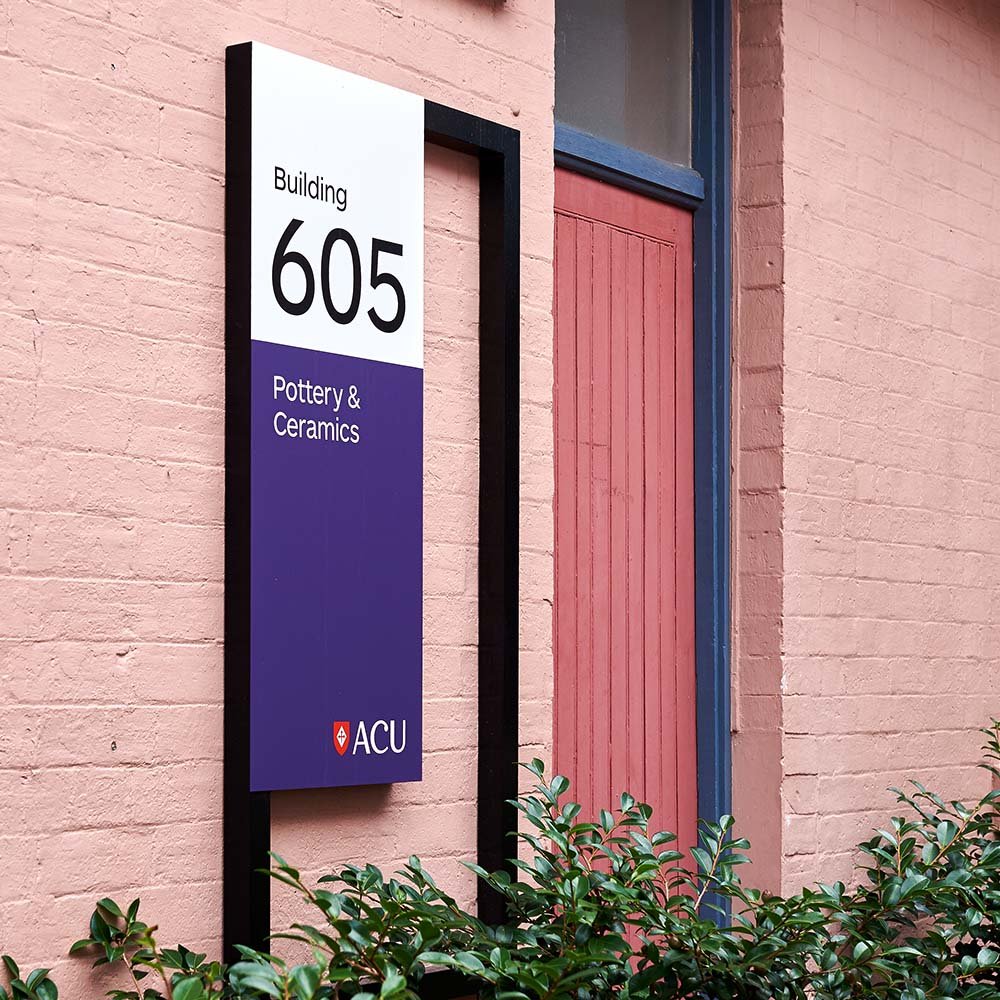
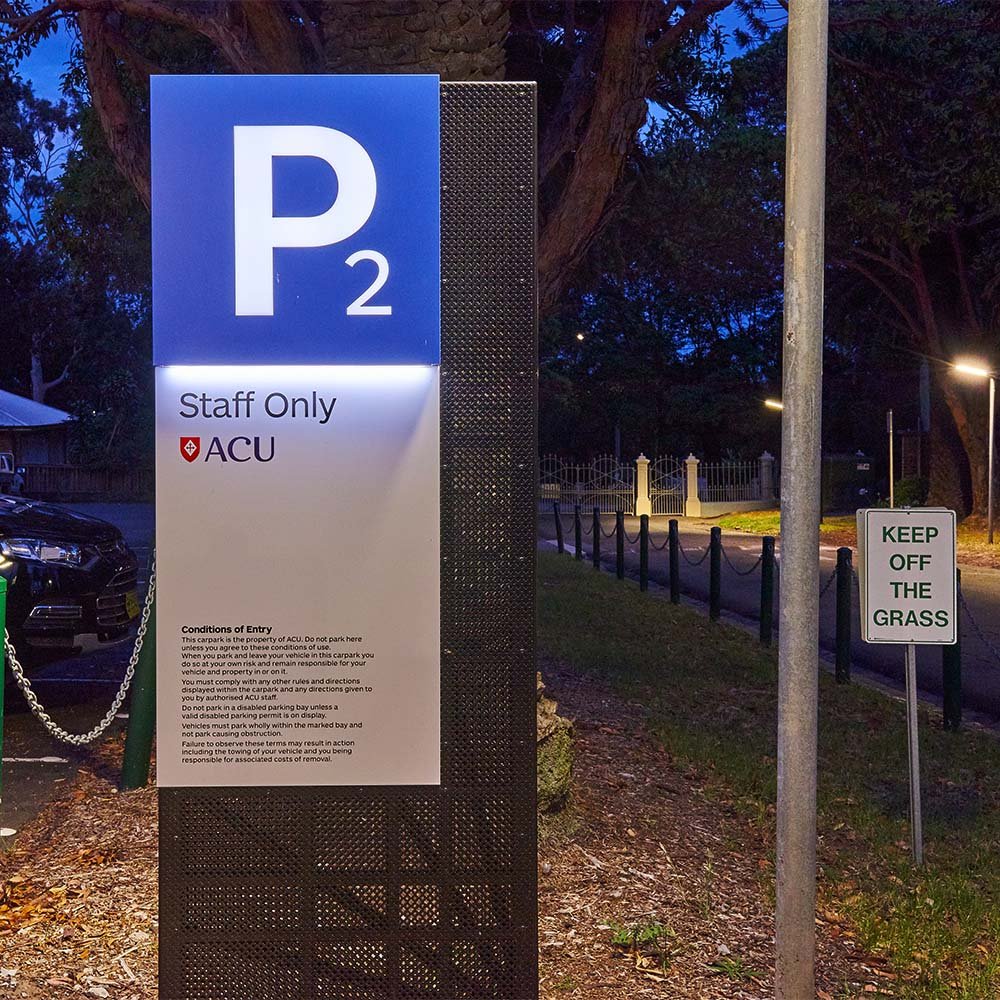
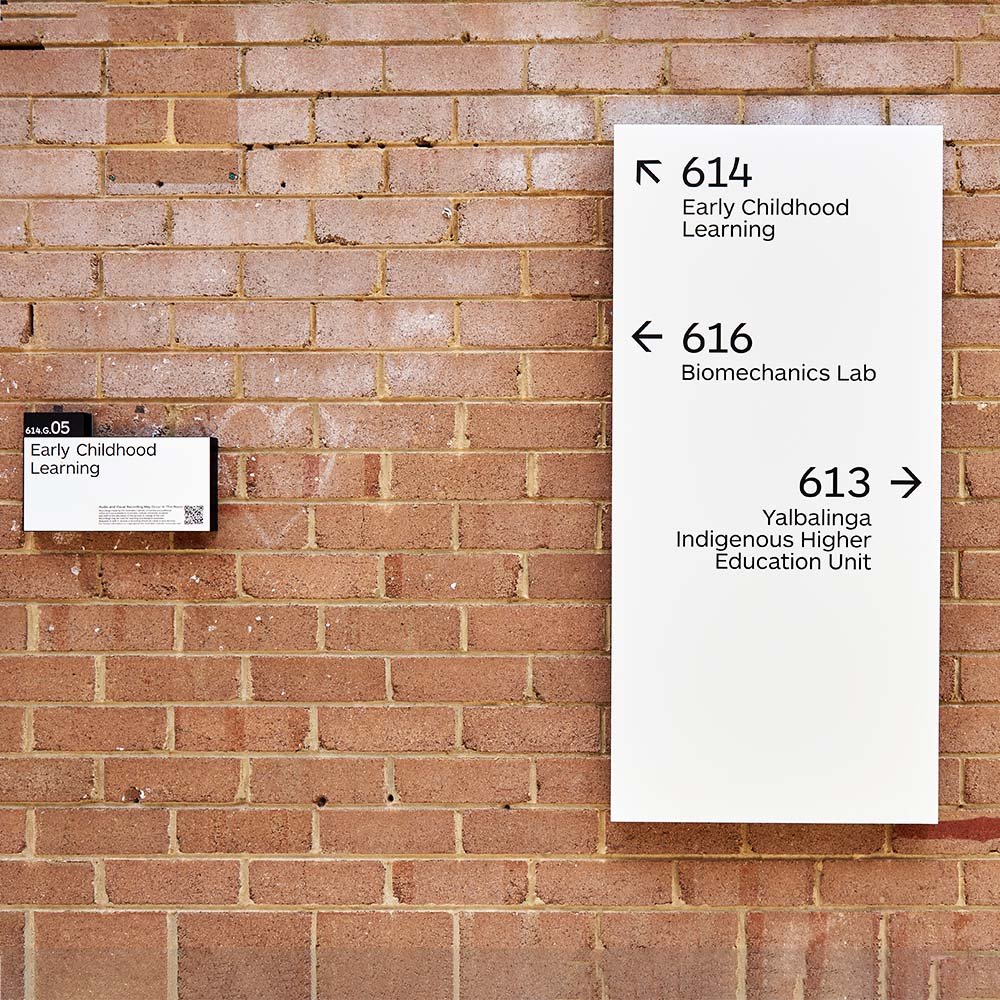
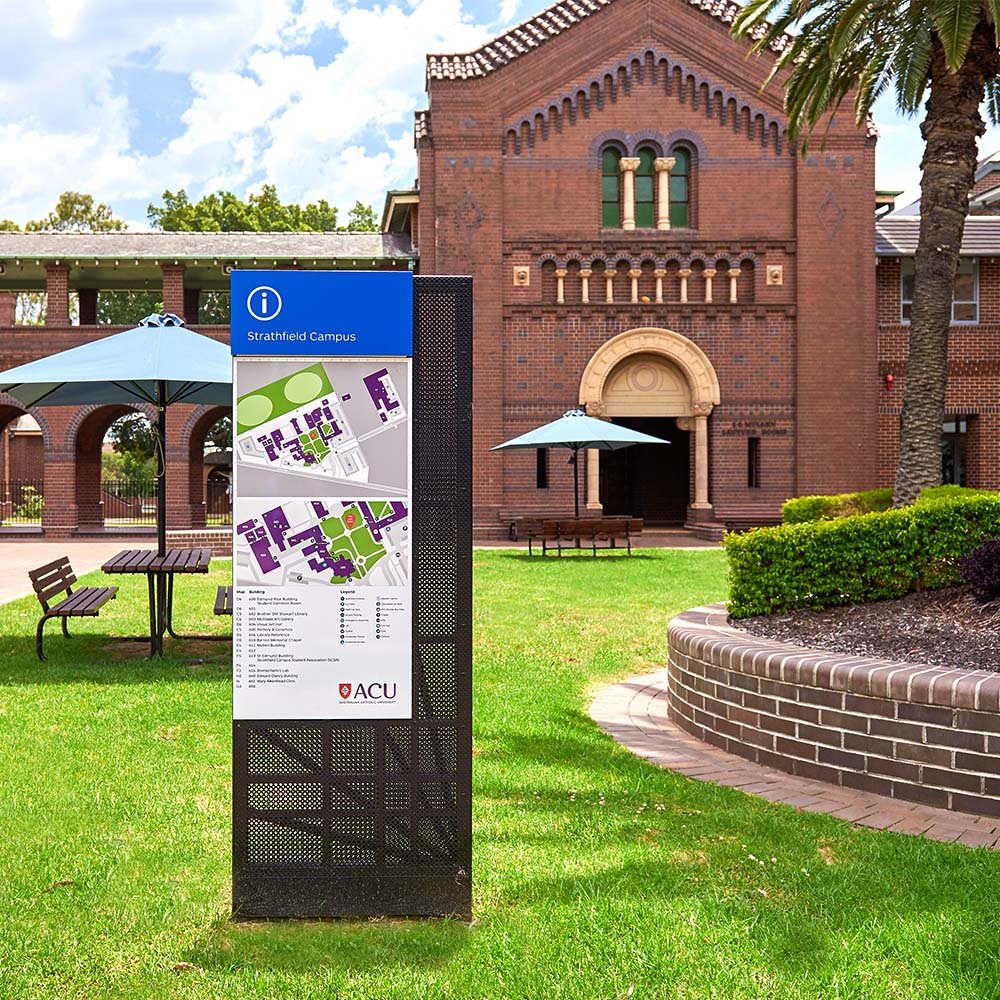
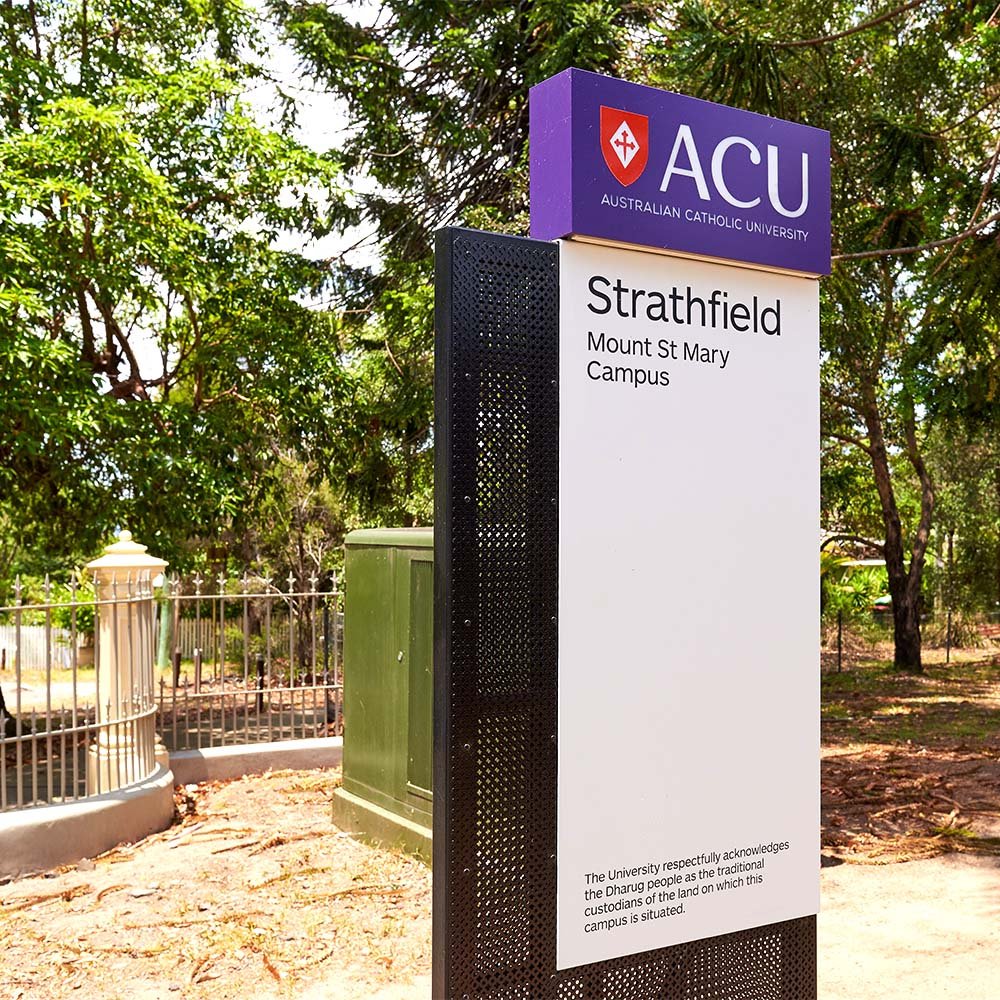
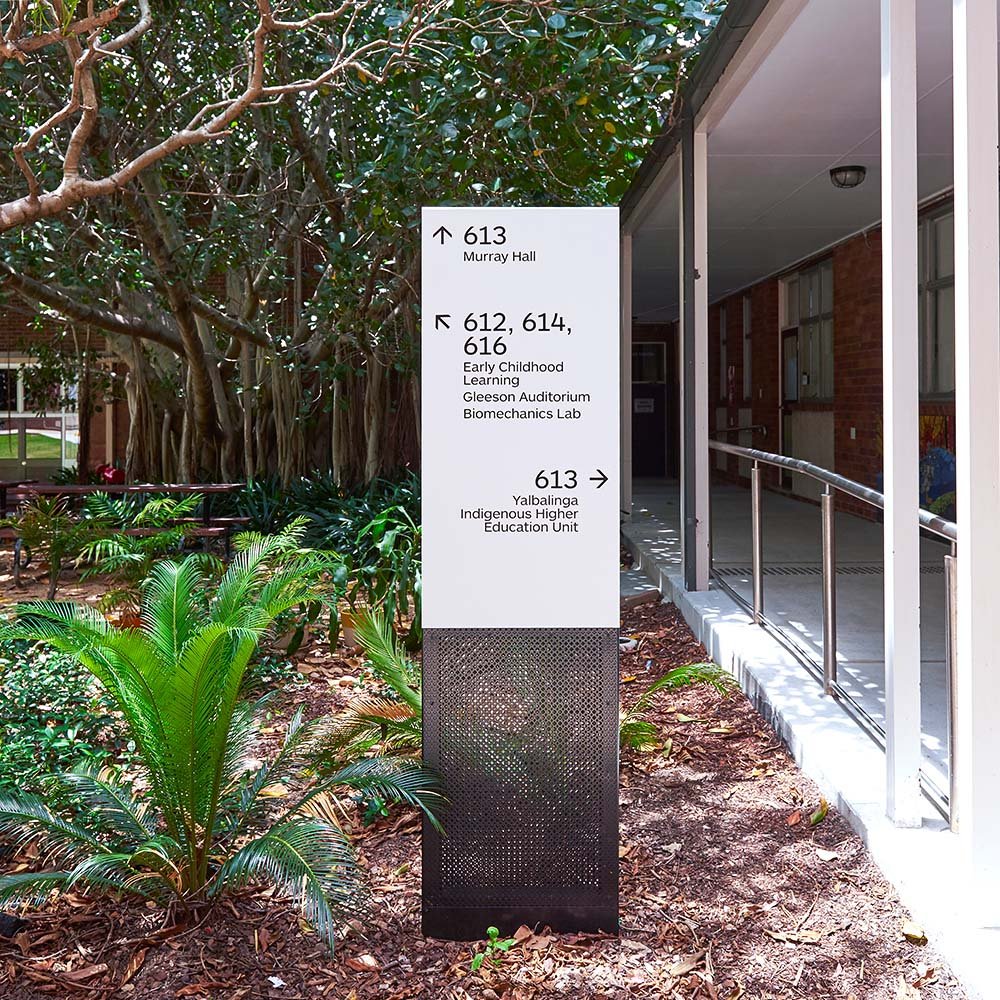
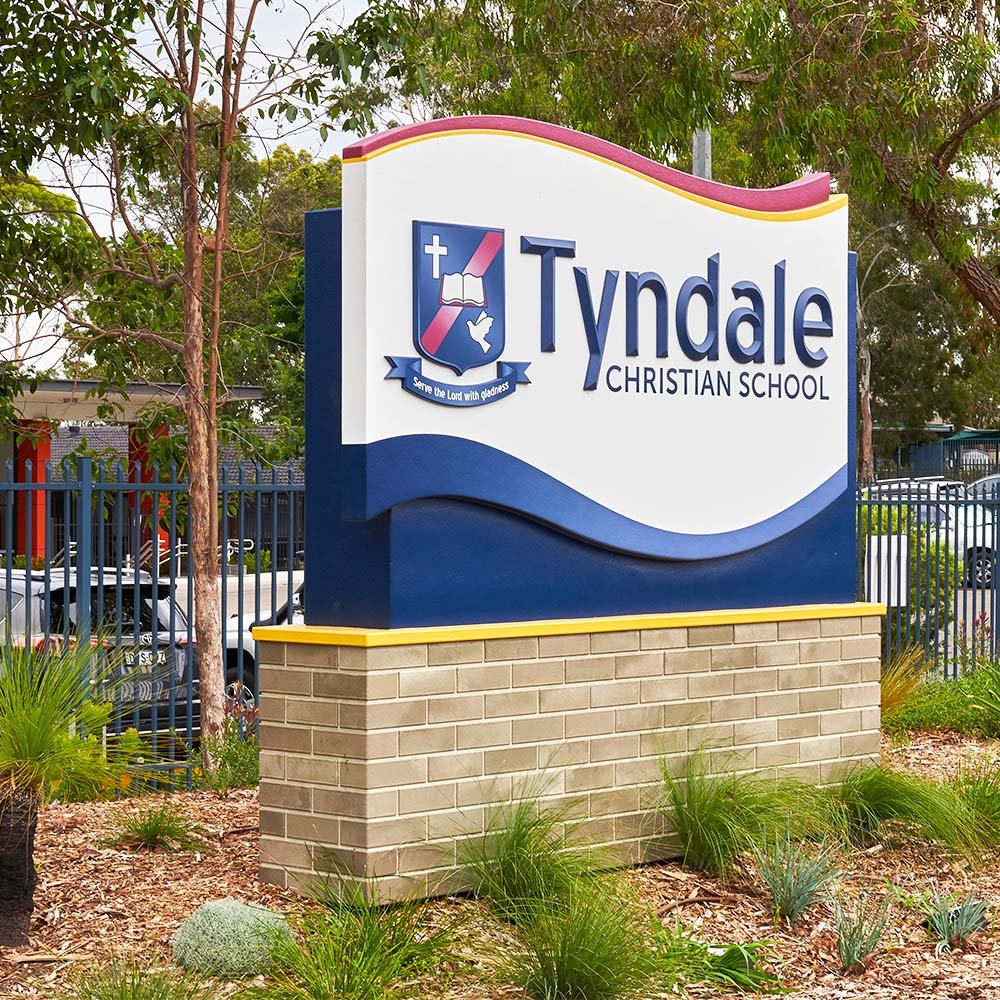
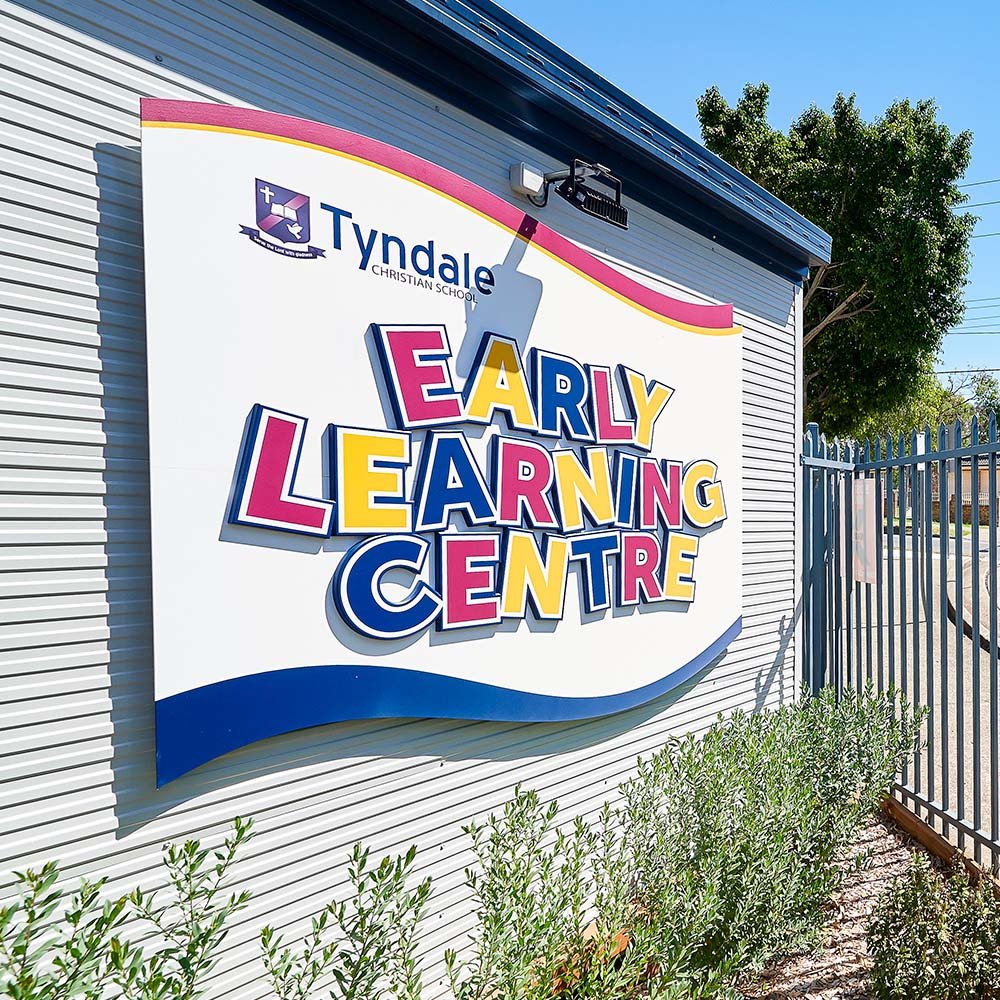
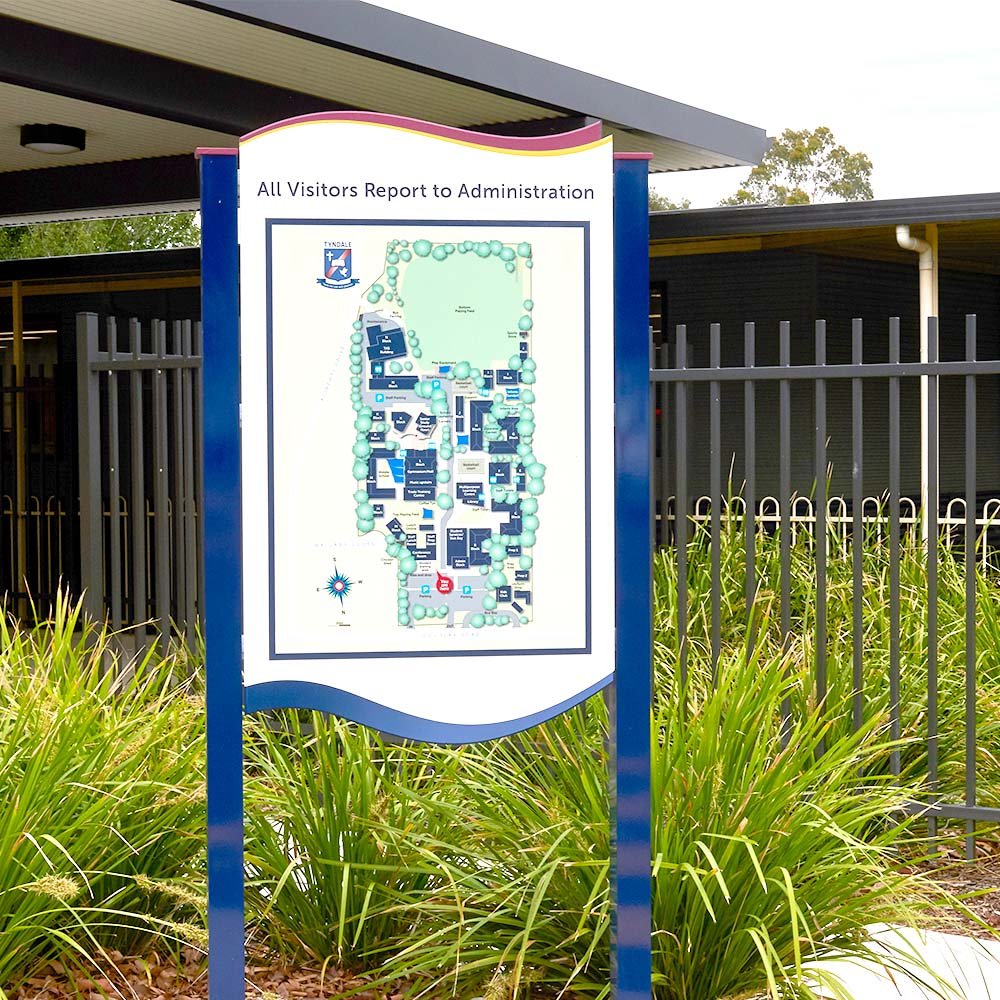
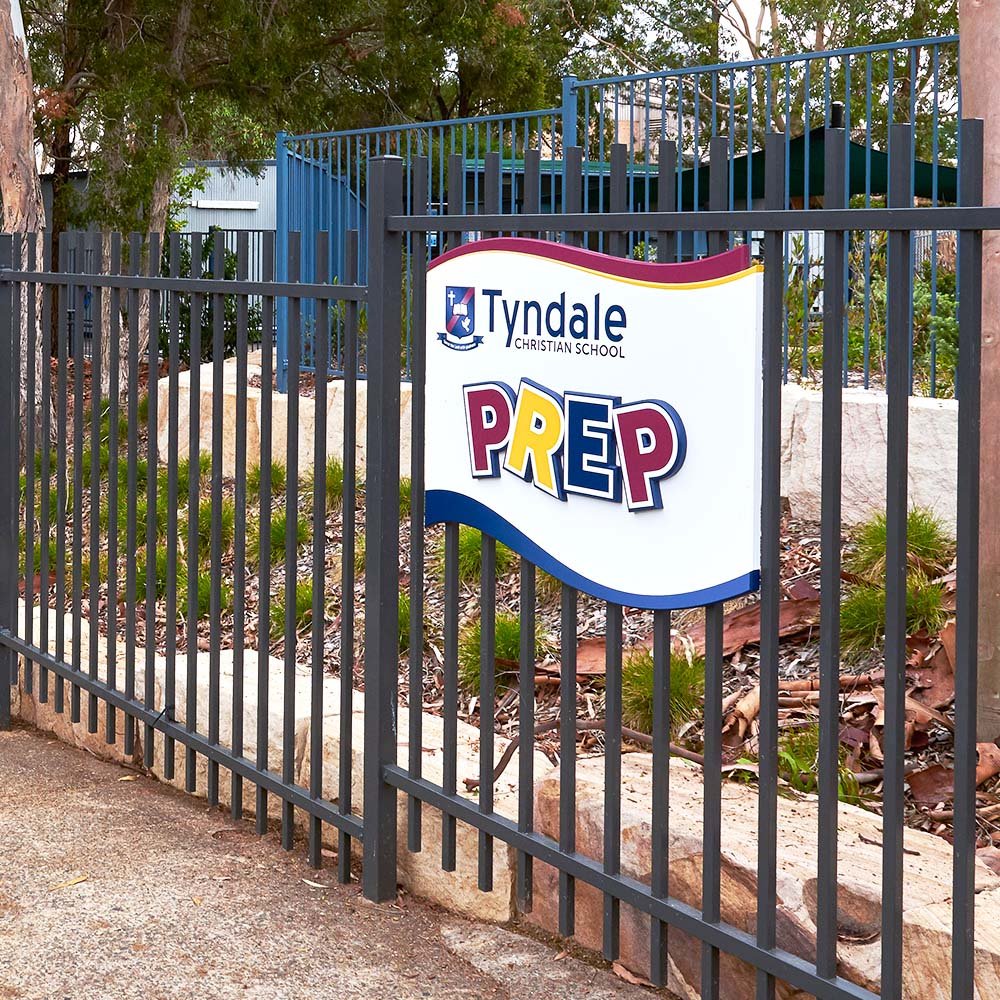
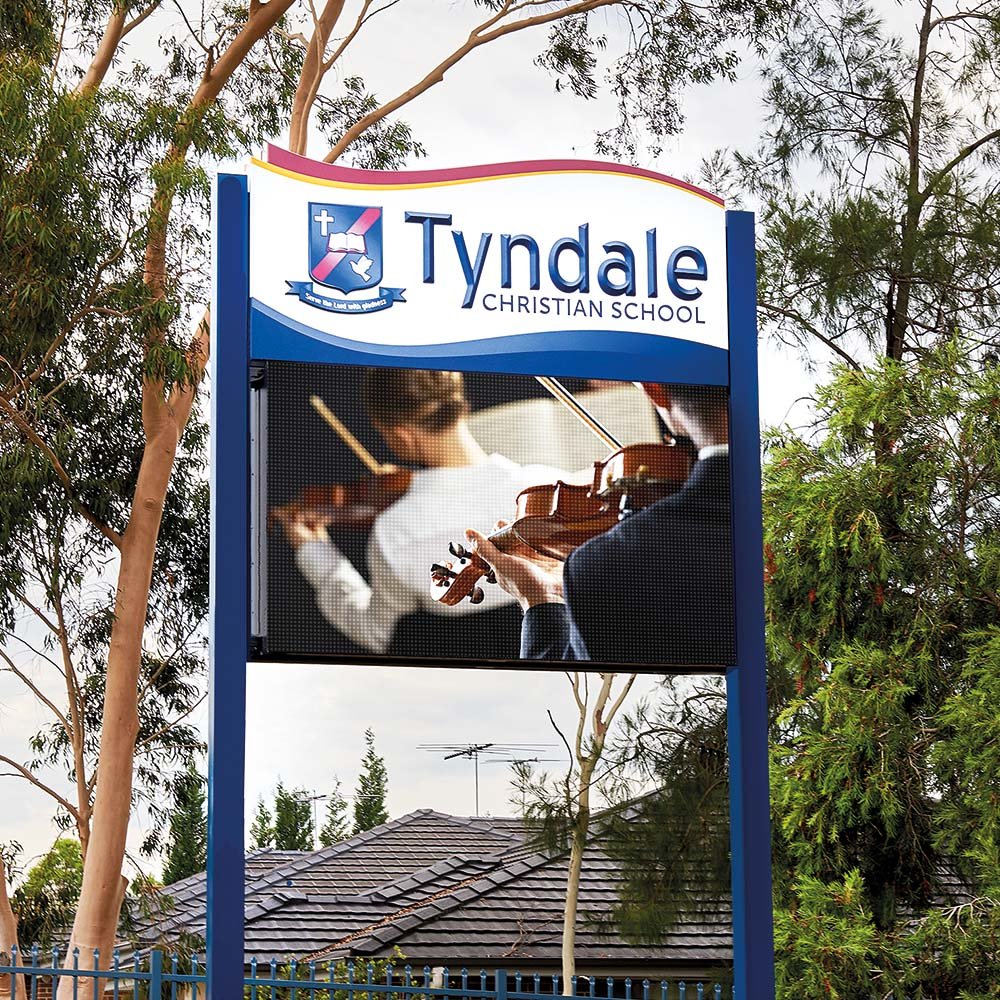
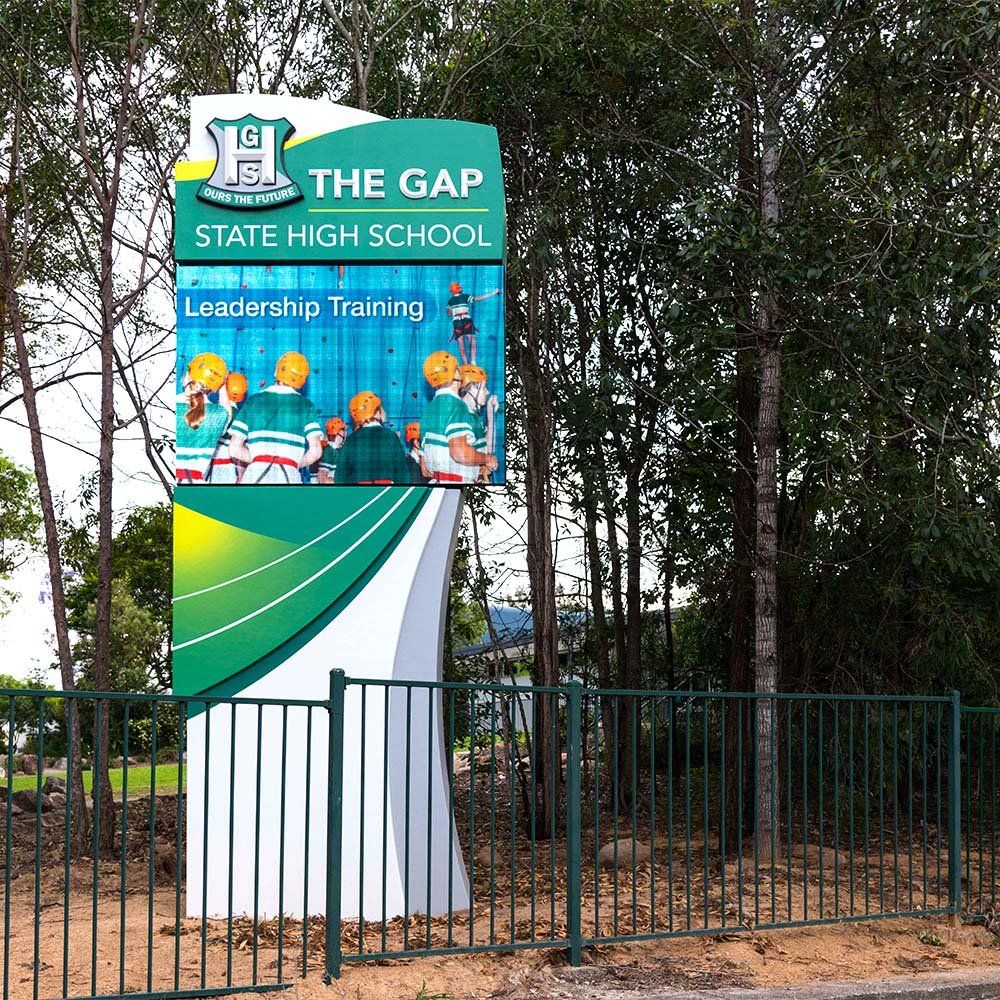
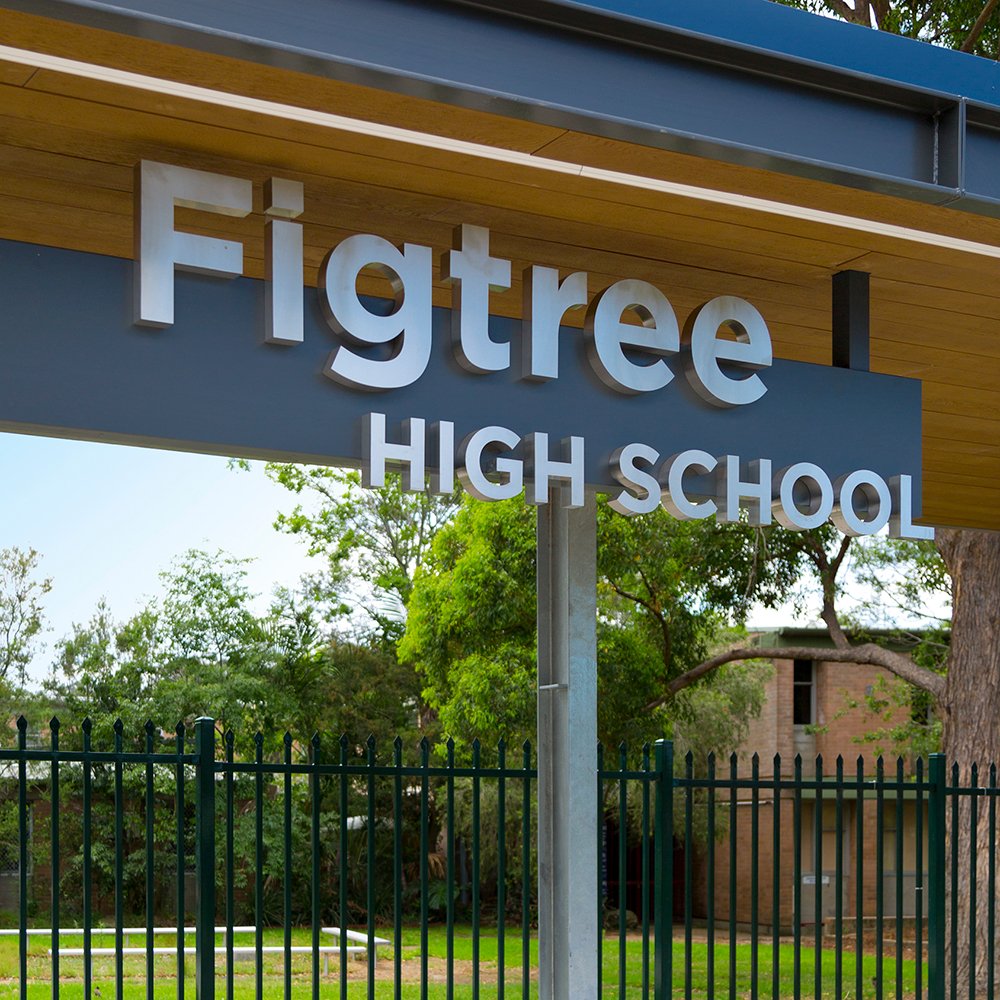
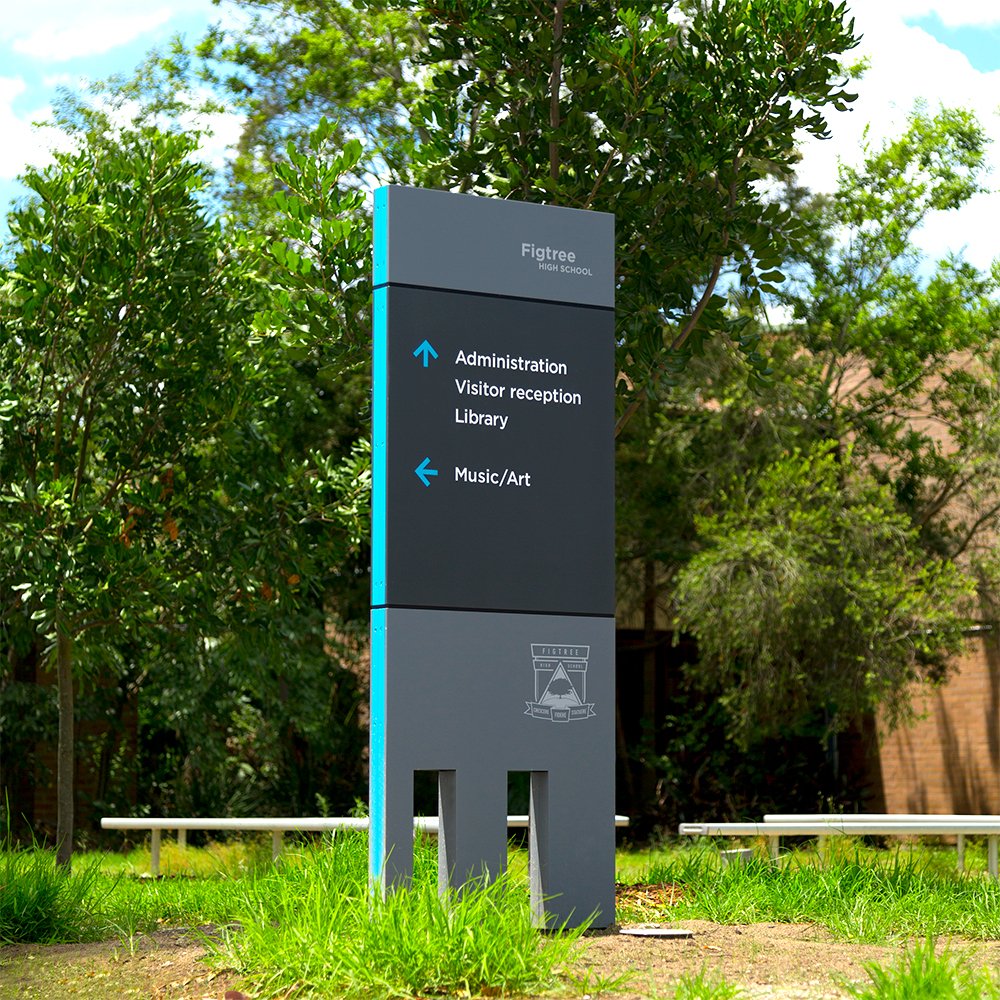
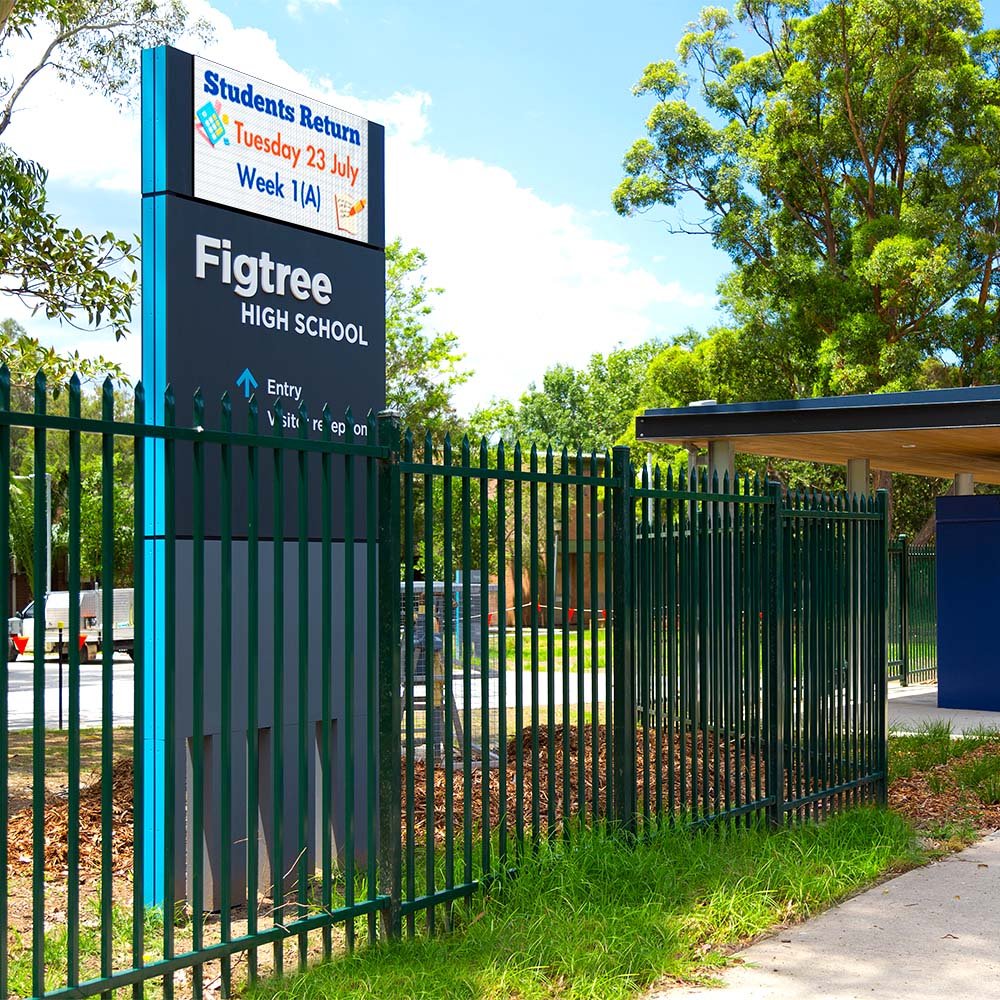
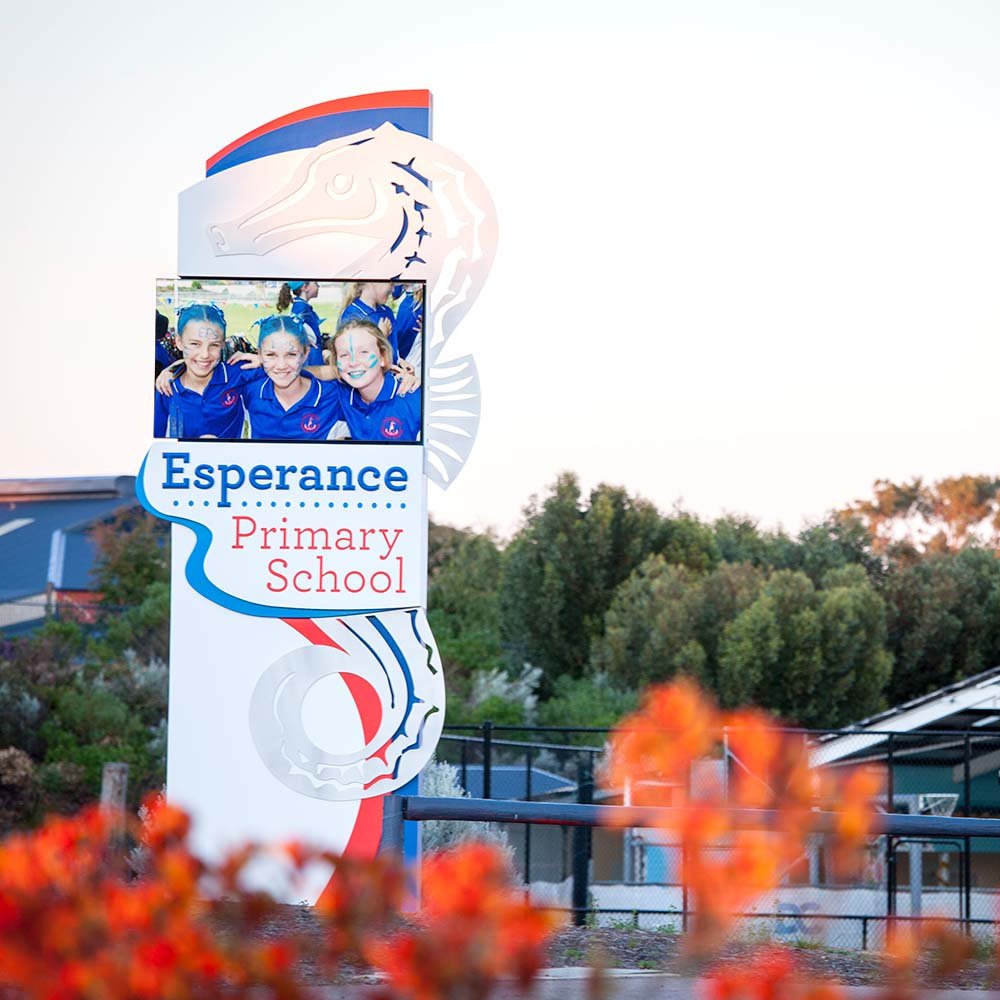
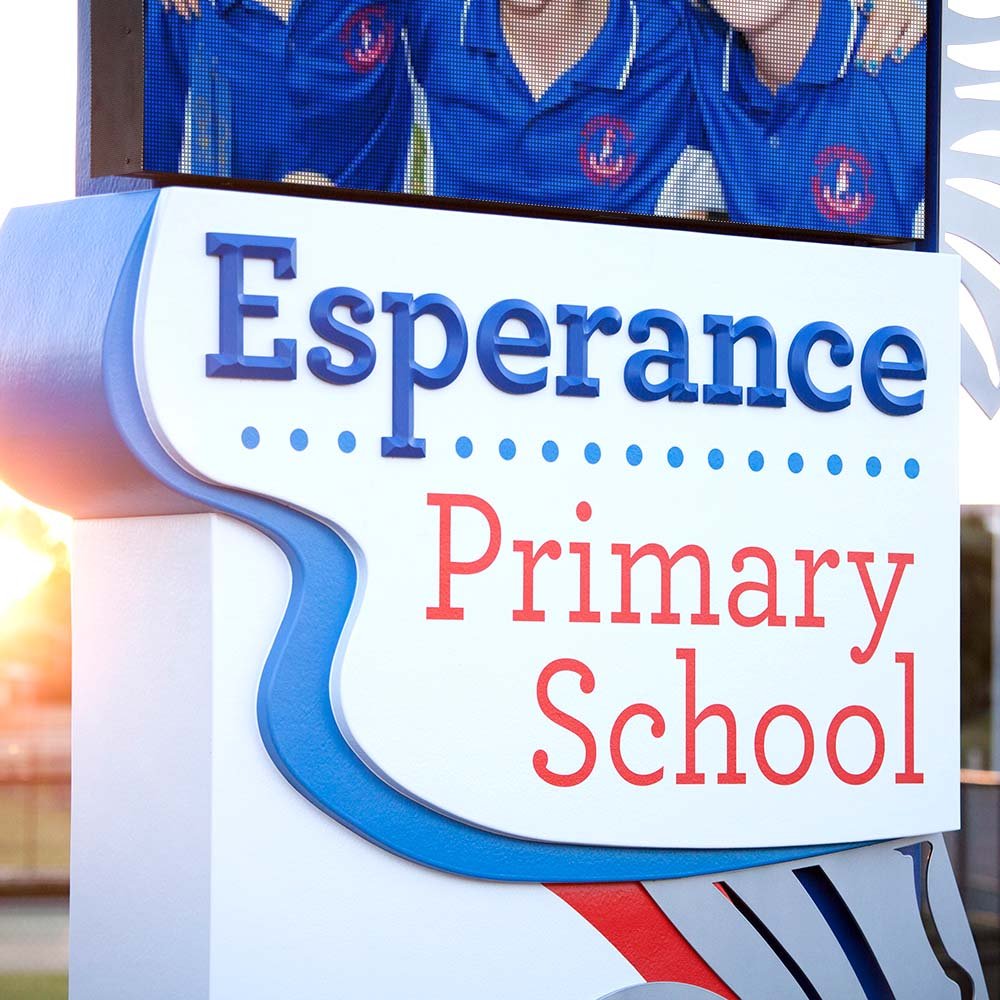
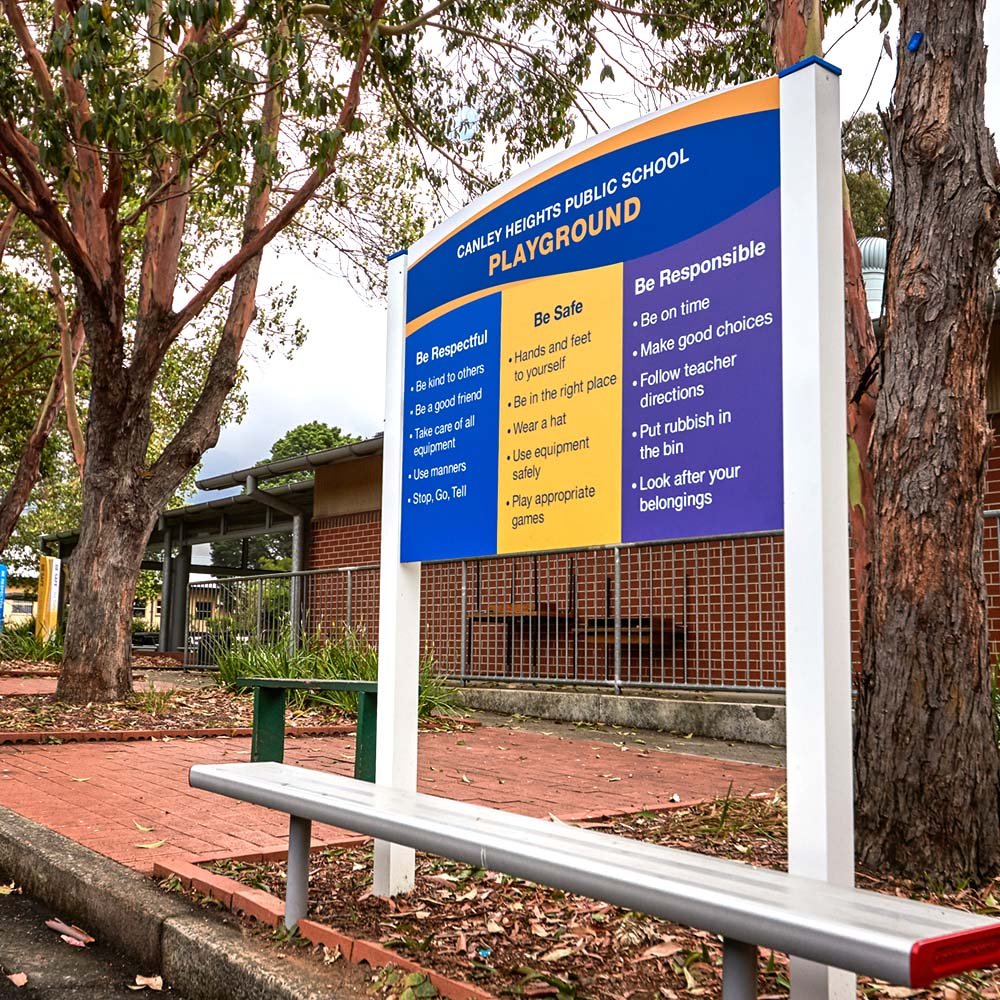
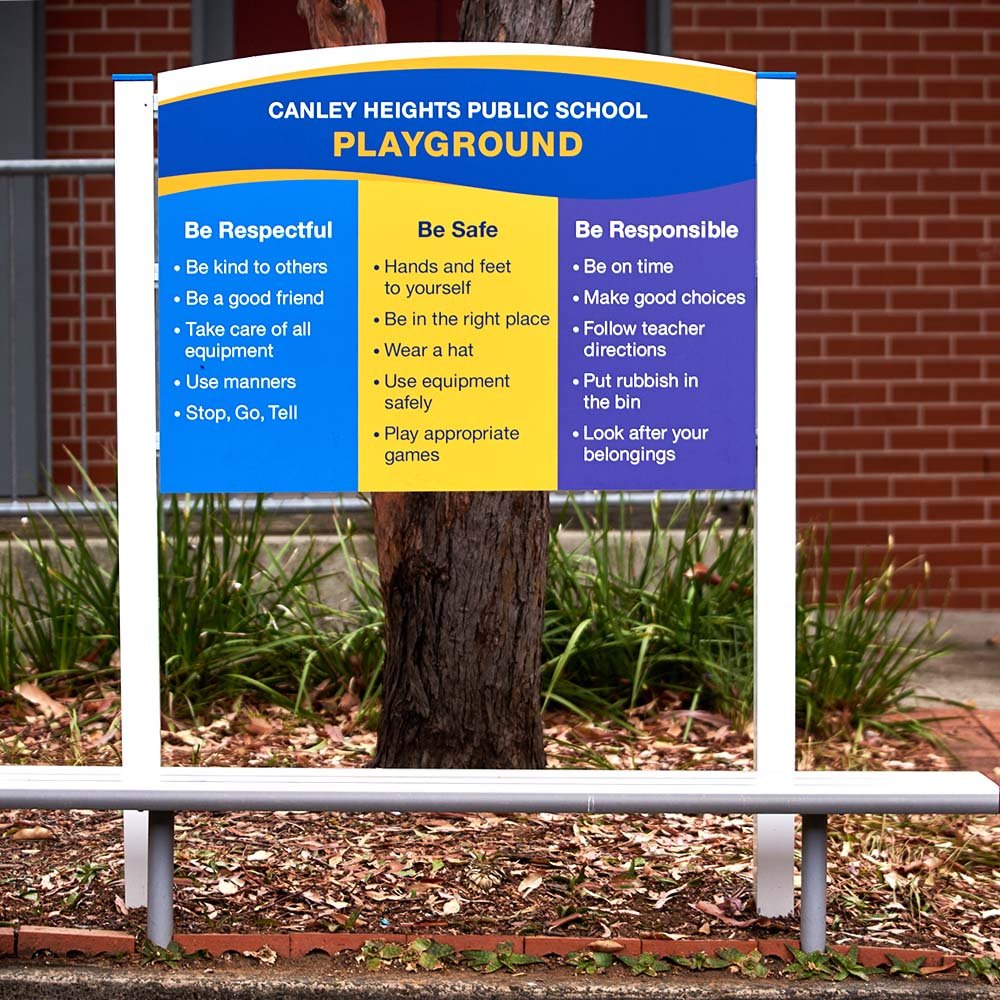
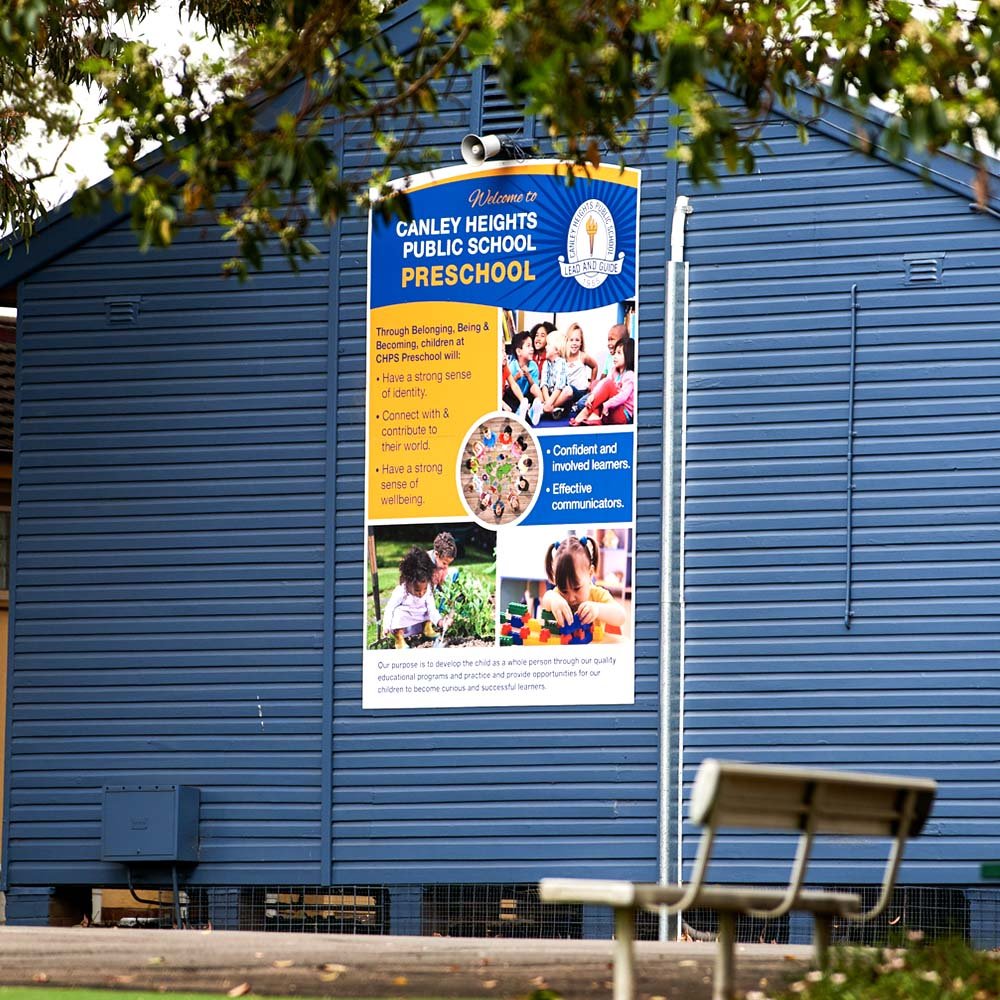
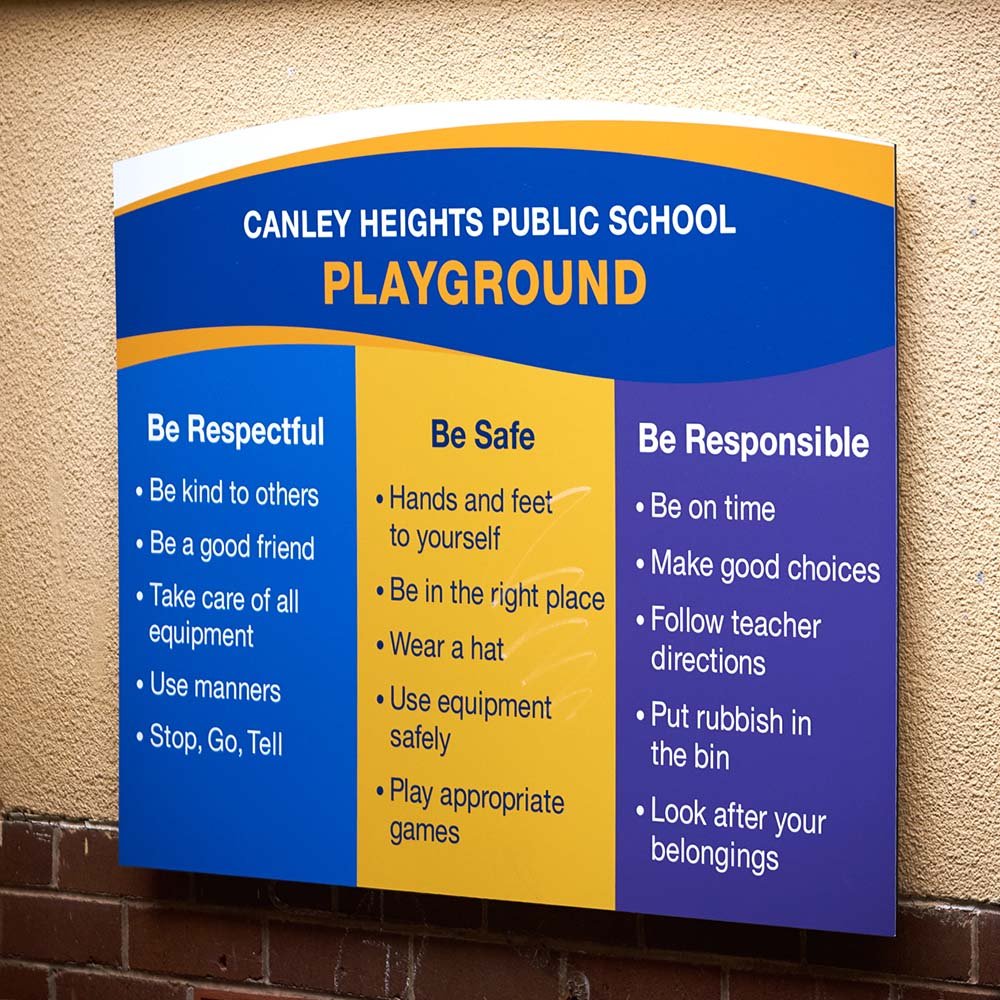
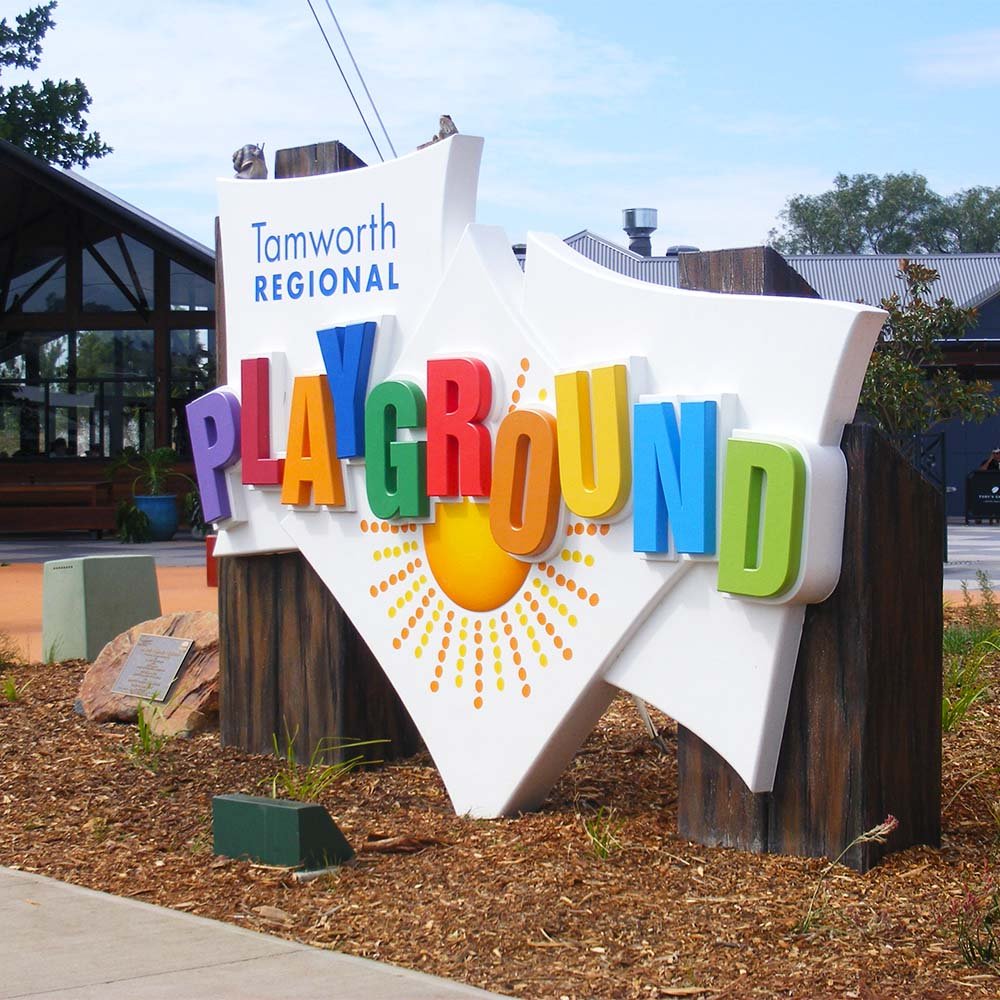
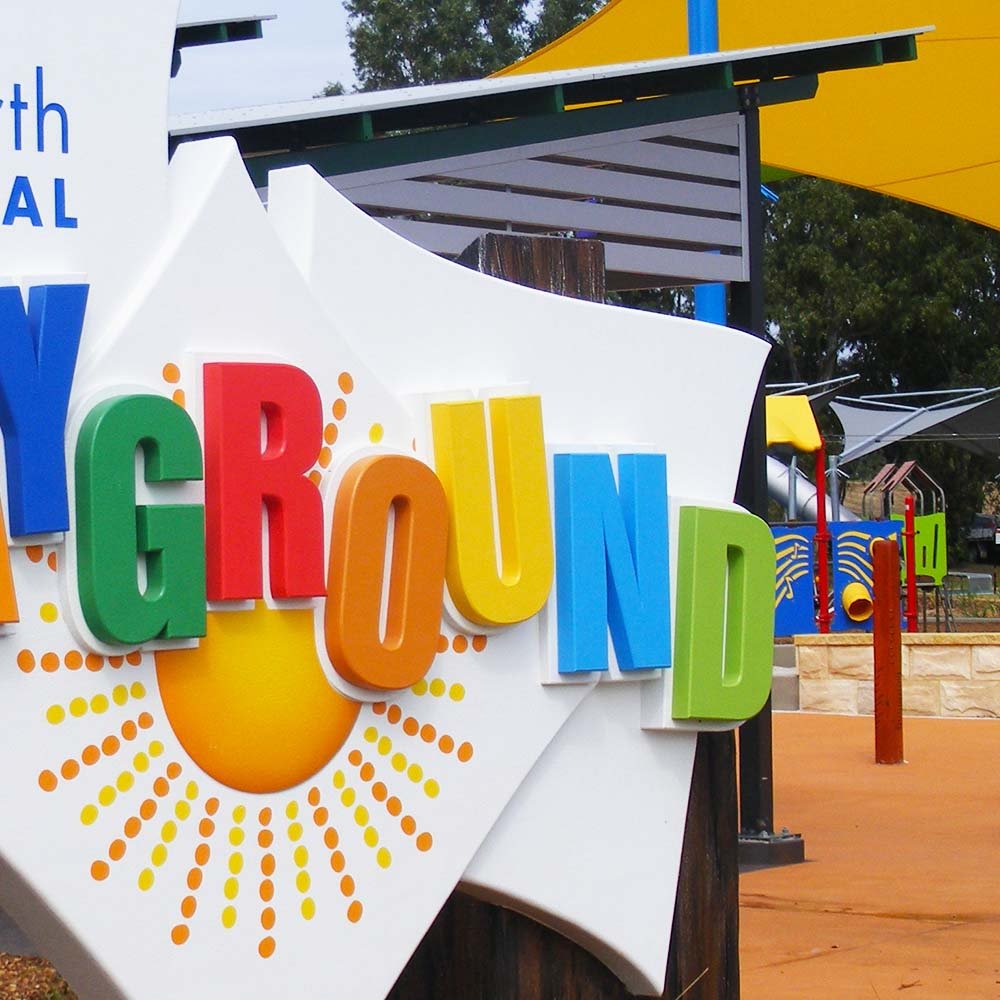
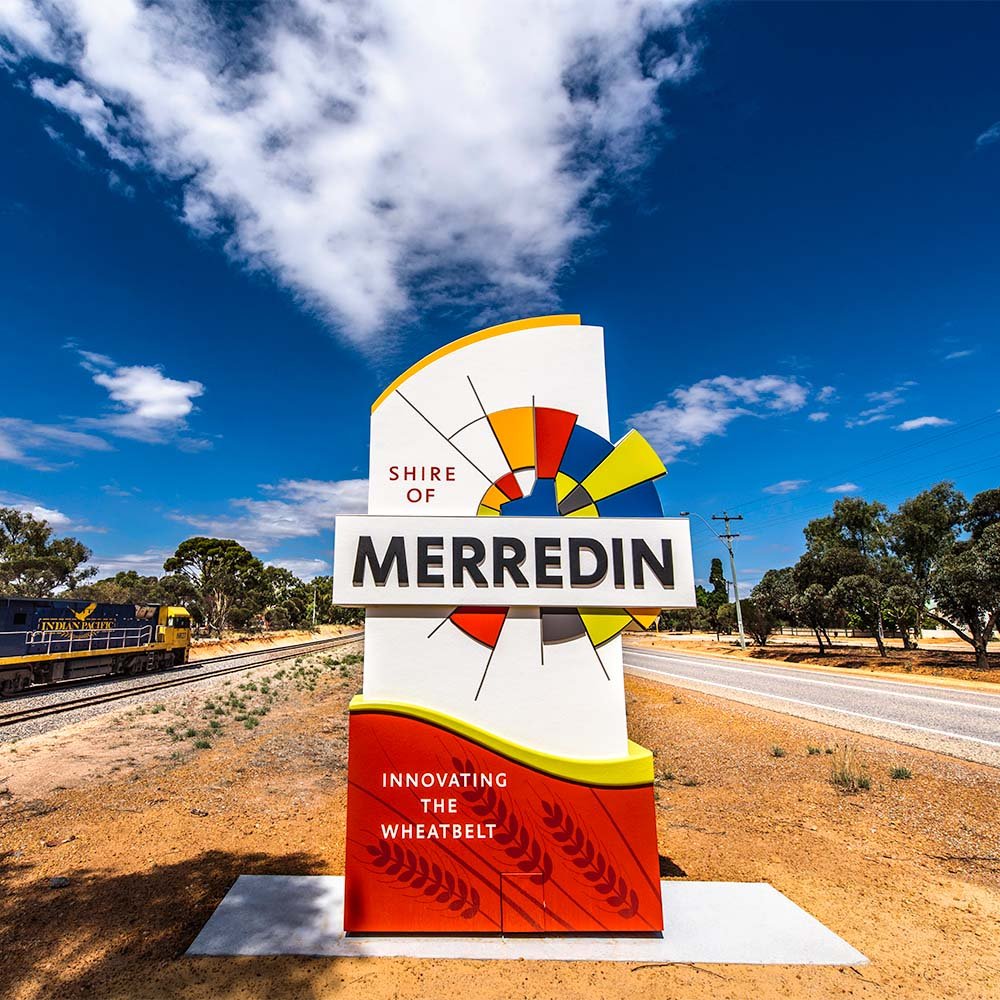
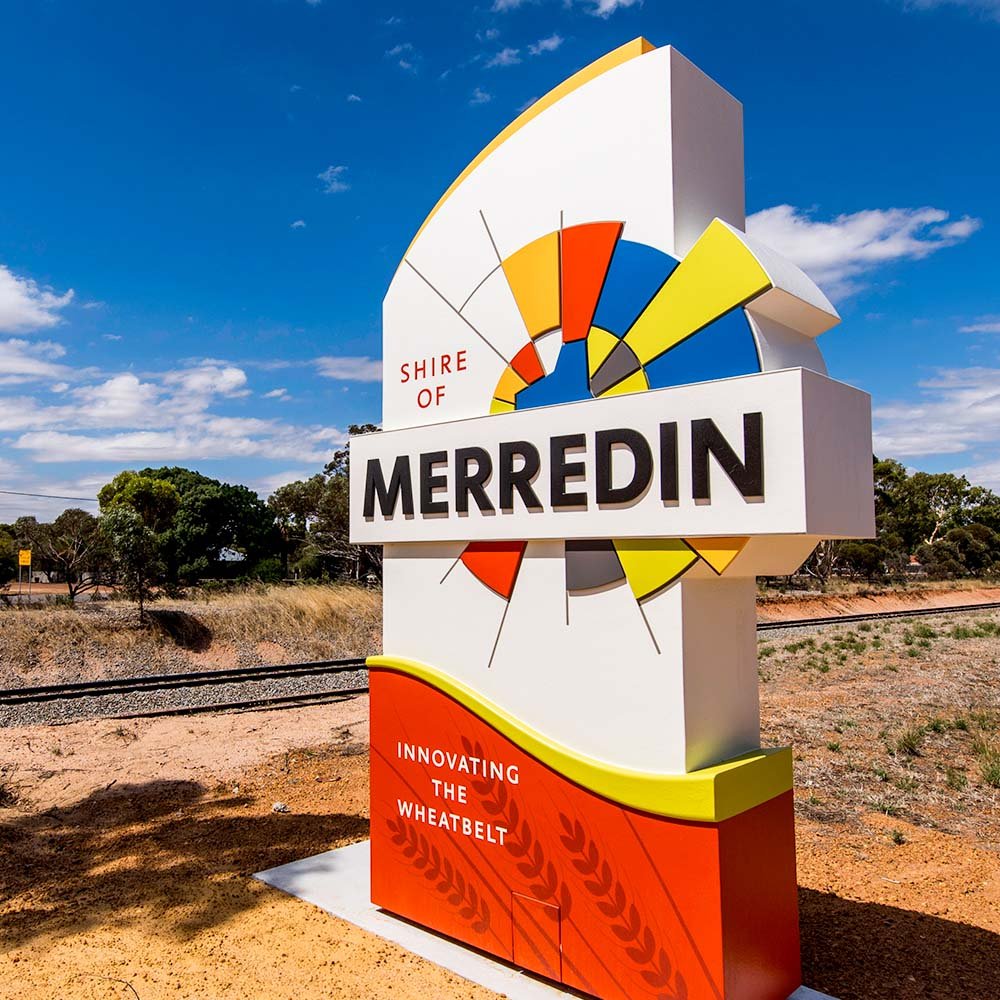
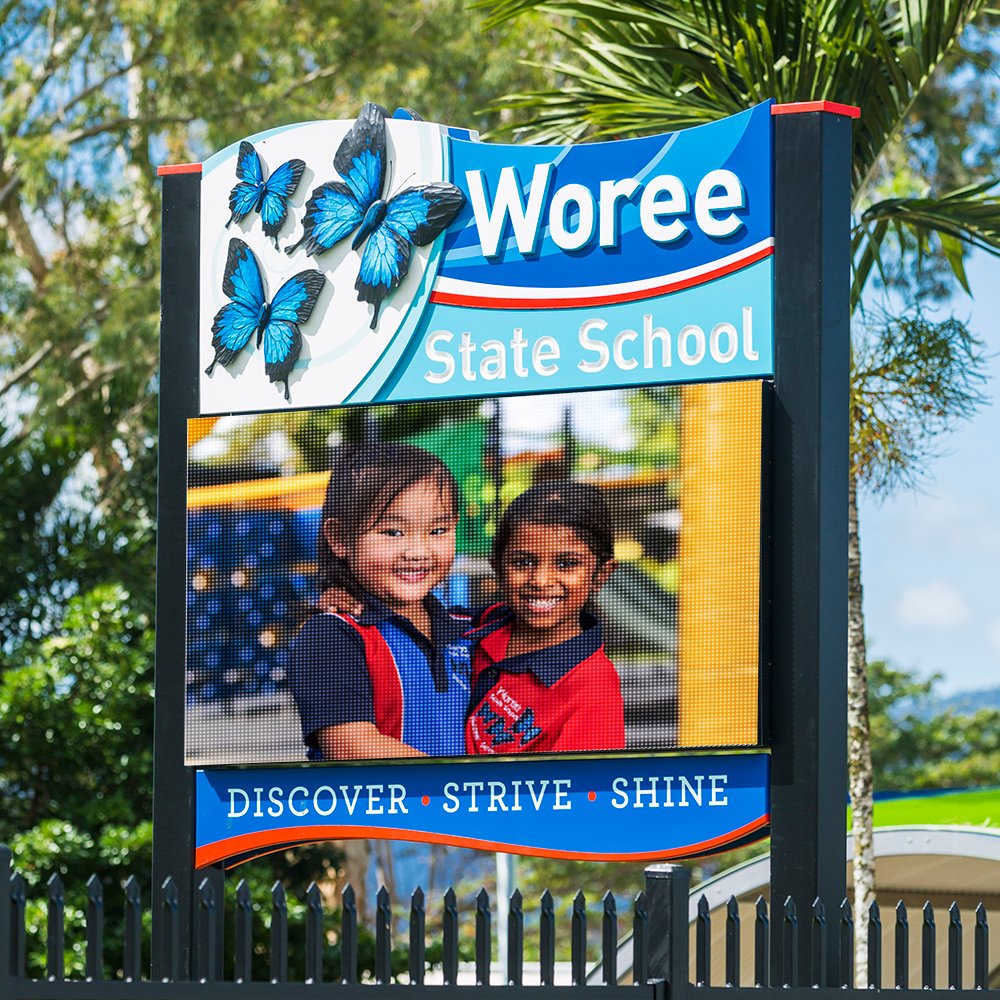
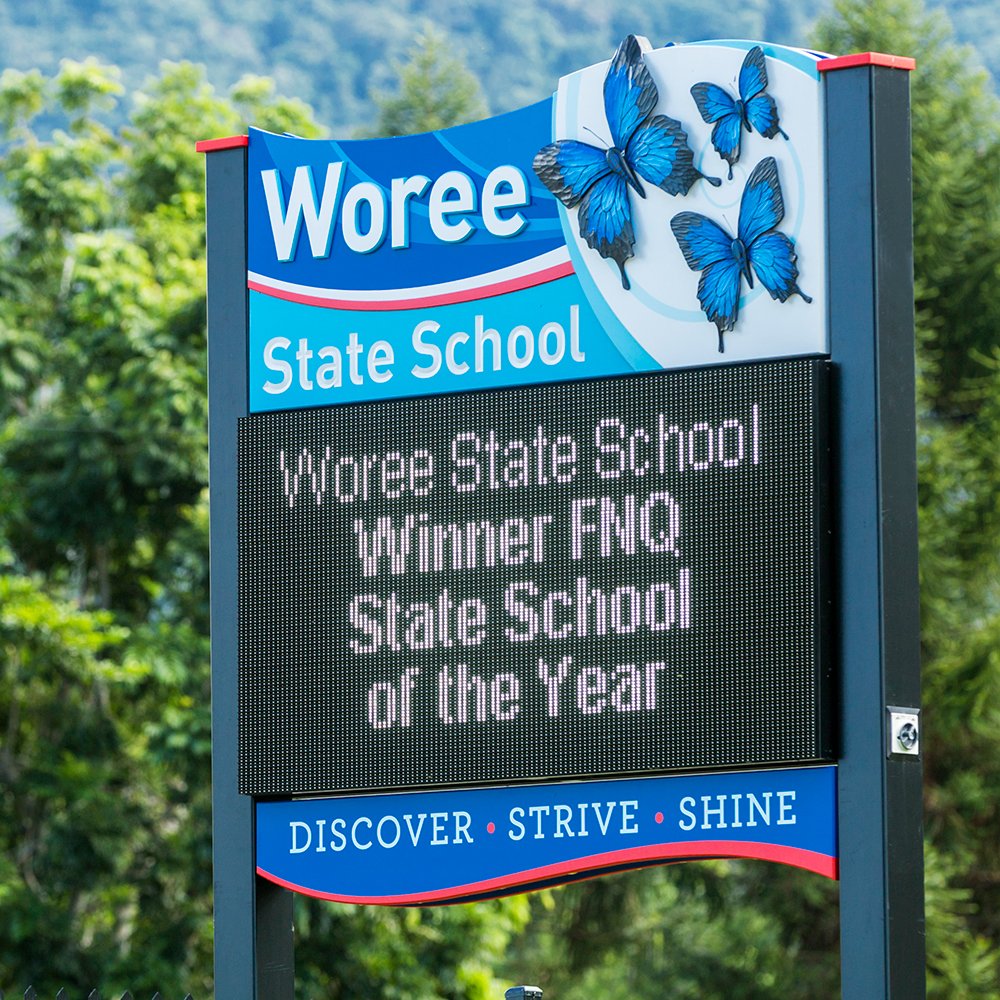
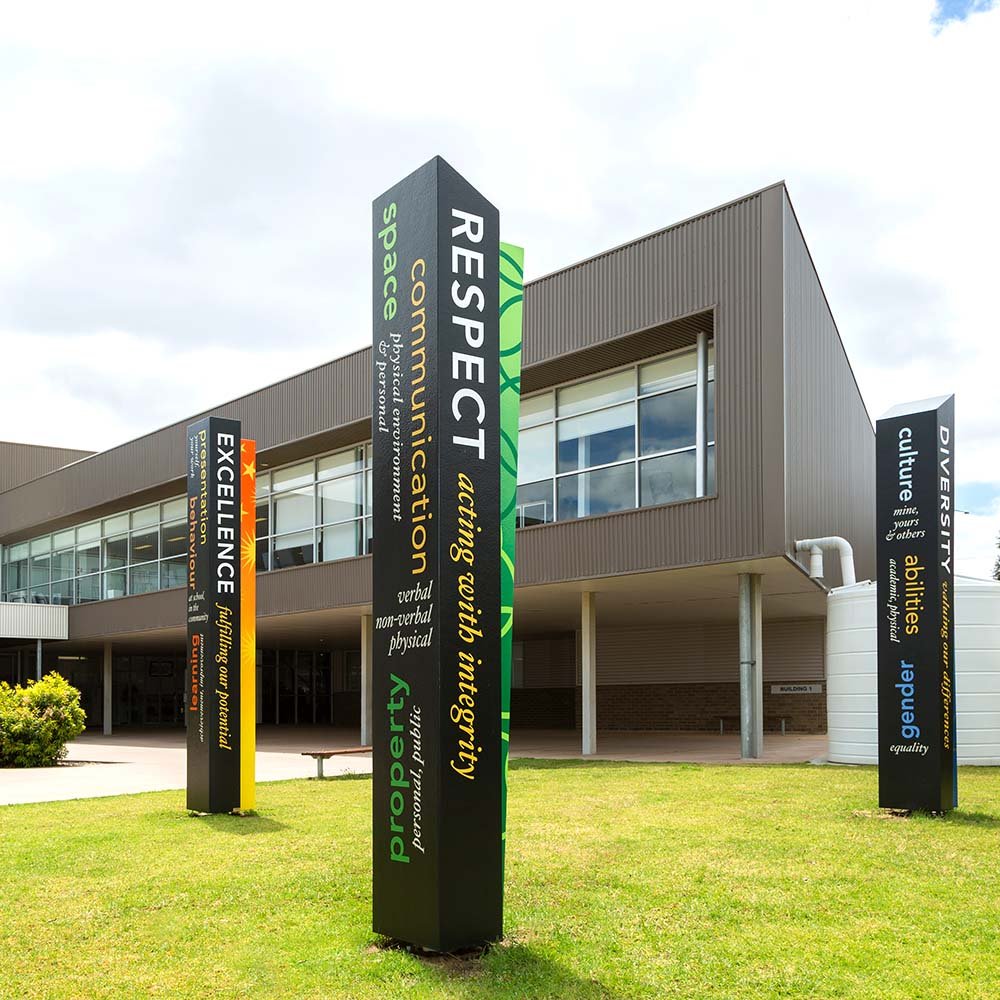
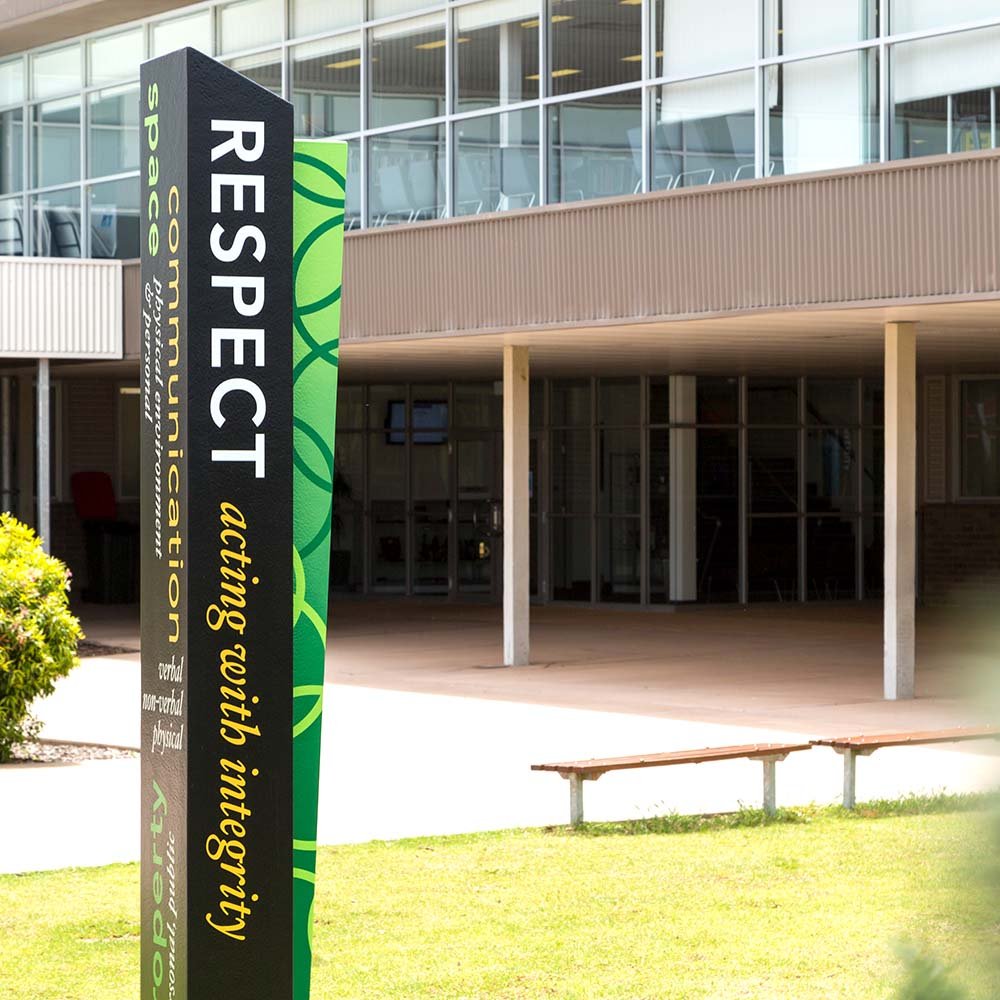
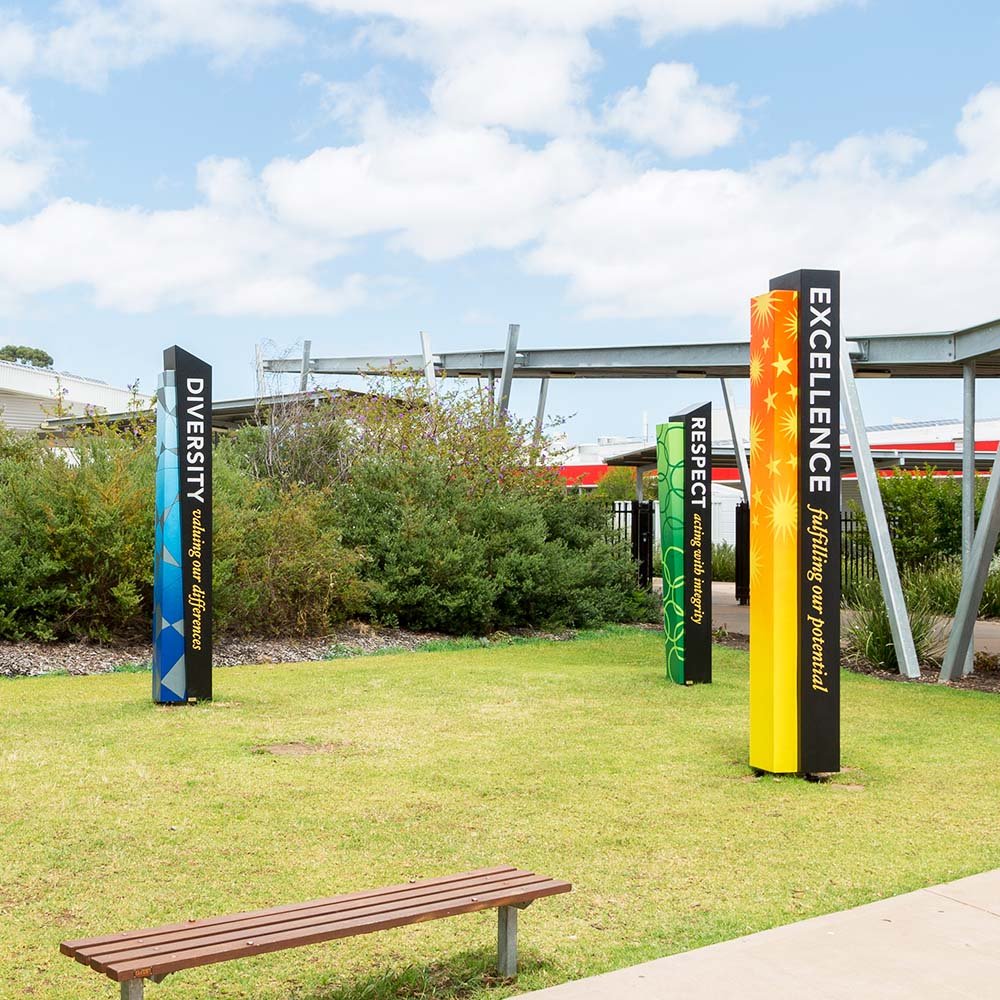
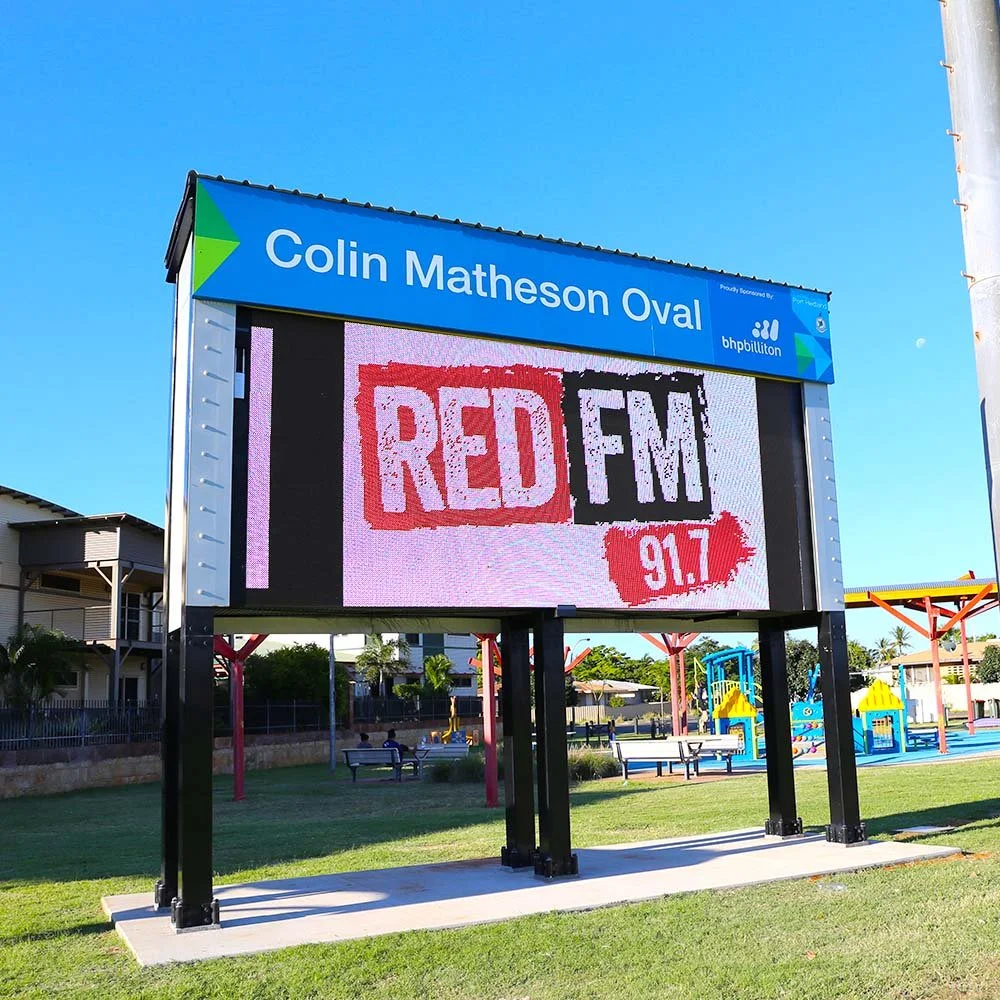
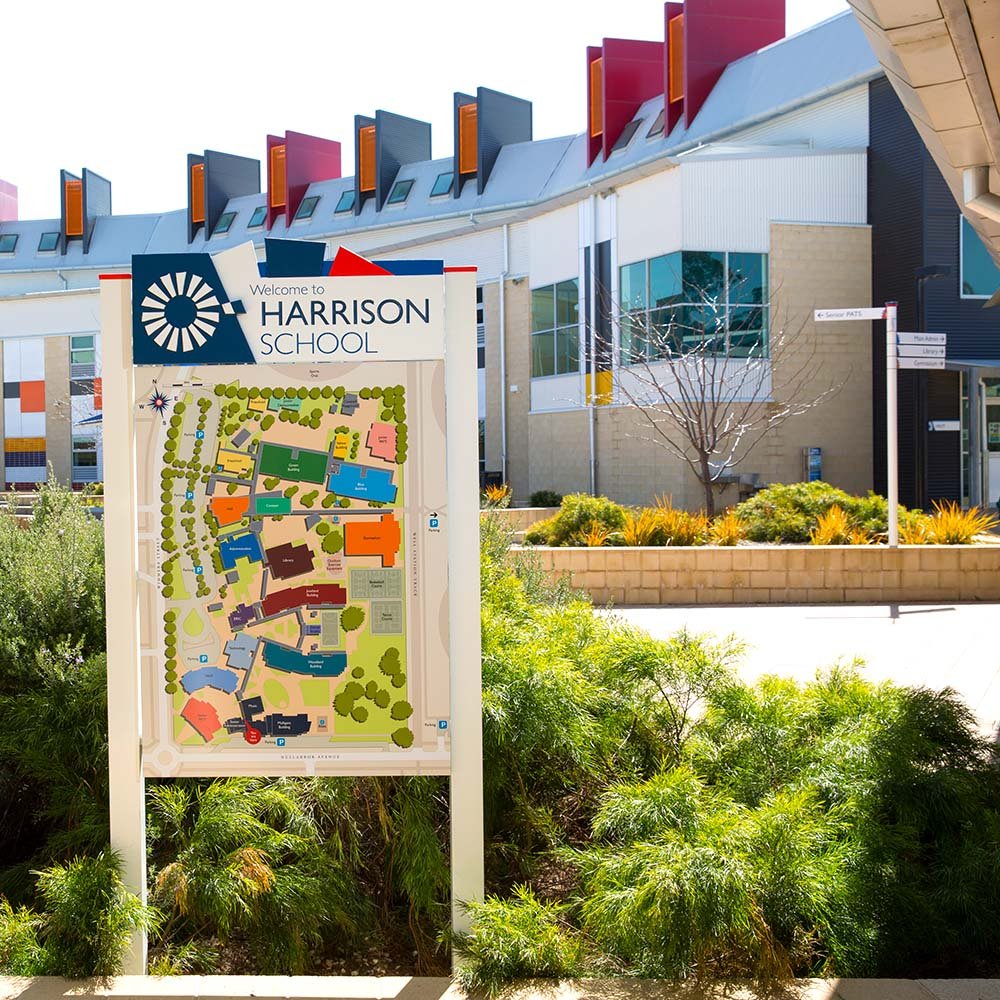
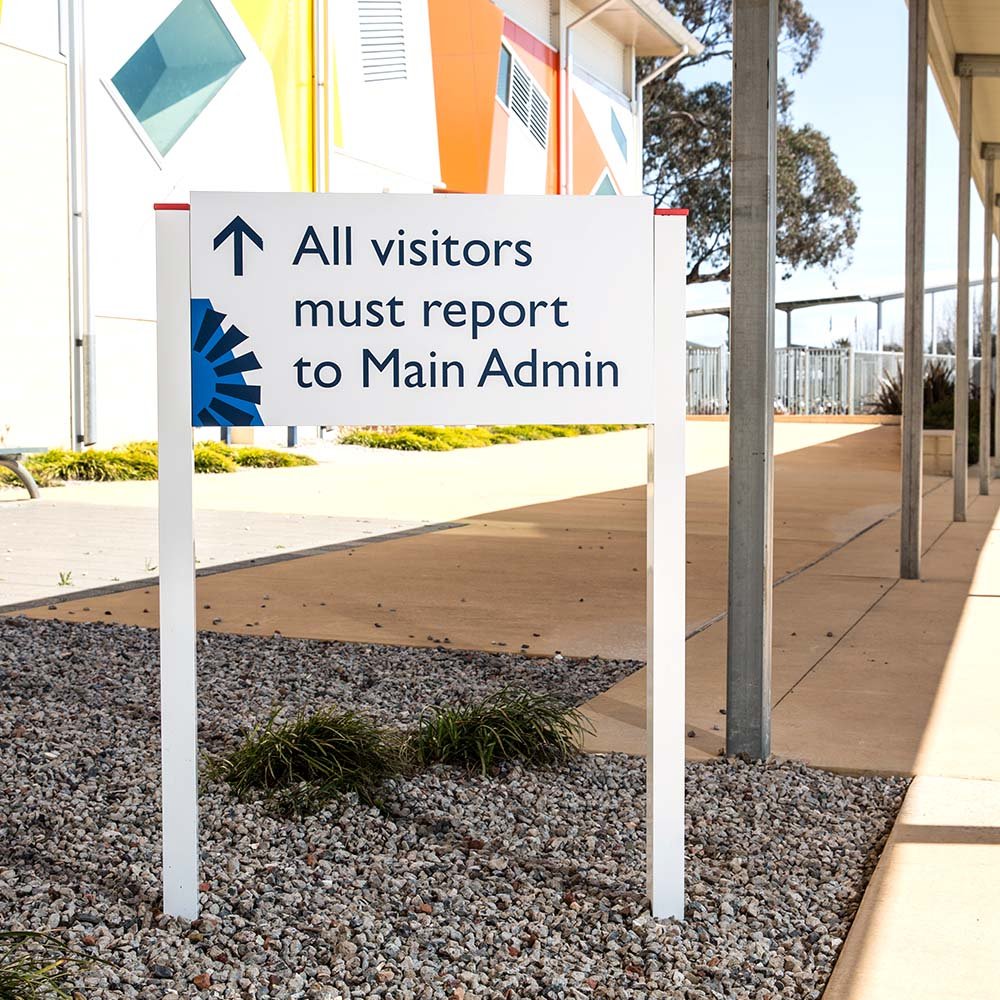
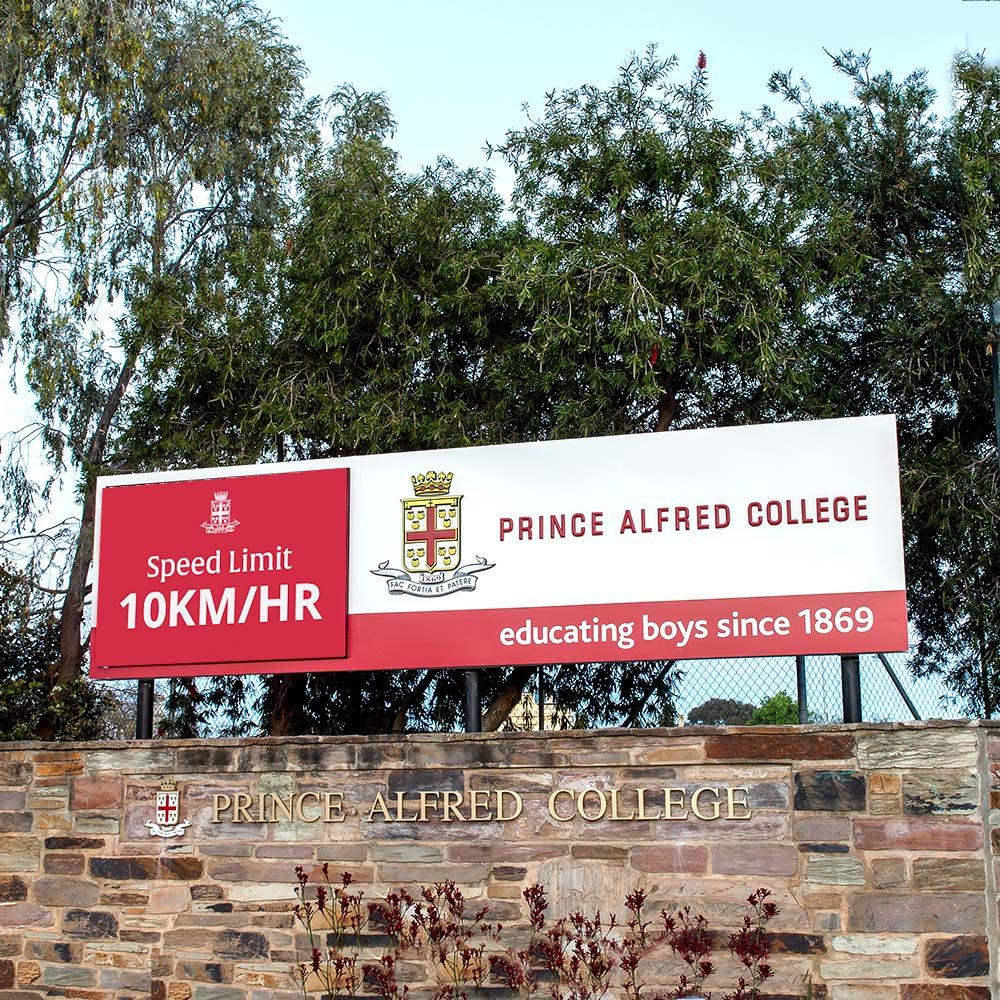
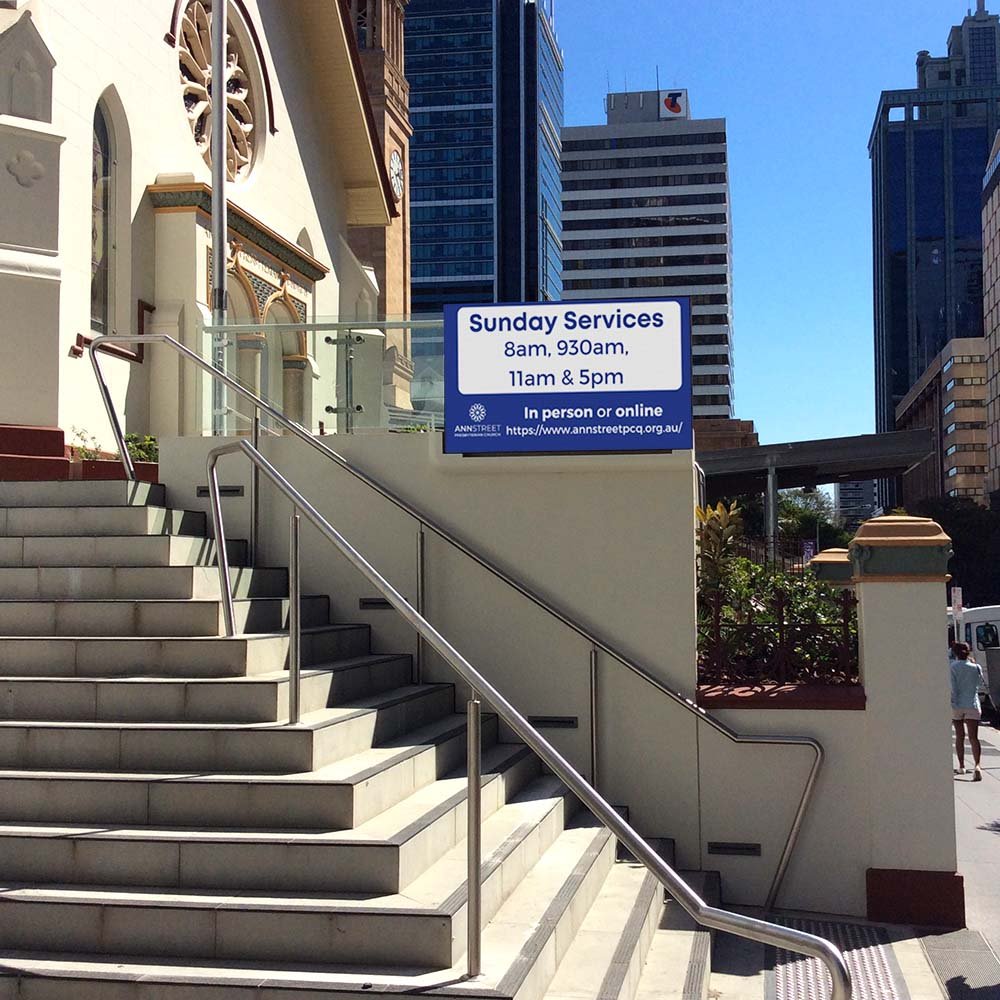
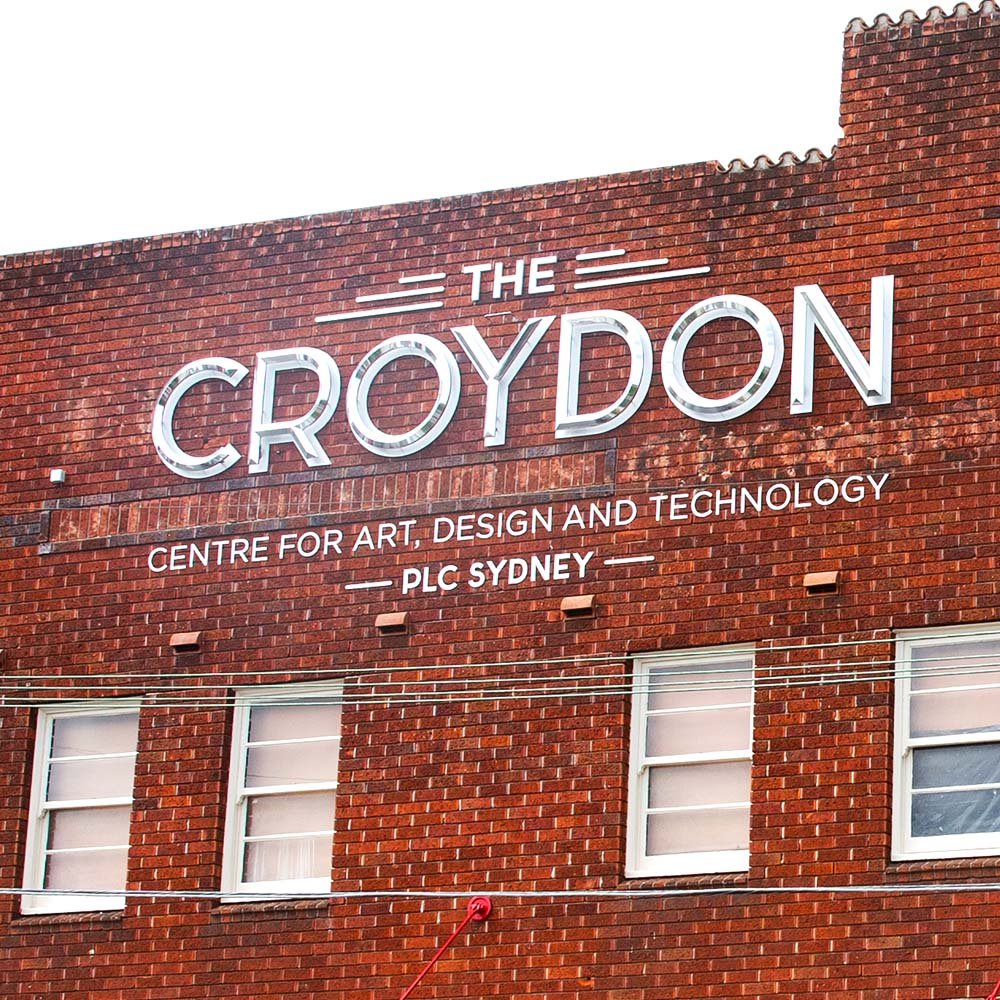
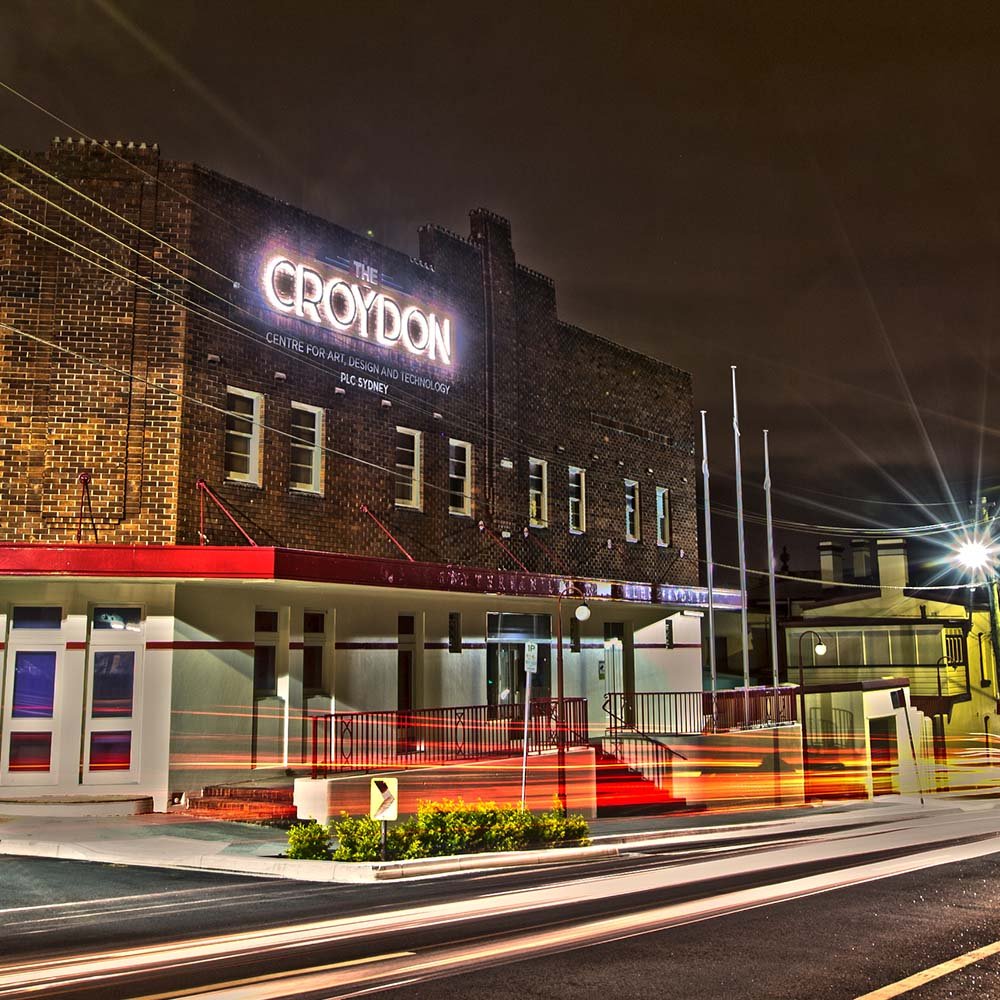
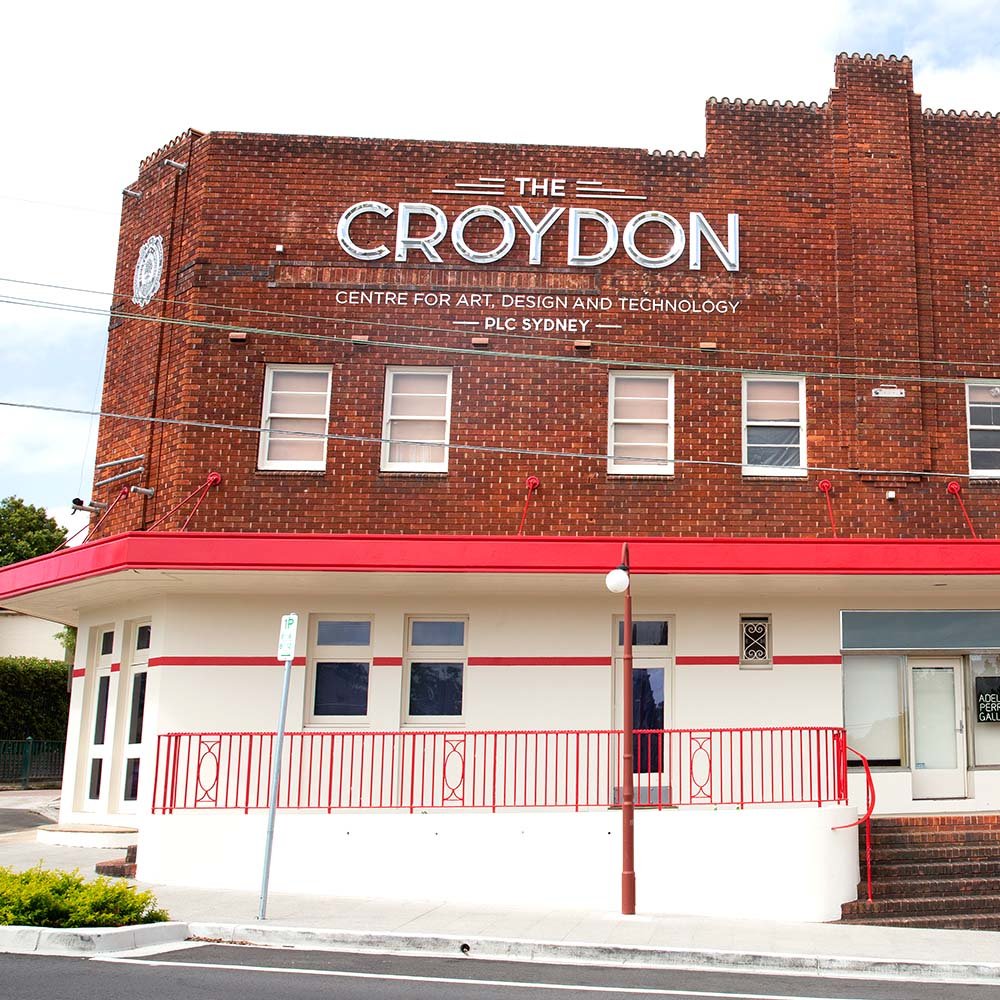
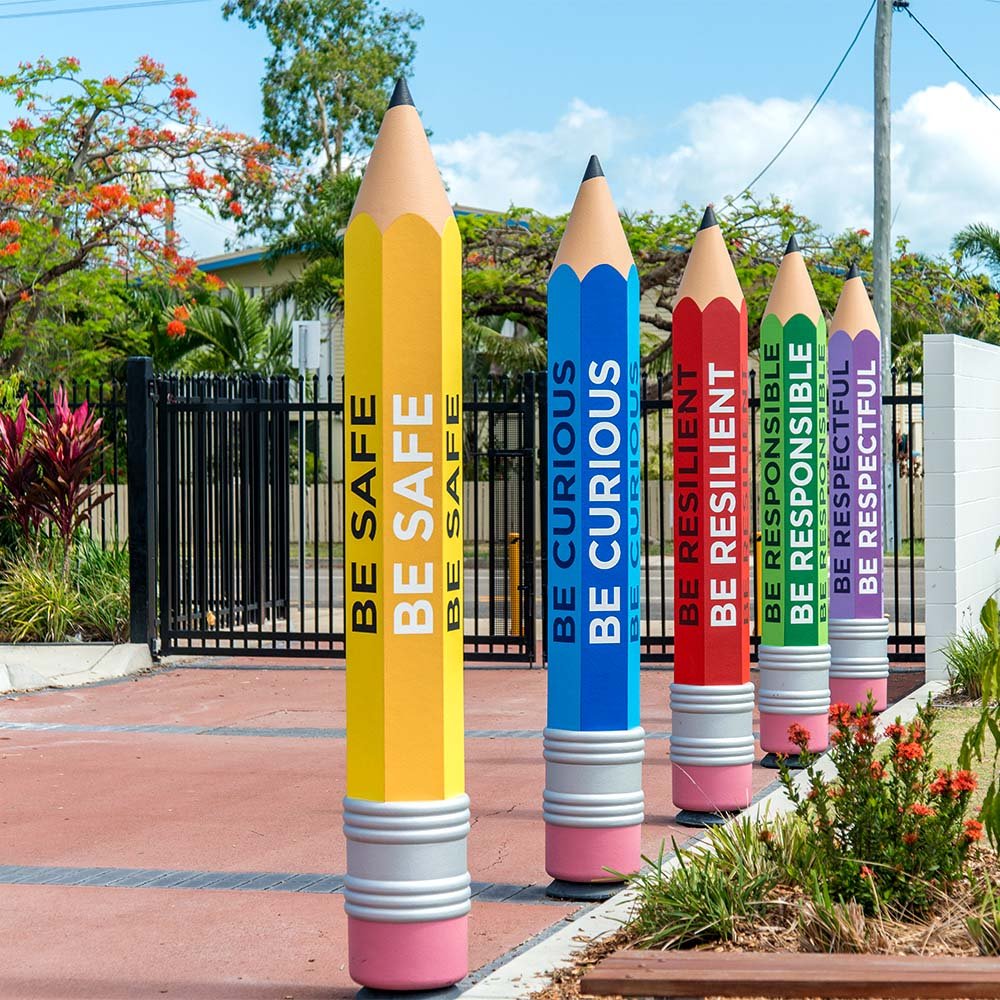
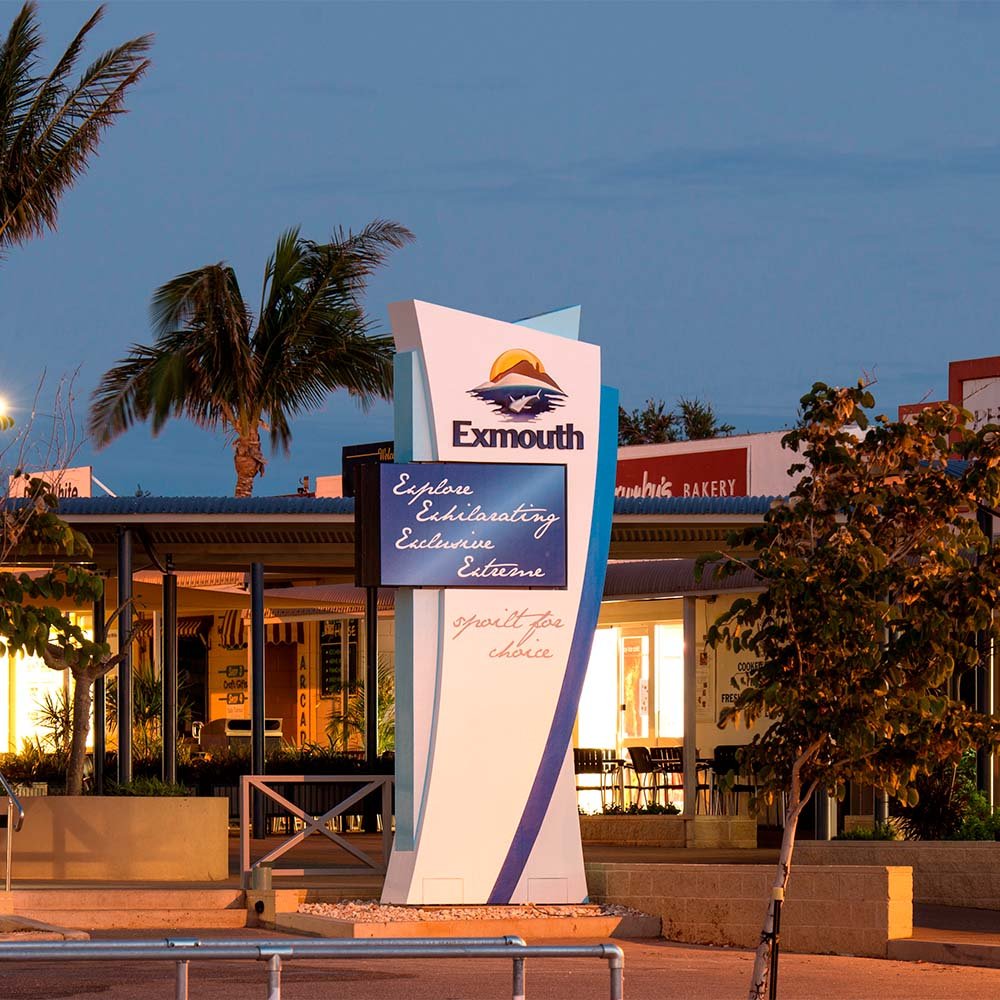
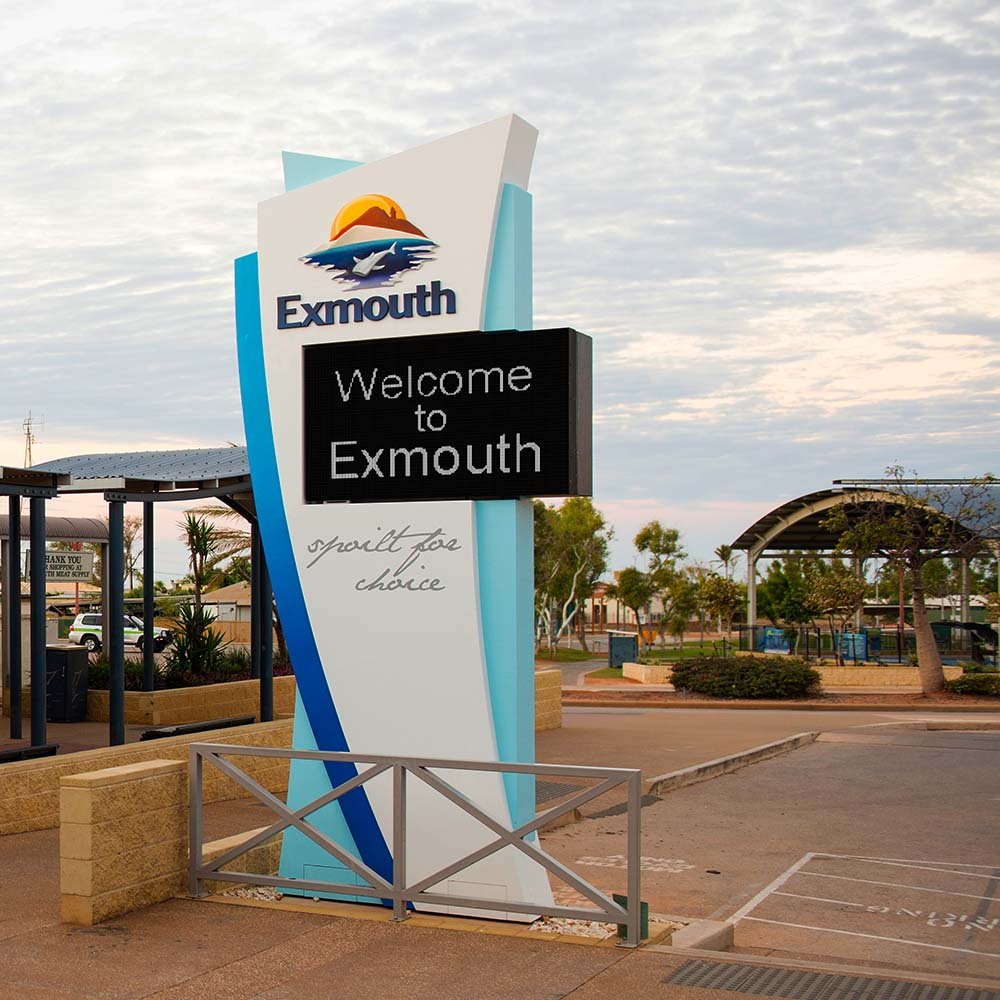
Products Clear All | Standard Products | School Signs | Local Government Signs | Corporate Signs | Hospitality Signs | Home and Property Signs | Church Signs | Club Signs | Business Signs | Filters Categories All Standard Products School Signs School LED Signs School Value Signs Changeable School Signs School Building Signs School Map Signs School Directional Signs School Entry Signs Local Government Signs Council LED Signs Frangible Signs Council Facility Signs Wayfinding Signs Interpretive & Map Signs City & Town Entry Signs Council Gateway Signs Leisure Centre LED signs Park Signs Corporate Signs Hospitality Signs Restaurant Signs Pub Signs Motel Signs B&B Signs Café Signs Home and Property Signs Property Signs House Signs Church Signs Club Signs Business Signs Retail Signs Aged Care Signs Winery Signs Rural Business Signs Development Signs Healthcare Signs Filter Clear Filter Walgett Shire Council Collarenebri Entry Sign $0.00 Great Keppel Island Trail Signage $0.00 Knox Grammar School Senior School Centenary Sign $0.00 Barcaldine Regional Council Alpha Town Entry Sign $0.00 Burdekin Shire Council Giru Entry Sign $0.00 Dudley Park Primary School Totem Entry Statement $0.00 Southport State High School Acknowledgement of Country Sign $0.00 St Mary of the Angels Primary School LED Sign $0.00 Birdrock Bar & Grill Illuminated Logo Sign $0.00 Armidale Secondary College LED Sign $0.00 The Union Bar Sign $0.00 Shire of Northam Recreation Centre LED Sign $0.00 Lesmurdie Primary School Sign System $0.00 Sheldon College LED Sign $0.00 Ebor Town Entry Sign $0.00 Wollondilly Shire Council Gateway and Locality Signs $0.00 Oxford on Otho Boutique Hotel Light Box Sign $0.00 The Welder's Dog Craft Brewery Light Box Sign $0.00 Leanyer School Signs $0.00 Birkdale South State School Sign System $0.00 Oran Park High School Campus Signage $0.00 Thyme Lifestyle Resort Entry Sign $0.00 Rio Tinto Paraburdoo Operations LED Sign and Totems $0.00 Shire of East Pilbara LED Sign $0.00 Camden Uniting Church LED Sign $0.00 Donvale Christian College Entry Signs $0.00 Blackwater State High School Entry Sign $0.00 Birkdale South State School Values Totems $0.00 Kilvington Grammar School Illuminated Building Sign $0.00 Glen Innes Skywalk Entry & Interpretive Signs $0.00 Nambour Christian College Entry Signage $0.00 Forest Lake State High School LED Sign $0.00 Our Lady of the Rosary Catholic Parish LED Sign $0.00 Burdekin SC Ayr Fountain Tourism Sign $0.00 Somerset Civic Centre LED Sign $0.00 St Anne's Shrine Bondi Beach Signage $0.00 The Lakes College Campus Map Signs $0.00 The Village Balgowlah Apartments Wayfinding Signs $0.00 Carinya Christian School Sign System $0.00 Wadalba Community School Signage $0.00 Ilim College Doveton Campus Signage $0.00 Siena College Camberwell Sign System $0.00 Moonta Area School LED Sign $0.00 Christian Brothers College Adelaide Senior Campus LED Sign $0.00 Snowy Mountains Grammar School LED Signs $0.00 St John Paul II Catholic College LED Sign $0.00 Para Vista Primary School LED Sign $0.00 Bullimbal School LED Sign and Totems $0.00 URBNSURF Sydney Wayfinding Signs $0.00 Lake Cathie Tavern Signage $0.00 Robin Hood Hotel Orange Signage $0.00 Isaac Regional Council Frangible Boundary Signs $0.00 Dundee Beach Primary School Changeable Sign $0.00 Monash Primary School Signage $0.00 Redlands College LED and Wayfinding Signage $0.00 Miami State School LED Sign $0.00 Rosebank Cottage Interpretive Signs $0.00 Colo High School Entry Sign $0.00 Parkhurst State School LED and Wall Signs $0.00 Kareela Christian School Values and Playground Signs $0.00 Gainsborough State School $0.00 Colo High School Values Totems $0.00 Al-Faisal College Building Signage $0.00 University of New South Wales Kensington signs $0.00 Shire of Northampton LED Signs $0.00 Fintona Wayfinding Sign System $0.00 Ringwood Secondary College Pylon Signs $0.00 Burdekin Shire Council Plantation Park Sign $0.00 Kingswood High School Entrance Monument $0.00 Rockhampton Regional Council Mt Archer Park Signs $0.00 Tasman Health Care LED Pylon Sign $0.00 Toowoomba State High School Performing Arts Centre Wall Sign $0.00 Roseville New Church Message Board Sign $0.00 Pigeon House Motor Inn Ulladulla LED Sign $0.00 Little Swaggies Child Care Magnetic Message Board Sign $0.00 Isaac Regional Council Dysart Town Entry Sign $0.00 Crescent Lagoon State School LED sign $0.00 Burpengary State Secondary College House and Values Totems $0.00 Rockhampton Airport LED Entrance Gantry Sign $0.00 Southport State School Directional Signs $0.00 St Mary’s Scholasticate Camberwell Building Sign $0.00 Forster Public School Values Mascot Totems $0.00 Townsville Sports Reserve LED Sign $0.00 Dayboro Entry Signs $0.00 Isaac Regional Council Town Entry Signs $0.00 Briar Road Public School Mascot Sculptures $0.00 Hoxton Park Public School Entry Sign $0.00 Port Stephens Council Boomerang Park Signage $0.00 Glen Innes Highlands Entrance Signs $0.00 Knox Grammar School LED Sign $0.00 Eagle Vale High School Values Totems $0.00 Darebin City Council Bundoora Park Signs $0.00 Cowra Shire Council Historical Interpretive Signs $0.00 Redcliffe State High School Campus Map Signs $0.00 Port Stephens Council Nelson Bay Information Totem $0.00 Vicinity Bankstown Directional Signage $0.00 Town of East Fremantle Park Signs $0.00 Investa Kent Street Wayfinding Signage $0.00 Stockland Signage $0.00 Kilvington Grammar School Sports Centre illuminated sign $0.00 South Burnett Regional Council Town and Locality Entry Statements $0.00 East Fremantle Town Council Boundary Signs $0.00 Bayside Council Entry Statements $0.00 Bayside Council Cook Park Wayfinding and Map Signs $0.00 Bayside Council Ramsgate Beach Town Centre Signs $0.00 Whyalla Town Entry Statements $0.00 Sovereign Place Town Centre Port Macquarie LED Pylon Sign $0.00 Broome Entry Sign $0.00 Kinchant Outdoor Education Centre Entry Sign $0.00 Mother Teresa Catholic College Baldivis LED Screen $0.00 Redcliffe Primary School Noongar Garden Interpretive Sign $0.00 Goodna City Entry Sign $0.00 Warrnambool Entry Statement $0.00 Diamantina Shire Council Signs $0.00 Opéra Melbourne address sign $0.00 Southern Cross Catholic College Annandale LED Pylon Sign $0.00 Paw Garden sign $0.00 Pickitty Petals & Paws Cottage sign $0.00 Queenslander State Border Sign $0.00 Prince of Peace Lutheran College LED Signs $0.00 Mazenod College Mulgrave rammed earth wall sign $0.00 St Francis Catholic College Edmondson Park LED Signs $0.00 The King’s School Tudor House sign $0.00 Granville State School LED Sign $0.00 Aveo Bella Vista signs $0.00 Dungog Chamber of Commerce Lioness Park sign $0.00 Novotel Sydney Darling Square Pier Street Grill sign $0.00 Bayanami Public School LED Sign $0.00 Snowy Mountains Grammar School Branding Sign $0.00 Trinity Lutheran College Horsham signage $0.00 Manning Primary School signs $0.00 Cowra Shire Council Entry Signs $0.00 St Benedict’s Catholic School Shaw Signs $0.00 Cumberland Council Park LED Signs $0.00 Bayside Council Park Signs $0.00 Ballina Coast High School LED Sign $0.00 The Entrance Long Jetty Uniting Church LED Sign $0.00 Westside Christian College LED Signs $0.00 Homestyle Aged Care Branding Signage $0.00 Rockhampton Regional Council Park Signs $0.00 K Ranch Arena LED Sign $0.00 Josiah College Wall Signage $0.00 Gunnedah Preschool LED Sign $0.00 Geraldton City Entry Signs $0.00 Port Stephens Regional Council Gateway and Town Signs $0.00 What’s On in Narromine LED Sign $0.00 Baringa State Primary School LED sign $0.00 Bundaberg Regional Council Multiplex LED Signs $0.00 Shalom College Bundaberg Branding Signs $0.00 St Dominic’s College, Penrith LED signs $0.00 Secret Harbour Surf Life Saving Club signs $0.00 Hinchinbrook Shire Council park signs $0.00 Western Downs Regional Council town entry signs $0.00 Norwood Morialta High School LED signs $0.00 Chancellor State College Primary Campus LED sign $0.00 Hedland Senior High School and Matt Dann Theatre & Cinema LED sign $0.00 City of Wanneroo entry signs $0.00 Killester College Springvale signage $0.00 Rossmoyne Senior High School branding sign $0.00 Catholic Education Diocese of Rockhampton LED signs $0.00 Loreto College Coorparoo signage $0.00 ACU Strathfield Campus signage $0.00 Southside Montessori School wall sign $0.00 Tyndale Christian School signage $0.00 The Gap State High School LED sign $0.00 Katherine Museum Clyde Fenton signs $0.00 Figtree High School Signage $0.00 Esperance Primary School LED sign $0.00 Casuarina All Sports Club LED sign $0.00 Canley Heights Public School Signage $0.00 Tamworth Regional Playground sign $0.00 Kingswood Primary School Dingley Village LED sign $0.00 Southport State School LED sign $0.00 Merredin Town Entry signs $0.00 Woree State School LED sign $0.00 Scots College Sydney Graeme Dedrick Scoreboard $0.00 Roma Mitchell Secondary College Totems $0.00 Christian Brothers College Adelaide Junior Campus LED sign $0.00 Town of Port Hedland Kevin Scott and Colin Matheson Ovals Scoreboards $0.00 Stanwell Power Station LED noticeboard sign $0.00 Harrison School signs $0.00 Prince Alfred College LED sign $0.00 Roma Mitchell Secondary College signage $0.00 Windaroo Veterinary Surgery & Animal Hospital LED sign $0.00 Glen Innes Australian Standing Stones signage $0.00 City of Vincent Loftus Recreation Centre LED sign $0.00 Emmanuel College Carrara monument sign $0.00 Rockhampton Girls Grammar School LED sign $0.00 Holy Spirit College Cairns and Cooktown signs $0.00 Ann Street Presbyterian Church LED sign $0.00 St Therese Catholic Church Denistone changeable sign $0.00 Presbyterian Ladies' College Sydney: The Croydon Centre for Art, Design & Technology signage $0.00 St Marys Primary School Berserker entry wall signage $0.00 Mount Lilydale Mercy College Melbourne entrance sign $0.00 The Rockhampton Grammar School building signs $0.00 Currajong State School LED sign $0.00 Boroondara City Council Environmental Interpretive signs $0.00 Signs for Living Care Retirement Villages $0.00 Shire of Exmouth LED town centre sign $0.00 Mount Burr Primary School changeable sign $0.00 No results found No results match your search. Try removing a few filters. Next